やったこと / 書いてあること
これまでやってきたも含めた下記を1つのWEBページにまとめました。
- 1.FirebaseのAuthentication を使ったログイン機能
- 2.FirebaseのDatabaseへのログインのロギング機能
- 3.ローカルストレージを使った履歴やお気に入り画像の保存機能
- 4.Webカメラを使った写真撮影機能
- 5.Webカメラで撮影した写真の感情分析やOCRを即時で行う機能
長くなるので1〜3の説明は別記事を参照ください。
ここでは4,5に関してソースコードや簡単な説明をしていきます。
参考
■1,2のFirebaseのログインやそのログの保存に関して
Firebaseでログイン機能を作ってみる
■ 3.ローカルストレージを使った履歴やお気に入り画像の保存機能
vue.jsとlocalStrageで閲覧履歴とお気に入り履歴を作ってみた
■ ホスティング
ここに関しては下記記事を参考にして、vercel(旧 now)を使っています。
ドメインに関しては、昔取って全く使ってないものがあったので、freenomでなくお名前ドットコムです。
爆速!Vercelとfreenomで独自ドメインのサイトを無料で作成する
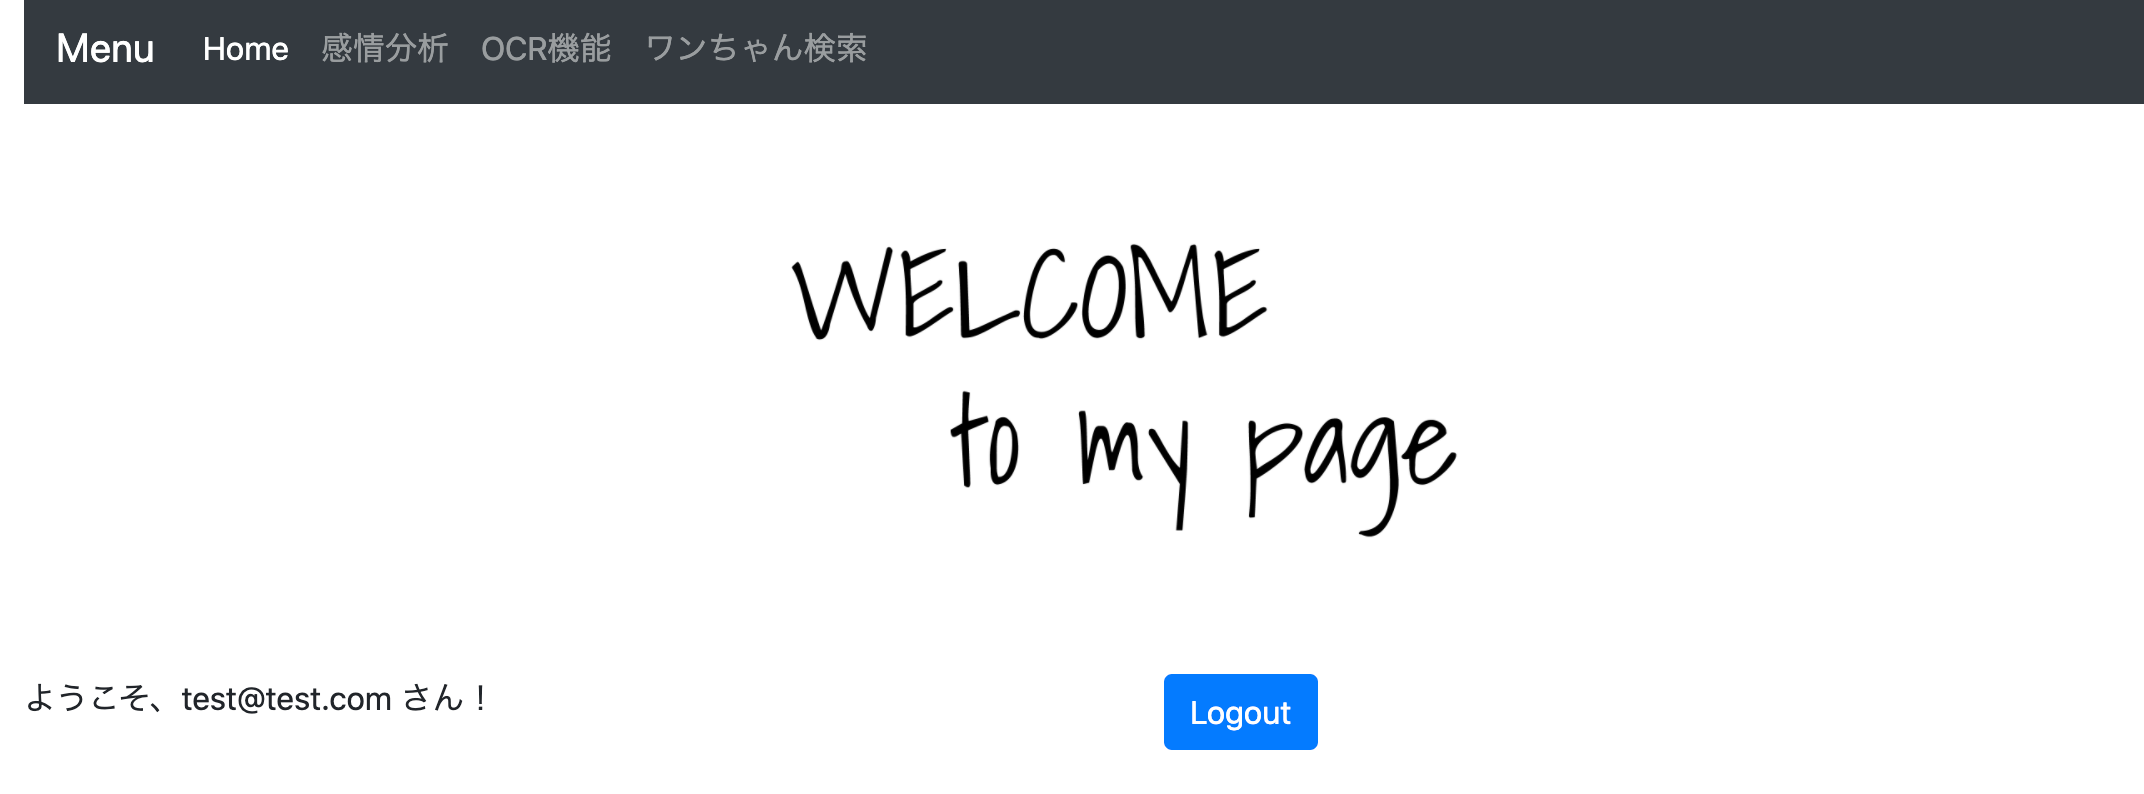
サンプル
下記ページから確認することができます。
https://simasima.work/index.html
ログインはあらかじめ登録したアカウントでしかできないので、その際は下記をお試しください。(予告もなくログインできなくなることもあるかと思いますが、ご了承ください)
テストユーザアカウント
- メール : test@test.com
- PW : test0000
(まあ、ログインしたらナビゲーションヘッダーが出るだけなんですけどね・・・)
ナビゲーションヘッダーから感情判定やOCRができますので、ぜひお試しください!
PC中のファイル読み込みと、webカメラでの撮影の2種類が楽しめます
【OCR】
試しに本の表紙を読み取らせてみました。
■1冊目

■2冊目

すごい! ちゃんと読み取れてました!!
【感情分析】
こちらもそれっぽくできてました!(口を開けたらだいたいsurpriseになる)

では、ここから少し説明していきます。
4.Webカメラを使った写真撮影機能
こちらに関しては下記記事がとても参考になります。
Vue.jsでWebカメラで撮影した画像を取得する
ページ開いてすぐにカメラが立ち上がるのは嫌だ
参考例ではページが立ち上がったらすぐにWEBカメラが起動してしまって少し嫌だったので、私はボタンで起動するように変更しました。
WEBカメラを停止したい
カメラ起動後は、ずっとWEBカメラが起動しっぱなしもちょっと嫌だったので調べたところ、stream.getTracks().forEach(track => track.stop())とすることで停止できるようでした。
参考にしたページ
ただ、私のページの場合、ストリーミングは止まったのけど、カメラ自体は止まらなかったです。。。理解が足りないようです。
5.Webカメラで撮影した写真の感情分析やOCRを即時で行う機能
AzureのAPI
AzureのAPIを使う部分に関しては下記の記事を参考にしてください。
Azure画像認識系の機能をいくつか試してみた(Face API / Custom Vision API / Computer Vision API)
Webカメラで撮った画像をAPIに渡す
URL形式ではなく、撮ったものをバイナリで取得して Array Buffer で変換する処理に私はつまずき下記の記事に助けていただきました!
Vue.js で axios await/async を使って Azure Face API にWebカメラの画像データを application/octet-stream で送るメモ
ソースコード
キーやAzureのエンドポイントなどを入れ替えてください。
感情分析
<!DOCTYPE html>
<html>

<head>
  <meta charset="utf-8" />
  <meta name="viewport" content="width=device-width, initial-scale=1.0">
  <title>Email/Password Authentication Example</title>

  <!-- Load required Bootstrap and BootstrapVue CSS -->
  <link rel="stylesheet" href="//unpkg.com/bootstrap/dist/css/bootstrap.min.css" />
  <link rel="stylesheet" href="//unpkg.com/bootstrap-vue@latest/dist/bootstrap-vue.min.css" />

  <!-- Load polyfills to support older browsers -->
  <script src="//polyfill.io/v3/polyfill.min.js?features=es2015%2CIntersectionObserver"
    crossorigin="anonymous"></script>

  <!-- Load Vue followed by BootstrapVue -->
  <script src="//unpkg.com/vue@latest/dist/vue.min.js"></script>
  <script src="//unpkg.com/bootstrap-vue@latest/dist/bootstrap-vue.min.js"></script>

  <!-- Load the following for BootstrapVueIcons support -->
  <script src="//unpkg.com/bootstrap-vue@latest/dist/bootstrap-vue-icons.min.js"></script>

</head>

<body>

    <div>
        <nav class="navbar navbar-expand-lg navbar navbar-dark bg-dark" >
            <a class="navbar-brand">Menu</a>
            <button class="navbar-toggler" type="button" data-toggle="collapse" data-target="#navbarNavDropdown" aria-controls="navbarNavDropdown" aria-expanded="false" aria-label="Toggle navigation">
              <span class="navbar-toggler-icon"></span>
            </button>
            <div class="collapse navbar-collapse" id="navbarNavDropdown">
              <ul class="navbar-nav">
                <li class="nav-item active">
                  <a class="nav-link" href="../index.html">Home <span class="sr-only">(current)</span></a>
                </li>
                <li class="nav-item">
                  <a class="nav-link" href="./face-emotion.html">感情分析</a>
                </li>
                <li class="nav-item">
                  <a class="nav-link" href="./ocr-read.html">OCR機能</a>
                </li>
                <li class="nav-item">
                    <a class="nav-link" href="./dog.html">ワンちゃん検索</a>
                  </li>
              </ul>
            </div>
          </nav>
    </div>


  <div class="container">

    <div id="appFaceAPI-File">

      <div class="row">
        <div class="col">
            <h2>①判定したい画像を選んでください</h2>
        </div>
      </div>

      <div class="row">
        <div class="col">
          <div class="form-group">
            <!-- https://bootstrap-vue.org/docs/components/form-file -->
            <div>
              <!-- Styled -->
              <b-form-file
                v-model="file"
                :state="Boolean(file)"
                placeholder="Choose a file or drop it here..."
                drop-placeholder="Drop file here..."
                @change="handlerFileChange"
              ></b-form-file>
              <div class="mt-3">ファイルネーム: {{ file ? file.name : '' }}</div>
            </div>

            <div>
                <br>
                <h2><p>②カメラで撮影します。</p></h2>
                <p>※ カメラで撮影する前にカメラをONにしてください。</p>
                <p>※ カメラOFFで消えない時はリロードするとカメラを停止できます。</p>
            </div>

            <div>
                <table>
                    <tr>
                        <td><button id="on" v-on:click="btnON()">カメラON</button></td>
                        <td><button id="off" v-on:click="btnOFF()">カメラOFF</button></td>
                        <td><b-button v-on:click="hanlderCapture">写真を撮る!</button></td>
                    </tr>
                </table>

            </div>

          </div>
        </div>
      </div>

      <div>
        <table>
            <tr>
                <td>
                    <!-- キャプチャした画像 -->
                          <h3>カメラの映像</h3>
                          <video ref="video" id="video" width="320" height="240" autoplay></video>
                </td>

                <td>
                          <h3>写真のキャプチャ</h3>
                          <canvas ref="canvas" id="canvas" width="320" height="240"></canvas>
                </td>

                <td>
                    <!-- 選択したサムネイル -->

                        <h3>選択した画像のサムネ</h3>
                        <img id="output"  width="320" height="240" >
                </td>


            </tr>
        </table>
    </div>

      <div class="row">
        <div class="col">
          <h2 v-if="feel.length">この人の感情は・・・ {{feel}} が {{score}}% です</h2>
          <div>
            <p v-if="response">Response JSON データ:</p>
            <pre><code>{{ response }}</code></pre>
          </div>
        </div>
      </div>

    </div>

  </div>

  <!-- axios -->
  <script src="https://cdn.jsdelivr.net/npm/axios/dist/axios.min.js"></script>

  <script>
    const app = new Vue({
      el: '#appFaceAPI-File',
      data: {
        response: '',
        file: null,
        feel:'',
        score:'',

        /// ここから下はカメラ用
        video: {},
        canvas: {},
        captures: []

      },
      methods: {


        handlerFileChange: async function (e) {
          //console.log('handlerFileChange');

          // 1. ファイルアップロードの入力から、まずファイル情報を取り出す
          const files = e.target.files || e.dataTransfer.files;
          const file = files[0];

          /// サムネイルを取得するための記述
          // https://web.dev/read-files/ 参照
          const output = document.getElementById('output');
          const reader = new FileReader();
               reader.addEventListener('load', event => {
                 output.src = event.target.result;
               });
               reader.readAsDataURL(file);
               console.log(output);

          // 2. ファイル参照の中から ArrayBuffer としてデータを取り出す
          let contentBuffer = await this.readFileAsync(file);
          //console.log('bbbbbb' + file);

          this.sendCognitiveAsFile(contentBuffer);
        },

        // ファイル情報の中から ArrayBuffer としてデータを取り出す
        // 本来 onnload で取り出すが await / async で呼び出せるようにしている
        readFileAsync: function (file) {
          return new Promise((resolve, reject) => {
            let reader = new FileReader();
            //console.log('aaaaaa' + reader.result);
            reader.onload = () => {
              resolve(reader.result);
            };
            reader.onerror = reject;
            reader.readAsArrayBuffer(file);
          })
        },

///////////////////////// 写真
       // キャプチャボタンの挙動
       hanlderCapture: async function () {
          this.canvas = this.$refs.canvas
          this.canvas.getContext('2d').drawImage(this.video, 0, 0, 320, 240);

          // まず、CanvasからBlogデータを取得
          const blob = await this.getBlogData(this.canvas);
          // BlogデータをArrayBufferに変換
          const contentBuffer = await this.readBlobToArrayBuffTo(blob);
          // console.log(contentBuffer);

          this.sendCognitiveAsFile(contentBuffer);

        },

        getBlogData: function (canvas) {
          return new Promise((resolve, reject) => {
            try {
              // 標準はPNG 読み込みなので、ファイルサイズが重くなりがち
              /*
              canvas.toBlob(function(blob){
                resolve(blob);
              });
              */
              // JPEG画質も指定できる
              canvas.toBlob(function(blob){
                resolve(blob);
              },"image/jpeg", 0.8);
            } catch( e ){
              reject(e);
            }
          })
        },

        // Blob の中から ArrayBuffer としてデータを取り出す
        // Blob : Binary Large Object バイナリデータを格納する場合のデータ型
        //
        // 本来 onnload で取り出すが await / async で呼び出せるようにしている
        readBlobToArrayBuffTo: function (file) {
          return new Promise((resolve, reject) => {
            let reader = new FileReader();
            reader.onload = () => {
              resolve(reader.result);
            };
            reader.onerror = reject;
            reader.readAsArrayBuffer(file);
          })
        },

/////////////////////////////////


        // このあたりは以下の記事を参考に。
        // https://www.1ft-seabass.jp/memo/2020/05/07/azure-face-api-application-octet-stream-using-axios/

        sendCognitiveAsFile: async function(contentBuffer) {
          // エンドポイント
          const FACE_API_ENDPOINT_URL = ' xxxxxxxxxxxxxxxx + /face/v1.0/detect?returnFaceId=true&returnFaceLandmarks=false&returnFaceAttributes=emotion&recognitionModel=recognition_01&returnRecognitionModel=false&detectionModel=detection_01';

          // サブスクリプションをOcp-Apim-Subscription-Keyヘッダーに
          // JSONで送るのでContent-typeヘッダーにapplication/octet-stream指定
          const config = {
            url: FACE_API_ENDPOINT_URL,
            method: 'post',
            headers: {
              'Content-type': 'application/octet-stream',
              'Ocp-Apim-Subscription-Key':'xxxxxxxxxxxxxxxx'
            },
            data: contentBuffer
          };

          // axios
          try {
              // POSTリクエストで送る
              const responseAzure = await axios.request(config);
              console.log('post OK');
              // データ送信が成功するとレスポンスが来る
              console.log(responseAzure.data);

              var emo = responseAzure.data[0].faceAttributes.emotion;
              var type;
              var val = 0;
              this.response = emo;
              //this.response = emo;

              for(key in emo){
              if(emo[key] > val){
                val = emo[key];
                type = key ;
               }
              this.feel = type;
              this.score = Math.round(val *100);

    }


          } catch (error) {
              console.log('post Error');
              // ダメなときはエラー
              console.error(error);
          }

        },


        // ストリームの停止
        btnOFF(){
            this.video = this.$refs.video;
            if (navigator.mediaDevices && navigator.mediaDevices.getUserMedia) {
                navigator.mediaDevices.getUserMedia({ video: true }).then(stream => {
                    this.video.srcObject = stream ;
                    stream.getTracks().forEach(track => track.stop()); // ストリームの停止
                })
                }
            },

        // ストリームの開始
        btnON(){
            this.video = this.$refs.video;
            if (navigator.mediaDevices && navigator.mediaDevices.getUserMedia) {
                navigator.mediaDevices.getUserMedia({ video: true }).then(stream => {
                    this.video.srcObject = stream ;
                    this.video.play() ;
                })
                }
            }

      }
      ,
      mounted() {
        console.log('mounted');
      }
    })
  </script>
</body>

</html>
OCR
こちらに関しては上と共通の部分も多いので、const app = new Vue({ 以下の部分を貼ります。
  <script>

    const app = new Vue({
      el: '#appFaceAPI-File',
      data: {
        response: '',
        file: null,
        feel:'',
        score:'',
        letter:'',
        oarray:'',

        /// ここから下はカメラ用
        video: {},
        canvas: {},
        captures: []


      },
      methods: {


        handlerFileChange: async function (e) {
          //console.log('handlerFileChange');

          // 1. ファイルアップロードの入力から、まずファイル情報を取り出す
          const files = e.target.files || e.dataTransfer.files;
          const file = files[0];

          /// サムネイルを取得するための記述
          // https://web.dev/read-files/ 参照
          const output = document.getElementById('output');
          const reader = new FileReader();
               reader.addEventListener('load', event => {
                 output.src = event.target.result;
               });
               reader.readAsDataURL(file);

          ////

          // 2. ファイル参照の中から ArrayBuffer としてデータを取り出す
          let contentBuffer = await this.readFileAsync(file);
          console.log('bbbbbb' + file);

          this.sendCognitiveAsFile(contentBuffer);
        },

        // ファイル情報の中から ArrayBuffer としてデータを取り出す
        // 本来 onnload で取り出すが await / async で呼び出せるようにしている
        readFileAsync: function (file) {
          return new Promise((resolve, reject) => {
            let reader = new FileReader();
            //console.log('aaaaaa' + reader.result);
            reader.onload = () => {
              resolve(reader.result);
            };
            reader.onerror = reject;
            reader.readAsArrayBuffer(file);


          })
        },

///////////////////////// 写真
       // キャプチャボタンの挙動
       hanlderCapture: async function () {
          this.canvas = this.$refs.canvas
          this.canvas.getContext('2d').drawImage(this.video, 0, 0, 320, 240);

          // まず、CanvasからBlogデータを取得
          const blob = await this.getBlogData(this.canvas);
          // BlogデータをArrayBufferに変換
          const contentBuffer = await this.readBlobToArrayBuffTo(blob);
          // console.log(contentBuffer);

          this.sendCognitiveAsFile(contentBuffer);

        },

        getBlogData: function (canvas) {
          return new Promise((resolve, reject) => {
            try {
              // 標準はPNG 読み込みなので、ファイルサイズが重くなりがち
              /*
              canvas.toBlob(function(blob){
                resolve(blob);
              });
              */
              // JPEG画質も指定できる
              canvas.toBlob(function(blob){
                resolve(blob);
              },"image/jpeg", 0.8);
            } catch( e ){
              reject(e);
            }
          })
        },

        // Blob の中から ArrayBuffer としてデータを取り出す
        // Blob : Binary Large Object バイナリデータを格納する場合のデータ型
        //
        // 本来 onnload で取り出すが await / async で呼び出せるようにしている
        readBlobToArrayBuffTo: function (file) {
          return new Promise((resolve, reject) => {
            let reader = new FileReader();
            reader.onload = () => {
              resolve(reader.result);
            };
            reader.onerror = reject;
            reader.readAsArrayBuffer(file);
          })
        },

/////////////////////////////////

        // このあたりは以下の記事を参考に。
        // https://www.1ft-seabass.jp/memo/2020/05/07/azure-face-api-application-octet-stream-using-axios/

        sendCognitiveAsFile: async function(contentBuffer) {

          const FACE_API_ENDPOINT_URL = 'xxxxxxxxxxxxxxxx + /vision/v2.0/ocr?language=ja&detect0';

          // サブスクリプションをOcp-Apim-Subscription-Keyヘッダーに
          // JSONで送るのでContent-typeヘッダーにapplication/octet-stream指定

          const config = {
            url: FACE_API_ENDPOINT_URL,
            method: 'post',
            headers: {
              'Content-type': 'application/octet-stream',
              'Ocp-Apim-Subscription-Key':'xxxxxxxxxxxxxxxx'
            },
            data: contentBuffer
          };

          var alltext = '';
          var ocrarray = [];

          // axios
          try {
              // POSTリクエストで送る
              const responseAzure = await axios.request(config);
              console.log('post OK');
              // データ送信が成功するとレスポンスが来る
              console.log(responseAzure.data);

              for(let i = 0; i <= responseAzure.data.regions[0].lines.length -1; i++){
                  ocrarray.push(responseAzure.data.regions[0].lines[i].words);
                  for(let j = 0; j <= responseAzure.data.regions[0].lines[i].words.length - 1 ; j++){
                      alltext = alltext + responseAzure.data.regions[0].lines[i].words[j].text ;

                      //console.log(responseAzure.data.regions[0].lines[i].words.length);

                  }
              }

              this.letter = alltext ;
              this.oarray = ocrarray ;

          } catch (error) {
              console.log('post Error');
              // ダメなときはエラー
              console.error(error);
          }

        },

        // ストリームの停止
        btnOFF(){
            this.video = this.$refs.video;
            if (navigator.mediaDevices && navigator.mediaDevices.getUserMedia) {
                navigator.mediaDevices.getUserMedia({ video: true }).then(stream => {
                    this.video.srcObject = stream ;
                    stream.getTracks().forEach(track => track.stop()); // ストリームの停止
                })
                }
            },

        // ストリームの開始
        btnON(){
            this.video = this.$refs.video;
            if (navigator.mediaDevices && navigator.mediaDevices.getUserMedia) {
                navigator.mediaDevices.getUserMedia({ video: true }).then(stream => {
                    this.video.srcObject = stream ;
                    this.video.play() ;
                })
                }
            }


      }
      ,
      mounted() {
        console.log('mounted');
      }
    })
  </script>
おわりに
最後まで見ていただきありがとうございます。
画面のデザインやタグもグチャついていますがそのあたりはご容赦願います・・・。