はじめに
Vue.jsでWebカメラで撮影した画像を取得するサンプルコードを紹介します
下記のコードをHTMLファイルで保存するだけでサクッと試せます
ググると、色々Vue.js+Webカメラのサンプルコードが見つかりますが、うまく動かないものが多かったのでこちらのサイトのコードを自分で動くように直しました
(動かない原因はVue.jsのバージョンの違いだった気がします)
環境
- Vue.js v2.6.10
- Chrome
- Windows 10
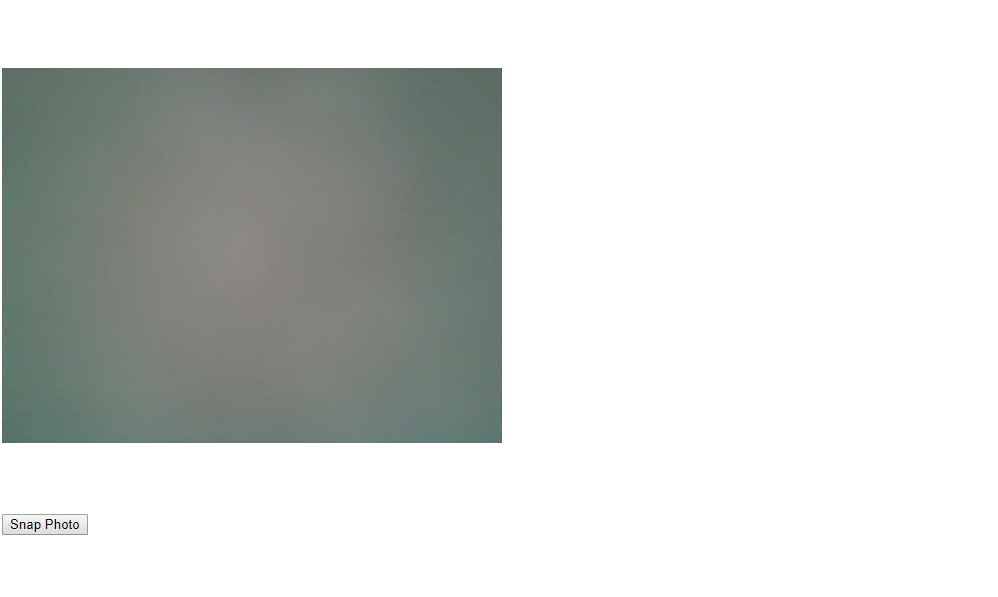
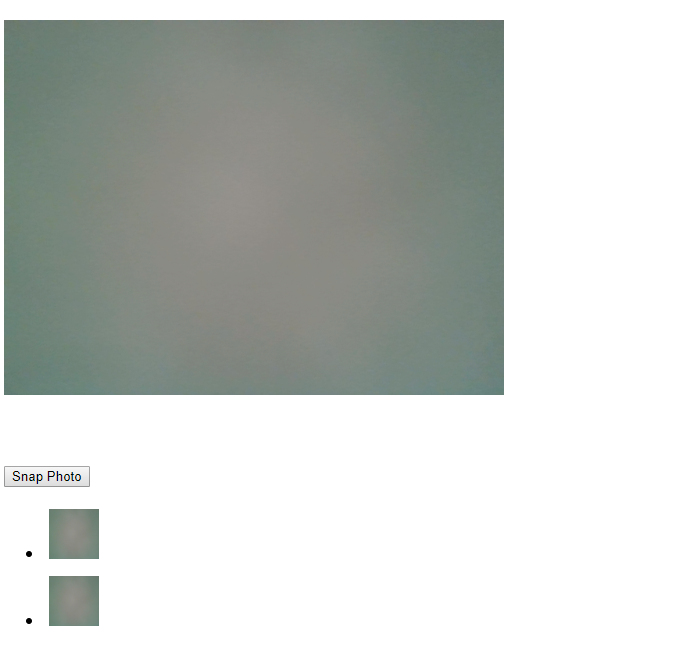
画面
こんな感じです
- 【画面上】Webカメラの映す映像(PCのカメラを紙で隠してます)
- 【画面下】"Snap photo"ボタン(押すと、写真を撮影します)
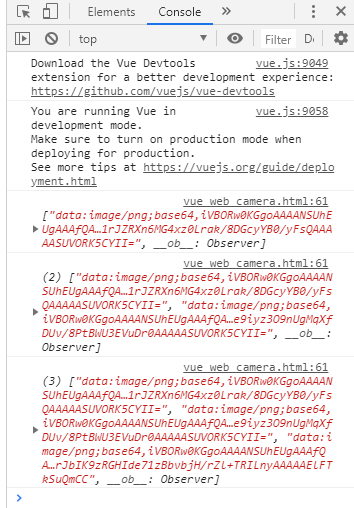
写真を撮ると、ボタンの下にポンポン追加されていきます
写真のデータはBase64で配列に格納されています
これを取り出したりすると、任意の画像をサーバーに送るなりして好きに使えます
コード
こちらに以下の内容と同じものをアップしています
https://github.com/koinoue0315/vue-camera-sample/tree/master
<!DOCTYPE html>
<html>

<head>
</head>

<body>
  <div id="app">
    <div>
      <video ref="video" id="video" width="500" height="500" autoplay></video>
      <div>
        <button color="info" id="snap" v-on:click="capture()">Snap Photo</button>
      </div>
      <canvas ref="canvas" id="canvas" width="500" height="500"></canvas>
      <ul>
      <li class="capture" v-for="c in captures" v-bind:key="c.d">
        <img v-bind:src="c" height="50" />
      </li>
      </ul>
    </div>
  </div>

  <script src="https://cdn.jsdelivr.net/npm/vue/dist/vue.js"></script>
  <script>
    new Vue({
      el: '#app',
      data: {
        video: {},
        canvas: {},
        captures: []
      },
      mounted () {
        this.video = this.$refs.video
        if (navigator.mediaDevices && navigator.mediaDevices.getUserMedia) {
          navigator.mediaDevices.getUserMedia({ video: true }).then(stream => {
            this.video.srcObject = stream
            this.video.play()
          })
        }
      },
      methods: {
        capture () {
          this.canvas = this.$refs.canvas
          this.canvas.getContext('2d').drawImage(this.video, 0, 0, 500, 500)
          this.captures.push(this.canvas.toDataURL('image/png'))
          console.log(this.captures)
        }
      }
    });
  </script>

</body>
</html>

<style>
#canvas {
  display: none;
}
.capture {
  /* display: inline; */
  padding: 5px;
}
</style>
ちょっと解説
"Snap Photo"ボタンをクリックすると、capture () が呼び出されて
this.captures.push(this.canvas.toDataURL('image/png'))
ここに撮った写真を詰めています
this.canvas.getContext('2d').drawImage(this.video, 0, 0, 500, 500)
保存する画像のサイズはここで指定できます
あとがき
この前このコードを使ったアプリを作りましたが、Vueでアプリ書くと楽しいですね
Vuetify使うと、整ったUIが簡単に出来て更に楽しいです
他のUIフレームワークも使ってまた開発したいなーと思ってます