SwiftUIを使って学習がてらタイマーアプリを作ってみよう Finish
前置き
前回投稿したPart8の続きです。
今回のゴールとしては
1.前回実装したPageViewContorllerに対応したインジゲータの実装
です。
今回の投稿で「SwiftUIを使って学習がてらタイマーアプリを作ってみよう」シリーズはひとまず完結とします。
(もしかしたら追加でなんかしたら続きを書く可能性は無きにしも非ず)
開発環境
Mac (OS Big Sur version:11.3.1)
Xcode (version:12.5)
Swift (version: 5.4)
対象IOS(version:14.5以上)
今回の作業
UIを決める
普通のページインジゲータ(PageContorl)はチュートリアルで
やっているが、それじゃつまんないので他に探してたらこんなやつを見つけたんでこれを再現するようにしたいと思いました。
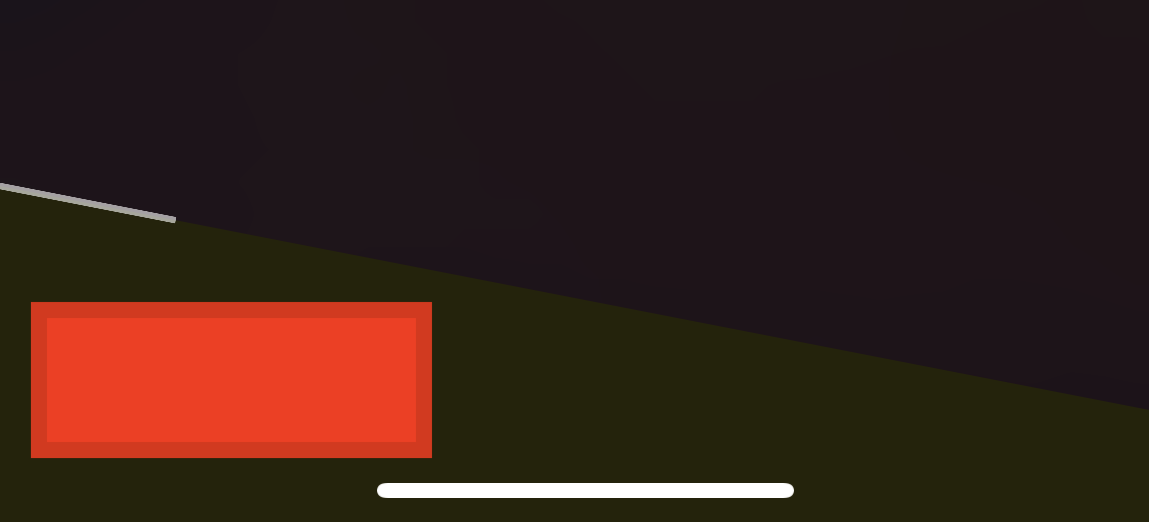
1.インジゲータ用UI(PageContorol)を作成
現在位置を視覚的に分かりやすくするためのインジゲータ用のパーツViewを作成
*あくまでも今回の学習用に作っているので色々と作りがアレなのは勘弁してください
struct PageIndicater: View {
    @State var sliderValue: Float = 0.0
    @Binding var pageIndex: Int
    var body: some View {
        GeometryReader{ reader in
                Capsule()
                    .frame(width: reader.size.width * CGFloat(0.5))
                    .foregroundColor(Color.white)
                    .offset(x: (reader.size.width * CGFloat(self.pageIndex) ) / 2)
                    .animation(.easeIn)
        }.background(Color.red)
    }
}
今回はカプセル(長方形で角が丸めてある感じの物)を利用した。
GemoetryReader{ }
GemoetryReaderで画面サイズを取得し、カプセルのサイズを画面サイズの半分の大きさに(今回はアイテムが二つしか作ってないため直値で指定している)
.frame(width: reader.size.width * CGFloat(0.5))
offsetを使うことで表示位置をページのインデックスと同期して変更させるようにした。
ページインデックスによって描画位置(start)を左端か中央に設定している
.offset(x: (reader.size.width * CGFloat(self.pageIndex) ) / 2)
2.表示している画面に対応したインジゲータとボタンが表示されるパーツUIを作成
1.ZStackでボタンUIの上に作成したページインデックスを重ねるように表示
2.ButtonとNavitveLinkをページインデックスによって表示させるものを切り替えるようにする。
3.呼び出し先でViewを傾けるのでButtonとNavitveLinkのラベルを角度を反転させて傾けておく
struct PageIndicaterAreaView: View {
    @Binding var selection: Int
    @Binding var pageCurrent: Int
    var degree:Double
    var basePadding:CGFloat

    @EnvironmentObject var timerModel:TimerModel
    @State var isSheet = false
    var body: some View {
        GeometryReader{ geometry in
            ZStack(alignment: .top){
                if(pageCurrent == 0) {
                    // 遷移処理
                    NavigationLink(destination: TimerView(countDwon:Double(self.selection + 1))){
                        Text("Start Timer")
                            .font(.title)
                            .foregroundColor(.white)
                            .frame(minWidth: 0, maxWidth: geometry.size.width,
                                   minHeight: 0, maxHeight: .infinity,
                                   alignment: .topLeading)
                            .padding(.top, basePadding * 0.7)
                            .padding(.leading, basePadding * 2)
                            .rotationEffect(.degrees(degree * -1))
                    }
                    .background(Color.blue)
                }else {
                    Button(action:{ isSheet.toggle()}){
                        Text("Sound Select")
                            .font(.title)
                            .foregroundColor(.yellow)
                            .frame(minWidth: 0, maxWidth: geometry.size.width,
                                   minHeight: 0, maxHeight: .infinity,
                                   alignment: .topLeading)
                            .padding(.top, basePadding * 0.7)
                            .padding(.leading, basePadding * 2)
                            .rotationEffect(.degrees(degree * -1))
                            .background(Color.purple)
                    }
                    .background(Color.red)
                    .sheet(isPresented: $isSheet){
                        MusicPicker(songInfo: $timerModel.songInfo)
                    }

                }

                // PageContorl的な物
                PageIndicater(pageIndex: self.$pageCurrent)
                    .frame(minWidth: 0, maxWidth:.infinity,
                           minHeight: 0,  maxHeight: (geometry.size.height / 10) * 1)

            }
        }
    }
}
3.任意の画面で作成したパーツUIを表示させる
作業2で作成したパーツViewとpart8で作成したPageViewを組みわせるとこんな感じになる
参考/引用元
Apple Developer SwiftUI Tutorials
・Framework Integration Interfacing with UIKit
シリーズ:「SwiftUIの学習でタイマーアプリを作ってみよう」のリンク
part1:プロジェクトの作成とGitHubに登録
part2: Timerを利用したカウント処理の実装
part3:計測画面でのプログレスバーの実装
part4:スピナー実装
part5:ライブラリから音楽を選択して再生
part6:タイマー処理のバックグランド対応
part7:音楽のバックグランド再生対応
part8:PageViewを作成
part9:PageViewのインジゲータを作成 ← 今はここ