自由に触れるお手軽Kubernetes環境を利用したい!という事はありませんか?私はKubernetesの機能を試したり、資格取得の勉強をしたりする際に欲しくなります
Podman Desktopなどでローカルに構築するとマシンが重くなるし、Kubernetesのマネージド・サービスだとControle Planeを自由にいじれないし。。。
ということでIBM Cloudの仮想サーバー上にkindを利用して自分専用のKubernetes環境を作ってみることにしました!
kindとは?
kindとはKubernetesクラスタを簡単に作れる公式のツールです
Kubernetes in Docker の略だそうです
Dockerの1コンテナが1Nodeとして動かせるので1台のサーバーの上でシングルノード構成も、複数ノード構成も構築可能です
VSI for VPCにkindを導入してみよう
構築の流れ
- 仮想サーバーをオーダー
- Dockerのインストール
- kindのインストール
- kubectlなど必要なCLIのインストール
1. 仮想サーバーをオーダー
以下の要件に合うサーバーをオーダーします
- OS: Ubuntu
- スペック:私は4x16で作成しました
- Network: Floating IP
- Security: SSHでアクセス可能なSecurity Groupが結びついている
サーバーのオーダー方法やSSHキーの登録方法など分からなければこちらの記事がおすすめです
2. Dockerのインストール
オーダーしたサーバーにSSHでアクセスし、Dockerをインストールします
sudo apt-get update
sudo apt-get install ca-certificates curl gnupg

# Add Docker's official GPG key:
sudo install -m 0755 -d /etc/apt/keyrings
curl -fsSL https://download.docker.com/linux/ubuntu/gpg | sudo gpg --dearmor -o /etc/apt/keyrings/docker.gpg
sudo chmod a+r /etc/apt/keyrings/docker.gpg

# Use the following command to set up the repository:
echo \
  "deb [arch="$(dpkg --print-architecture)" signed-by=/etc/apt/keyrings/docker.gpg] https://download.docker.com/linux/ubuntu \
  "$(. /etc/os-release && echo "$VERSION_CODENAME")" stable" |
  sudo tee /etc/apt/sources.list.d/docker.list >/dev/null

# Update the apt package index
sudo apt-get update

# Install Docker Engine
sudo apt-get install -y docker-ce docker-ce-cli containerd.io docker-buildx-plugin docker-compose-plugin

# Test
docker version
3. kindのインストール
次に、kindをインストールします
CLIのバイナリをダウンロードして配置するだけです
curl -Lo ./kind https://github.com/kubernetes-sigs/kind/releases/latest/download/kind-linux-amd64
chmod +x ./kind
sudo mv ./kind /usr/local/bin/kind

# Test
kind version
4. kubectlなど必要なCLIのインストール
最後にkubectlを入れていきます
curl -LO "https://dl.k8s.io/release/$(curl -LS https://dl.k8s.io/release/stable.txt)/bin/linux/amd64/kubectl"
chmod +x ./kubectl
sudo mv ./kubectl /usr/local/bin/kubectl

# Test
kubectl version --client=true
以上!とても簡単なkind導入でした。dockerとkind、そしてkubectlを入れるだけです
kindを利用してKubernetes Clusterを作成
それでは早速、kindを利用してKubernetes Clusterを構築していきます
Clusterの構築はとってもシンプル!たった一行コマンドを実行するだけです
kind create cluster --name kind
実行結果
root@satokota-vsi:~# kind create cluster --name kind
Creating cluster "kind" ...
 ✓ Ensuring node image (kindest/node:v1.27.3) 🖼
 ✓ Preparing nodes 📦
 ✓ Writing configuration 📜
 ✓ Starting control-plane 🕹️
 ✓ Installing CNI 🔌
 ✓ Installing StorageClass 💾
Set kubectl context to "kind-kind"
You can now use your cluster with:

kubectl cluster-info --context kind-kind

Thanks for using kind! 😊
Kubernetes Clusterが作成できました!あとは遊び倒すだけです
root@satokota-vsi:~# kubectl get node
NAME                 STATUS   ROLES           AGE    VERSION
kind-control-plane   Ready    control-plane   105s   v1.27.3

root@satokota-vsi:~# kubectl run nginx --image=nginx
pod/nginx created

root@satokota-vsi:~# kubectl get pod
NAME    READY   STATUS              RESTARTS   AGE
nginx   0/1     ContainerCreating   0          2s

root@satokota-vsi:~# kubectl get pod
NAME    READY   STATUS    RESTARTS   AGE
nginx   1/1     Running   0          8s
(アプリ公開の方法は後半のOptionパートに記載しているので参照してください)
ちなみにクラスタの削除も一行コマンドを叩くだけです
kind delete cluster -n kind
複数Node構成が利用したい、特定のKubernetesバージョンが利用したいという方もいると思います。kindではyamlを利用して作成するクラスタの構成を変えることができます
いくつかClusterの構成を試したので、ご興味あれば色々なクラスタを作って、使ってみてください
[Option] 複数Node構成のクラスタ作成
Controle Plance1台と、Node2台の3台構成
cat >kind-config.yaml <<EOF
kind: Cluster
apiVersion: kind.x-k8s.io/v1alpha4
nodes:
- role: control-plane
- role: worker
- role: worker
EOF

kind create cluster --name kind --config kind-config.yaml
確認
root@satokota-vsi:~# kubectl get node
NAME                 STATUS   ROLES           AGE   VERSION
kind-control-plane   Ready    control-plane   42s   v1.27.3
kind-worker          Ready    <none>          18s   v1.27.3
kind-worker2         Ready    <none>          19s   v1.27.3
3Node構成のクラスターを作成しました。kindでは1コンテナ、1Nodeで構成されるので、Docker psで確認してみると3コンテナ実行されています
root@satokota-vsi:~# docker ps
CONTAINER ID   IMAGE                  COMMAND                  CREATED              STATUS          PORTS                       NAMES
635c7ddd9031   kindest/node:v1.27.3   "/usr/local/bin/entr…"   About a minute ago   Up 54 seconds   127.0.0.1:39619->6443/tcp   kind-control-plane
37579a4bf964   kindest/node:v1.27.3   "/usr/local/bin/entr…"   About a minute ago   Up 54 seconds                               kind-worker
8e3cb91f41e9   kindest/node:v1.27.3   "/usr/local/bin/entr…"   About a minute ago   Up 54 seconds                               kind-worker2
お掃除
kind delete cluster -n kind
[Option] NodePortでアプリ公開
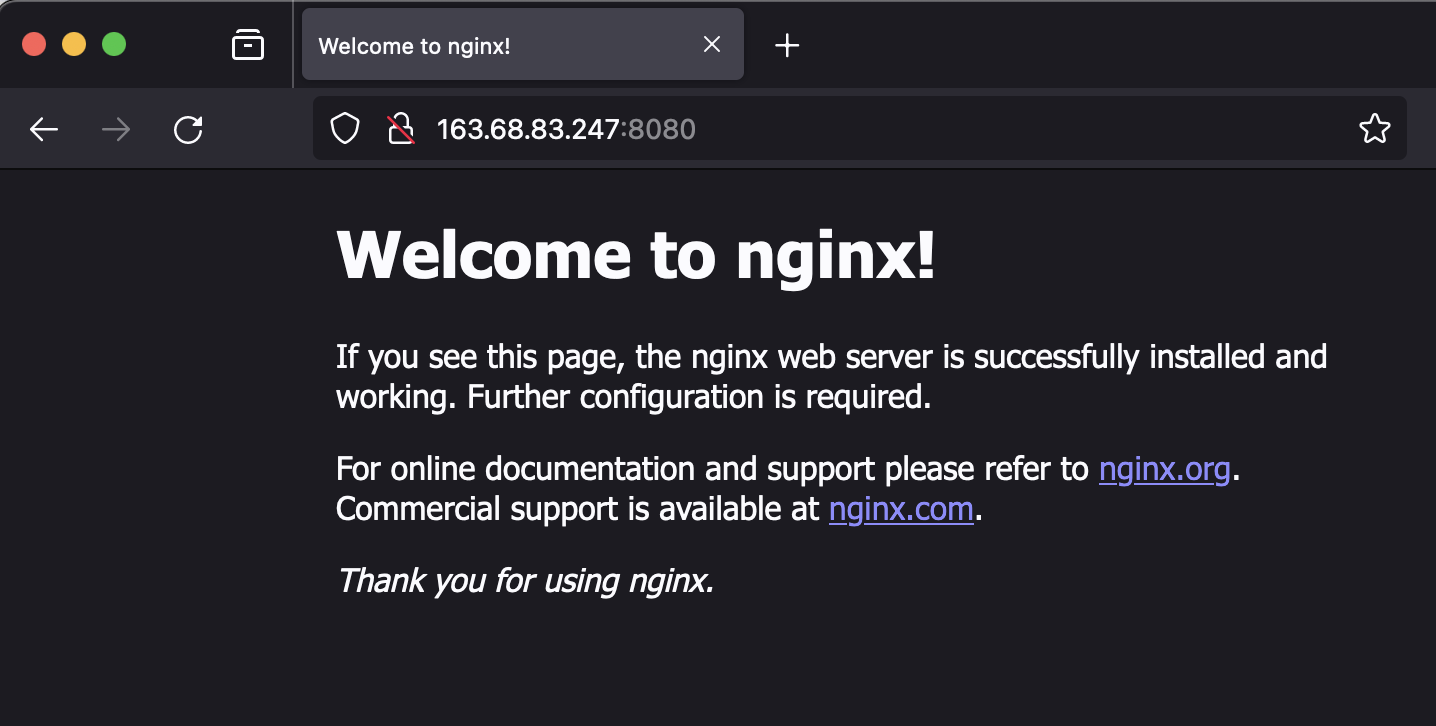
docker containerのポートマッピングを利用して8080ポートとNodePortの30000をマッピングすることでクラスターの外部からアクセスできるようにします
cat >./kind-config.yaml <<EOF
apiVersion: kind.x-k8s.io/v1alpha4
kind: Cluster
nodes:
- role: control-plane
  extraPortMappings:
  - containerPort: 30000 #30000 - 32767
    hostPort: 8080
EOF

kind create cluster --name kind --config kind-config.yaml
確認
root@satokota-vsi:~# docker ps
CONTAINER ID   IMAGE                  COMMAND                  CREATED          STATUS          PORTS                                                NAMES
5d3d608d89da   kindest/node:v1.27.3   "/usr/local/bin/entr…"   41 seconds ago   Up 32 seconds   127.0.0.1:34243->6443/tcp, 0.0.0.0:8080->30000/tcp   kind-control-plane
Portsが0.0.0.0:8080->30000/tcpとなっておりlocalhost:8080へアクセスすれば、NodePort30000で公開しているサービスにアクセスできるようになりました
nginxをデプロイしてみます
cat <<EOF | kubectl apply -f -
apiVersion: v1
kind: Pod
metadata:
  creationTimestamp: null
  labels:
    run: nginx
  name: nginx
spec:
  containers:
  - image: nginx
    name: nginx
    resources: {}
  dnsPolicy: ClusterFirst
  restartPolicy: Always
status: {}
---
apiVersion: v1
kind: Service
metadata:
  creationTimestamp: null
  labels:
    run: nginx
  name: nginx
spec:
  type: NodePort
  ports:
  - port: 80
    protocol: TCP
    targetPort: 80
    nodePort: 30000
  selector:
    run: nginx
status:
  loadBalancer: {}
EOF
PodやServiceが作成されたことを確認しつつ、NodePortでアプリにアクセスしてみます
root@satokota-vsi:~# kubectl get pod
NAME    READY   STATUS    RESTARTS   AGE
nginx   1/1     Running   0          4s

root@satokota-vsi:~# kubectl get svc
NAME         TYPE        CLUSTER-IP      EXTERNAL-IP   PORT(S)        AGE
kubernetes   ClusterIP   10.96.0.1       <none>        443/TCP        9m48s
nginx        NodePort    10.96.161.198   <none>        80:30000/TCP   7s

root@satokota-vsi:~# docker ps
CONTAINER ID   IMAGE                  COMMAND                  CREATED          STATUS          PORTS                                                NAMES
5d3d608d89da   kindest/node:v1.27.3   "/usr/local/bin/entr…"   10 minutes ago   Up 10 minutes   127.0.0.1:34243->6443/tcp, 0.0.0.0:8080->30000/tcp   kind-control-plane

root@satokota-vsi:~# curl localhost:8080
<!DOCTYPE html>
<html>
<head>
<title>Welcome to nginx!</title>
<style>
html { color-scheme: light dark; }
body { width: 35em; margin: 0 auto;
font-family: Tahoma, Verdana, Arial, sans-serif; }
</style>
</head>
<body>
<h1>Welcome to nginx!</h1>
<p>If you see this page, the nginx web server is successfully installed and
working. Further configuration is required.</p>

<p>For online documentation and support please refer to
<a href="http://nginx.org/">nginx.org</a>.<br/>
Commercial support is available at
<a href="http://nginx.com/">nginx.com</a>.</p>

<p><em>Thank you for using nginx.</em></p>
</body>
</html>
お掃除
kind delete cluster -n kind
[Option] Ingressでアプリ公開
cat >./kind-config.yaml <<EOF
kind: Cluster
apiVersion: kind.x-k8s.io/v1alpha4
nodes:
- role: control-plane
  kubeadmConfigPatches:
  - |
    kind: InitConfiguration
    nodeRegistration:
      kubeletExtraArgs:
        node-labels: "ingress-ready=true"
  extraPortMappings:
  - containerPort: 80
    hostPort: 80
    protocol: TCP
  - containerPort: 443
    hostPort: 443
    protocol: TCP
- role: worker
- role: worker
EOF

kind create cluster --name kind --config ./kind-config.yaml

# Install Ingress - nginx
kubectl apply -f https://raw.githubusercontent.com/kubernetes/ingress-nginx/main/deploy/static/provider/kind/deploy.yaml

# Check
kubectl --namespace ingress-nginx get all
nginxをデプロイしIngressで公開してみます
cat <<EOF | kubectl apply -f -
apiVersion: apps/v1
kind: Deployment
metadata:
  labels:
    app: nginx
  name: nginx
spec:
  replicas: 1
  selector:
    matchLabels:
      app: nginx
  strategy: {}
  template:
    metadata:
      labels:
        app: nginx
    spec:
      containers:
        - image: nginx:latest
          name: nginx
          ports:
            - containerPort: 80
          resources:
            requests:
              memory: "32Mi"
              cpu: "100m"
            limits:
              memory: "64Mi"
              cpu: "200m"

---
apiVersion: v1
kind: Service
metadata:
  labels:
    app: nginx
  name: nginx-service
spec:
  ports:
    - protocol: TCP
      port: 80
      targetPort: 80
  selector:
    app: nginx
status:
  loadBalancer: {}

---
apiVersion: networking.k8s.io/v1
kind: Ingress
metadata:
  name: nginx-ingress
spec:
  rules:
    - http:
        paths:
          - pathType: Prefix
            path: /
            backend:
              service:
                name: nginx-service
                port:
                  number: 80
EOF
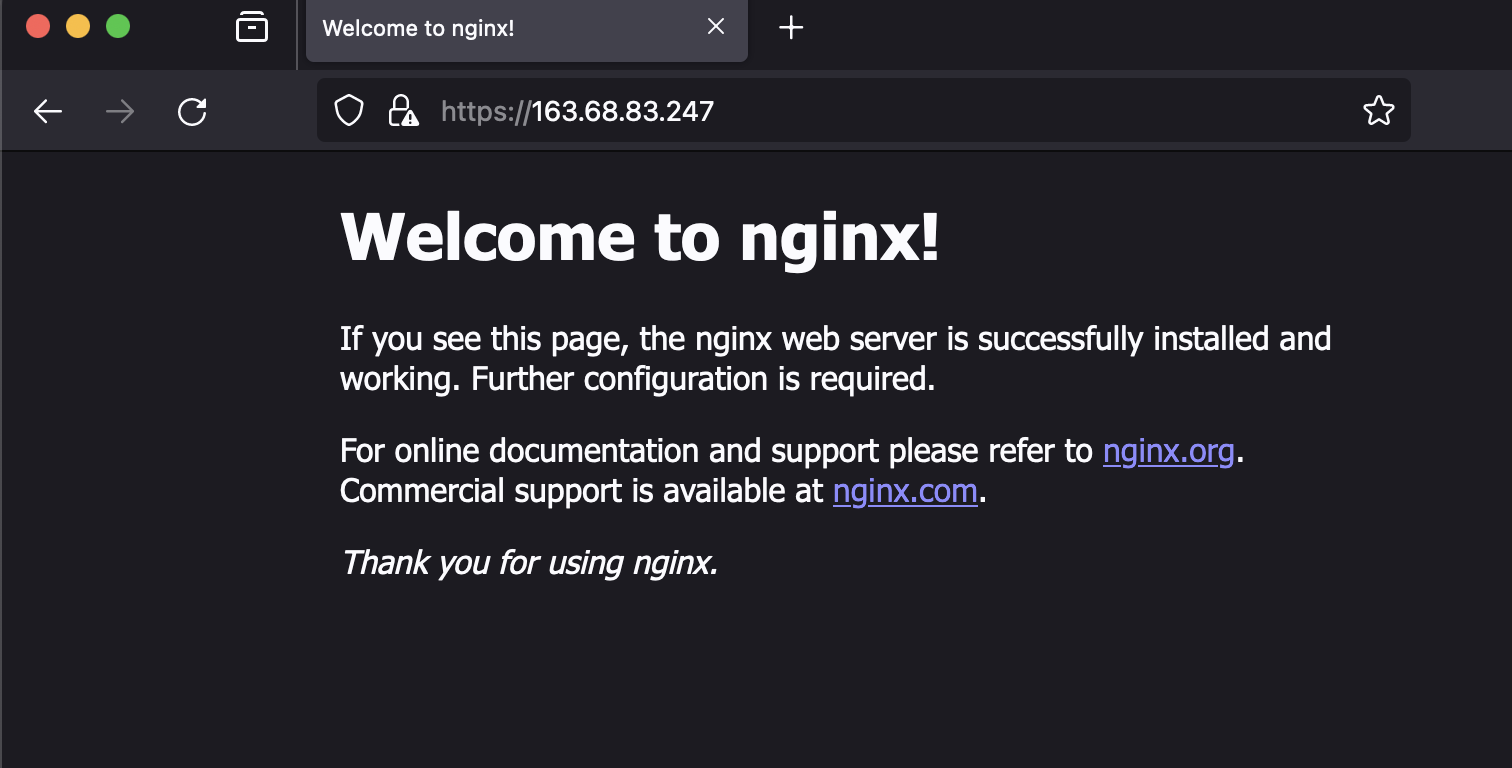
PodやServiceが作成されたことを確認しつつ、Ingressでアプリにアクセスしてみます
root@satokota-vsi:~# kubectl get deploy,svc,ingress
NAME                    READY   UP-TO-DATE   AVAILABLE   AGE
deployment.apps/nginx   1/1     1            1           12s

NAME                    TYPE        CLUSTER-IP     EXTERNAL-IP   PORT(S)   AGE
service/kubernetes      ClusterIP   10.96.0.1      <none>        443/TCP   108s
service/nginx-service   ClusterIP   10.96.64.209   <none>        80/TCP    12s

NAME                                      CLASS    HOSTS   ADDRESS   PORTS   AGE
ingress.networking.k8s.io/nginx-ingress   <none>   *                 80      12s

root@satokota-vsi:~# curl localhost
<!DOCTYPE html>
<html>
<head>
<title>Welcome to nginx!</title>
<style>
html { color-scheme: light dark; }
body { width: 35em; margin: 0 auto;
font-family: Tahoma, Verdana, Arial, sans-serif; }
</style>
</head>
<body>
<h1>Welcome to nginx!</h1>
<p>If you see this page, the nginx web server is successfully installed and
working. Further configuration is required.</p>

<p>For online documentation and support please refer to
<a href="http://nginx.org/">nginx.org</a>.<br/>
Commercial support is available at
<a href="http://nginx.com/">nginx.com</a>.</p>

<p><em>Thank you for using nginx.</em></p>
</body>
</html>
お掃除
kind delete cluster -n kind


