この記事はIonic Advent Calendar 2018 18日目の記事になります。
今年になってIonicを触り始め、技術書典5にもIonicの本を出させてもらいました。
この記事では、カスタムコンポーネントで神ゲーであるペルソナ5のフレームUIを再現します。
開発環境
-
Ionic
- Ionic CLI : 4.1.0
- Ionic Framework : ionic-angular 3.9.2
- @ionic/app-scripts : 3.2.1
-
System
- NodeJS : v10.9.0
- npm : 6.2.0
- OS : macOS High Sierra
Ionicでペルソナ5みたいな枠を使いたいッッッ!
こんなの↓
想定
想定としては、枠の中はion-cardと同様の使い方をしたいです。
ページのsassファイルを汚してしまうのは嫌なのでカスタムコンポーネント化します。
不規則なデザインかつ、大きさ(幅と高さ)も可変式にする必要があるのでsvgを使ってデザインを行います。
カスタムコンポーネント作成
$ ionic generate component p5-card
htmlテンプレート編集
<ion-card id="p5-card" (tap)="p5TapEvent()" no-margin>
    <!-- 外側の黒い枠 -->
    <svg class="p5-card-frame" viewBox="0,0,100,100" width=100 height=100 preserveAspectRatio="none" fill="black">
        <polygon points="0,95 90,100 100,0 5,10"></polygon>
    </svg>
        <!-- 内側の白い枠 -->
    <svg class="p5-card-frame" viewBox="0,0,100,100" width=100 height=100 preserveAspectRatio="none" fill="white">
        <polygon points="5,90 89,95 95,5 7,15"></polygon>
    </svg>
    <!-- <p5-card>ここがng-contentとして挿入される</p5-card> -->
    <ng-content></ng-content>
</ion-card>
やっていることは、<ion-card>の幅と高さを100として計算し、svgで枠の形のボックスを挿入しているだけです。
こうすれば、ion-cardの恩恵を受けつつ枠を作ることができます。
.scss編集
p5-card {
    .p5-card-frame {
        position: absolute;
        top: 0;
        left: 0;
        width: 100%;
        height:100%;
        z-index: -1;
    }
    #p5-card {
        position: relative;
        background-color: rgba(0,0,0,0);
        border: none !important;
        box-shadow:none;
        padding: 15px 30px 15px 20px;
        text-align: center;
        width: 100%;
    }
}
.ts編集
import { Component, Output, EventEmitter } from '@angular/core';

@Component({
    selector: 'p5-card',
    templateUrl: 'p5-card.html'
})
export class P5CardComponent {
    @Output() p5Tap = new EventEmitter();
    constructor() {
    }
    p5TapEvent() {
        this.p5Tap.emit();
    }
}
アウトプットイベントにp5Tapというイベントを作成しました。
このように、Outputデコレータを使えばカスタムコンポーネント独自のイベントを作ることができます。
問題発生
このままionic serveしてもエラーが出ます。
標準では、カスタムコンポーネント内ではion-*といったIonicのコンポーネントを使うことができません。
では、使える使えるようにしましょう。
components.module.tsを編集します。
components.module.ts編集
import { NgModule, CUSTOM_ELEMENTS_SCHEMA} from '@angular/core';
import { CommonModule } from '@angular/common';
import { IonicModule } from 'ionic-angular';
import { P5CardComponent } from './p5-card/p5-card';
@NgModule({
	declarations: [P5CardComponent,
	],
	imports: [CommonModule,
            IonicModule],
	exports: [P5CardComponent,
	],
	schemas: [CUSTOM_ELEMENTS_SCHEMA],
})
export class ComponentsModule {}
ここで新たにimportしたのは
- P5CardComponent
- CUSTOM_ELEMENTS_SCHEMA
- CommonModule
- IonicModule
P5CardComponentは言うまでもなく、先ほど作成したカスタムコンポーネントです。
CUSTOM_ELEMENTS_SCHEMA
まずschemasと言うのは、
Angularのコンポーネントやディレクティブではない、Angular外で定義された要素とプロパティをHTMLパーサがどのように取り扱うか指定するもの
CUSTOM_ELEMENTS_SCHEMAは、
Angularの標準コンポーネント以外をカスタムコンポーネント内で使っても認識するようにするもの
こうすることで、カスタムコンポーネント内でion-*系のコンポーネントや自分で定義したコンポーネントを使えるようになります。
CommonModule
CommonModuleは
カスタムコンポーネント内で、Angular標準のDirectiveやPipeを使えるようにするもの
つまり、
- ngIf
- ngFor
- ngSwitch
などの構造Directiveや
- AsyncPipe
- DecimalPipe
などのPipeをカスタムコンポーネントで使えるようになります。
IonicModule
app.module.tsで以下のように定義したデザインの条件をカスタムコンポーネントでも使えるようにします。
@NgModule({
  declarations: [ MyApp ],
  imports: [
    BrowserModule,
    IonicModule.forRoot(MyApp, {
      backButtonText: 'Go Back',
      iconMode: 'ios',
      modalEnter: 'modal-slide-in',
      modalLeave: 'modal-slide-out',
      tabsPlacement: 'bottom',
      pageTransition: 'ios-transition'
    }, {}
  )],
  bootstrap: [IonicApp],
  entryComponents: [ MyApp ],
  providers: []
})
IonicModuleをimportしていないと、アイコンやモーダルなど影響を受けるコンポーネントは正常に動作しなくなります。
完成

課題
paddingの値を適当に決めてしまっているので、検証してベストな値を見つけたい。
おまけ
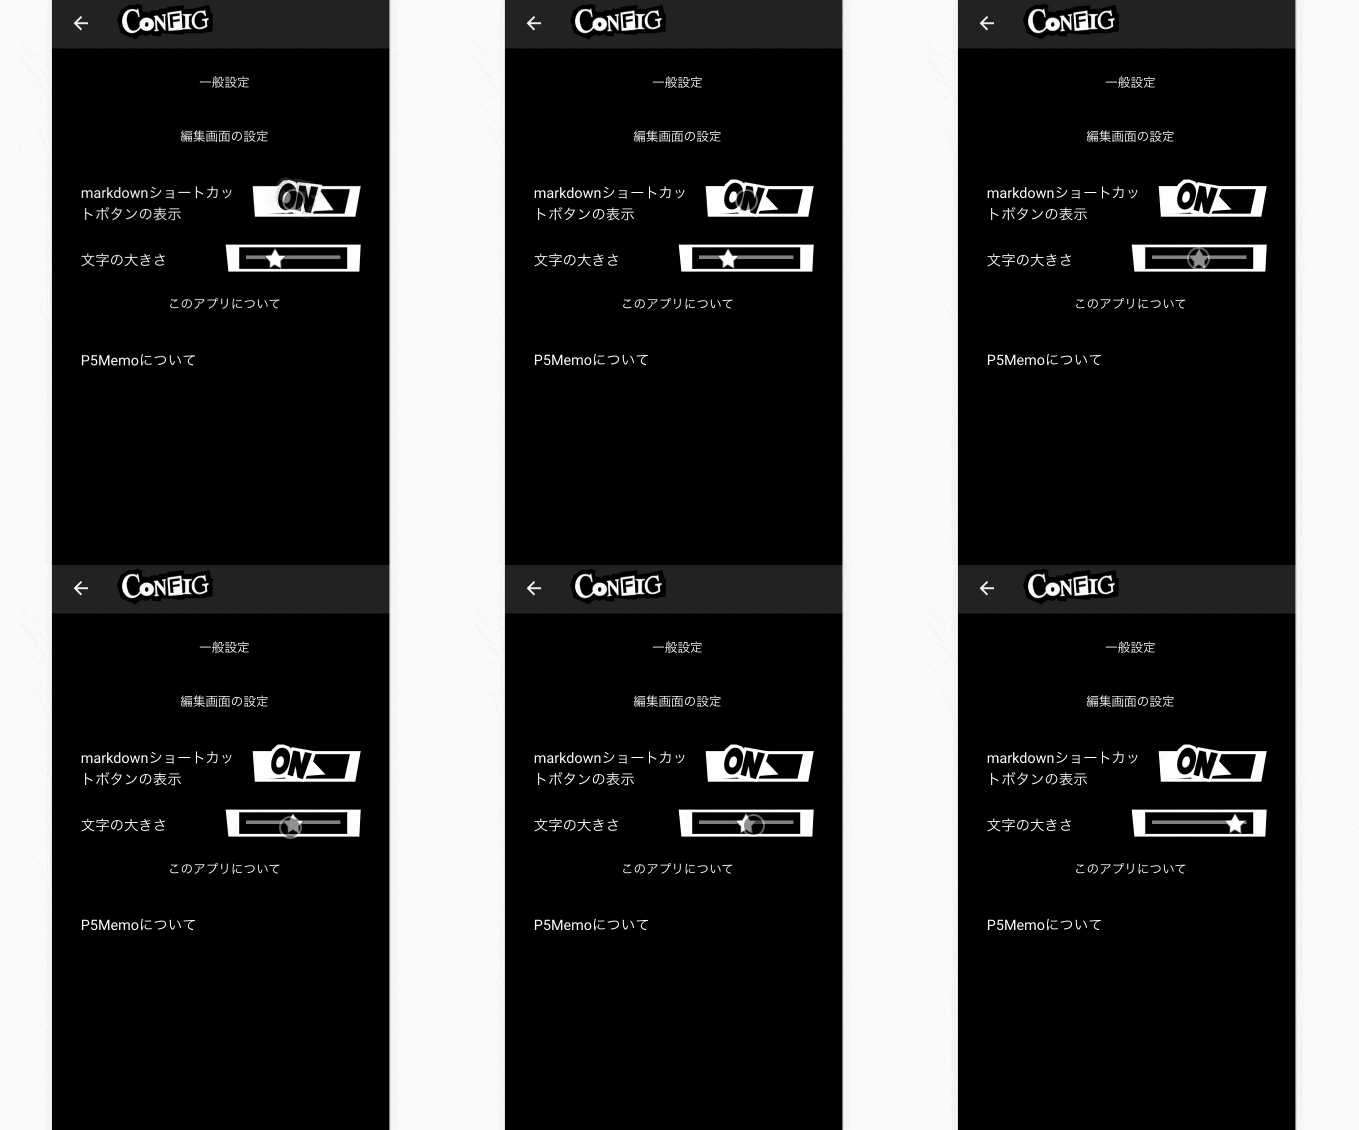
この記事の要領でトグルとスライダーも作ってみた。

