はじめに
タイトルについて記事にしました。
この記事で得る内容は以下の通りです。
・create-react-appの環境構築
■ Reactに関する過去の記事はこちら
・ React入門#1 〜Reactの基礎知識〜
・ React入門#2 〜JSXについて〜
概要
create-react-app
Reactの環境構築を簡単に行うことができるツールで、Reactの公式ドキュメントにも、Reactを学習するのに最適な環境と書かれています。
■ なぜcreate-react-appを使うのか
・ Reactの環境構築は難しい
・ トランスパイラのbabelやバンドラーのwebpackの設定が必要
→ create-react-appなら1コマンド実行するだけでOKです。
■ create-react-appに必要なもの
・ node 8.10以上
・ npm 5.6以上
→ node及びnpmのインストールに必要な、nodebrewをhomebrewを使ってインストールします。
手順
① homebrewをインストール
Homebrew公式のインストールをコピー&ペーストして実行します。
/bin/bash -c "$(curl -fsSL https://raw.githubusercontent.com/Homebrew/install/master/install.sh)"
② homebrewがインストールされているか確認
brew -v
インストールされていると、バージョンが表示されます。
Homebrew 2.6.1
③ nodebrewをインストール
homebrewを使ってnodebrewをインストールします。(処理に時間がかかります)
brew install nodebrew
④ nodebrewがインストールされているか確認
nodebrew -v
homebrew同様、インストールされているとバージョンが表示されます。
nodebrew 1.0.1
⑤ nodeをインストール
安定版のnodeをインストールします。
nodebrew install stable
No such file or directoryのエラーが表示された場合は、こちらの記事が参考になります。
・ Node.jsのインストールに失敗する時の解決策(No such file or directory)
⑥ インストールしたnodeの確認
nodebrew ls
初めてnodeをインストールすると、currentがnoneになっています。
hoge@hogenoMacBook-Air ~ % nodebrew ls
v14.14.0

current: none
hoge@hogenoMacBook-Air ~ %
⑦ インストールしたnodeのバージョンを指定する
今回の例ではnodebrew use v14.14.0と指定して実行します。
nodebrew use v14.14.0
⑧ nodeの確認
再度nodebrew lsを実行し、currentがuseで指定したバージョンになっている事を確認します。
nodebrew ls
v14.14.0

current: v14.14.0
hoge@hogenoMacBook-Air ~ %
⑨ nodebrewでインストールしたバージョンを使う為、パスを通す
この状態ではnodebrewでインストールしたnodeがまだ使えませんので、下記コマンドを実行します。
echo 'export PATH=$HOME/.nodebrew/current/bin:$PATH' >> ~/.zprofile
⑩ nodeのバージョンを確認
ターミナルを再起動後、node -vと実行します。
node -v
v14.14.0の様にバージョンが表示されていたら成功です。
v14.14.0
⑪ npmのバージョンを確認
npm -v
nodeをインストールするとnpmもインストールされています。
6.14.8
以上で、create-react-appを使う準備が整いました。
立ち上げ
① プロジェクトフォルダに移動
cdコマンドで、プロジェクトフォルダに移動します。
② npxを使ってcreate-react-appを呼び出す
作成したいプロジェクトフォルダにReactの開発環境を作ります。(処理に時間がかかります)
npx create-react-app 作成したいプロジェクト名
③ 作成したプロジェクトフォルダを使用しているエディタで開く
作成したプロジェクトフォルダをエディタで開き、エディタ内でターミナルを起動します。
④ buildフォルダを作成する
本番環境に公開するフォルダを作成します。
npm run build
⑤ ブラウザを起動する
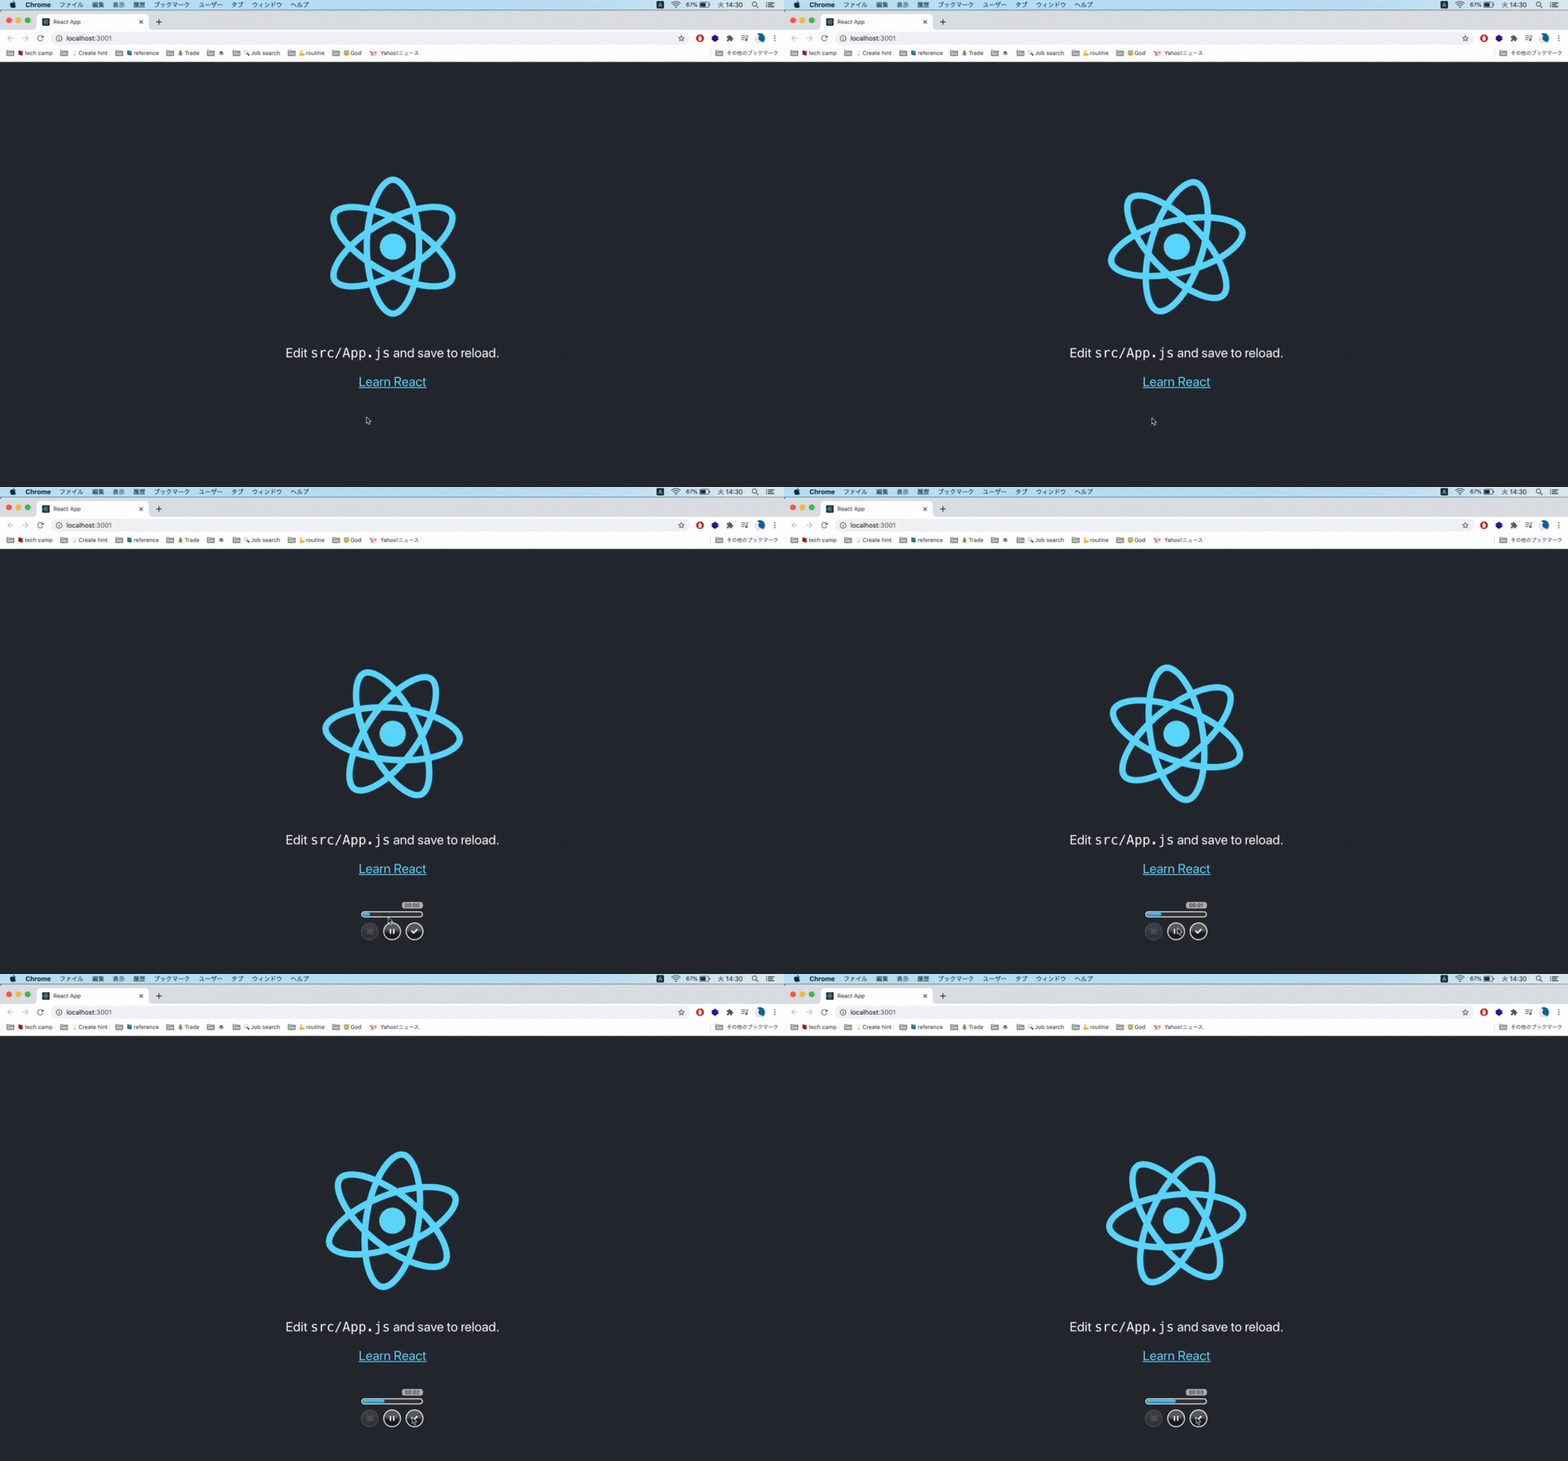
create-react-appで作成した初期画面を表示します。
npm start
こちらが起動した画面の状態です。
ロゴの下にEdit src/App.js and save to reloadと書かれています。
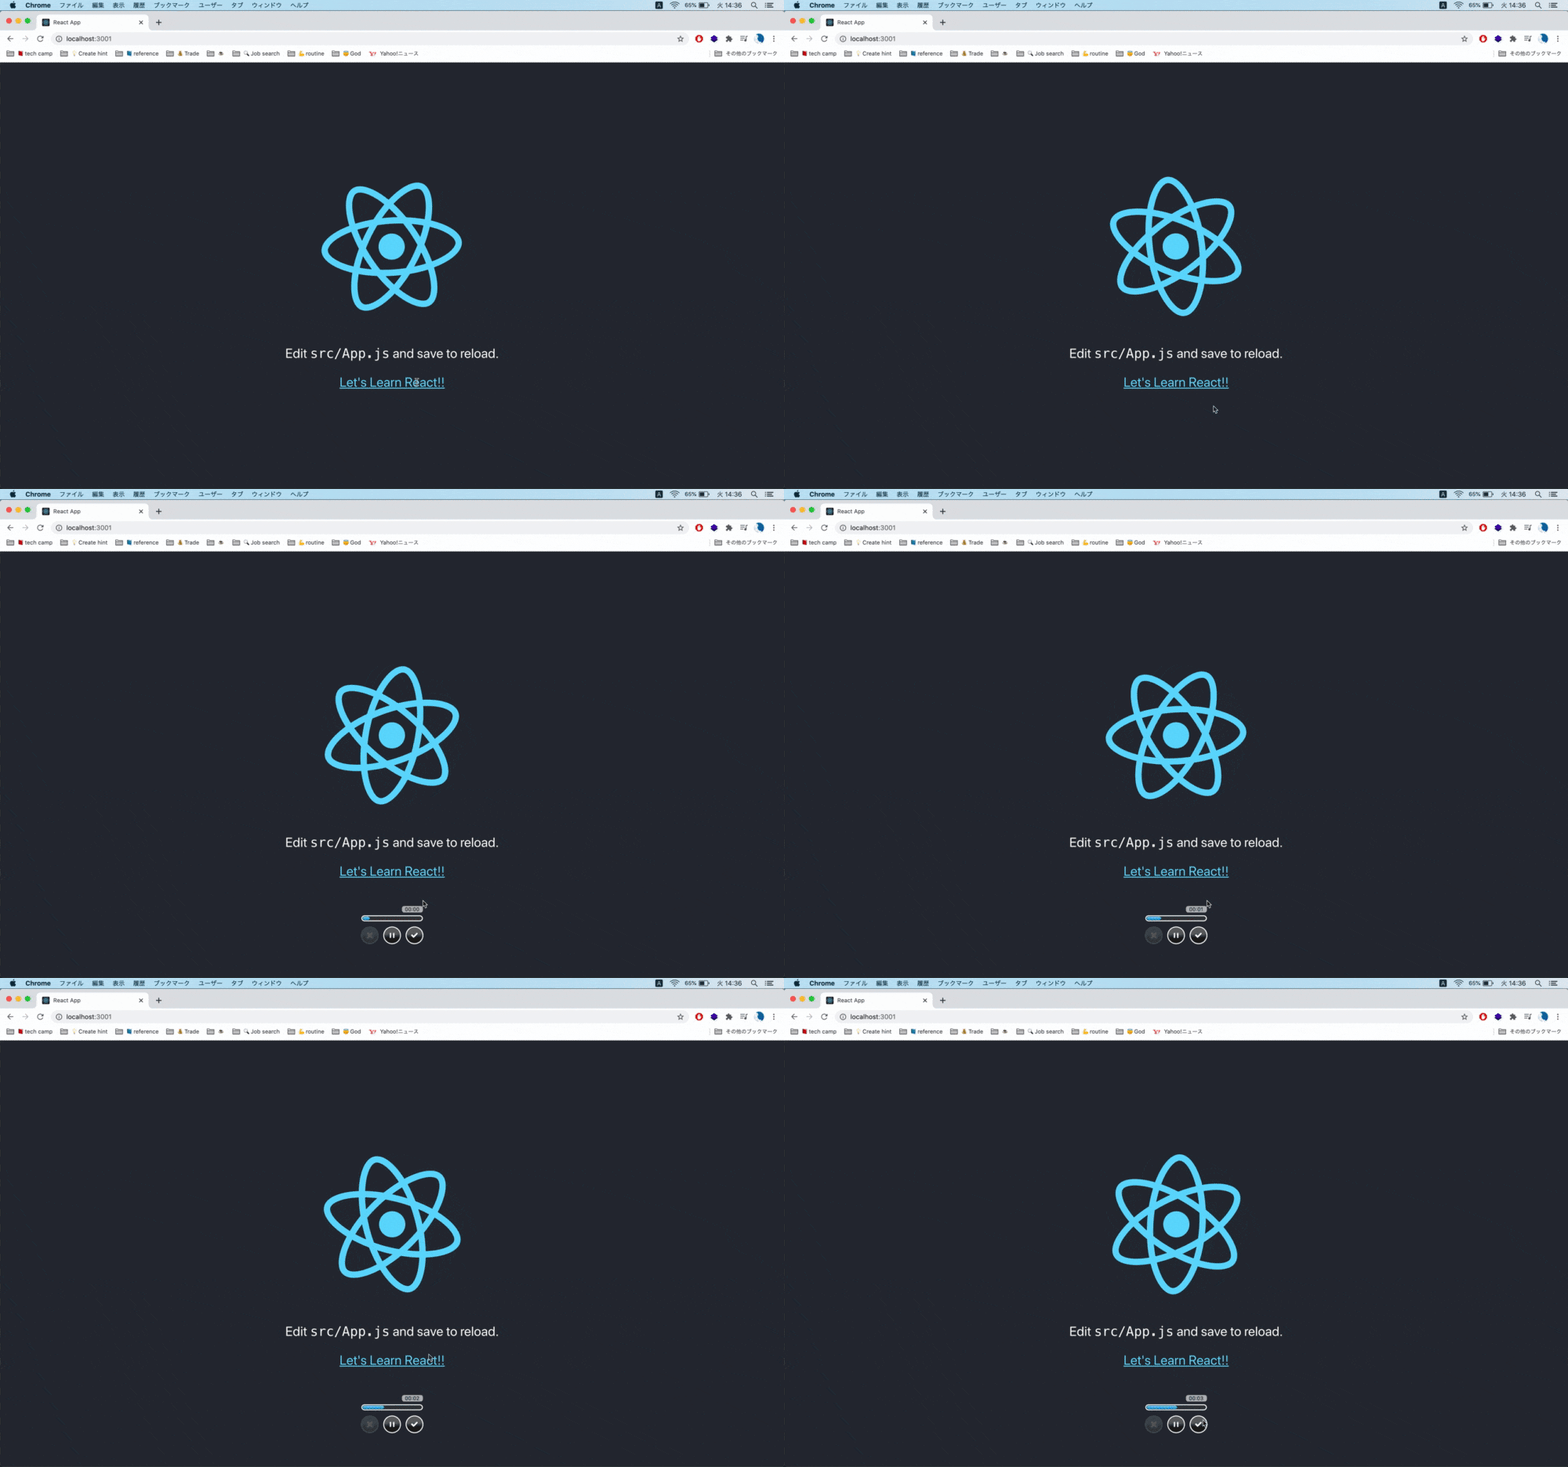
試しにsrcフォルダ配下にある、App.jsというファイルのLearn Reactの文字に!!を足してみます。
import logo from './logo.svg';
import './App.css';

function App() {
  return (
    <div className="App">
      <header className="App-header">
        <img src={logo} className="App-logo" alt="logo" />
        <p>
          Edit <code>src/App.js</code> and save to reload.
        </p>
        <a
          className="App-link"
          href="https://reactjs.org"
          target="_blank"
          rel="noopener noreferrer"
        >
          Learn React!!
        </a>
      </header>
    </div>
  );
}

export default App;
Let's Learn React!!という表示になりました。
srcフォルダのファイルを編集することで、公開しているReactアプリケーションの中身が書き換わります。
補足
・ create-react-appの環境構成
大きく分けて3つのフォルダに分類されます。
① src:コンポーネントを作るJSファイル
② public:htmlや設定ファイル
③ build:本番環境用のファイル
・ コマンド集
npm run build
srcとpublic内のファイルを1つにまとめて(バンドル)、buildディレクトリに出力します。
npm start
ローカルサーバーを起動してReactアプリを確認します。
npm run eject
babelやwebpackの設定を変更したい場合のみ使います。

