74
70

Delete article

Deleted articles cannot be recovered.

Draft of this article would be also deleted.

Are you sure you want to delete this article?

More than 5 years have passed since last update.

Jenkinsおじさんビルド結果Slackに通知して

Last updated at Posted at 2014-12-25

Jenkinsおじさんビルド結果通知してのSlack版を書いておこうと思います。
すでにSlackとJenkinsを導入している場合の連携設定についてだけ記載するので

#1.JenkinsプラグインのInstall
[Jenkinsの管理]-[プラグインの管理]-[利用可能]
「Slack Notification Plugin」へチェックをつけてインストール
#2.SlackのIntegrationsの設定
##2.1.Jenkins CIを追加
[Menu]サイドバー-[Integrations]-[All Services]-[Jenkins CI]をAddします
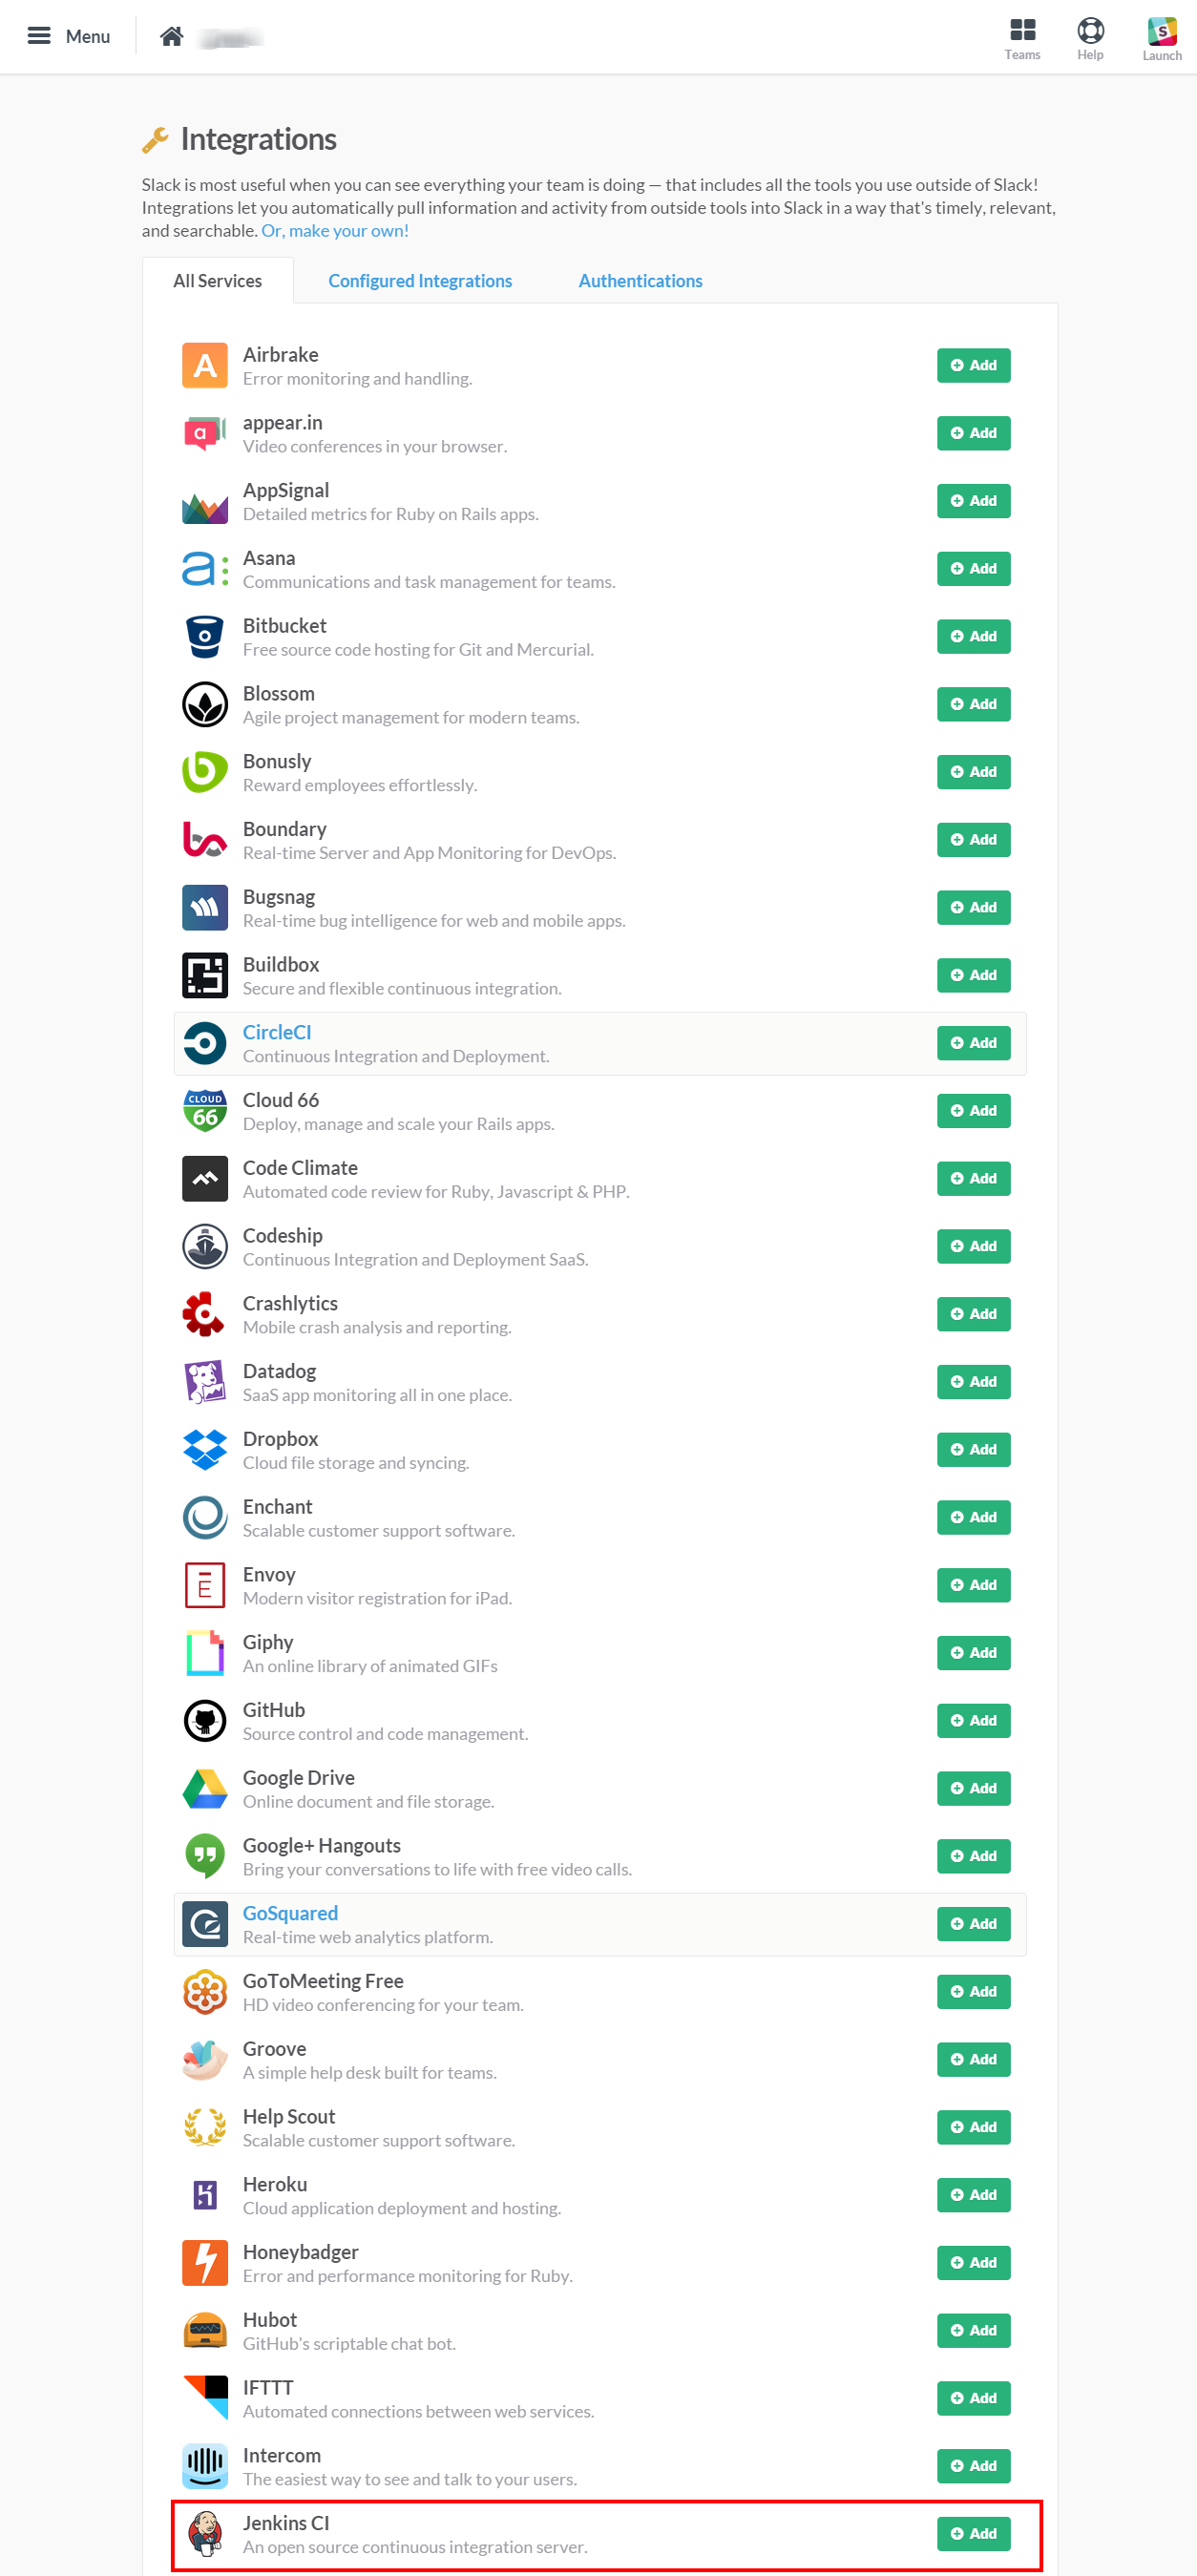
Integrations   green Slack.png
##2.2.Jenkins CIの設定
ビルド結果を出力するチャネル設定をします。
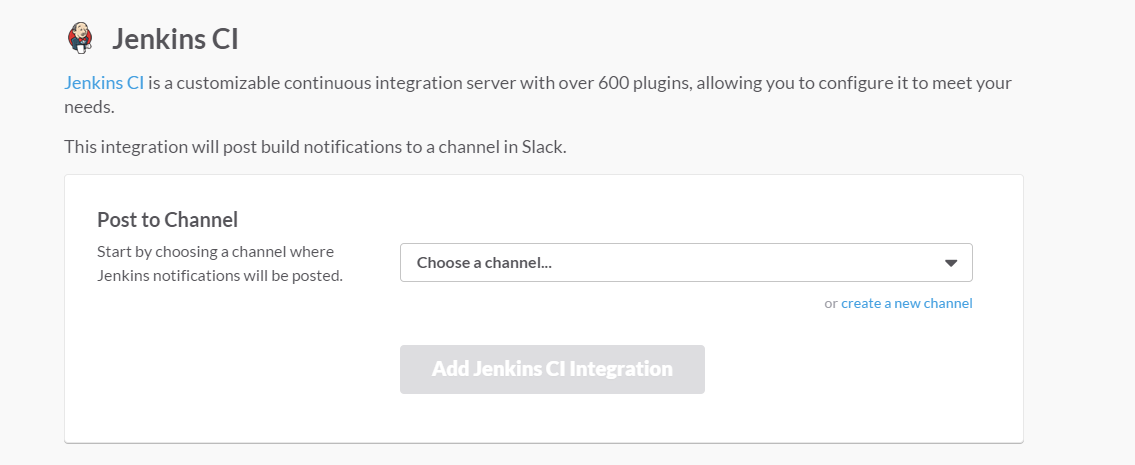
Jenkins CI   green Slack.png
チャネルを選択したら「Add Jenkins CI Integration」を押します
[Setup Instructions]がでてきてJenkins側の設定について詳しい説明が出てきます
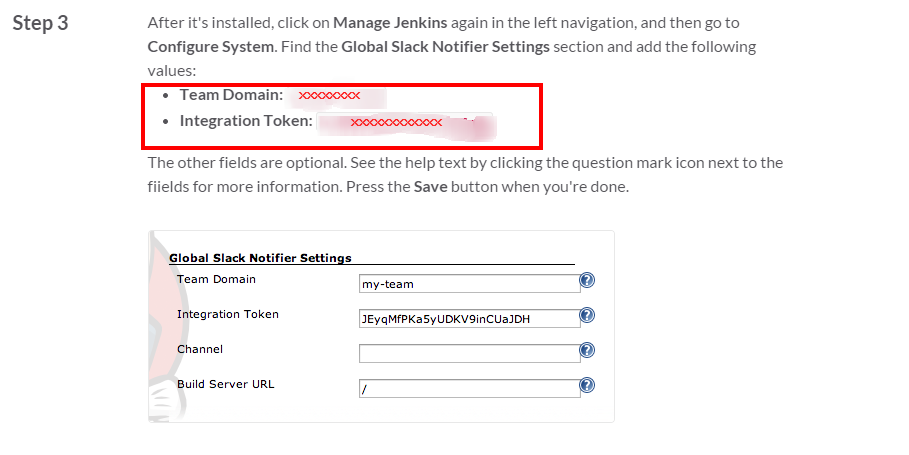
ここの[Step3]にJenkins側へ設定すべき項目が赤字で表示されています

  • Team Domain
  • Integration Token
    Jenkins CI   green Slacksetup.png

これらを設定します
#3.Jenkinsシステムの設定
[Jenkinsの管理]-[システムの設定]
システムの設定  Jenkins slack.png

  • Team Domain
  • Integration Token

#4.Jenkins Jobの設定
##4.1.通知種別の設定
[JOB名]-[設定]で「Slack Notifications」を設定していきます
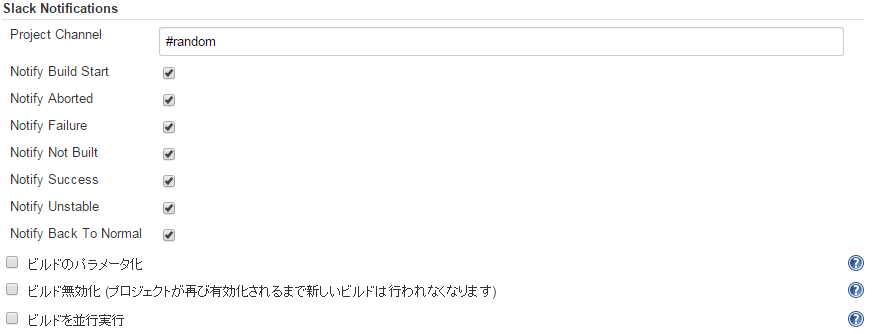
green Config  Jenkins .png
このJobの紐付けチャネル名を入力
通知したい種別にチェックを入れる
##4.2.ビルド後処理の設定
[JOB名]-[設定]-[ビルド後の処理の追加]から「Slack Notifications」を選択する
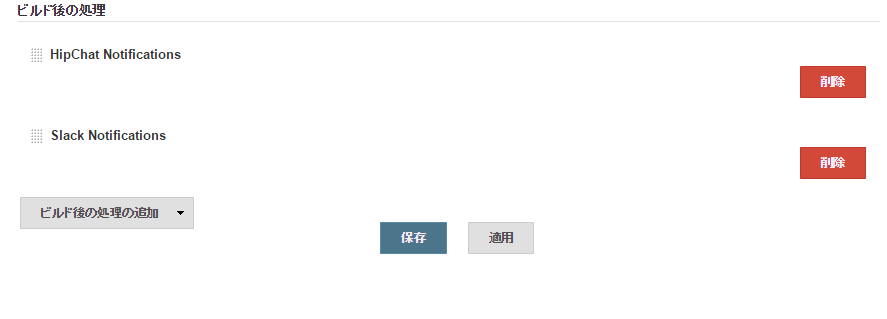
green Config buildend Jenkins .png
[保存]か[適用]を実施する

#5.連携を試す
#5.1.ビルド実行
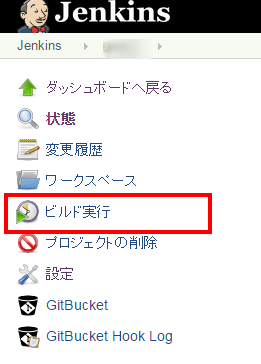
Jenkinsの[JOB名]-[ビルド実行]
green  Jenkins build.png
#5.2.Slackへの通知確認
Slackの指定した紐付けチャネル名に結果が出ているか確認

random   green Slack.png

おぉめでたく連携設定完了

ちなみに
HipChat連携についても書いています
コミットしたらGitBucketとJenkinsとHipChatに任せて他の事やってましょう(1)
コミットしたらGitBucketとJenkinsとHipChatに任せて他の事やってましょう(2)
コミットしたらGitBucketとJenkinsとHipChatに任せて他の事やってましょう(3)
74
70
0

Register as a new user and use Qiita more conveniently

  1. You get articles that match your needs
  2. You can efficiently read back useful information
  3. You can use dark theme
What you can do with signing up
74
70

Delete article

Deleted articles cannot be recovered.

Draft of this article would be also deleted.

Are you sure you want to delete this article?