はじめに
ぬいぐるみに電導糸を縫い付けてタッチセンサとして利用できるかを試してみました。
狙いとしては、縫い付けた電導糸自体がセンサとして機能し、触れたことを検知できるようにすることです。
電導糸のセンシングは調べたところ2種類ありそうでした。
- 電導糸の抵抗を使った方法
- 静電容量を使った方法
今回は後者の静電容量を使った方法でやりました。
(おそらく後者の方が一般的)
使ったもの
ソフトウェア
- 開発環境: PlatformIO
- フレームワーク: Arduino
- 使用したデバイス: Atom S3
ハードウェア
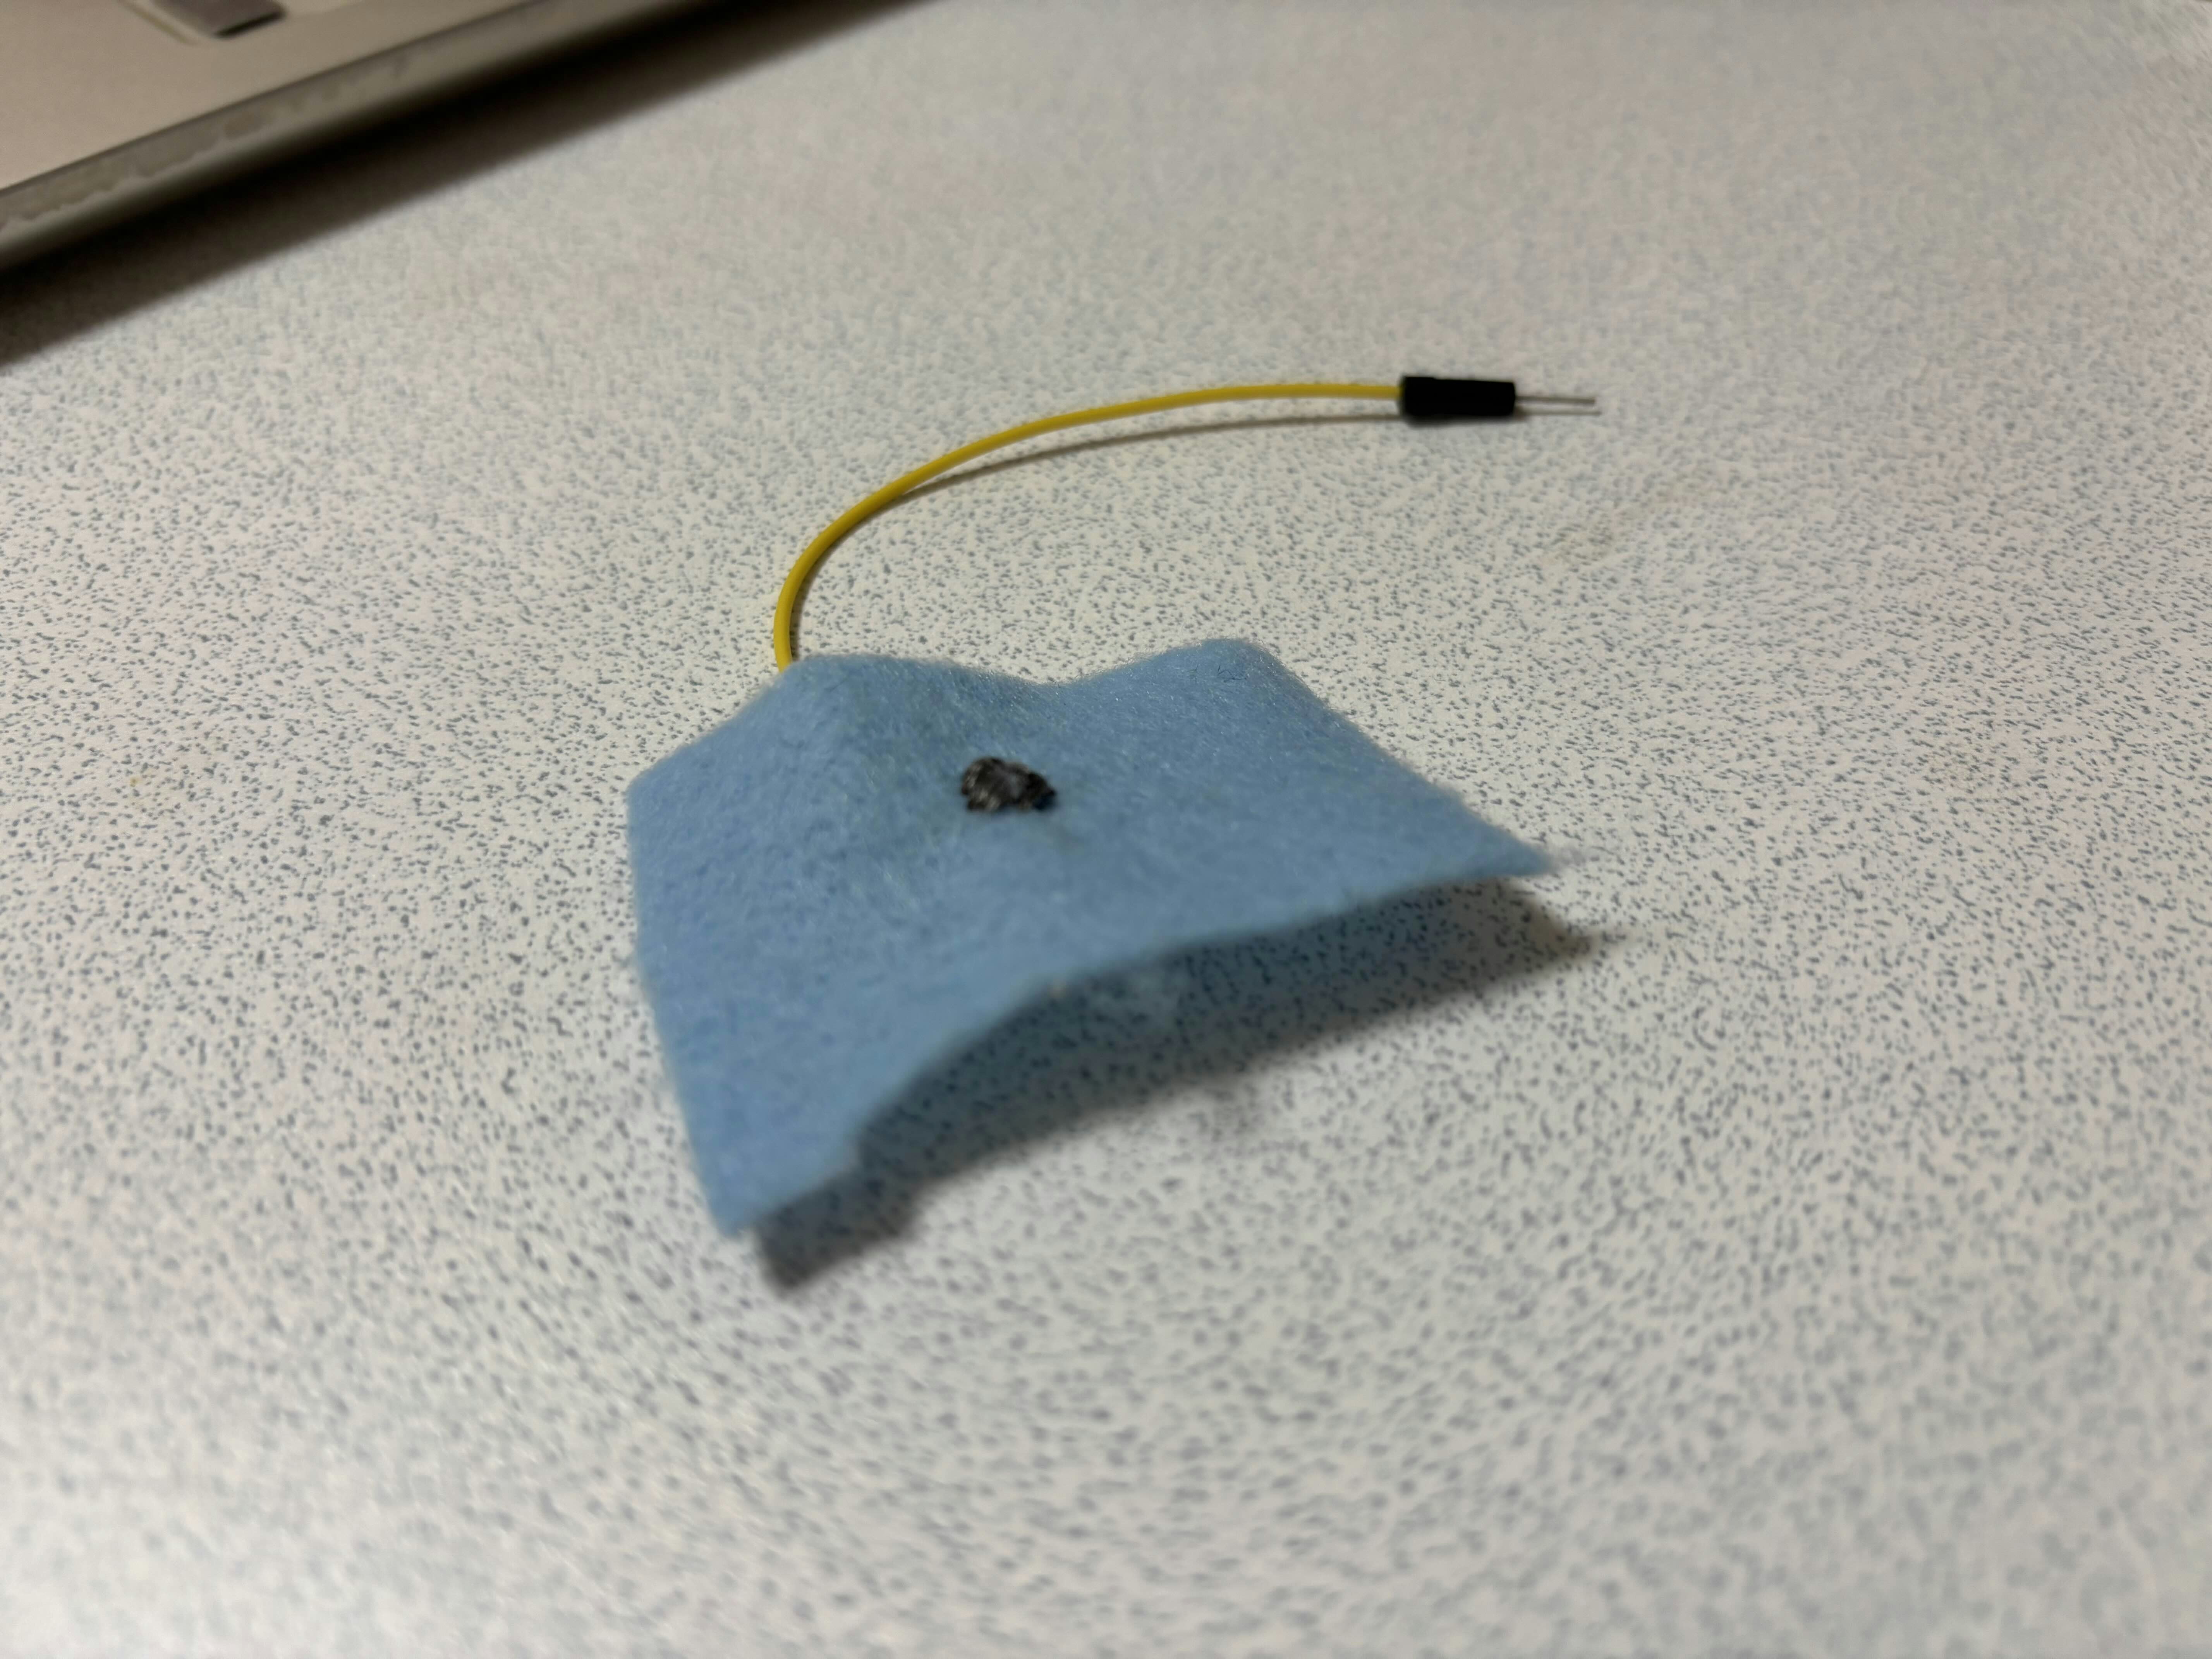
表側:電導糸を縫い付けた部分
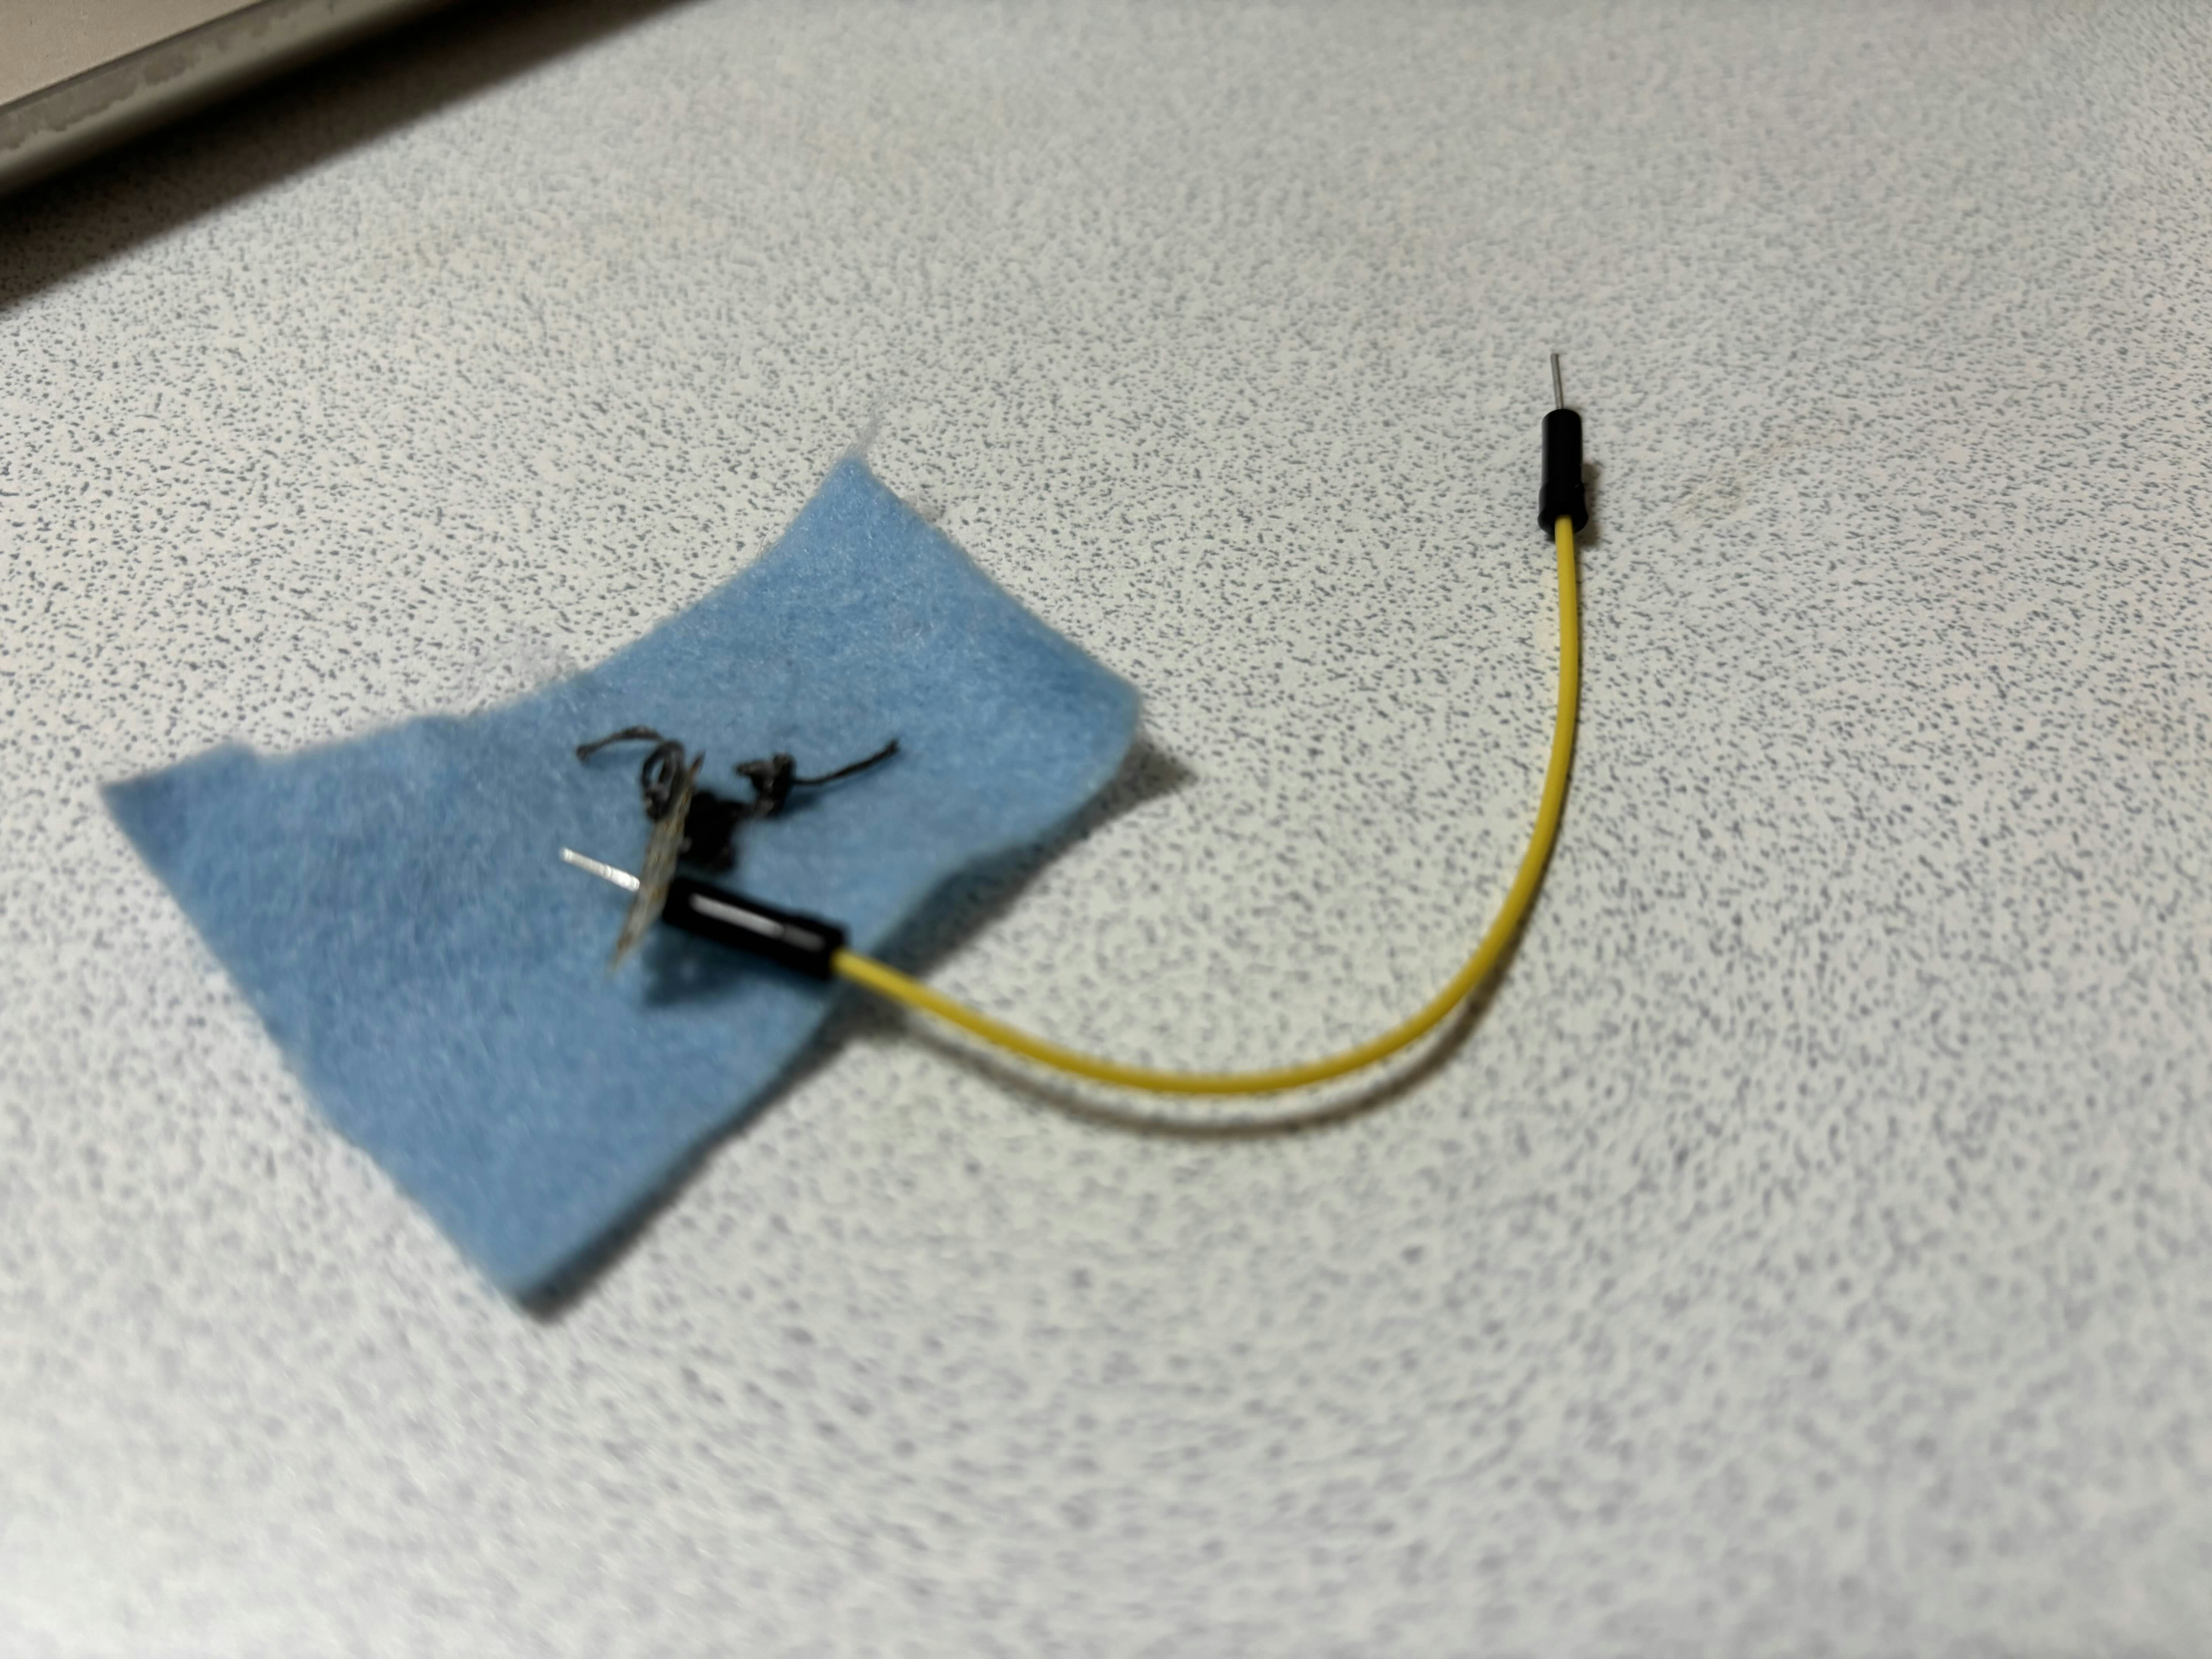
裏側:裏面の縫い付けパターン
ちょっと試すためだけだったので家にあったもので使った簡易的な回路です。
G5ピンに接続しています。
プログラム
#include <M5Unified.h>

// ===== ユーザー設定 =====
static const int TOUCH_PIN   = 5;   // G5=GPIO5(他: G6=6, G7=7, G8=8)
static const int POWER_PIN   = 16;  // G39=GPIO39(電源検出ピン、未使用なら-1)
static const int LED_PIN     = 35;  // Atom S3 内蔵RGB LEDのデータピン(35が既定)
static const int LED_COUNT   = 1;   // 内蔵は1ピクセル
static const uint32_t CALIB_MS = 2000; // 起動時キャリブ時間(ms)
static const int SMA_N       = 16;   // 移動平均サンプル数
static const int MARGIN      = 150; // ベースラインからのON閾値差(環境で調整)
static const int HYST        = 60;  // ヒステリシス(OFF側の戻し幅)

int baseline = 0;
int smaBuf[SMA_N];
int smaIdx = 0;
int smaSum = 0;
bool touched = false;

// ---- 移動平均つきの現在値取得 ----
int readTouchAveraged() {
  int v = touchRead(TOUCH_PIN);     // ESP32-S3は「触れると数値が上がる」傾向
  smaSum -= smaBuf[smaIdx];
  smaBuf[smaIdx] = v;
  smaSum += v;
  smaIdx = (smaIdx + 1) % SMA_N;
  return smaSum / SMA_N;
}

void setup() {
  // M5の初期化
  auto cfg = M5.config();
  M5.begin(cfg);

  // 画面設定(数値のみ表示)
  M5.Display.setRotation(0);
  M5.Display.fillScreen(TFT_BLACK);
  M5.Display.setTextColor(TFT_WHITE, TFT_BLACK);
  M5.Display.setFont(&fonts::Font2);   // 見やすいフォント
  M5.Display.setTextSize(1);

  Serial.begin(115200);
  Serial.println("Touch Sensor with Calibration");
  Serial.printf("TOUCH_PIN=%d\n", TOUCH_PIN);
  delay(100);

  // バッファ初期化
  smaSum = 0;
  for (int i = 0; i < SMA_N; ++i) { smaBuf[i] = 0; }

  // キャリブレーション
  M5.Display.setCursor(0, 0);
  M5.Display.println("Calibrating... (2s)");
  uint32_t t0 = millis();
  long acc = 0; int n = 0;
  while (millis() - t0 < CALIB_MS) {
    int v = touchRead(TOUCH_PIN);
    acc += v; n++;
    delay(10);
  }
  baseline = (n > 0) ? (acc / n) : touchRead(TOUCH_PIN);

  // 移動平均バッファにベースラインを反映
  smaSum = 0; smaIdx = 0;
  for (int i = 0; i < SMA_N; ++i) { smaBuf[i] = baseline; smaSum += baseline; }

  // 初期表示
  M5.Display.fillScreen(TFT_BLACK);
  M5.Display.setCursor(0, 0);
  M5.Display.printf("Baseline : %d\n", baseline);
  M5.Display.printf("Threshold: base+%d\n\n", MARGIN);
}

void loop() {
  M5.update();

  int avg = readTouchAveraged();
  int delta = avg - baseline;

  // しきい値&ヒステリシス
  int onThresh  = baseline + MARGIN;
  int offThresh = onThresh - HYST;

  // タッチ判定
  if (!touched && avg >= onThresh) {
    touched = true;
    M5.Display.setTextColor(TFT_RED, TFT_BLACK);  // 赤文字
    M5.Display.setCursor(0, 90);
    M5.Display.println("TOUCHED!");
    Serial.println("TOUCHED!");
  }
  else if (touched && avg <= offThresh) {
    touched = false;
    // "TOUCHED!" 表示を消去
    M5.Display.fillRect(0, 90, 120, 20, TFT_BLACK);
    Serial.println("released");
  }

  // 数値表示を更新
  static uint32_t lastDraw = 0;
  if (millis() - lastDraw > 50) {
    lastDraw = millis();
    int y = 48;
    M5.Display.fillRect(0, y, M5.Display.width(), 40, TFT_BLACK);
    M5.Display.setCursor(0, y);
    M5.Display.setTextColor(TFT_WHITE, TFT_BLACK);
    M5.Display.printf("avg  : %d\n", avg);
    M5.Display.printf("delta: %d\n", delta);
  }

  delay(5);
}
プログラムの解説
ESP32S3では静電容量タッチセンサーを扱うための関数が用意されており、簡単に扱うことができます。静電容量測定回路がデバイス内にあり、指定したタッチ対応GPIOに接続された電極の静電容量を測定しています。
int v = touchRead(TOUCH_PIN);
readTouchAveraged()ではノイズの抑制のために複数個データをとり平均を出しています。
int readTouchAveraged() {
   int v = touchRead(TOUCH_PIN); // ESP32-S3は「触れると数値が上がる」傾向
   smaSum -= smaBuf[smaIdx];
   smaBuf[smaIdx] = v;
   smaSum += v;
   smaIdx = (smaIdx + 1) % SMA_N;
   return smaSum / SMA_N;
}
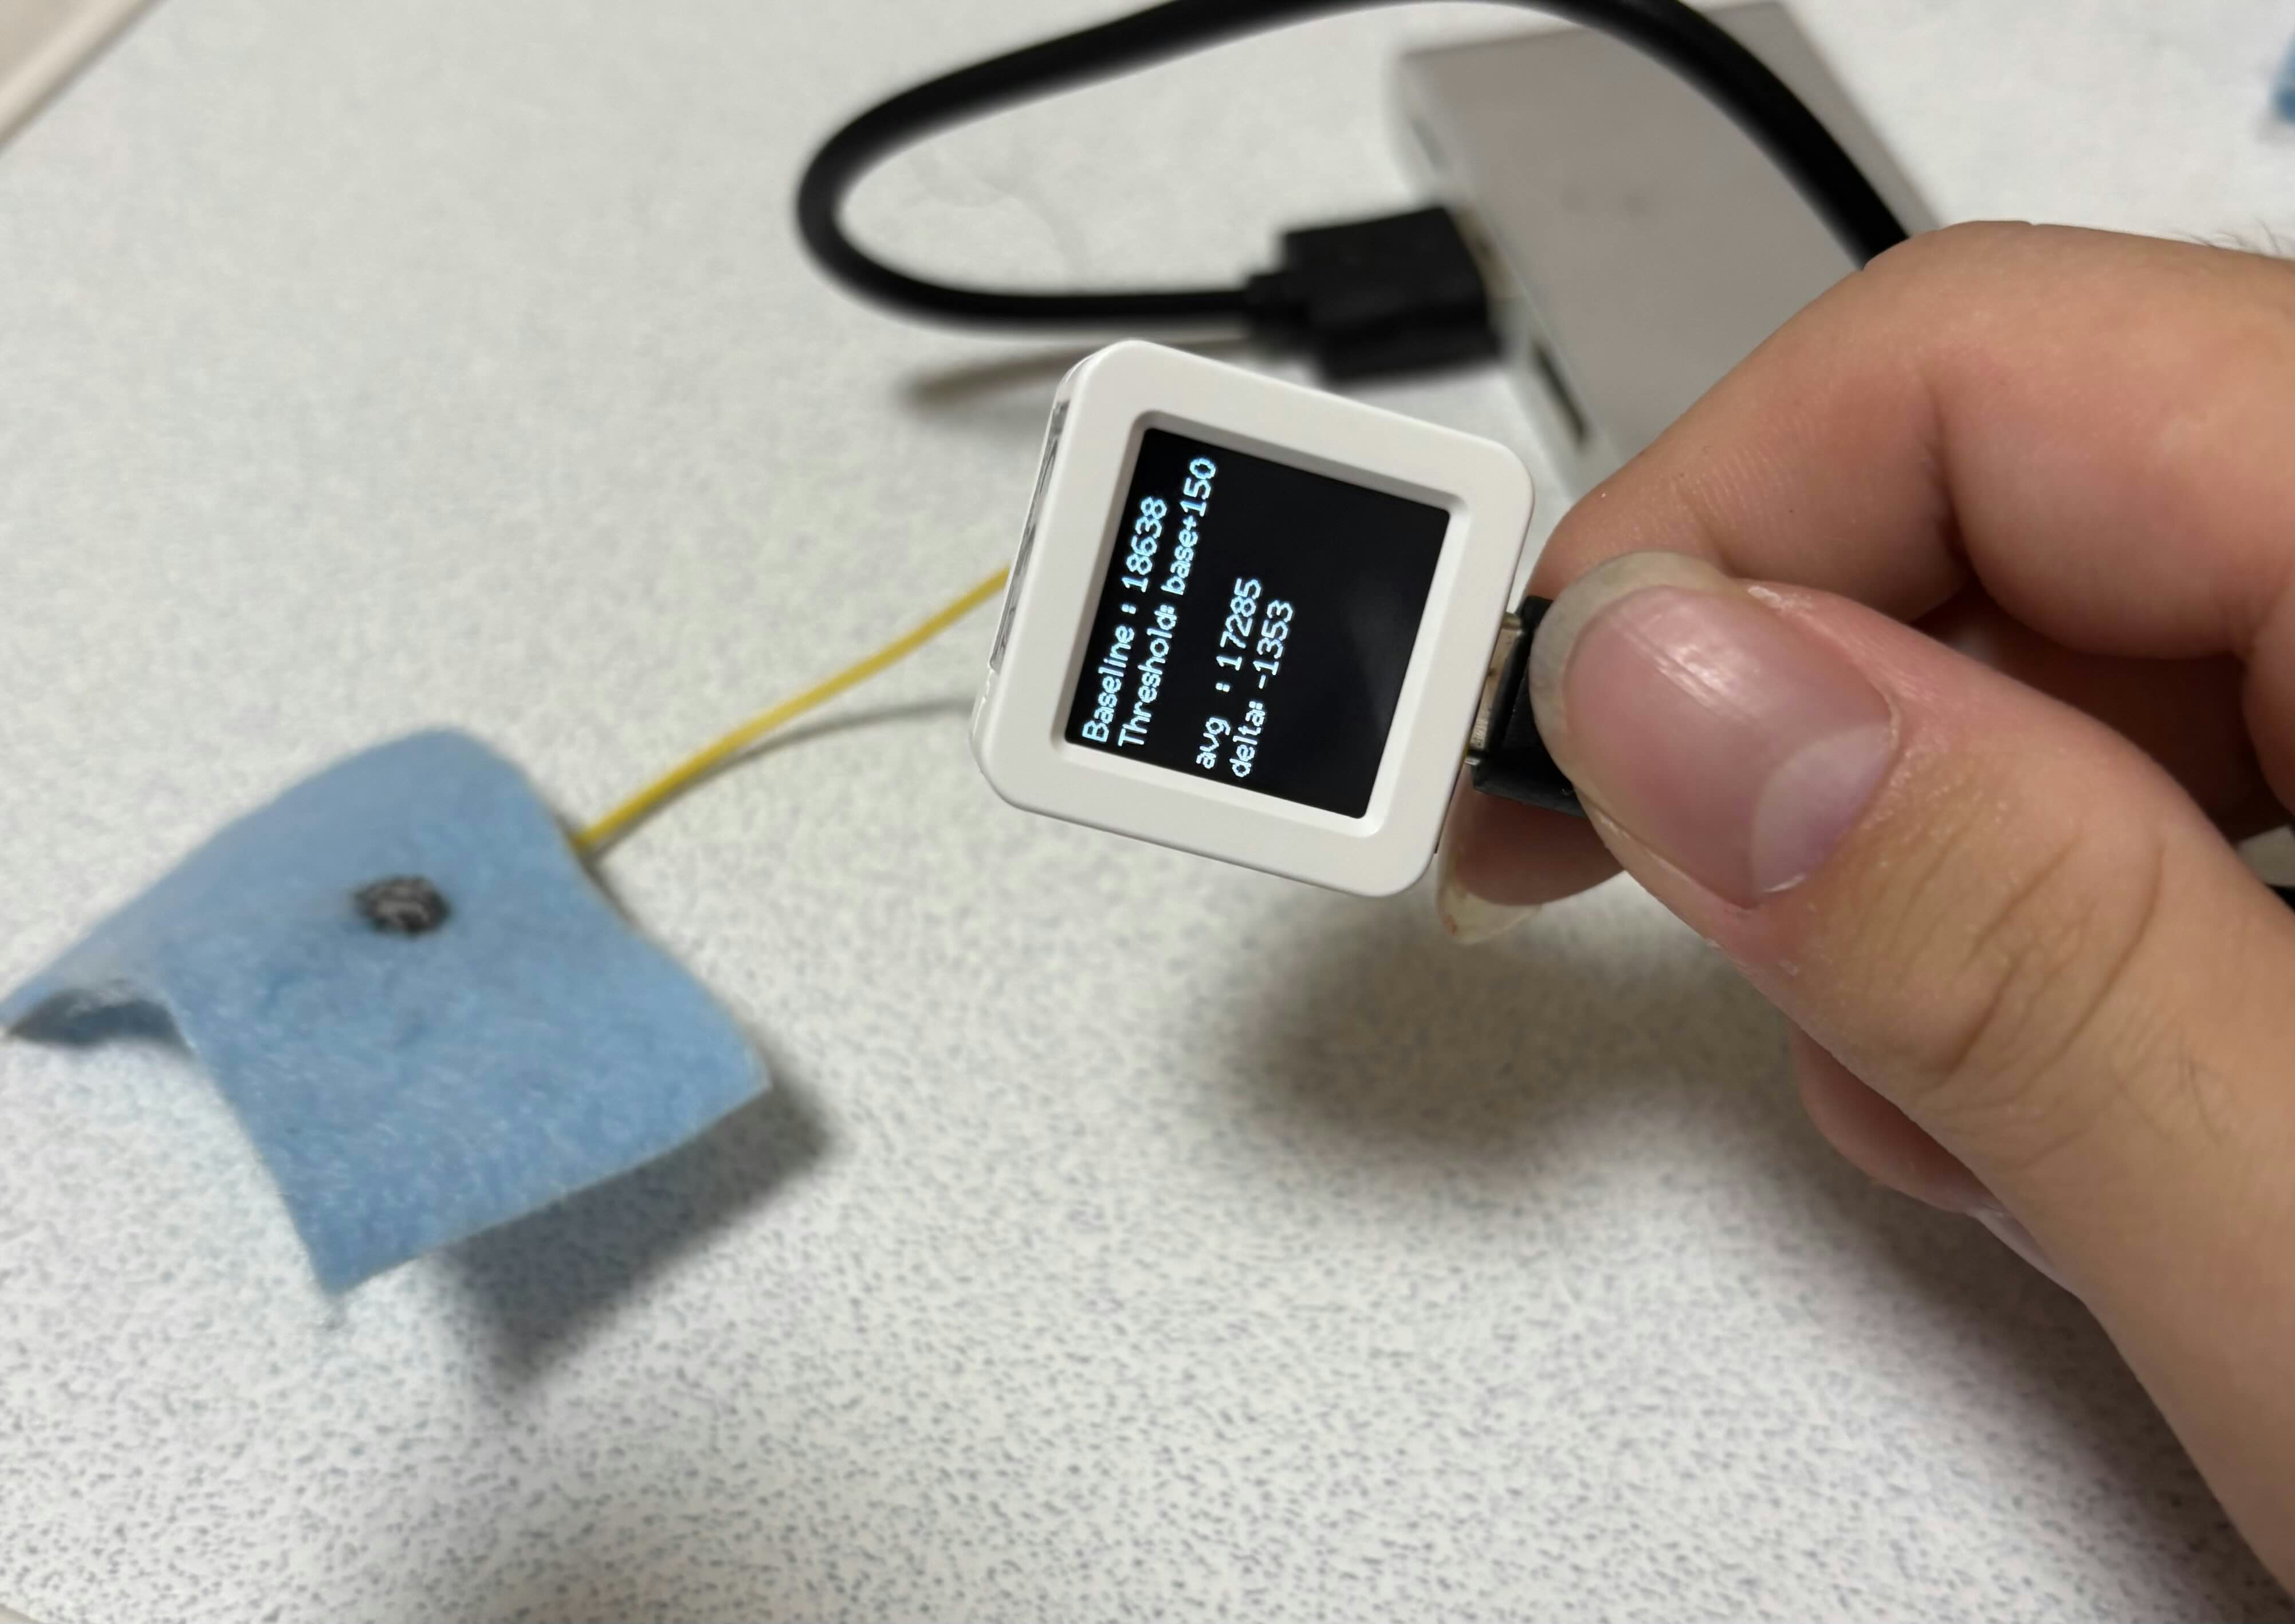
結果
| 状態 | 平均値(avg) | 差分(delta) |
|---|---|---|
| 触れていないとき | 約 17300 | 約 -1300 |
| 触れたとき | 約 177700 | 約 -880 |
| 導線に手を近づけたとき | 約 18000 | 約 -200 |
| 導線に触れたとき | 約 20800 | 約 2600 |
ある程度なら反応する
私の環境だと手を電導糸周辺にのせたとき、少し値が上がりました。閾値を調整していけば動くようになると思います。
しかし、AtomS3から電導糸まで伸びている配線の方が感度がよく、そちらは触れなくても近づけるだけで反応してしまい誤作動を起こしてしまう感じでした。おそらく電導糸の縫い方によっても大きく変わってくると思うので要検討です。
今後、電導糸やノイズ低減を見直し動作改善を行います。
まとめ
- 電導糸を使ったタッチセンサは、ESP32-S3の
touchRead()で簡単に実装できる - ノイズが大きいので移動平均で平滑化すると安定する
- 配線の取り回しによって感度が大きく変わる
今後、電導糸やノイズ低減を見直し動作改善を行います。