はじめに
Lektorというpython製の静的Webサイトジェネレータが気になりすぎたので使ってみました。
Lektor + github pagesでWebサイトを公開する手順のメモです。

メリット (Lektorが気になった理由)
- github pagesが使える
- 新しい (2015年末に公開された)
- 製作者が有名 (Lektorの製作者は、python製webフレームワークFlaskの製作者)
- python製 (github pagesで最も使われているjekyllはruby製)
- wordpressみたいに管理画面が使える (github pagesでよく使われているpelicanはpython製だが管理画面がない)
デメリット
- 記事が全然ない
- テーマが全然ない
開発環境
- macOS Sierra 10.12.6
- Python 3.6.3
- Lector 3.0.1
手順
githubにリポジトリを作成しておく
github pagesにuser siteを公開するために、「username.github.io」という名前のリポジトリを作成しておく。

Lektorのインストール
とりあえずCommand Lineのインタフェースをインストールすれば良い。
curl -sf https://www.getlektor.com/install.sh | sh
Lektorプロジェクトの作成
quickstartでプロジェクトを作る。
以下のコマンドを実行して、いくつか質問に答えていけば良い。
lektor quickstart

これでryokomyLektorというディレクトリが作成されている。(ディレクトリ名は自分で指定したもの)
cd ryokomyLektor
github pagesに公開 (build と deploy)
lektorには、lektor buildとlektor deployというコマンドがあり、
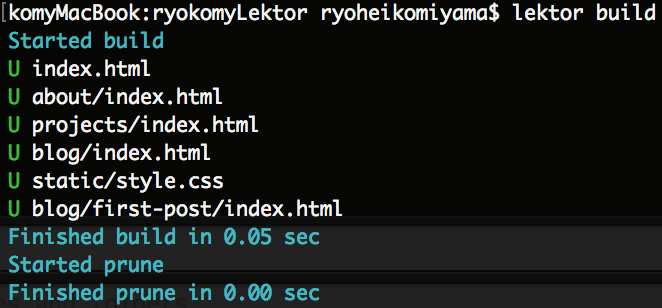
lektor buildで静的ファイルを出力し、
lektor deployで登録済みのgithubサイトにpushしデプロイできるようになっている。
そこで、lektor deployを利用するために、以下のようにプロジェクトファイルにサーバーの情報を追加する。
[project]
name = ryokomyLektor

[servers.ghpages]
name = ghpages
enabled = yes
default = yes
target = ghpages+https://ryokomy/ryokomy.github.io
これで全ての準備は整ったので、以下のコマンドを実行する。
lektor build

lektor deploy

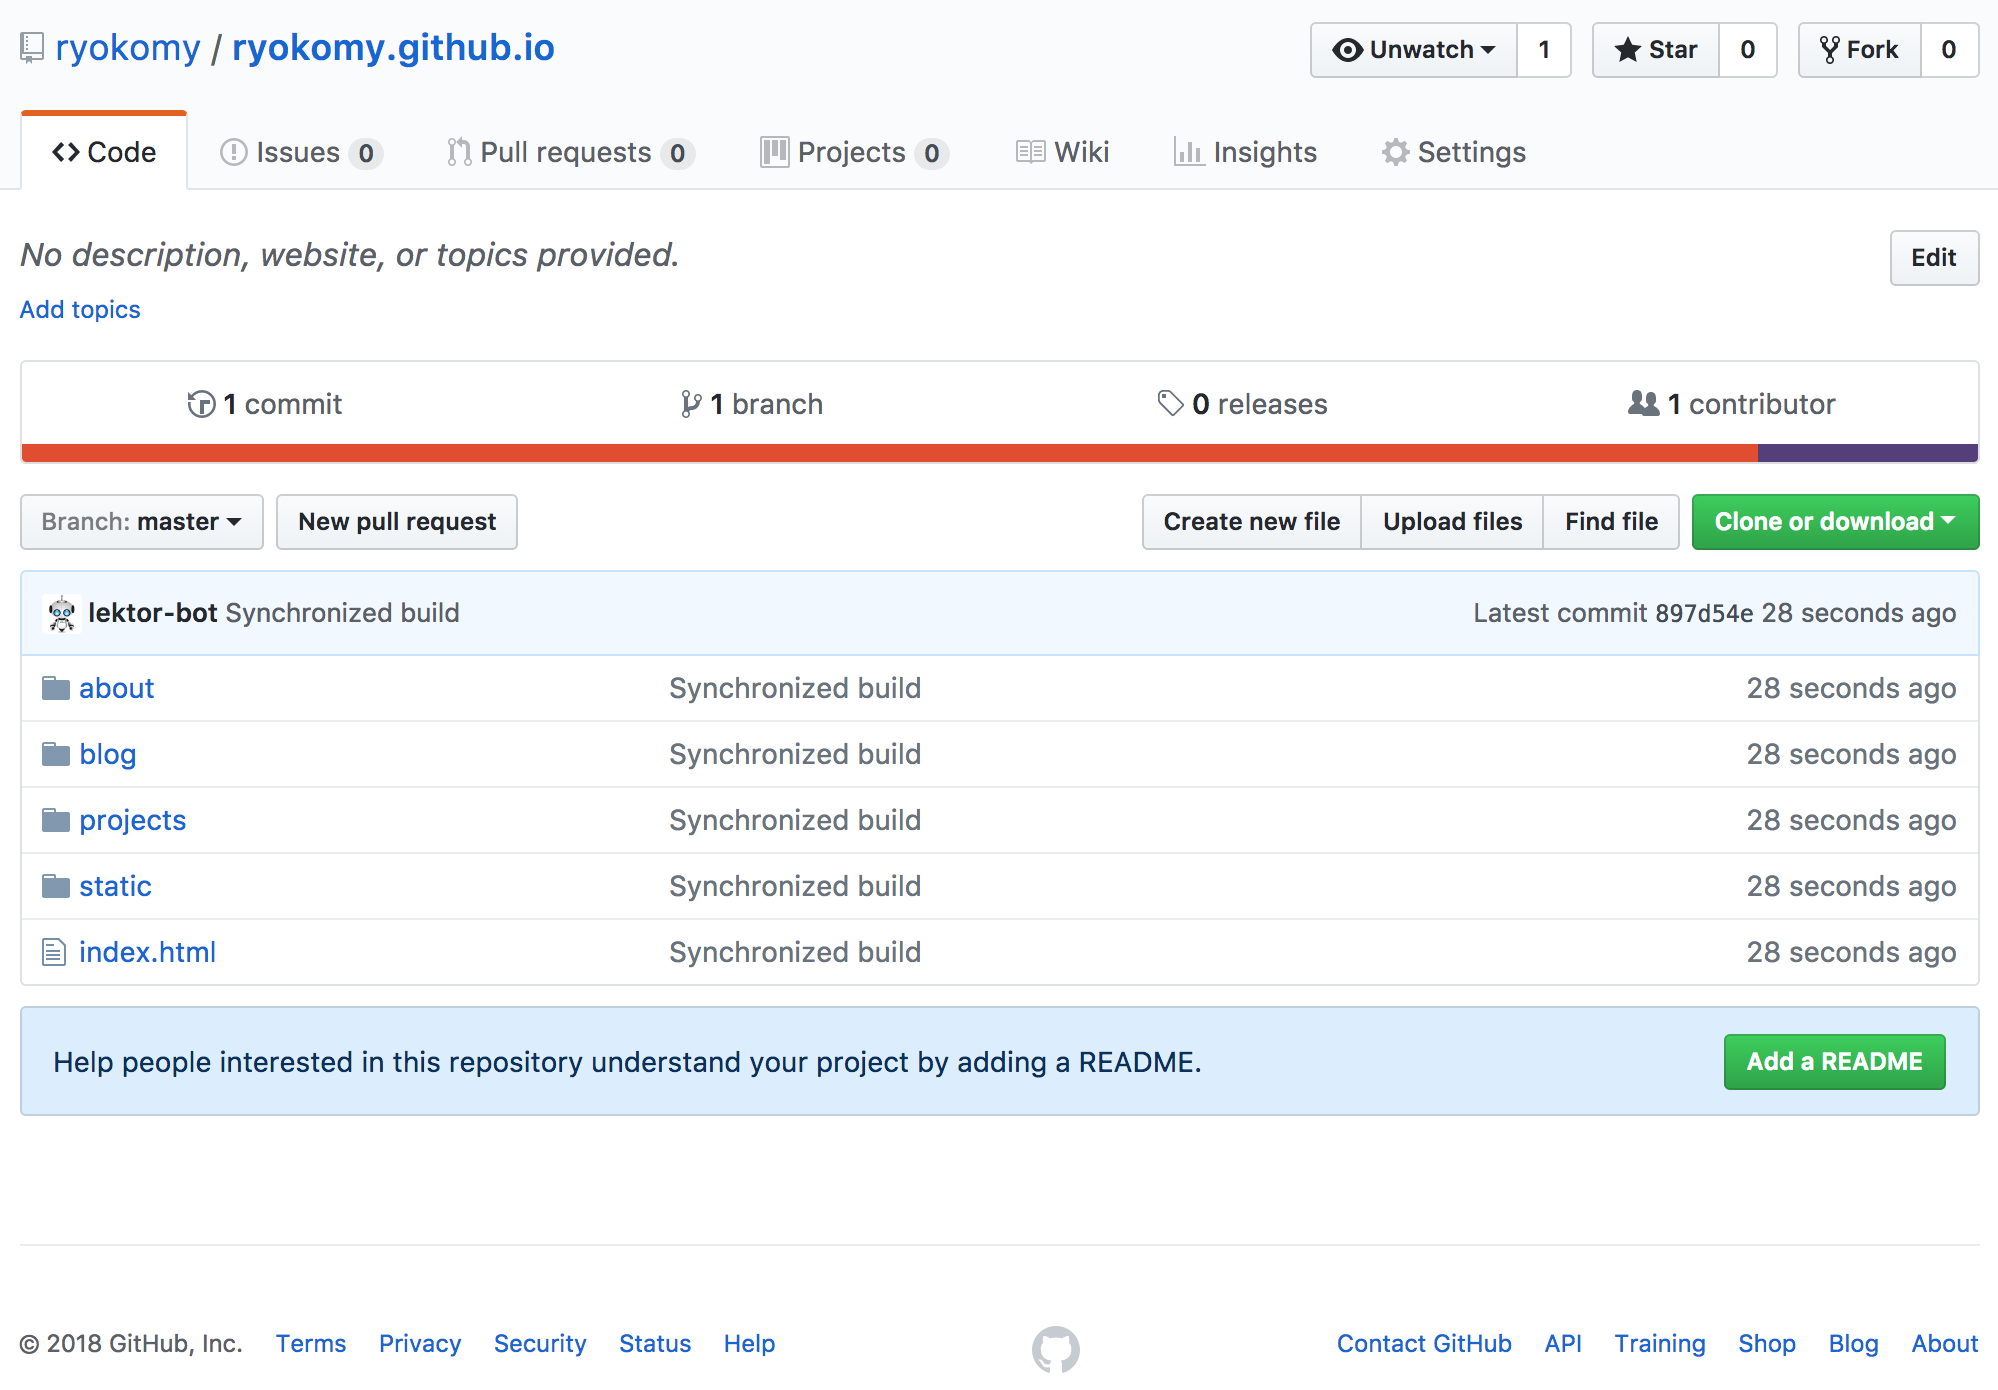
githubのプロジェクトページを見ると、lektorのbotがcommit, pushしてくれているのが確認できる。(かわいい)

websiteにアクセス
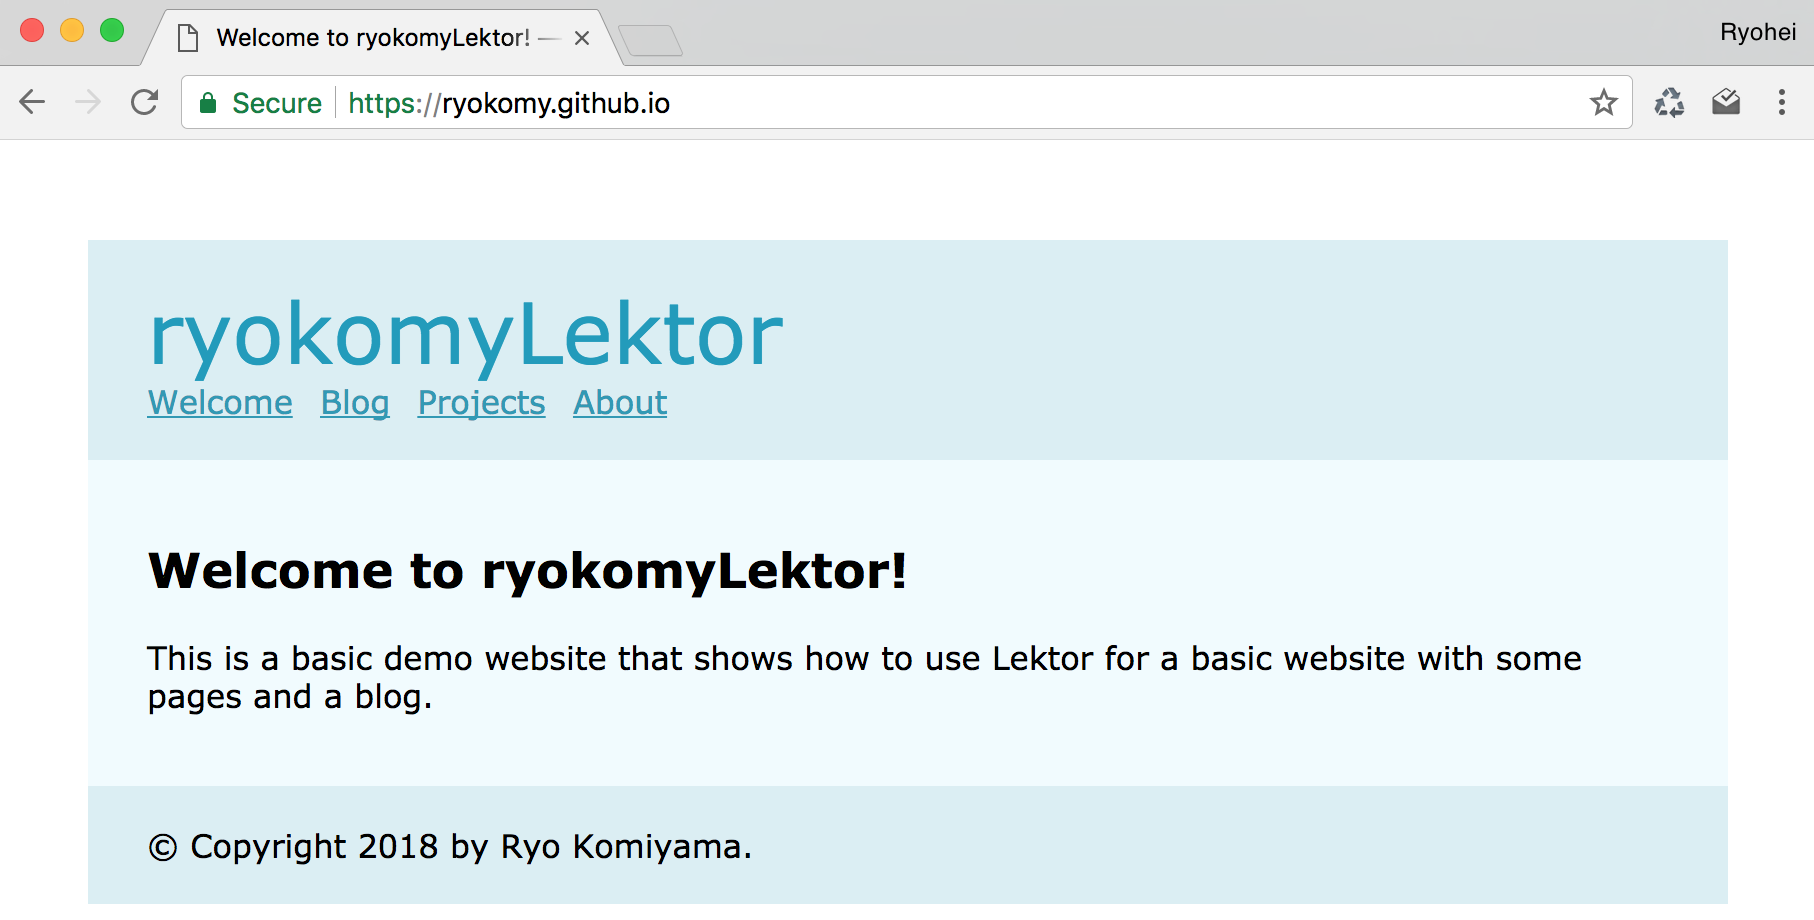
ブラウザに、「ryokomy.github.io」と自分のgithub pagesのアドレスを入力すると、

みれた!!
終わりに
この記事では、Lektor + github pagesでウェブサイトを公開することをやってみました。
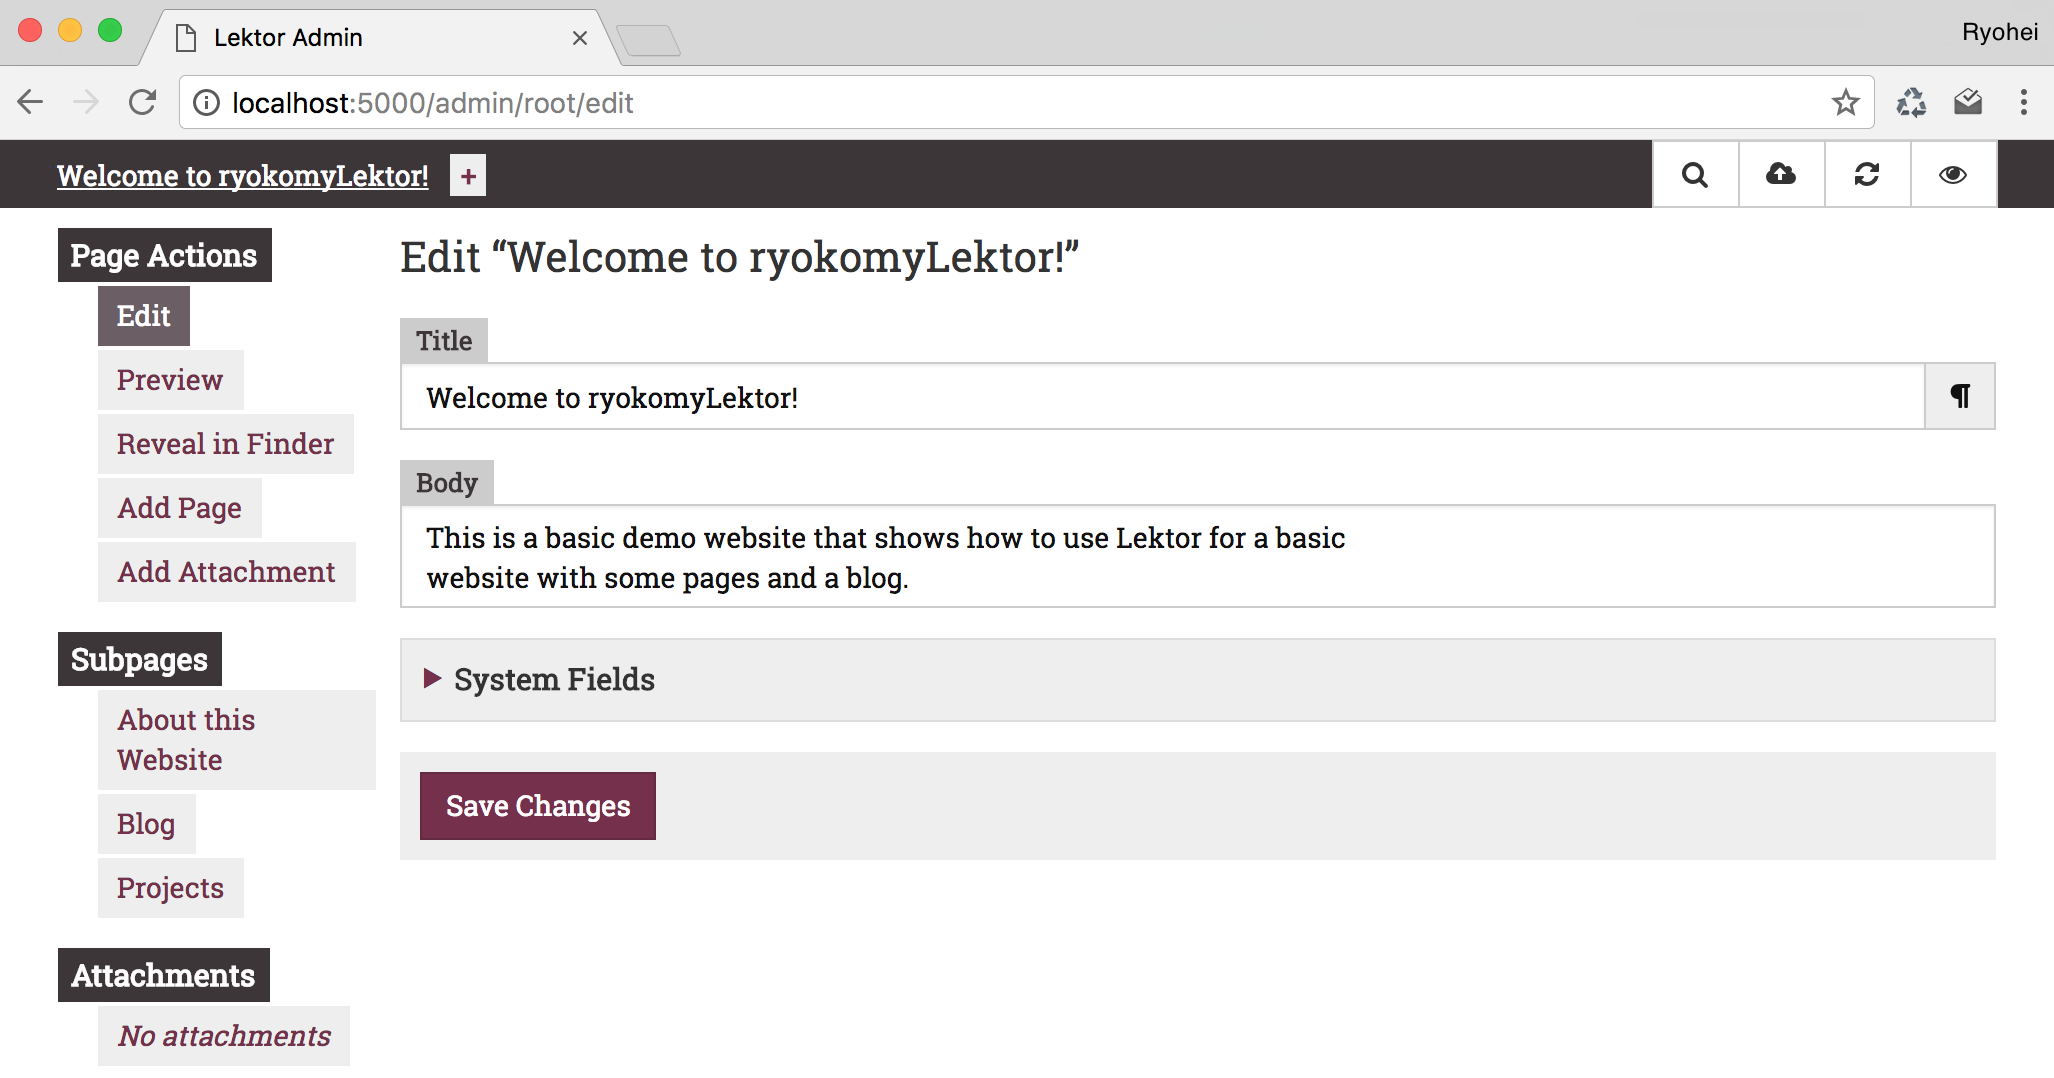
Lektorを使うと、wordpressのように管理画面を使って記事の追加・編集などができます。
その辺りはこの記事なんかが参考になると思いますので、ぜひ試してみてください。
