Webpack4の入門書を読んだので、普段良く使うPug、Stylus、TypeScriptの開発環境を整えてみました。
自分の備忘録としてまとめます。
やりたいこと
- TypeScriptのJavaScriptへのコンパイル
- Pugのhtmlへのコンパイル
- Stylusのcssへのコンパイル
- cssへのautoprefixの付与
ベース環境の構築
まずプロジェクトディレクトリの構築とpackage.jsonの作成を行います。
$ mkdir webpack-sandbox
$ cd webpack-sandbox
$ npm init -y
Wrote to xxx/webpack-sandbox/package.json:

{
  "name": "webpack-sandbox",
  "version": "1.0.0",
  "description": "",
  "main": "index.js",
  "scripts": {
    "test": "echo \"Error: no test specified\" && exit 1"
  },
  "keywords": [],
  "author": "",
  "license": "ISC"
}
続いて、Webpackを追加します。
$ yarn add -D webpack webpack-cli
そしてエントリーポイントとなるjsを追加します。
$ mkdir src
$ vi src/index.js
index.jsの中身は仮なので適当に。
console.log("hello webpack")
いちいちコマンドを打つのは面倒なので、npmスクリプトでwebpackの起動を設定します。
package.jsonに以下のように修正します。
{
  "name": "webpack-sandbox",
  "version": "1.0.0",
  "description": "",
  "main": "index.js",
  "scripts": {
    "dev": "webpack --mode development",
    "watch": "webpack --watch"
  },
  "keywords": [],
  "author": "",
  "license": "ISC",
  "devDependencies": {
    "webpack": "^4.29.6",
    "webpack-cli": "^3.3.0"
  }
}
以下コマンドで無事distにmain.jsが出力されれば完了です。
$ yarn run dev

yarn run v1.9.4
warning ../../../package.json: No license field
$ webpack --mode development
Hash: 66f4f3942c06d241ab11
Version: webpack 4.29.6
Time: 81ms
Built at: 2019-03-25 09:39:58
  Asset     Size  Chunks             Chunk Names
main.js  3.8 KiB    main  [emitted]  main
Entrypoint main = main.js
[./src/index.js] 29 bytes {main} [built]
✨  Done in 1.93s.
TypeScriptのコンパイル
TypeScriptのコンパイル環境を整えます。
まず、TypeScriptのコンパイルに必要なloader、モジュールを追加します。
$ yarn add -D typescript ts-loader
続いて、typescriptのコンパイルを行うため、webpack.config.jsonの追加・編集を行います。
$ vi webpack.config.js
中身は、、
const path = require('path');

module.exports = {
    entry: './src/index.ts',
    output: {
        filename: 'main.js',
        path: path.resolve(__dirname, 'dist')
    },
    module: {
        rules: [
          {
            test: /\.ts$/,
            use: 'ts-loader',
            exclude: /node_module/
          }
        ]
    },
    resolve: {
        extensions: ['.ts', '.js']
    }
}
そしてTypeScriptのコンパイル設定ファイルtsconfig.jsonを追加します。
$ vi tsconfig.json
中身は
{
  "compilerOptions": {
    "outDir": "./dist/",
    "noImplicitAny": true,
    "module": "es6",
    "target": "es5",
    "allowJs": true
  }
}
ここまでで準備完了。
TypeScriptのでもファイルを追加してコンパイルしてみます。
$ vi src/greeter.ts
export default class Greeter {
  constructor(private message: string){
  }

  public greeting(name: string): string {
    return `${name}さん ${this.message}`
  }
}
これをindex.jsからindex.tsにリネームしたファイルにてimport、実行します。
$ mv src/index.js src/index.ts
import Greeter from './greeter'

const greeter = new Greeter('おはよう')

const message = document.getElementById('message')
message.innerText = `${greeter.greeting('太郎')}`
yarn run devで無事main.jsが作成されるはずです。
$ yarn run dev
4088ms Mon Mar 25 10:50:19 2019
yarn run v1.9.4
warning ../../../package.json: No license field
$ webpack --mode development
Hash: a59acf9f249e13795ccd
Version: webpack 4.29.6
Time: 867ms
Built at: 03/25/2019 10:56:26 AM
Asset Size Chunks Chunk Names
main.js 4.77 KiB main [emitted] main
Entrypoint main = main.js
[./src/greeter.ts] 275 bytes {main} [built]
[./src/index.ts] 110 bytes {main} [built]
✨ Done in 2.93s.
Pugのコンパイル
次にPugのコンパイルを行います。
まず必要となるloaderと、pugのhtml出力に必要なpluginを追加します。
$ yarn add -D pug pug-loader html-webpack-plugin
pug, pug-loaderはpugのコンパイルに必要なもので、html-wepack-pluginはwebpackでhtmlを出力するために使用します。
次にwebpack.config.jsonにpug用のrules、pluginの設定を追記します。
緑字の部分が追加項目です。
const path = require('path');
+ const HtmlWebpackPlugin = require('html-webpack-plugin');

module.exports = {
  entry: './src/index.ts',
  output: {
    filename: 'main.js',
    path: path.resolve(__dirname, 'dist')
  },
  module: {
    rules: [
      {
        test: /\.ts$/,
        use: 'ts-loader',
        exclude: /node_module/
      },

+     {
+       test: /\.pug$/,
+      use: 'pug-loader',
+     }
    ]
  },
  resolve: {
    extensions: ['.ts', '.js']
  },
+  plugins: [
+      new HtmlWebpackPlugin({
+        template: "./src/index.pug"
+      })
+  ]
}
以上で設定は完了です。
pugファイルを追加してコンパイルを実行します。
$ vi src/index.pug
doctype html
html(lang='ja')
    head
        meta(charset="utf-8")
    body
        h1#message
そしてwebpackを実行するとdist/index.htmlが作成されるはずです。
$ yarn run dev

yarn run v1.9.4
warning ../../../package.json: No license field
$ webpack --mode development
Hash: b6bb9d22846ce2ac0bb8
Version: webpack 4.29.6
Time: 5244ms
Built at: 03/25/2019 1:40:28 PM
     Asset       Size  Chunks             Chunk Names
index.html  140 bytes          [emitted]
   main.js   4.83 KiB    main  [emitted]  main
Entrypoint main = main.js
[./src/greeter.ts] 275 bytes {main} [built]
[./src/index.ts] 167 bytes {main} [built]
Child html-webpack-plugin for "index.html":
     1 asset
    Entrypoint undefined = index.html
    [./node_modules/html-webpack-plugin/lib/loader.js!./src/index.pug] 406 bytes {0} [built]
    [fs] external "fs" 42 bytes {0} [optional] [built]
        + 1 hidden module
✨  Done in 7.60s.
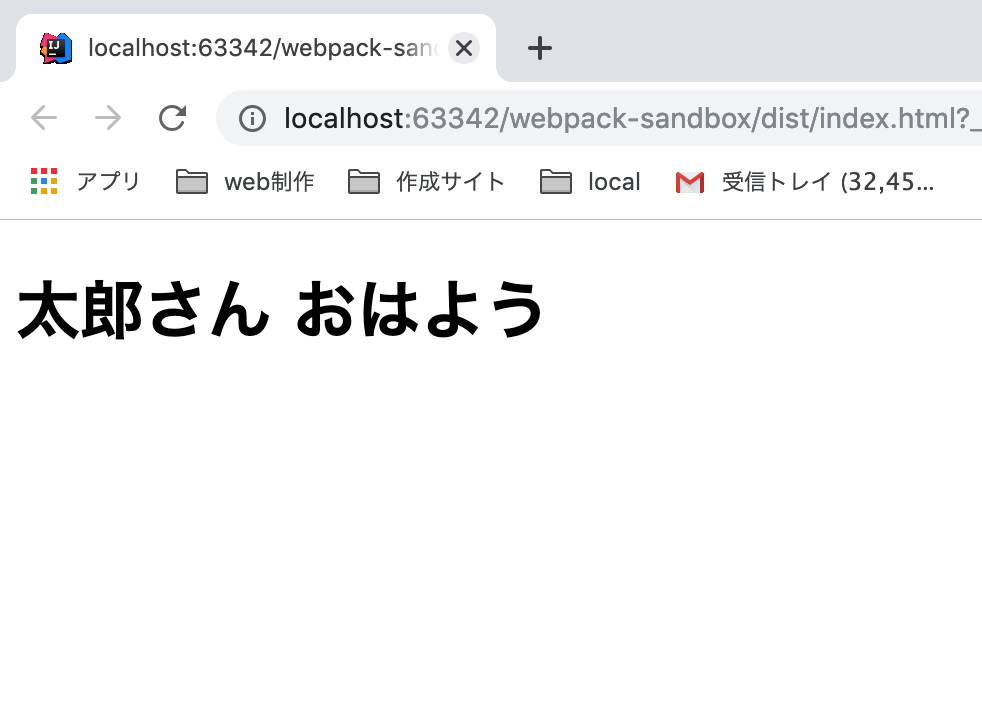
index.htmlを開いてこんな画面が出ればOKです。自動的に、jsの読み込みタグも追加されています。
Stylusのコンパイル
続いてStylusのコンパイルを設定します。
まず必要となるloader、pluginを追加します
$ yarn add -D css-loader stylus-loader stylus mini-css-extract-plugin
それぞれの説明です。
| module | 内容 |
|---|---|
| css-loader | JsでCSSファイルを読み込むためのLoader |
| stylus-loader | JsでStylusを読み込みCSSにコンパイルするためのLoader。Stylusモジュールを使ってコンパイルを行う |
| mini-css-extract-plugin | Jsで読み込んだCSSを.cssファイルとして出力するためのPlugin |
次にwebpack.config.jsを修正してstylusのコンパイルに対応させます。
const path = require('path');
const HtmlWebpackPlugin = require('html-webpack-plugin');
+ const MiniCssExtractPlugin = require("mini-css-extract-plugin");

module.exports = {
  entry: './src/index.ts',
  output: {
    filename: 'main.js',
    path: path.resolve(__dirname, 'dist')
  },
  module: {
    rules: [
      {
        test: /\.ts$/,
        use: 'ts-loader',
        exclude: /node_module/
      },
      {
        test: /\.pug$/,
        use: 'pug-loader',
      },
+      {
+        test: /\.styl$/,
+        use: [
+            MiniCssExtractPlugin.loader,
+            'css-loader',
+            'stylus-loader'
+        ]
+      }
    ]
  },
  resolve: {
    extensions: ['.ts', '.js']
  },
  plugins: [
      new HtmlWebpackPlugin({
        template: "./src/index.pug"
      }),
+      new MiniCssExtractPlugin({
+        filename: "[name].css",
+      })
  ]
}
これで環境が整ったので、stylusを追加します。
$ vi src/style.styl
body
  background-color #000
  writing-mode: vertical-rl;
  h1
    color #fff
これでwebpackを実行するとdist以下にmain.cssと、main.cssの読み込みが追記されているindex.htmlが出力されるはずです。
$ yarn run dev

Hash: 059e18f3caa93784fed6
Version: webpack 4.29.6
Time: 13803ms
Built at: 03/25/2019 2:48:57 PM
     Asset       Size  Chunks             Chunk Names
index.html  201 bytes          [emitted]
  main.css   92 bytes       0  [emitted]  main
   main.js   1.15 KiB       0  [emitted]  main
Entrypoint main = main.css main.js
[0] ./src/style.styl 39 bytes {0} [built]
[1] ./src/index.ts + 1 modules 470 bytes {0} [built]
    | ./src/index.ts 190 bytes [built]
    | ./src/greeter.ts 275 bytes [built]
    + 1 hidden module
.
.
index.htmlをプラウザで開き、こんな画面になれば完了です。

cssへのベンダープレフィックスの付与
stylusのコンパイルは出来たのですが、writing-modeには、まだベンダープレフィックスが必要です。
なのでpostcssを使って自動付与します。
まず必要なモジュールを追加します。
$ yarn add -D postcss-loader autoprefixer
次にwebpack.config.jsのstylus部分に、postcss-loaderを追加します。
...
      {
        test: /\.styl$/,
        use: [
            MiniCssExtractPlugin.loader,
            'css-loader',
+            'postcss-loader',
            'stylus-loader'
        ]
      }
...
そしてpostcssの設定ファイルpostcss.cofig.jsを追加します。
$ vi postcss.config.js
module.exports = {
  plugins: [
    require('autoprefixer')
  ]
}
これで準備完了です。
あとはyarn run devを実行し、main.cssを確認してみて下さい。
ベンダープレフィックスが付与されているはずです。
body {
  background-color: #333;
  -webkit-writing-mode: vertical-rl;
      -ms-writing-mode: tb-rl;
          writing-mode: vertical-rl;
}
body h1 {
  color: #fff;
}
最後に
以上webpackでPug、Stylus、TypeScriptの開発環境構築を整えるでした。
ここまで書いてみたのですが、この程度の作業ならpercelで良くない?と思いました。。
次はWebpackでしか出来ないことでTutorial書いてみようと思います。
参考