はじめに
目的
この記事では、Djangoフレームワークを使って、爆速でユーザー登録・ログイン機能を実装する方法をご紹介します!
これにより、ウェブアプリケーション開発において煩わしい認証機能の実装を効率的に行うことができます。
本記事の主な目的は、Djangoを用いてスピーディーにユーザー登録・ログイン機能を実装する方法を解説することです。
この記事は、Djangoに興味がありこれから学び始める初心者の方々にオススメの記事です🙆♂️
Djangoフレームワークについて
Djangoは、Pythonで開発されたオープンソースのウェブアプリケーションフレームワークです。Djangoは、多くの便利な機能がすでに内蔵されています。そのため、開発者は手間のかかる基本機能の実装から解放され、本来の目的であるアプリケーションの機能開発に専念することができます。
Djangoでは、ユーザー認証やセキュリティ機能などの重要な要素がすでに用意されており、プラグインや拡張機能を活用することで、さらに機能を強化することができます。これにより、初心者でも比較的容易に安全なウェブアプリケーションを開発することが可能となります。
それでは、さっそくDjangoを使ってユーザー登録・ログイン機能を実装してみましょう!
実践
参考までに、今回紹介するソースコードは、GitHubに公開しています!
Djangoドキュメントは以下
開発環境構築
- OS: macOS 13.2.1
- Python: 3.10.3
- Django: 4.1.7
Djangoプロジェクトの作成と設定
初めに、このプロジェクト用の仮想環境を作成します。
% python -m venv venv
仮想環境に入ります。
% source venv/bin/activate
Djangoをインストールします。
(venv)% pip install --upgade pip
(venv)% pip install Django
Djangoプロジェクトを作成します。
(venv)% django-admin startproject project .
settings.pyを編集します。
...

ALLOWED_HOSTS = ['*']

...
開発用サーバーを起動してみましょう。
(venv)% python manage.py runserver
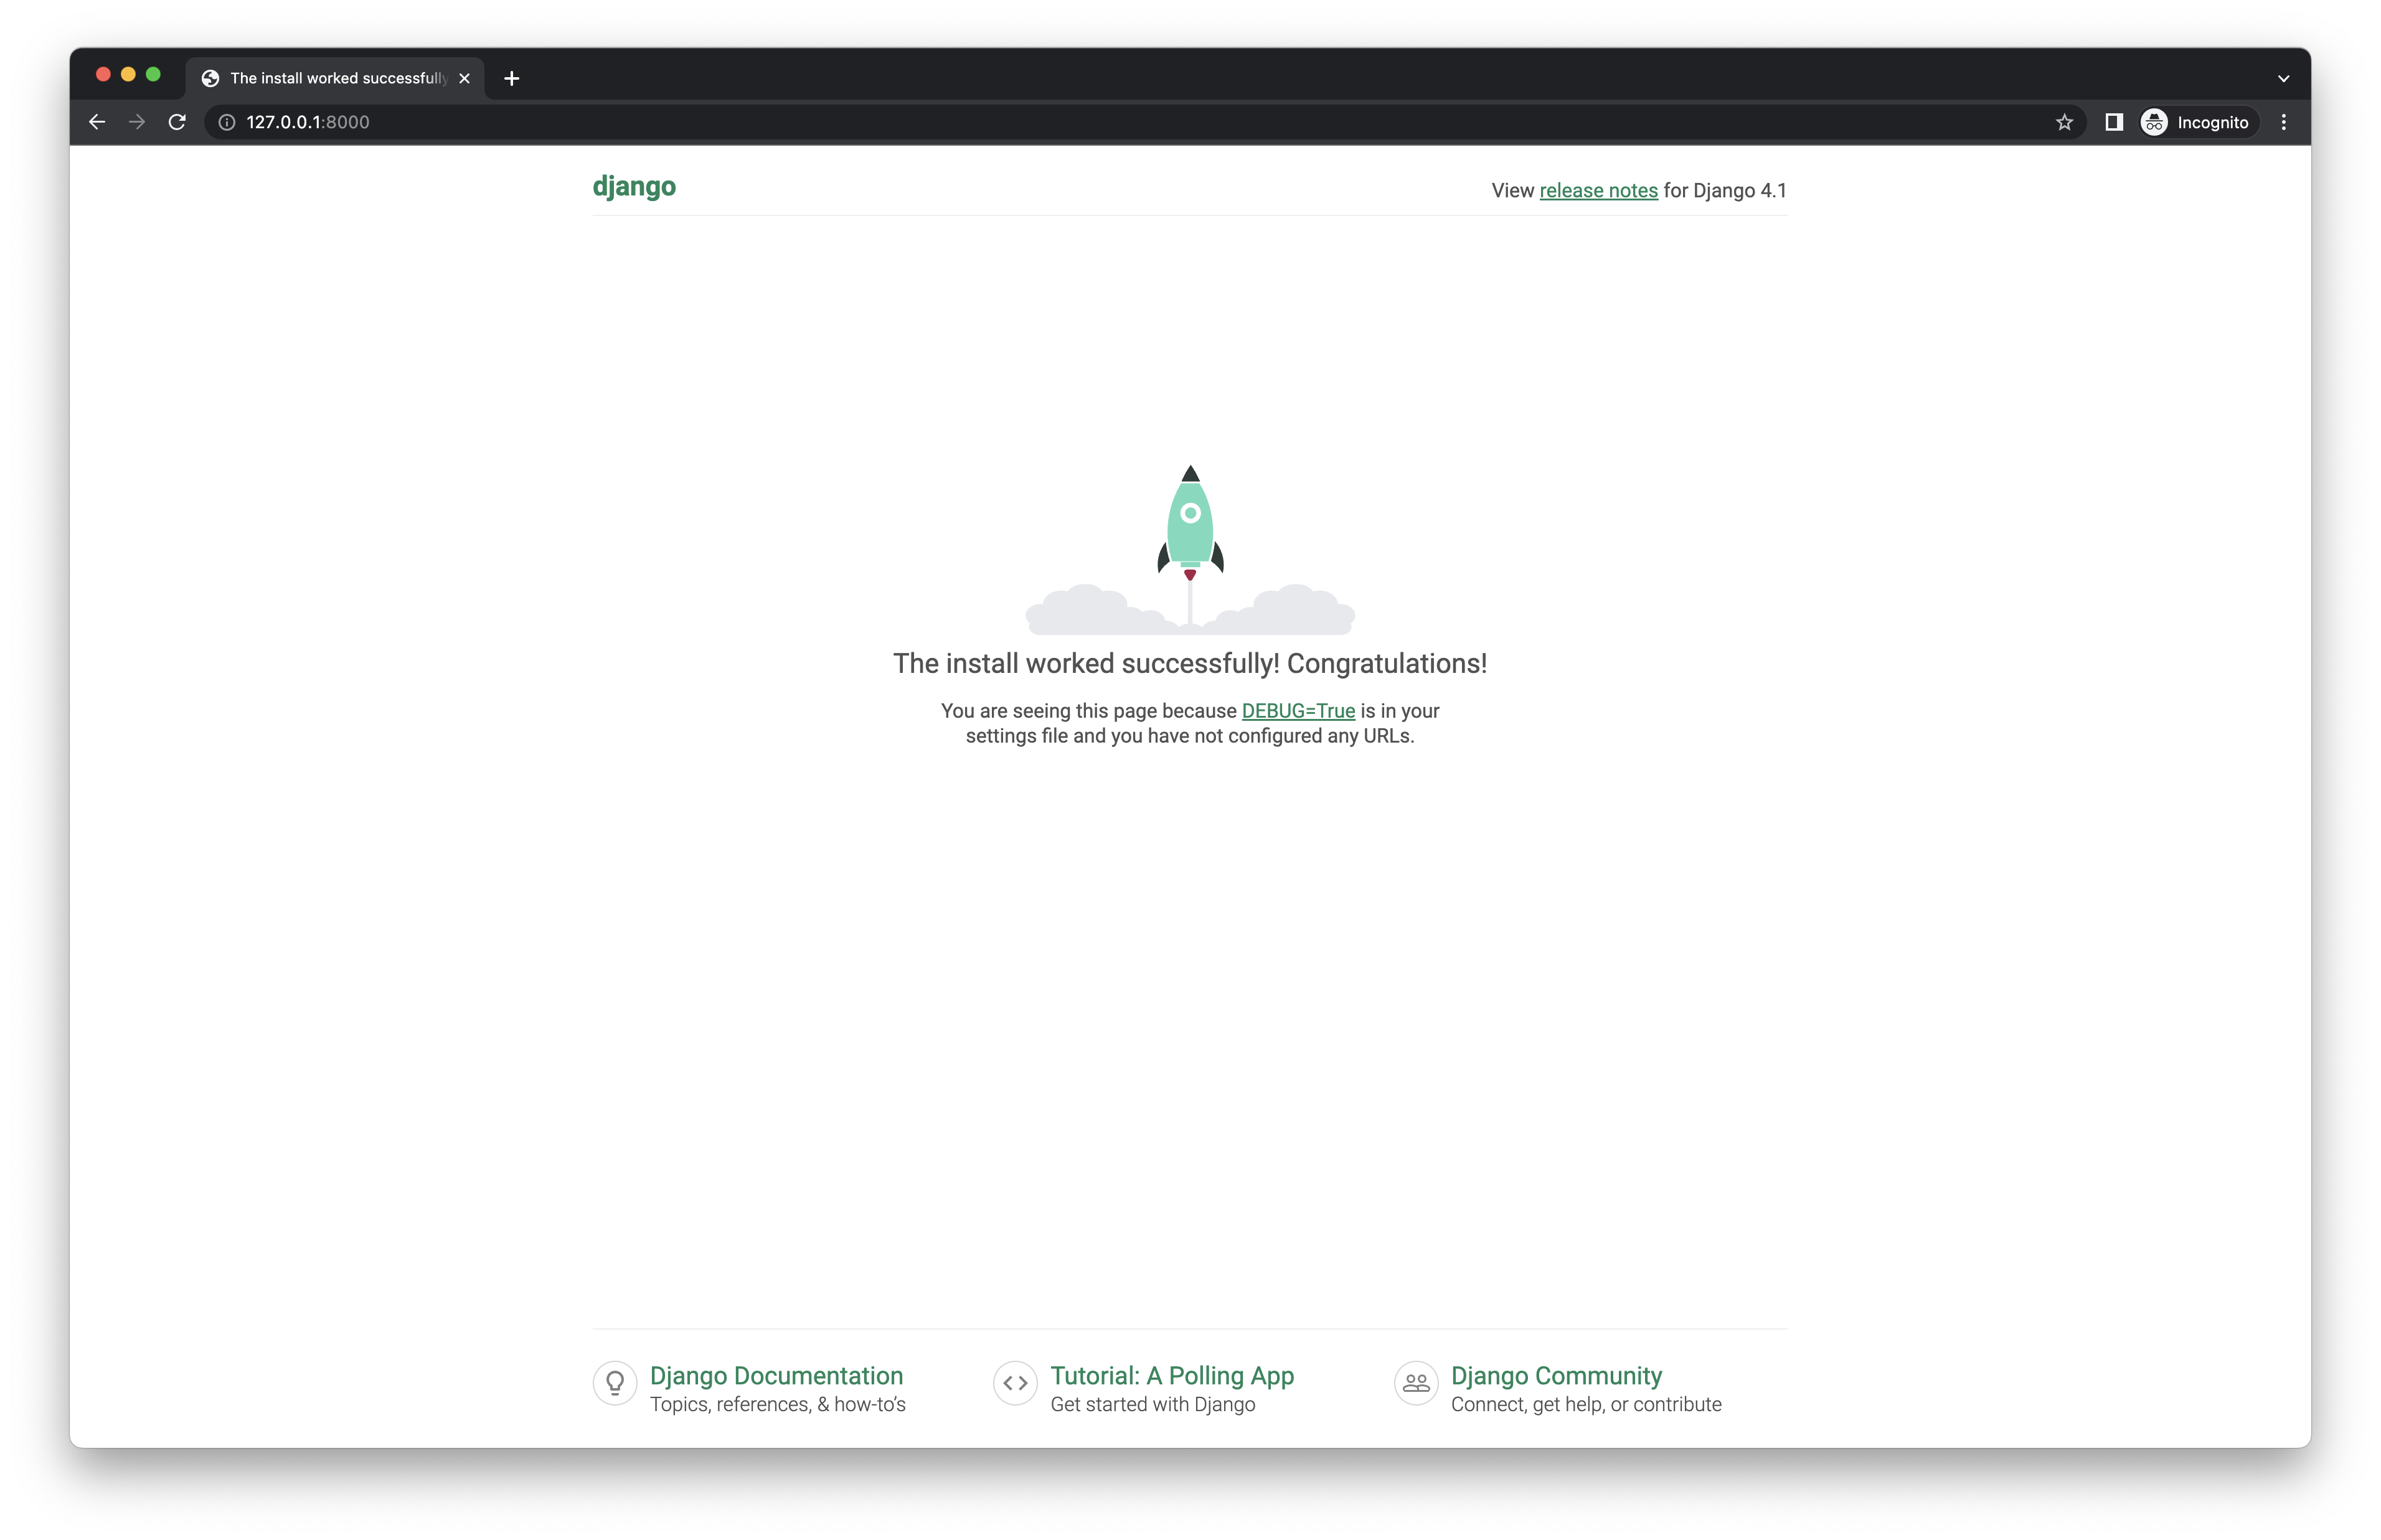
ブラウザでhttp://127.0.0.1:8000にアクセスし、デフォルト画面が表示されたらOKです!🙆♂️
カスタムユーザーの作成
Djangoフレームワークでは、Djangoのデフォルトのユーザーモデルではなく、カスタムユーザーモデルを作成することが推奨されています。
Djangoアプリケーション開発の初期段階でカスタムユーザーモデルを作成していると、後にユーザーに年齢や住所などの属性を追加させたい場合に、変更が容易になる等のメリットがあります。
accountsアプリを作成します。
(venv)% python manage.py startapp accounts
settings.pyのINSTALLED_APPSにaccountsを追加します。
また、この後作成するカスタムユーザーを認証用ユーザーモデルとして使用するため、その設定を追加します。
...
INSTALLED_APPS = [
    'django.contrib.admin',
    'django.contrib.auth',
    'django.contrib.contenttypes',
    'django.contrib.sessions',
    'django.contrib.messages',
    'django.contrib.staticfiles',
    'accounts' # 追加
]

AUTH_USER_MODEL = "accounts.User" # カスタムユーザーを認証用ユーザーとして登録

...
カスタムユーザーモデルを作成します。
from django.db import models
from django.contrib.auth.models import (BaseUserManager,
                                        AbstractBaseUser,
                                        PermissionsMixin)
from django.utils.translation import gettext_lazy as _


class UserManager(BaseUserManager):
    def _create_user(self, email, account_id, password, **extra_fields):
        email = self.normalize_email(email)
        user = self.model(email=email, account_id=account_id, **extra_fields)
        user.set_password(password)
        user.save(using=self._db)

        return user

    def create_user(self, email, account_id, password=None, **extra_fields):
        extra_fields.setdefault('is_active', True)
        extra_fields.setdefault('is_staff', False)
        extra_fields.setdefault('is_superuser', False)
        return self._create_user(
            email=email,
            account_id=account_id,
            password=password,
            **extra_fields,
        )

    def create_superuser(self, email, account_id, password, **extra_fields):
        extra_fields['is_active'] = True
        extra_fields['is_staff'] = True
        extra_fields['is_superuser'] = True
        return self._create_user(
            email=email,
            account_id=account_id,
            password=password,
            **extra_fields,
        )


class User(AbstractBaseUser, PermissionsMixin):

    account_id = models.CharField(
        verbose_name=_("account_id"),
        unique=True,
        max_length=10
    )
    email = models.EmailField(
        verbose_name=_("email"),
        unique=True
    )
    first_name = models.CharField(
        verbose_name=_("first_name"),
        max_length=150,
        null=True,
        blank=False
    )
    last_name = models.CharField(
        verbose_name=_("last_name"),
        max_length=150,
        null=True,
        blank=False
    )
    birth_date = models.DateField(
        verbose_name=_("birth_date"),
        blank=True,
        null=True
    )
    is_superuser = models.BooleanField(
        verbose_name=_("is_superuer"),
        default=False
    )
    is_staff = models.BooleanField(
        verbose_name=_('staff status'),
        default=False,
    )
    is_active = models.BooleanField(
        verbose_name=_('active'),
        default=True,
    )
    created_at = models.DateTimeField(
        verbose_name=_("created_at"),
        auto_now_add=True
    )
    updated_at = models.DateTimeField(
        verbose_name=_("updateded_at"),
        auto_now=True
    )

    objects = UserManager()

    USERNAME_FIELD = 'account_id' # ログイン時、ユーザー名の代わりにaccount_idを使用
    REQUIRED_FIELDS = ['email']  # スーパーユーザー作成時にemailも設定する

    def __str__(self):
        return self.account_id
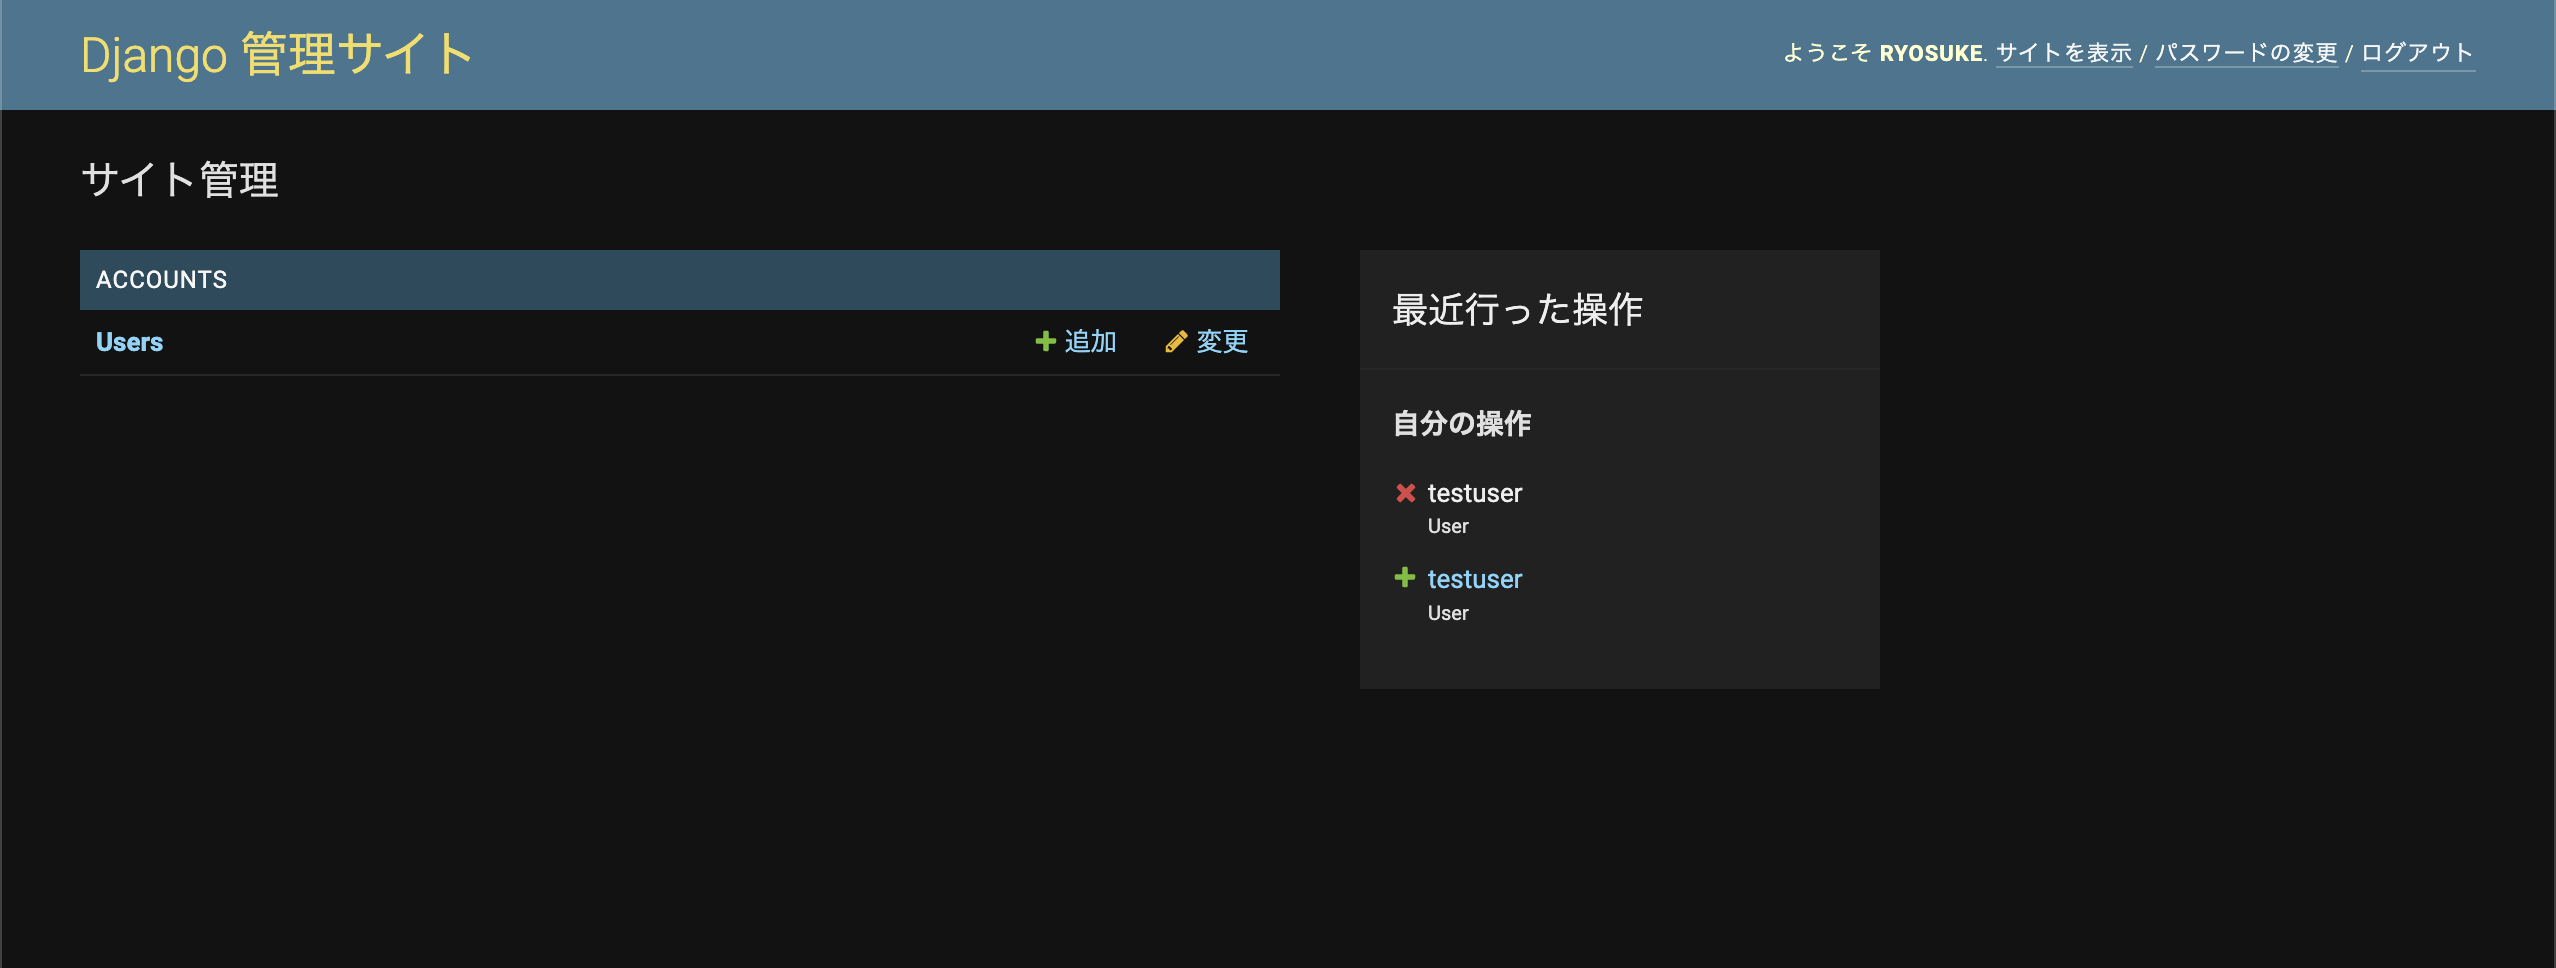
管理画面でユーザー登録を行ってみましょう。
管理画面でカスタムユーザーの編集をできるよう、admin.pyに設定を追加します。
from django.contrib import admin
from django.contrib.auth.models import Group

from .models import User


admin.site.register(User, UserAdmin)  # Userモデルを登録
admin.site.unregister(Group)  # Groupモデルは不要のため非表示にします
マイグレーションします。
(venv)% python manage.py makemigrations
(venv)% python mange.py migrate
管理画面にログインするため、スーパーユーザーを作成します。
(venv)% python manage.py createsuperuser
account_id, email, passwordの入力を求められるので、任意の値を入力してください。
開発用サーバーを起動します
(venv)% python manage.py runserver
ブラウザで、http://127.0.0.1:8000/adminにアクセスし、作成したスーパーユーザーアカウントでログインします。
ここまでできましたら、カスタムユーザーは問題なく作成されています🙆♂️
ユーザー登録機能の実装
ユーザー登録用フォームを作成します。
DjangoのUserCreationFormを利用して作成します。
accountsディレクトリ以下にforms.pyを作成してください。
from django.contrib.auth.forms import UserCreationForm

from .models import User


class SignUpForm(UserCreationForm):
    class Meta:
        model = User
        fields = (
            "account_id",
            "email",
            "first_name",
            "last_name",
            "birth_date",
        )
続いて、ビューを作成します。
from django.contrib.auth import login, authenticate
from django.views.generic import TemplateView, CreateView
from django.urls import reverse_lazy
from .forms import SignUpForm


class IndexView(TemplateView):
    """ ホームビュー """
    template_name = "index.html"


class SignupView(CreateView):
    """ ユーザー登録用ビュー """
    form_class = SignUpForm # 作成した登録用フォームを設定
    template_name = "accounts/signup.html"
    success_url = reverse_lazy("accounts:index") # ユーザー作成後のリダイレクト先ページ

    def form_valid(self, form):
        # ユーザー作成後にそのままログイン状態にする設定
        response = super().form_valid(form)
        account_id = form.cleaned_data.get("account_id")
        password = form.cleaned_data.get("password1")
        user = authenticate(account_id=account_id, password=password)
        login(self.request, user)
        return response
テンプレートを作成します。
manage.pyと同じ階層にtemplatesディレクトリを作成し、その中にテンプレートファイルを配置します。
この記事は、ユーザーの登録・ログイン機能にフォーカスしているため、UIデザインはBootstrapを軽く使用している程度になります🙇♂️
base.htmlを作成します。
<!DOCTYPE html>
<html lang="ja">

<head>
  <meta charset="UTF-8">
  <meta http-equiv="X-UA-Compatible" content="IE=edge">
  <meta name="viewport" content="width=device-width, initial-scale=1.0">
  <!-- Bootstrap5のCDNを設定 -->
  <link href="https://cdn.jsdelivr.net/npm/bootstrap@5.0.2/dist/css/bootstrap.min.css" rel="stylesheet"
    integrity="sha384-EVSTQN3/azprG1Anm3QDgpJLIm9Nao0Yz1ztcQTwFspd3yD65VohhpuuCOmLASjC" crossorigin="anonymous">
  <script src="https://cdn.jsdelivr.net/npm/bootstrap@5.0.2/dist/js/bootstrap.bundle.min.js"
    integrity="sha384-MrcW6ZMFYlzcLA8Nl+NtUVF0sA7MsXsP1UyJoMp4YLEuNSfAP+JcXn/tWtIaxVXM"
    crossorigin="anonymous"></script>
  <title>Account</title>
</head>

<body>
  <div class="container mx-auto text-center">
    {% block title %}
    {% endblock %}
    {% block content %}
    {% endblock %}
  </div>
</body>

</html>
index.htmlを作成します。
{% extends 'base.html' %}

{% block title %}
{% if user.is_authenticated %}
<div class="h1">MyPage</div>
{% else %}
<div class="h1">Main</div>
{% endif %}
{% endblock %}

{% block content %}
{% if user.is_authenticated %}
<div class="h2">Welcome {{ user.first_name }} {{ user.last_name }}</div>
{% else %}
<a href="{% url 'accounts:signup' %}" class="btn btn-primary">Signup</a>
{% endif %}
{% endblock %}
今回は、ログインの有無で、トップページの表示内容が異なるように実装します。
具体的には、以下の内容を表示します。
| 状態 | タイトル | コンテンツ |
|---|---|---|
| 非ログイン時 | Main | SignUp, Loginボタン表示 |
| ログイン時 | MyPage | ユーザー情報表示 |
では、肝心のユーザー登録用画面のテンプレートを作成します。
{% extends 'base.html' %}

{% block title %}
<div class="h1">Create account</div>
{% endblock %}

{% block content %}
<div>
  <br>
  <form method="POST">
    {% csrf_token %}
    {{ form.non_field_errors }}
    {% for field in form %}
    {{ field.label }}
    {{ field }}
    {{ field.errors }}
    <br>
    {% endfor %}
    <div class="mt-3">
      <button type="submit" class="btn btn-primary">Create</button>
      <a href="{% url 'accounts:index' %}" class="btn btn-secondary">Back</a>
    </div>
  </form>
</div>
{% endblock %}
ここで登場したテンプレートタグについて解説します。
-
{% csrf_token %}
CSRF(Cross-Site Request Forgery)対策として使用されます。フォームを使ったPOSTリクエストを送信する際に、このタグを使ってCSRFトークンを自動的に生成し、フォーム内に埋め込むことができます。このトークンを使用することで、不正なPOSTリクエストを防ぐことができます。デフォルトでは、このタグを付けずにPOSTリクエストを行った場合エラーが発生します。 -
{{ form.non_field_errors }}
フォーム全体に関連するエラーメッセージを表示するための変数です。例えば、フォーム内の2つのフィールド間の関係に問題がある場合や、全体的なバリデーションエラーが発生した場合に、この変数を使ってエラーメッセージを表示することができます。 -
{% for field in form %} {% endfor %}
Djangoテンプレートタグのforループ構文です。この構文を使用することで、フォーム内のすべてのフィールドを繰り返し処理し、それぞれのフィールドに対してHTMLを生成することができます。 -
{{ field.label }}
フィールド名を表示するタグ -
{{ field }}
フィールドの入力フォーム(ウィジェット)を表示するためのタグです -
{{ field.errors }}
任意のフィールドに関連するエラーメッセージを表示するための変数
ここで、テンプレートファイルを配置しているディレクトリをsettings.pyに設定します。
TEMPLATES = [
    {
        'BACKEND': 'django.template.backends.django.DjangoTemplates',
        'DIRS': [BASE_DIR / 'templates'], # templatesディレクトリを設定
        'APP_DIRS': True,
        'OPTIONS': {
            'context_processors': [
                'django.template.context_processors.debug',
                'django.template.context_processors.request',
                'django.contrib.auth.context_processors.auth',
                'django.contrib.messages.context_processors.messages',
            ],
        },
    },
]
ブラウザから登録フォームを操作できるよう、ルーティングを作成します。
from django.contrib import admin
from django.urls import path, include

urlpatterns = [
    path('admin/', admin.site.urls),
    path('', include("accounts.urls")) # accounts.urls.pyを読み込むための設定を追加
]
accountsディレクトリにurls.pyを新規作成し、設定を記述します。
from django.urls import path

from . import views

app_name = "accounts"

urlpatterns = [
    path("", views.IndexView.as_view(), name="index"),
    path('signup/', views.SignupView.as_view(), name="signup"),
]
ここまでできましたら、作成したユーザー登録フォームの動作確認をしてみましょう!
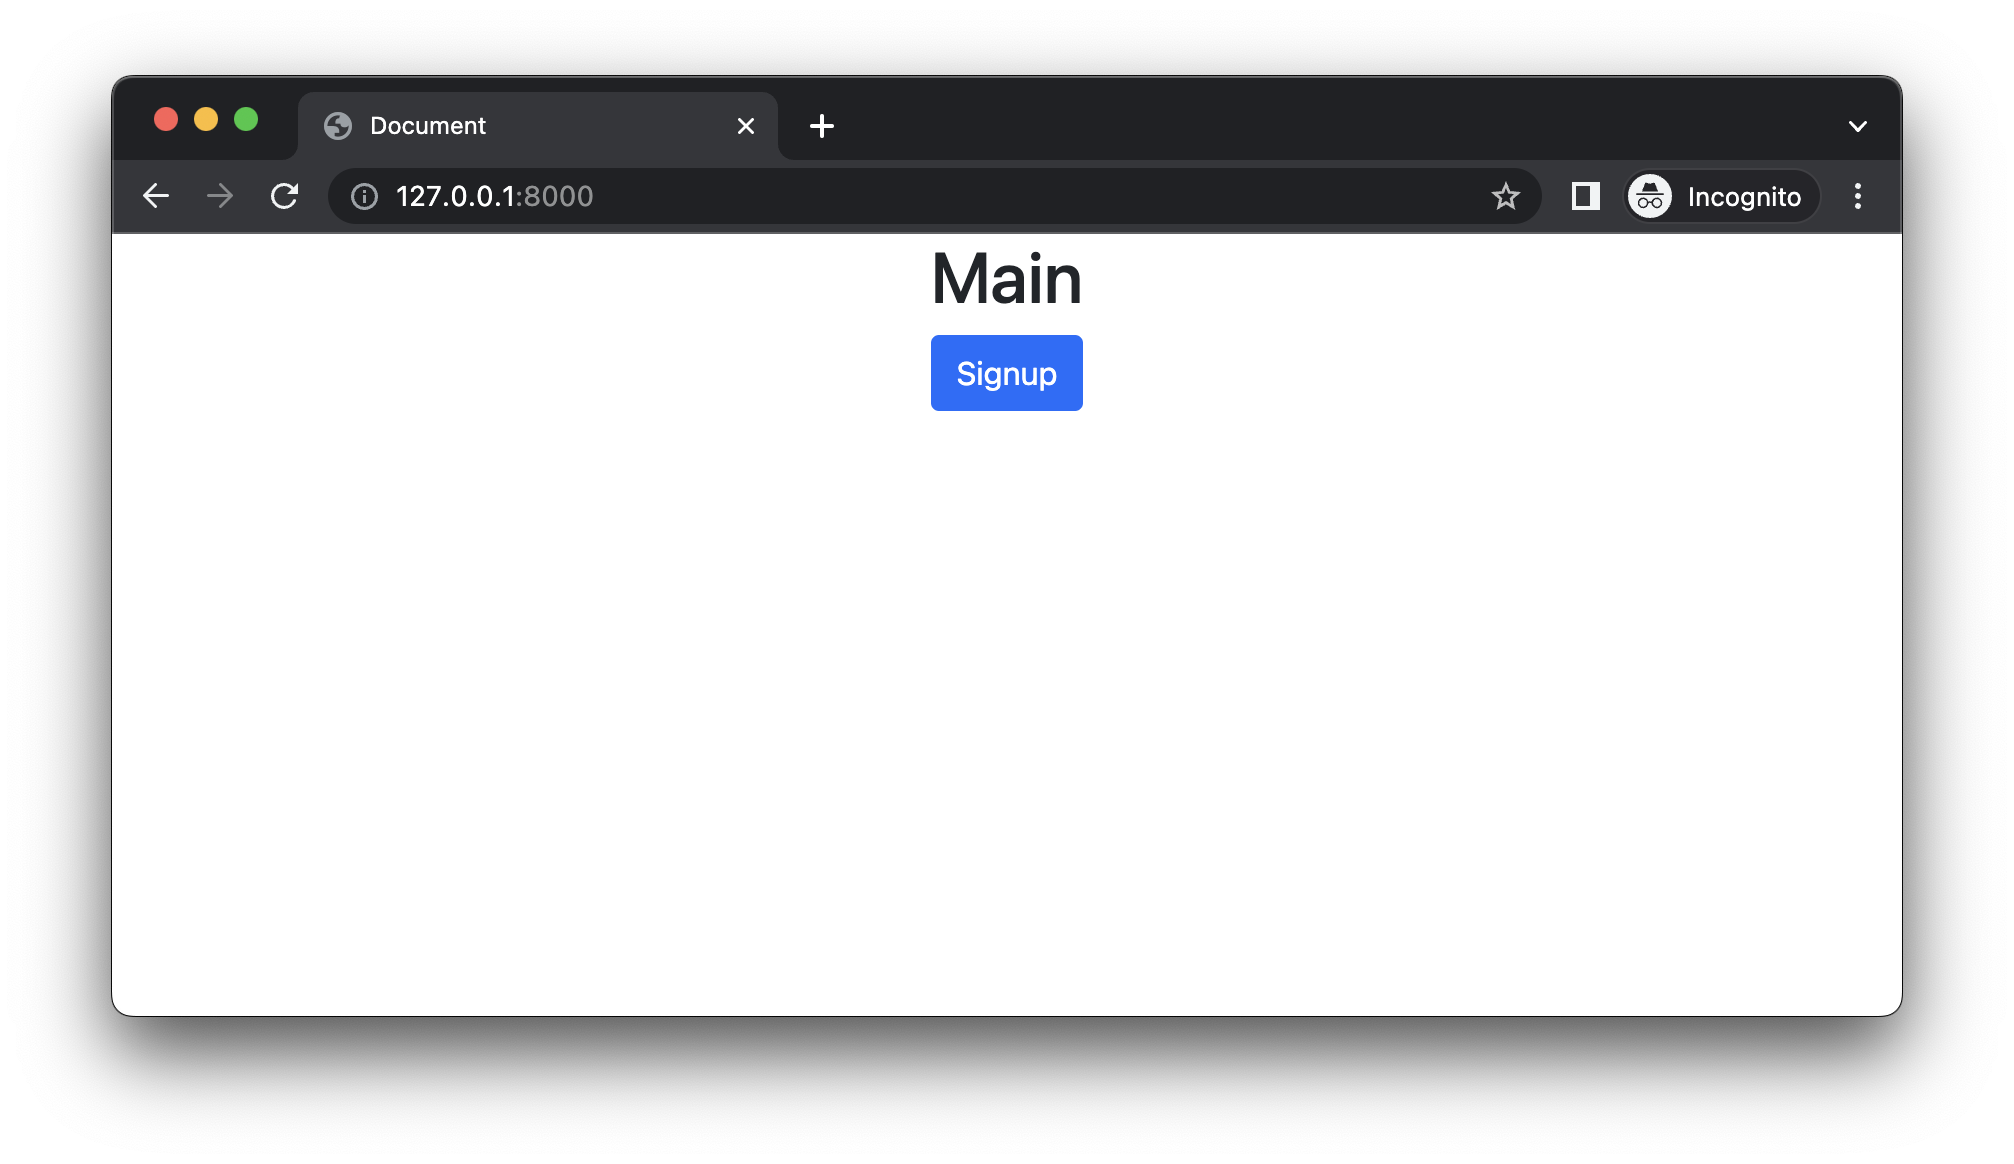
開発用サーバーを起動して、ブラウザでhttp://127.0.0.1:8000にアクセスし、Mainページが表示されるか確認します。
Mainページが表示されました!
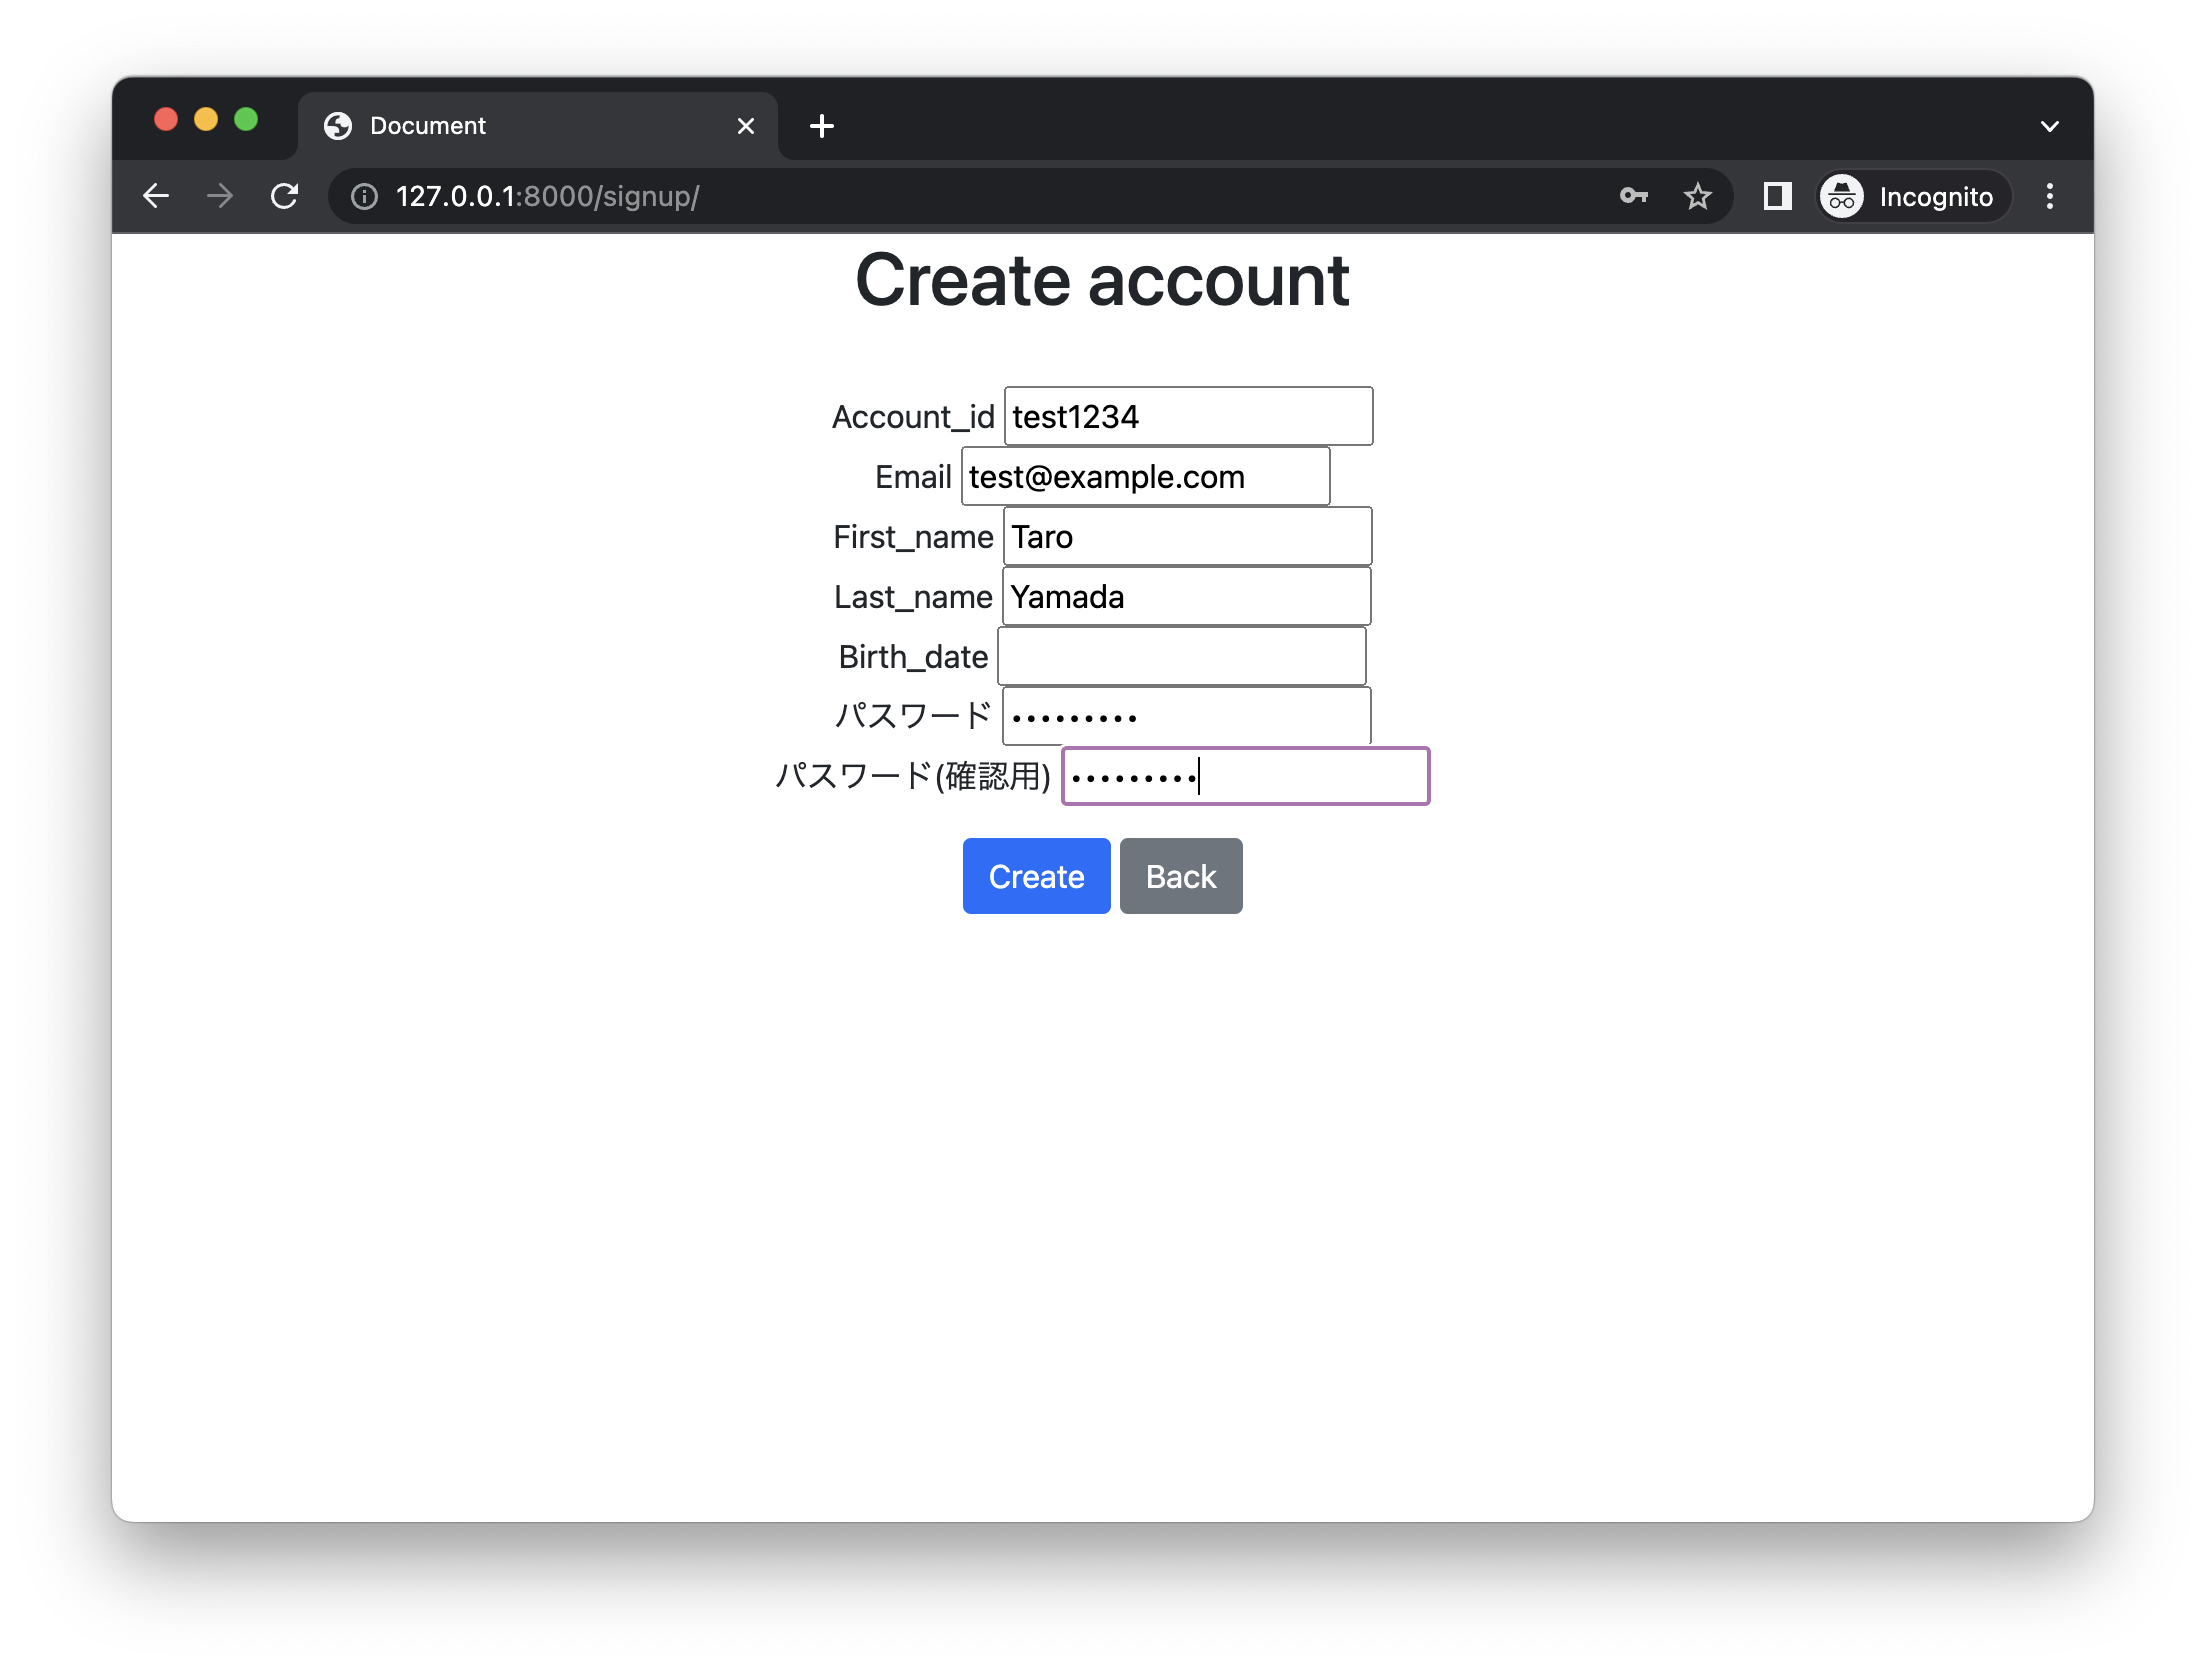
SignUpボタンを押して、Create accountページからアカウントを作成してみます。
フォームにユーザー情報を入力し、Createボタンを押下します。(ここでは、Birth_dateは空欄でOKです。)
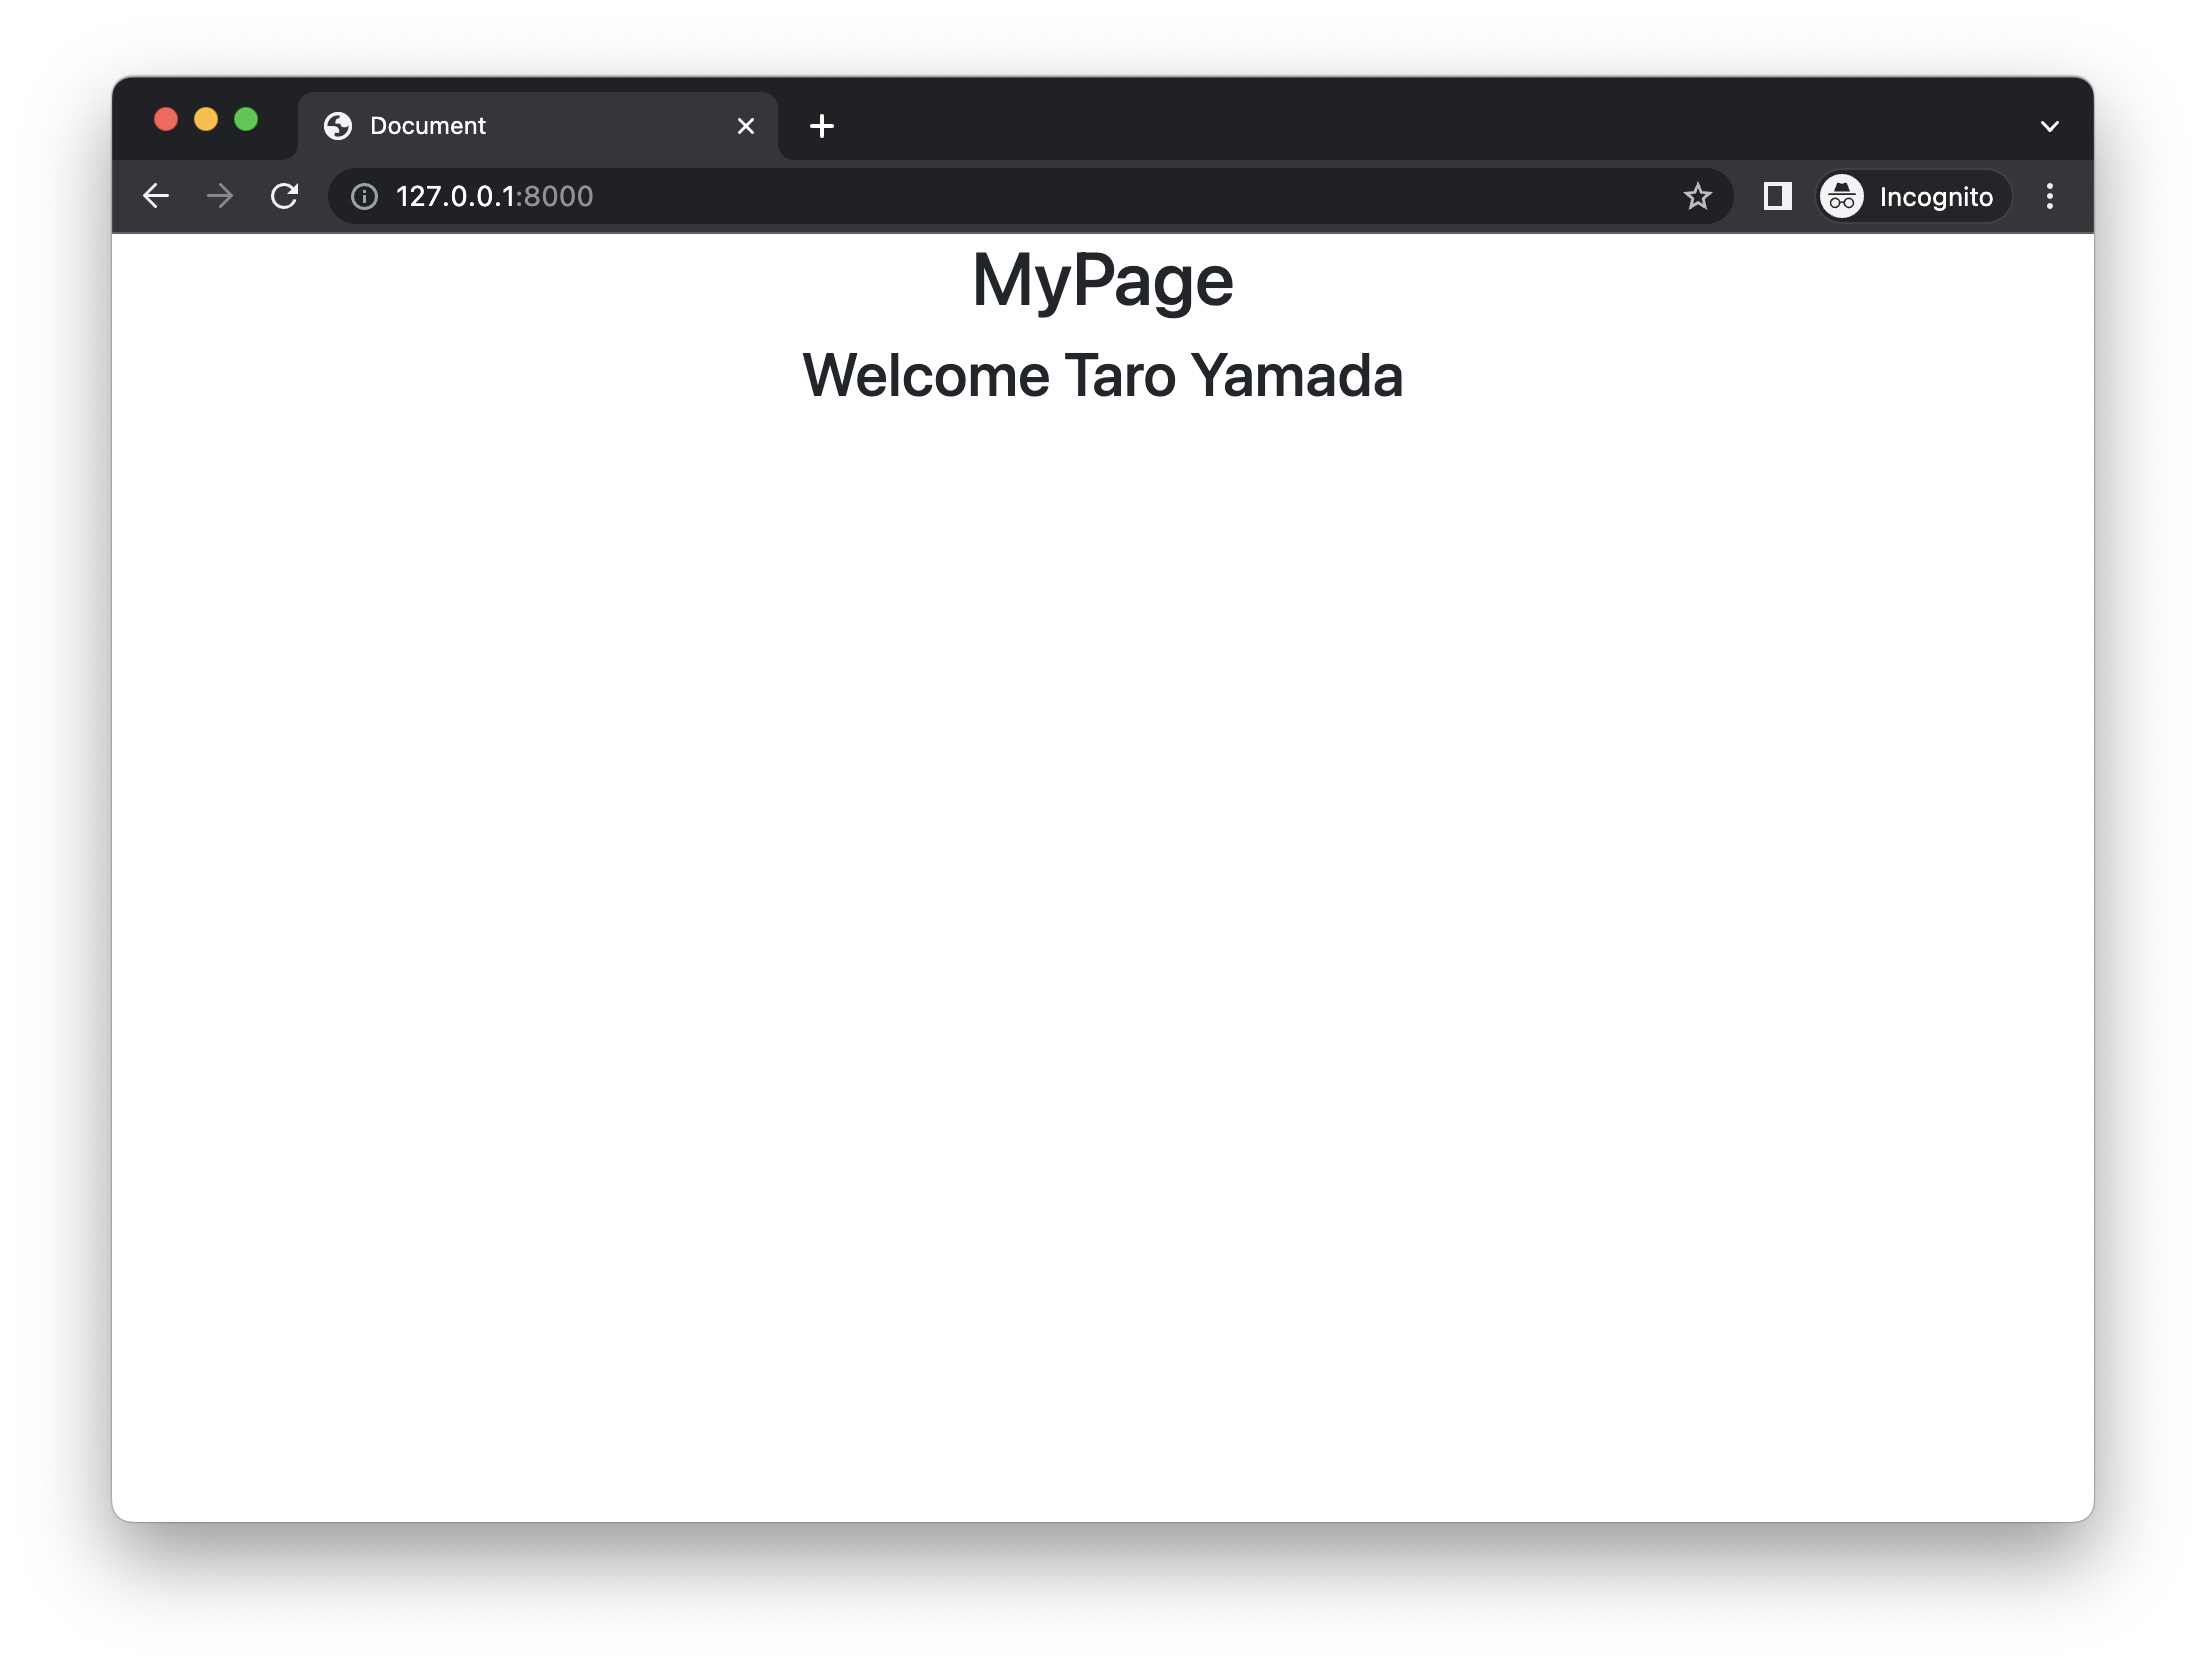
ユーザーが作成されたと同時に、認証も通ったため、
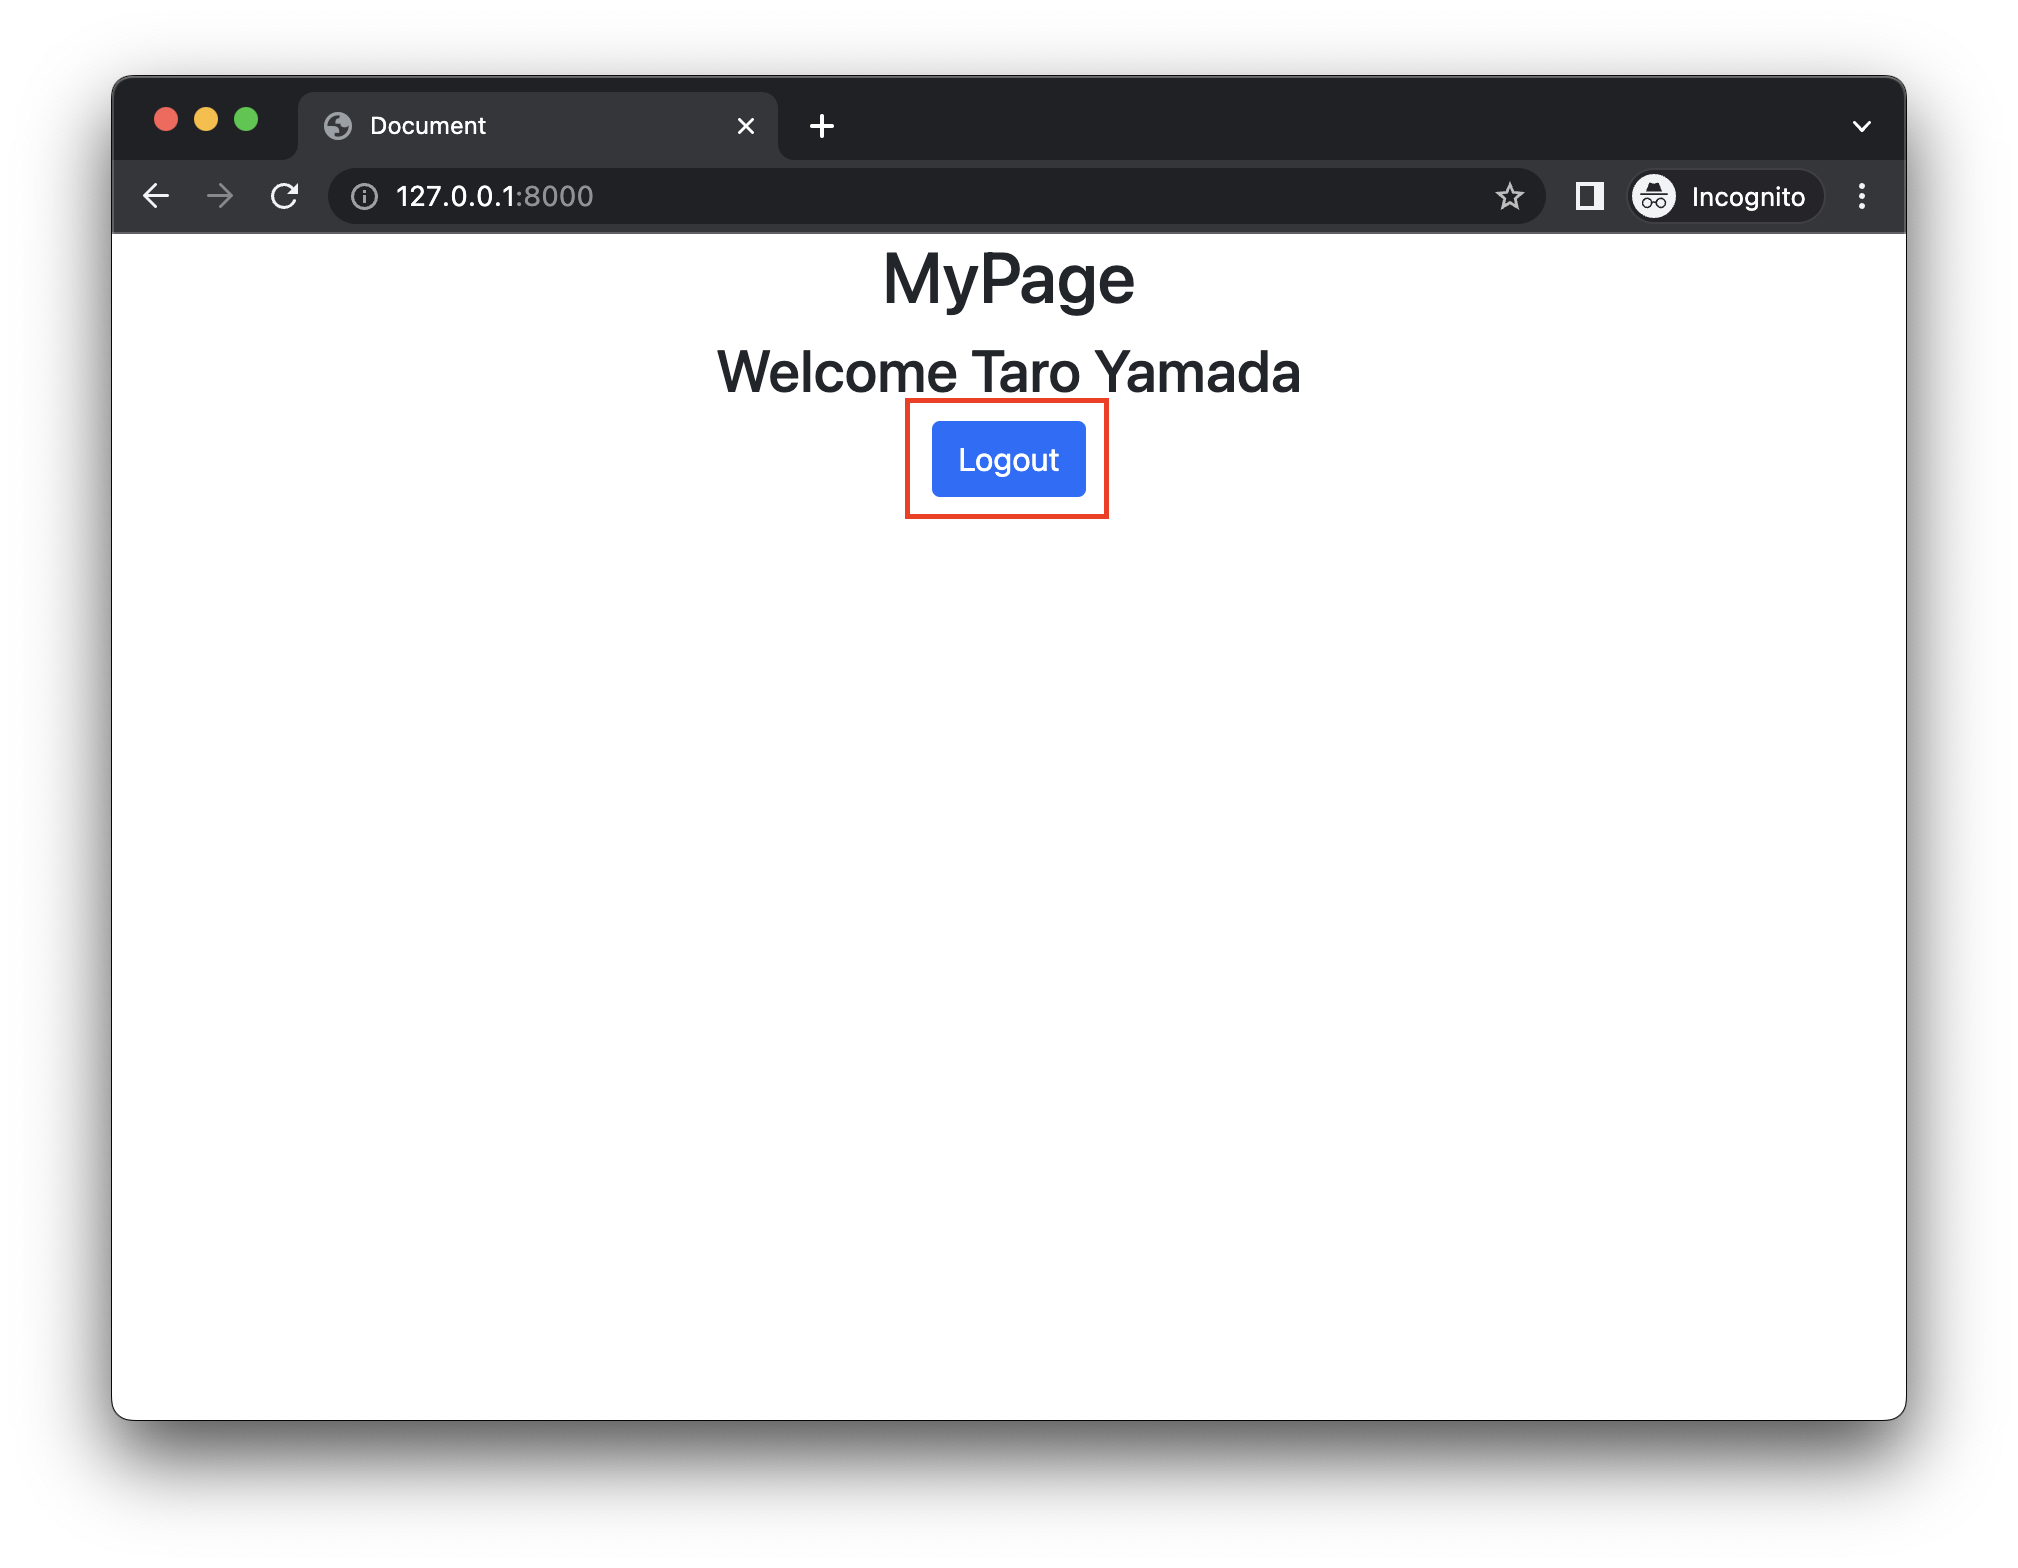
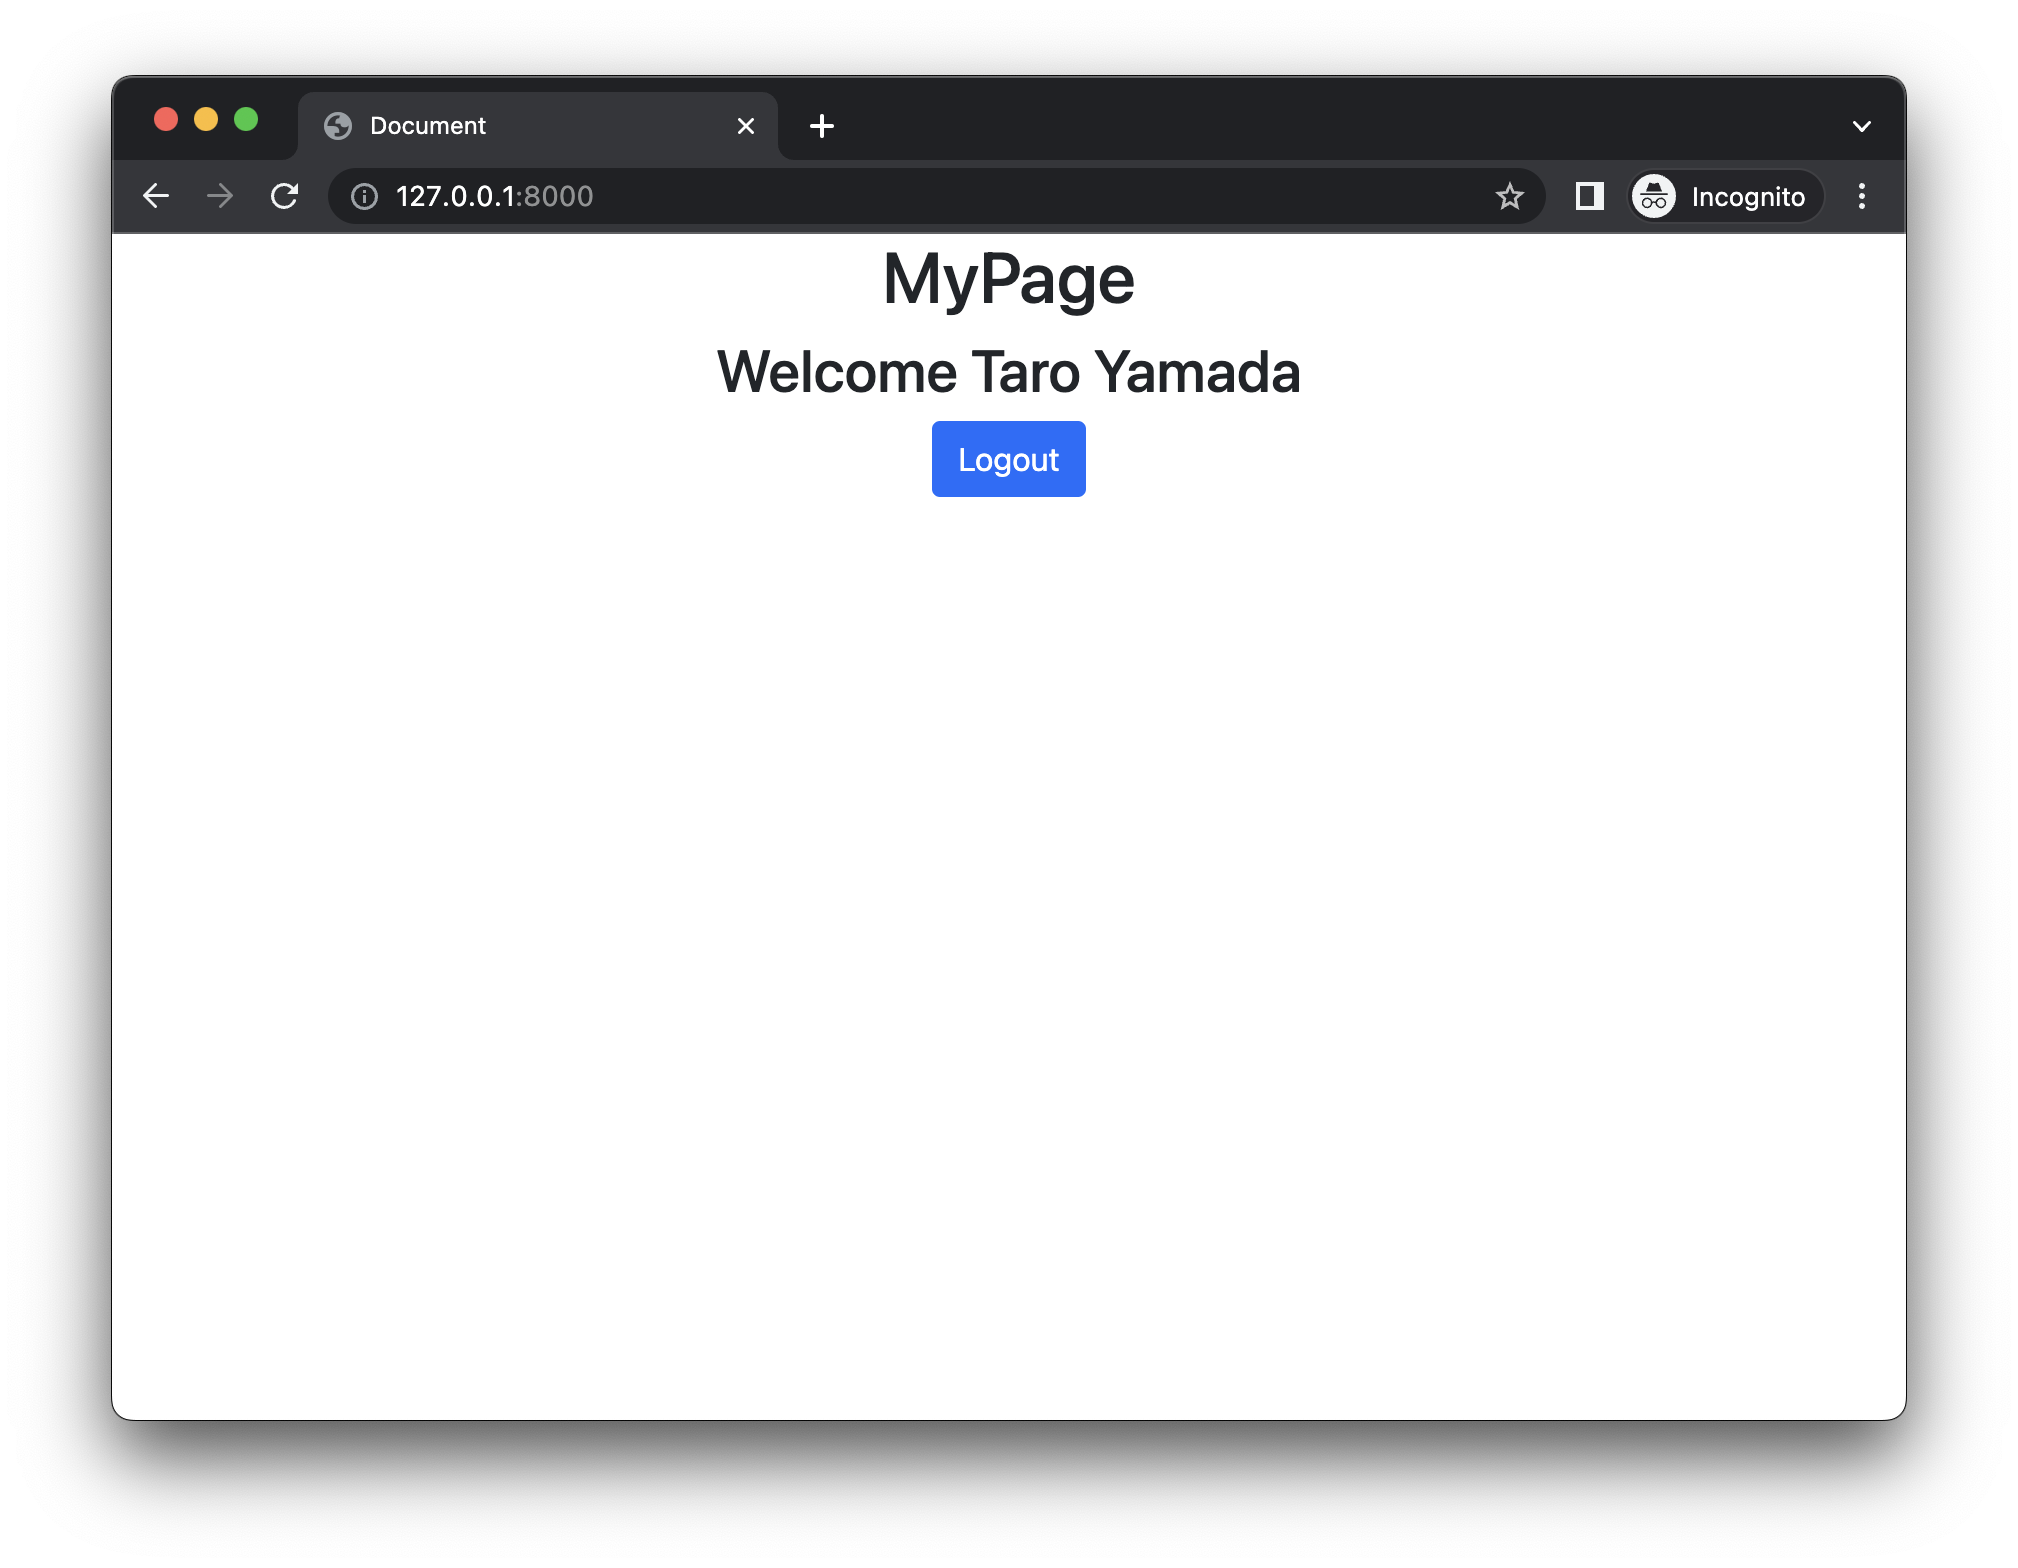
MyPageが表示されました🙆♂️
これで、ユーザー登録機能は完成です!
ログイン機能の実装
ログイン機能を実装していきましょう!
ログイン用のフォームを作成します。
from django.contrib.auth.forms import UserCreationForm, AuthenticationForm # 追加

from .models import User


class SignUpForm(UserCreationForm):
    class Meta:
        model = User
        fields = (
            "account_id",
            "email",
            "first_name",
            "last_name",
            "birth_date",
        )


# ログインフォームを追加
class LoginFrom(AuthenticationForm):
    class Meta:
        model = User
LoginViewを作成します。
from django.contrib.auth import login, authenticate
from django.views.generic import TemplateView, CreateView
from django.contrib.auth.views import LoginView as BaseLoginView
from django.urls import reverse_lazy
from .forms import SignUpForm, LoginFrom # ログインフォームをimport


class IndexView(TemplateView):
    template_name = "index.html"


class SignupView(CreateView):
    form_class = SignUpForm
    template_name = "accounts/signup.html"
    success_url = reverse_lazy("accounts:index")

    def form_valid(self, form):
        # login after signup
        response = super().form_valid(form)
        account_id = form.cleaned_data.get("account_id")
        password = form.cleaned_data.get("password1")
        user = authenticate(account_id=account_id, password=password)
        login(self.request, user)
        return response

# ログインビューを作成
class LoginView(BaseLoginView):
    form_class = LoginFrom
    template_name = "accounts/login.html"
ログインテンプレートを作成します。
{% extends 'base.html' %}

{% block title %}
<div class="h1">Login</div>
{% endblock %}
{% block content %}
<form method="post">
    {% csrf_token %}
    {{ form.non_field_errors }}
    {% for field in form %}
    {{ field.label }}
    {{ field }}
    {{ field.errors }}
    <br>
    {% endfor %}
    <div class="mt-3">
        <button type="submit" class="btn btn-primary">Login</button>
        <a href="{% url 'accounts:index' %}" class="btn btn-secondary">Back</a>
    </div>
</form>
{% endblock %}
ログインページのURLを設定します。
from django.urls import path

from . import views

app_name = "accounts"

urlpatterns = [
    path("", views.IndexView.as_view(), name="index"),
    path('signup/', views.SignupView.as_view(), name="signup"),
    path('login/', views.LoginView.as_view(), name="login"),
]
ログイン後のリダイレクト先URLをsettings.pyに設定します。
...
LOGIN_REDIRECT_URL = "accounts:index"
これにより、ログイン後にトップページに画面遷移します。
ログアウト機能の実装
ログアウト機能を実装します。
views.pyにLogoutViewを作成します。
from django.contrib.auth import login, authenticate
from django.views.generic import TemplateView, CreateView
from django.contrib.auth.views import LoginView as BaseLoginView,  LogoutView as BaseLogoutView
from django.urls import reverse_lazy
from .forms import SignUpForm, LoginFrom


class IndexView(TemplateView):
    template_name = "index.html"


class SignupView(CreateView):
    form_class = SignUpForm
    template_name = "accounts/signup.html"
    success_url = reverse_lazy("accounts:index")

    def form_valid(self, form):
        # login after signup
        response = super().form_valid(form)
        account_id = form.cleaned_data.get("account_id")
        password = form.cleaned_data.get("password1")
        user = authenticate(account_id=account_id, password=password)
        login(self.request, user)
        return response


class LoginView(BaseLoginView):
    form_class = LoginFrom
    template_name = "accounts/login.html"

# LogoutViewを追加
class LogoutView(BaseLogoutView):
    success_url = reverse_lazy("accounts:index")
urls.pyにlogoutのパスを設定します。
from django.urls import path

from . import views

app_name = "accounts"

urlpatterns = [
    path("", views.IndexView.as_view(), name="index"),
    path('signup/', views.SignupView.as_view(), name="signup"),
    path('login/', views.LoginView.as_view(), name="login"),
    path('logout/', views.LogoutView.as_view(), name="logout"), # 追加
]
テンプレートにログアウトボタンを追加します。
{% extends 'base.html' %}

{% block title %}
{% if user.is_authenticated %}
<div class="h1">MyPage</div>
{% else %}
<div class="h1">Main</div>
{% endif %}
{% endblock %}

{% block content %}
{% if user.is_authenticated %}
<div class="h2">Welcome {{ user.first_name }} {{ user.last_name }}</div>
<!-- ↓追加 -->
<a href="{% url 'accounts:logout' %}" class="btn btn-primary">Logout</a>
{% else %}
<a href="{% url 'accounts:signup' %}" class="btn btn-primary">Signup</a>
<a href="{% url 'accounts:login' %}" class="btn btn-primary">Login</a>
{% endif %}
{% endblock %}
settings.pyにログアウトリダイレクト先URLを設定します。今回は、ログインページに移動するように設定します。
...
LOGIN_REDIRECT_URL = "accounts:index"
LOGOUT_REDIRECT_URL = "accounts:login"
これで、マイページからLogoutボタンを押下することで、ログアウト処理が可能になります。
ログイン・ログアウトの動作確認
ユーザー作成後はログイン状態ですので、まずLogoutボタンを押下し、ログアウトします。
想定通り、ログアウト後はログインページに移動しています🙆♂️
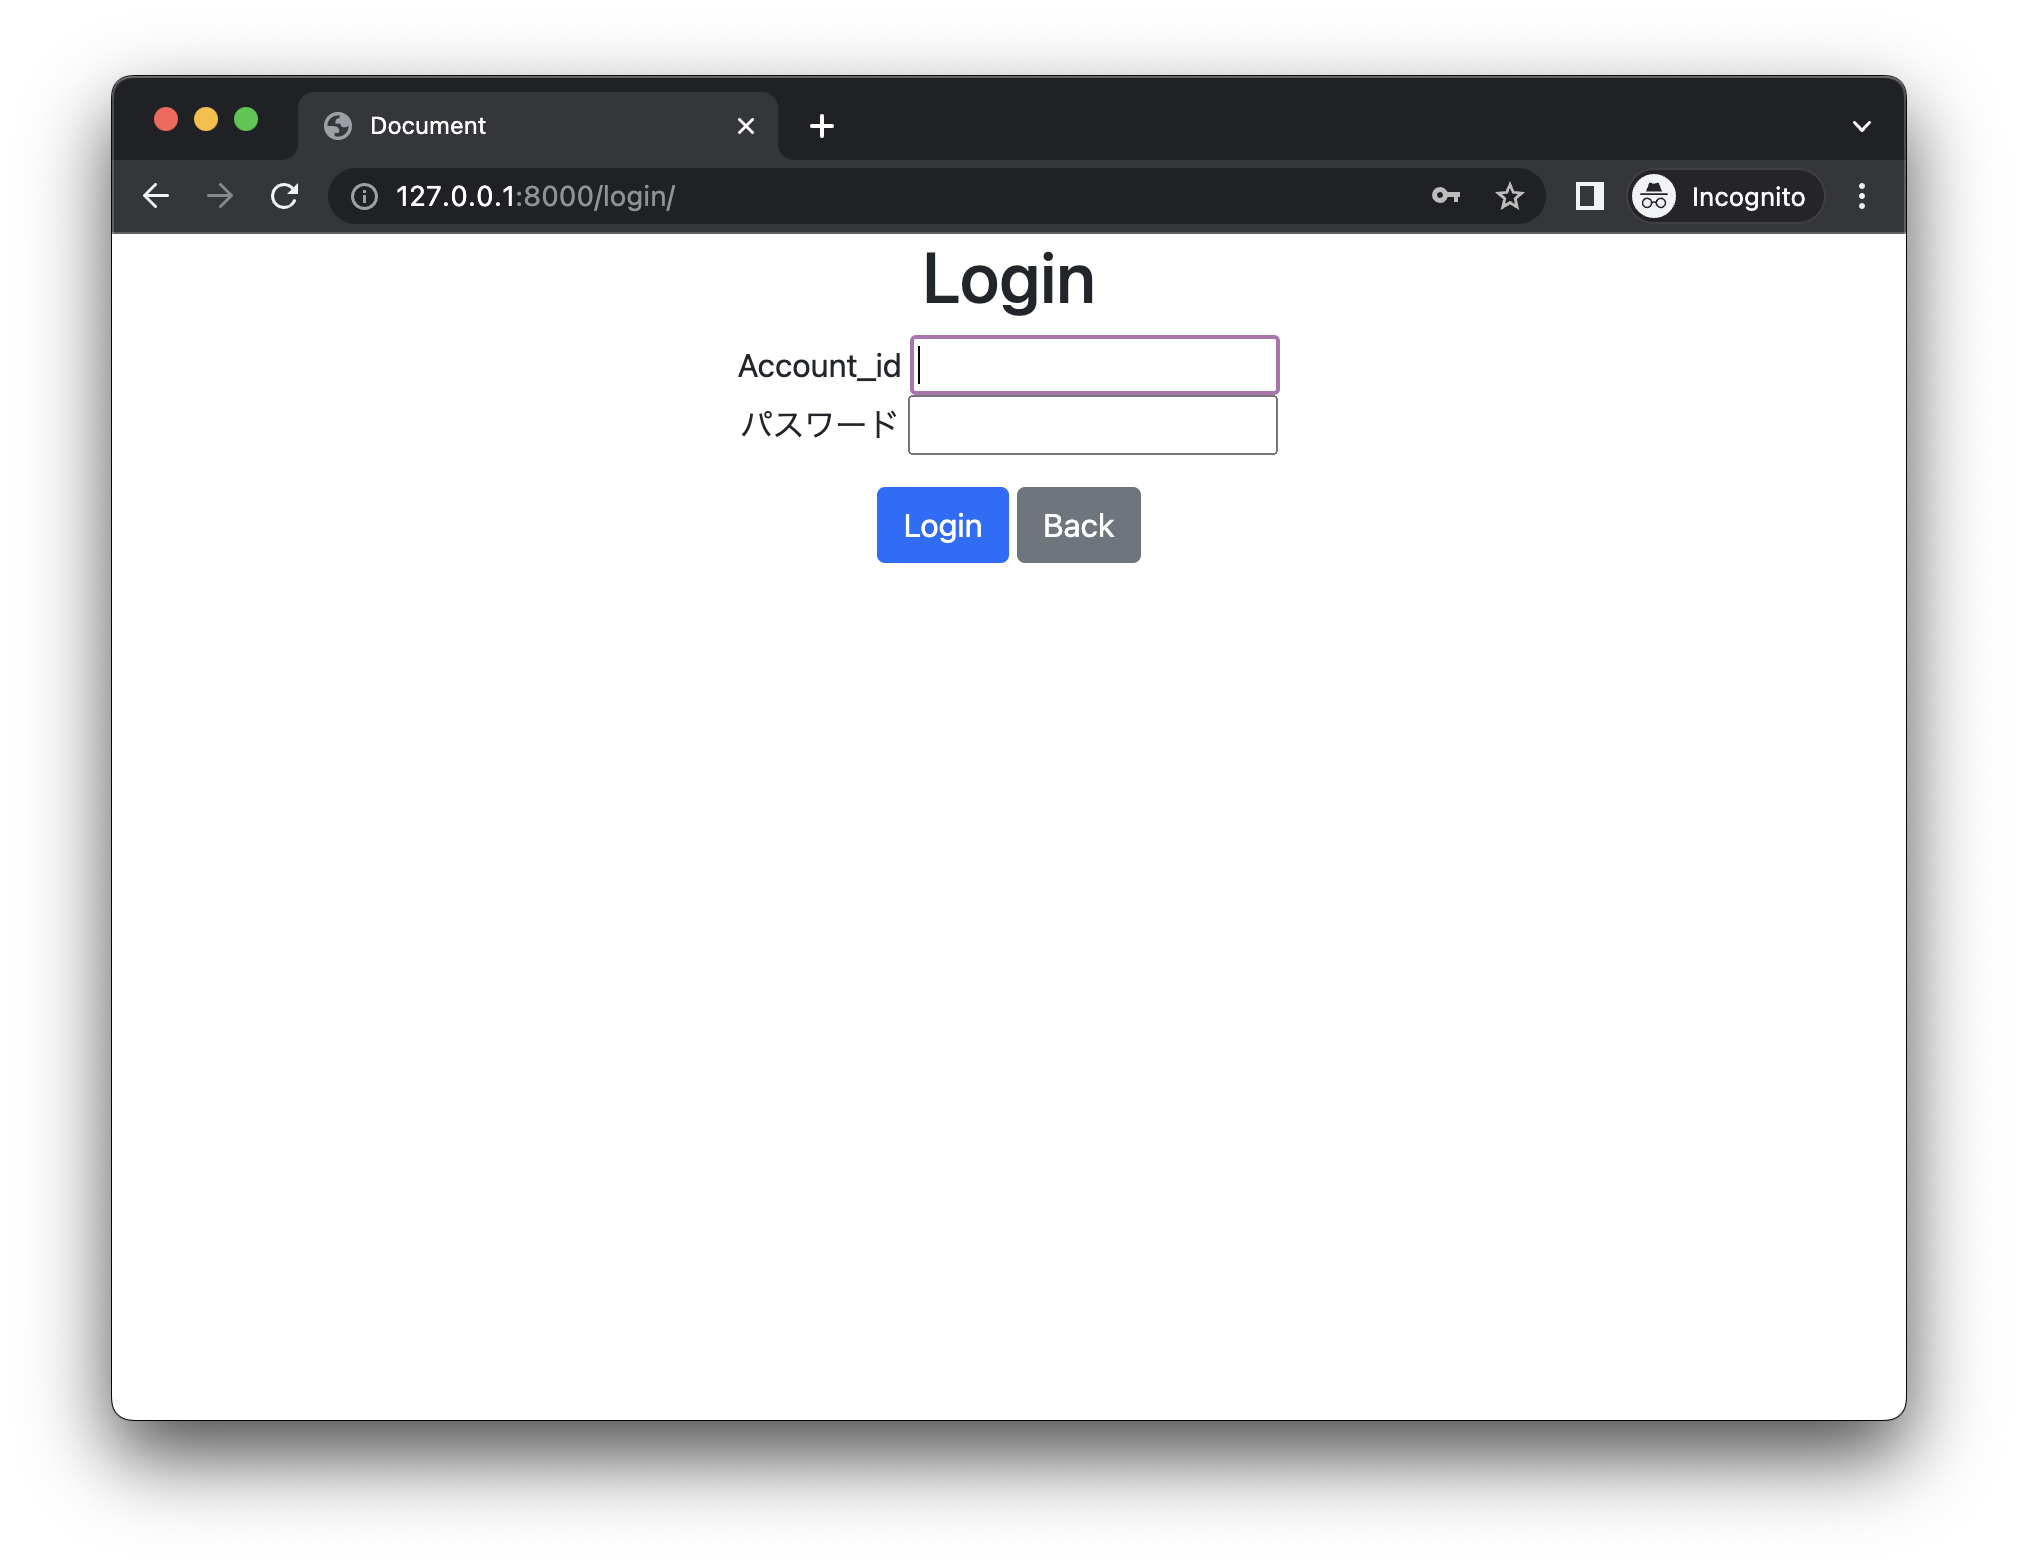
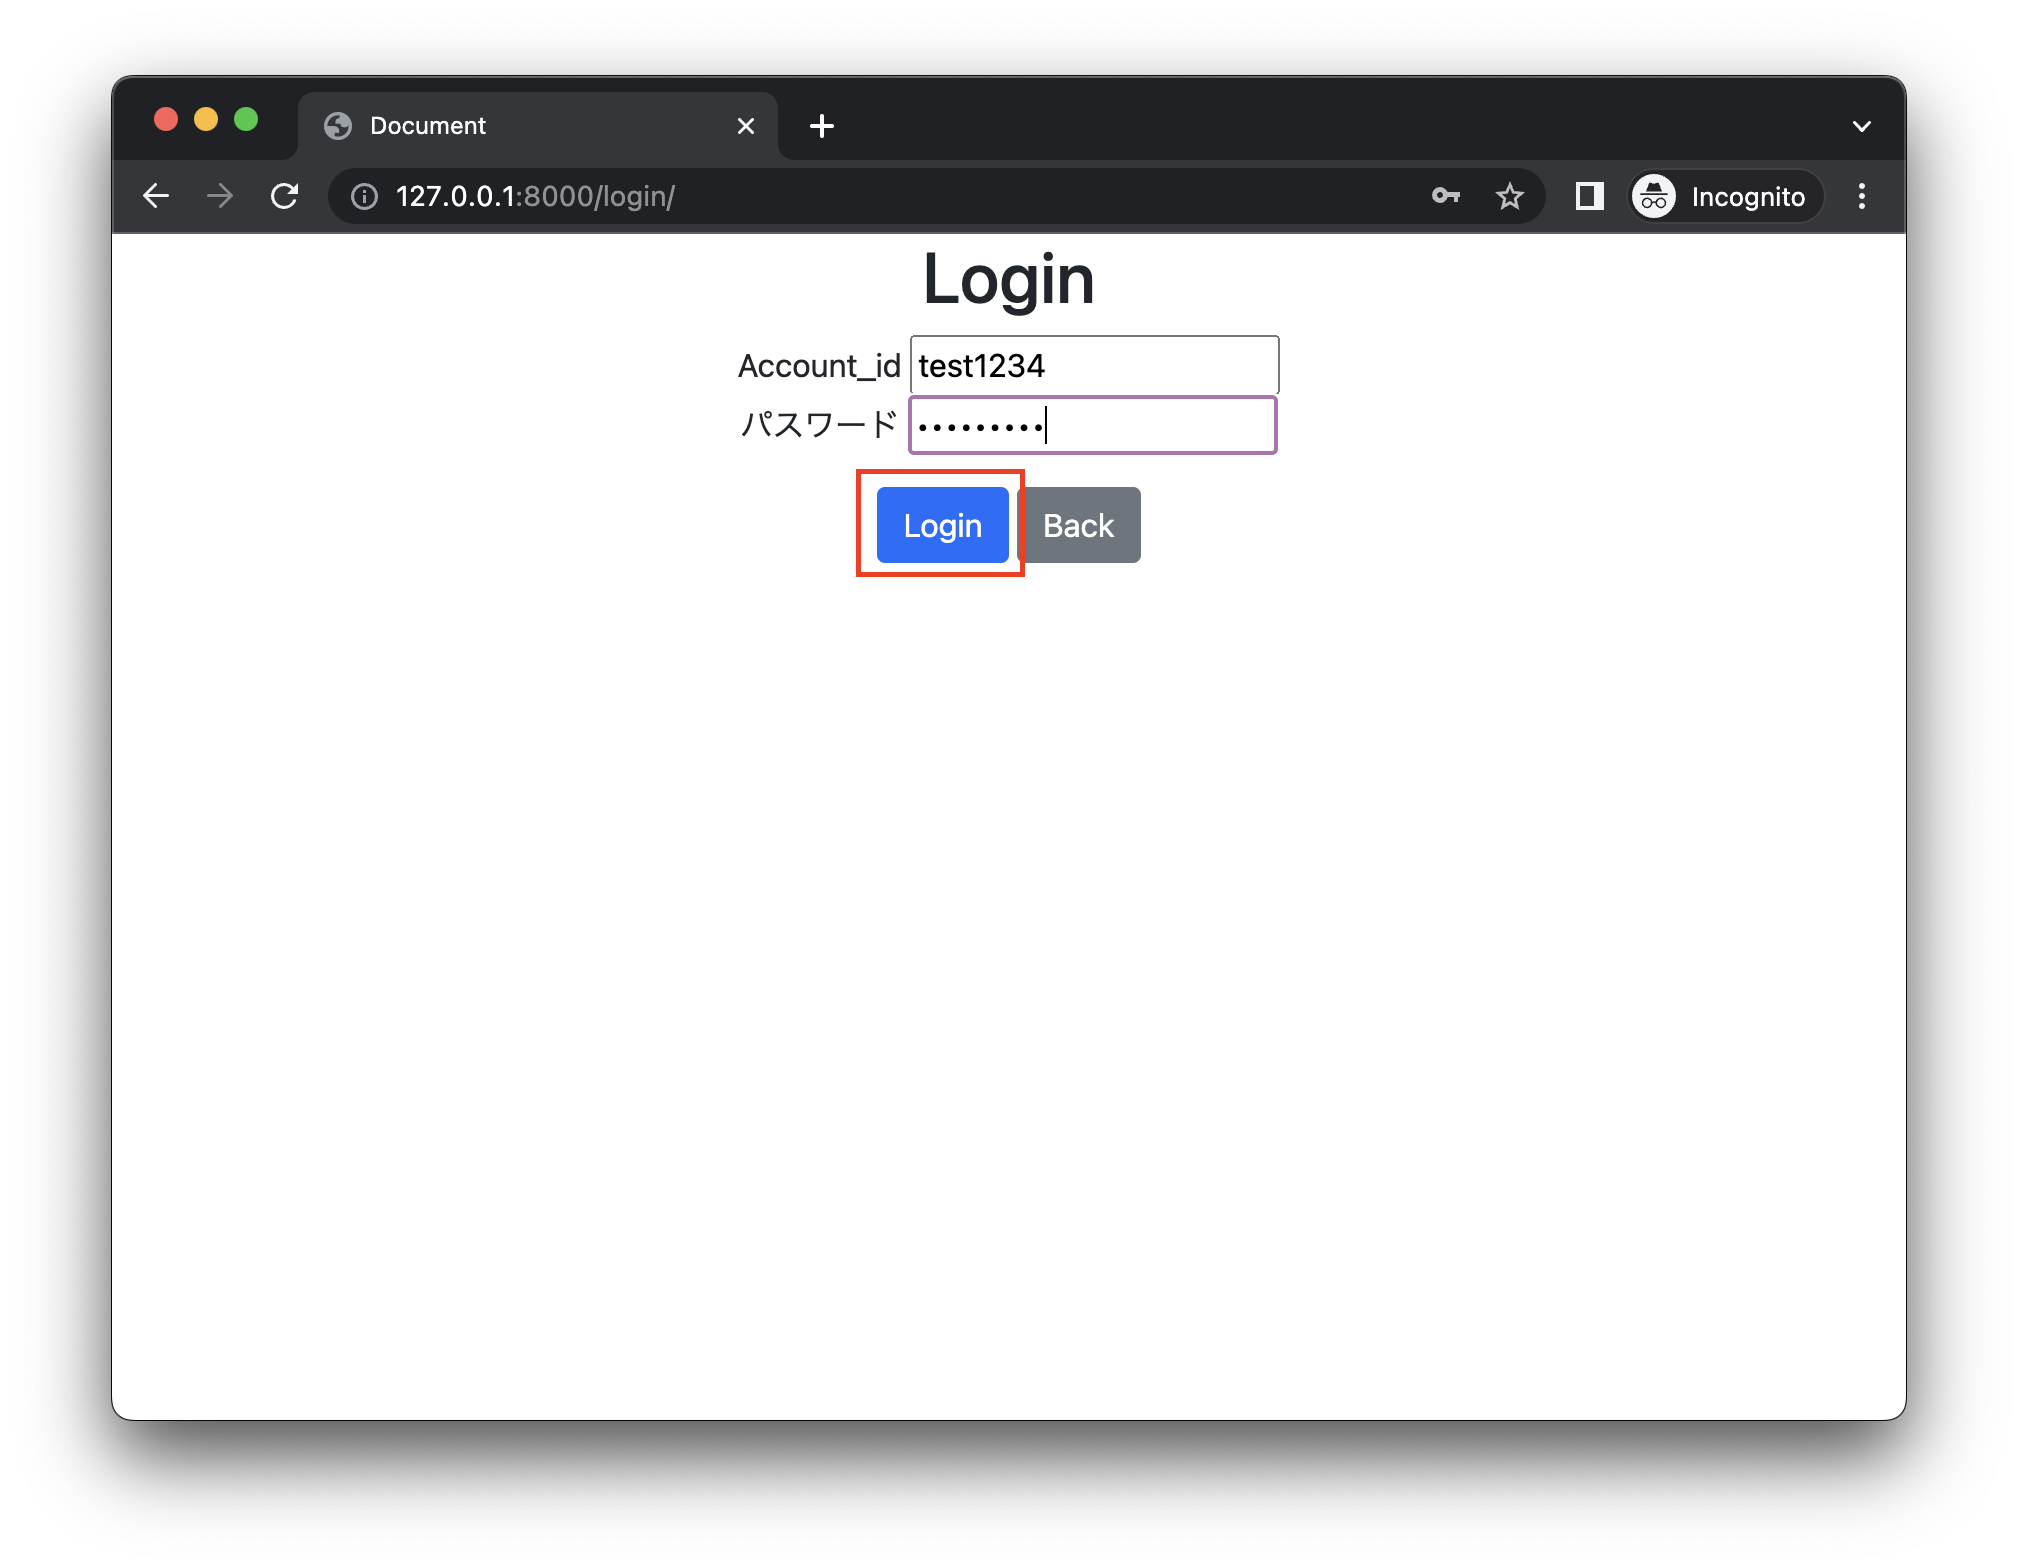
続いてログインの動作確認です。
アカウント情報を入力して、ログインボタンを押下します。
まとめ
Djangoには、標準で認証機能が備わっているため、簡単にユーザー登録・ログイン機能を実装することができました!
今回の記事では、急いでDjangoの認証に機能を勉強したい方におすすめの記事となっておりますが、引き続きフォームのカスタムなどを紹介していきますのでお楽しみに😊
