はじめに
普段はReactJSで主に開発してるのですが、なんとなくVue.jsを始めて見ます。
1からコンポーネントを作っていくのも大変なので、おしゃれなAT UIを使って見ます。
今回作成するもの(完成系)
NozomiSugiyama/vuejs-atui-todo-list
TODO Listはおまけみたいな感じで環境構築までが今回の目標になります。
環境構築
yarnコマンドが動かせる段階を前提としてすすめます。
cli install
@vue/cli と @vue/cli-init をglobalにinstallします。
@vue/cli-init はAT UI templateにて作る際に必要になります。
yarn global add @vue/cli @vue/cli-init
Template SPA作成
次にAT UIが用意しているtemplateを使用して土台を作成します。
vue init at-ui/at-template $PROJECT_NAME
cd $PROJECT_NAME
yarn install

npmは使わない...!
serverの起動
package.json を見てみると
{
  "name": "test",
  "version": "1.2.0",
  "description": "A Vue.js project",
  "author": "rioc",
  "scripts": {
    "dev": "cross-env NODE_ENV=development webpack-dev-server --open --hot",
    "build": "cross-env NODE_ENV=production webpack --progress --hide-modules"
  },
  "dependencies": {
    "at-ui": "^1.2.0-beta",
    "at-ui-style": "^1.3.2",
    "vue": "^2.3.4"
  },
  "devDependencies": {
    "autoprefixer": "^7.1.1",
    "babel-core": "^6.25.0",
    "babel-loader": "^7.1.1",
    "babel-preset-env": "^1.5.2",
    "babel-preset-stage-2": "^6.24.1",
    "cross-env": "^5.0.1",
    "css-loader": "^0.28.4",
    "file-loader": "^0.11.2",
    "html-webpack-plugin": "^2.29.0",
    "postcss-loader": "^2.0.6",
    "rimraf": "^2.6.1",
    "node-sass": "^4.5.3",
    "sass-loader": "^6.0.6",
    "style-loader": "^0.18.2",
    "url-loader": "^0.5.9",
    "vue-loader": "^13.0.0",
    "vue-style-loader": "^3.0.1",
    "vue-template-compiler": "^2.3.4",
    "webpack": "^3.0.0",
    "webpack-dev-server": "^2.5.0"
  },
  "license": "MIT"
}
すでに webpack-dev-server が用意されているのでそのまま script を実行していきます。
yarn dev
にてdevサーバーが起動します。

自動的にブラウザが立ち上がり http://localhost:8080 を開いてくれたとおもいます。

Project Tree
Projectツリーはこんな感じです
sgnz$tree -I node_modules
.
├── package.json
├── postcss.config.js
├── src
│   ├── App.vue
│   ├── assets
│   │   └── logo.png
│   ├── index.html
│   └── main.js
├── webpack.config.js
└── yarn.lock

2 directories, 8 files
AT UI Componentの使用
ここまででもうすぐに開発を進められる段階になったので実際に使ってみましょう。
TODO Listの作成
とりあえずTODOを作ってみます。
追加と削除だけのやつ
App.vueを変更します。
<template>
  <div class="container" id="app">
    <div class="app">
      <h1>TODO List</h1>
      <div class="row">
        <div class="column">
          <at-input v-model="inputTitle" placeholder="Input Title"></at-input>
          <at-input v-model="inputDescription" placeholder="Input description"></at-input>
        </div>
        <at-button @click="addTODO">ADD</at-button>
      </div>
      <div class="card-wrapper">
        <at-card style="width: 300px; margin: 1rem 0;" v-for="(item, index) in todoList" :key='index'>
          <h4 slot="title">{{ item.title }}</h4>
          <div slot="extra">
            <at-button type="text" @click="deleteTODO(item)">Delete</at-button>
          </div>
          <div>
            {{ item.description }}
          </div>
        </at-card>
      </div>
    </div>
  </div>
</template>

<script>
export default {
  data: {
    inputTitle: "",
    inputDescription: "",
    todoList: [],
  },
  methods: {
    addTODO: function () {
      this.todoList = this.todoList.concat(({ title: this.inputTitle, description: this.inputDescription }))
      this.inputTitle = ""
      this.inputDescription = ""
    },
    deleteTODO: function (item) {
      this.todoList = this.todoList.filter(x => x !== item)
    }
  }
}
</script>

<style lang="scss">
  .container {
    width: 100%;
    height: 100%;
    display: flex;
    justify-content: center;
    align-items: center;
    font-family: -apple-system, BlinkMacSystemFont, "Helvetica Neue", Helvetica, "PingFang SC", "Hiragino Sans GB", "Microsoft YaHei", "微软雅黑", Arial, sans-serif;
    -webkit-font-smoothing: antialiased;
    -moz-osx-font-smoothing: grayscale;
  }
  .app {
    display: flex;
    flex-direction: column;
    align-items: center;
    width: 100%;
    height: 100%;
    color: #2c3e50;
    text-align: center;
  }
  .card-wrapper {
    width: 100%;
    margin-top: 4rem;
    display: flex;
    flex-direction: row;
    flex-wrap: wrap;
    justify-content: space-around;
  }
  h1, h2 {
    font-weight: normal;
    margin: 16px 0;
  }
</style>
動かしてみると
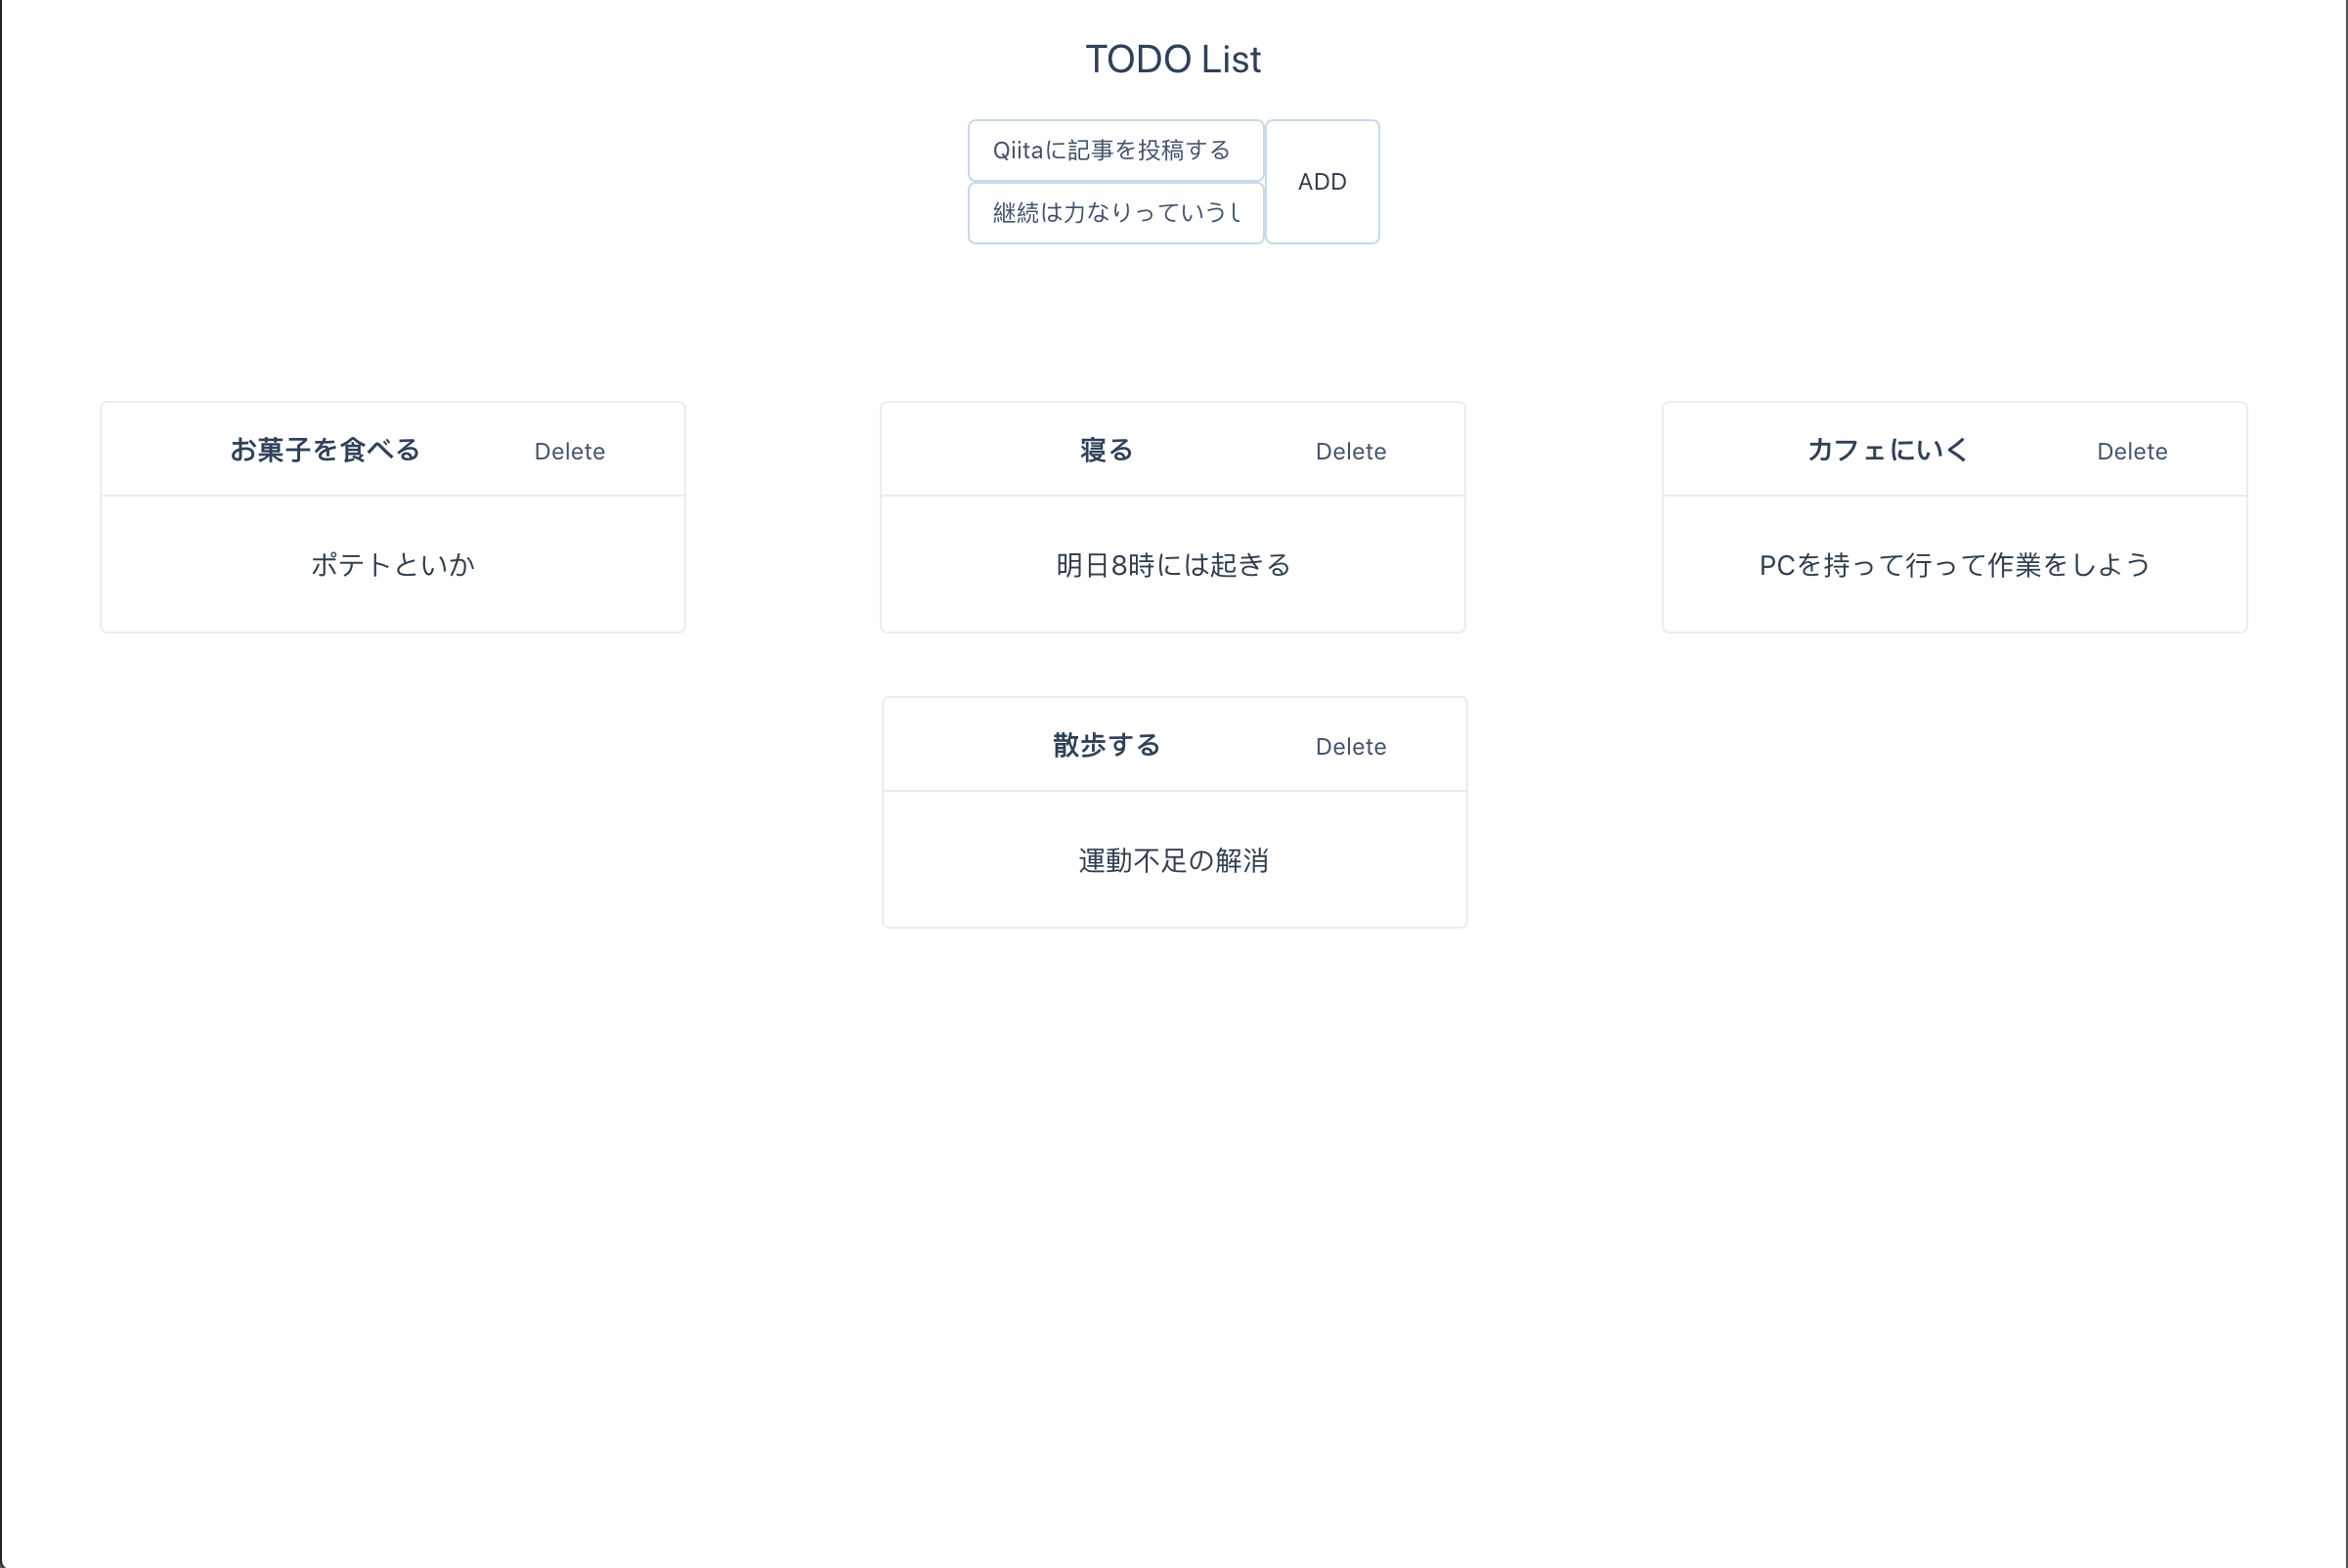
こんな感じのができたと思います。
てっっきとうに作ってありますが簡単に綺麗なレイアウトになりました!
まとめ
いかがだったでしょうか。
UIフレームワーク自体は自分がフロントエンド開発を始めた2年前では、Productionに導入するにはまだまだだと感じていましたが、最近ではカスタマイズ性も増したかつ簡単に導入ができてスンバラシイ!
次はこの土台を使ってGraphQL APIを使ったアプリを作り、記事を投稿できたらなと思います。