Yper株式会社 でエンジニアをやっています。
個人情報とかも扱うのでセキュリティを固めていて、CircleCIのお便利さとバッティングしたときのメモです。
やりたいこと
EC2にCircleCIからSSHしてなんかしらやりたい、っていうことありませんか?
適当にcapistranoサーバ叩いてデプロイしたいとか、なんかありませんかね。
私は結構あります。
ところがどっこい、大体の場合は22番ポートを無制限で許可したりはしていない。
踏み台サーバからだけとか、オフィスのIPじゃないとだめとか、そんなセキュリティグループを設定してなんかいい感じでホワイトリスト作りますよね。
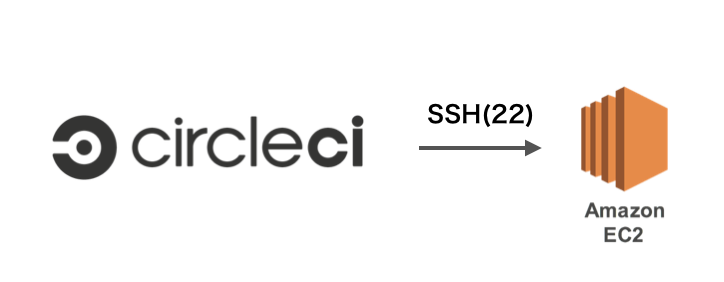
ですがCircleCIはジョブを起動するたびにIPアドレスが変わるわけで、こんな感じになるわけですよ。

というわけで、CircleCIのスクリプトの中に動的にアクセス元IPを許可するような処理を書いてあげるといい感じでいろんな作業が捗るようになります。
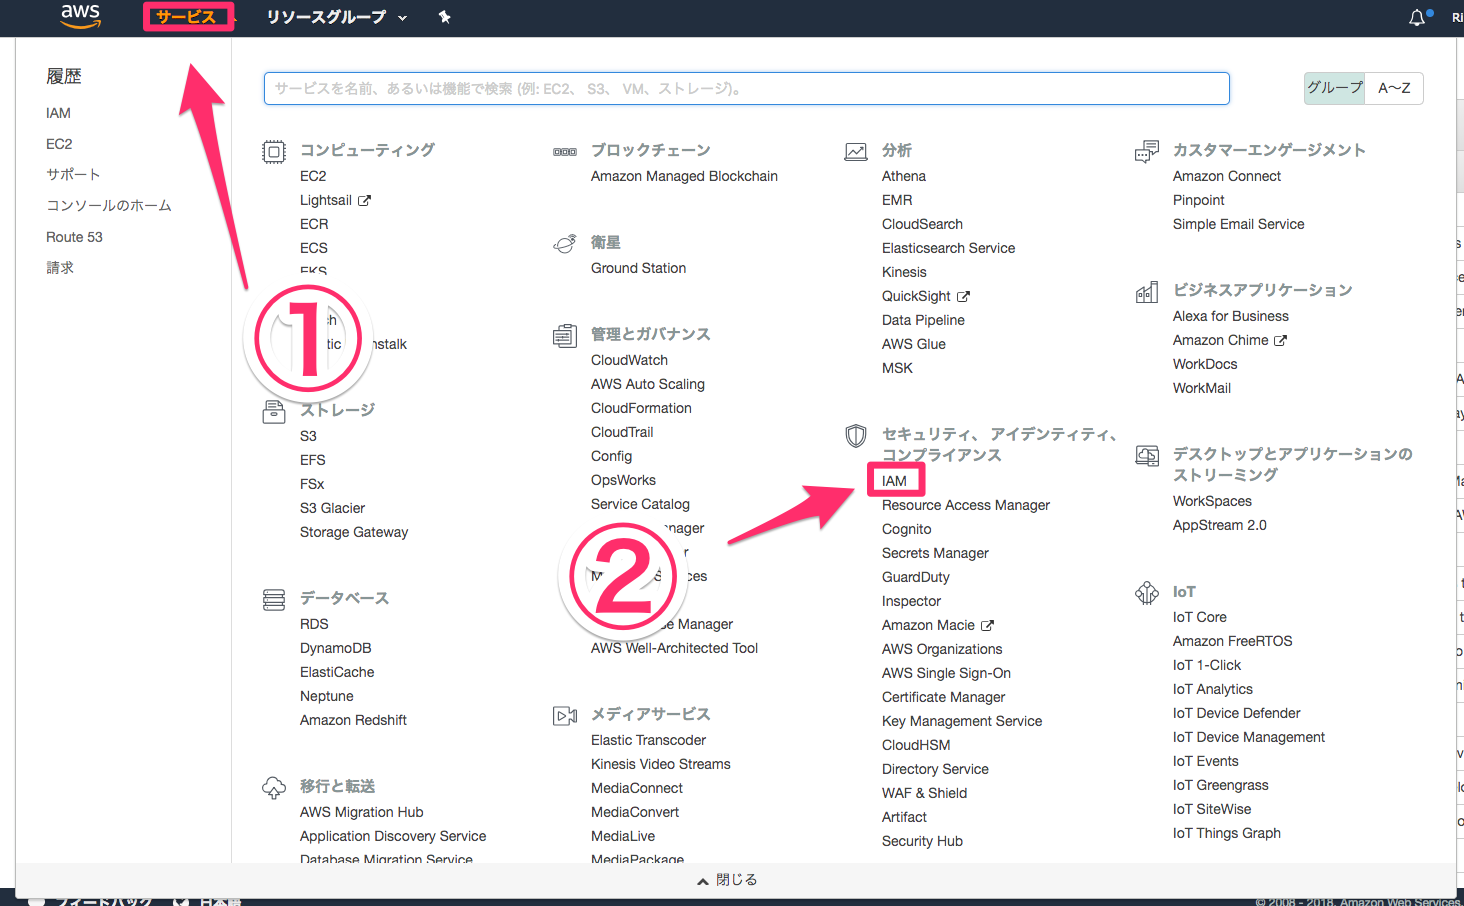
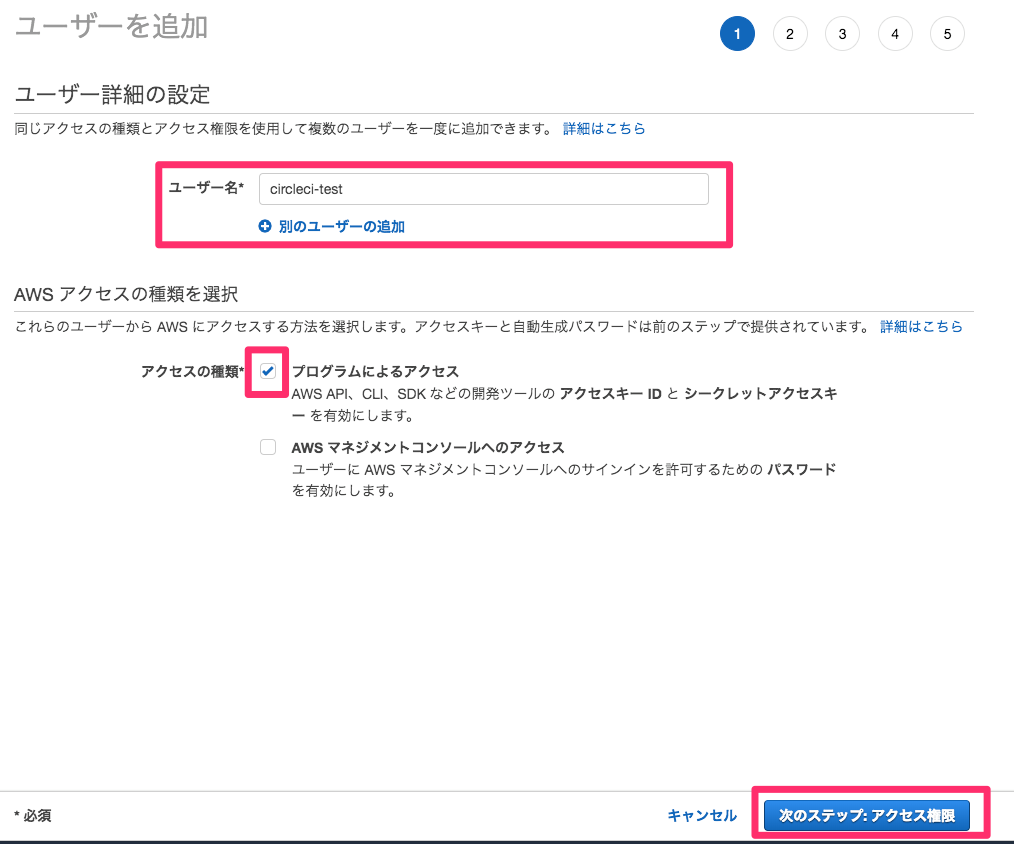
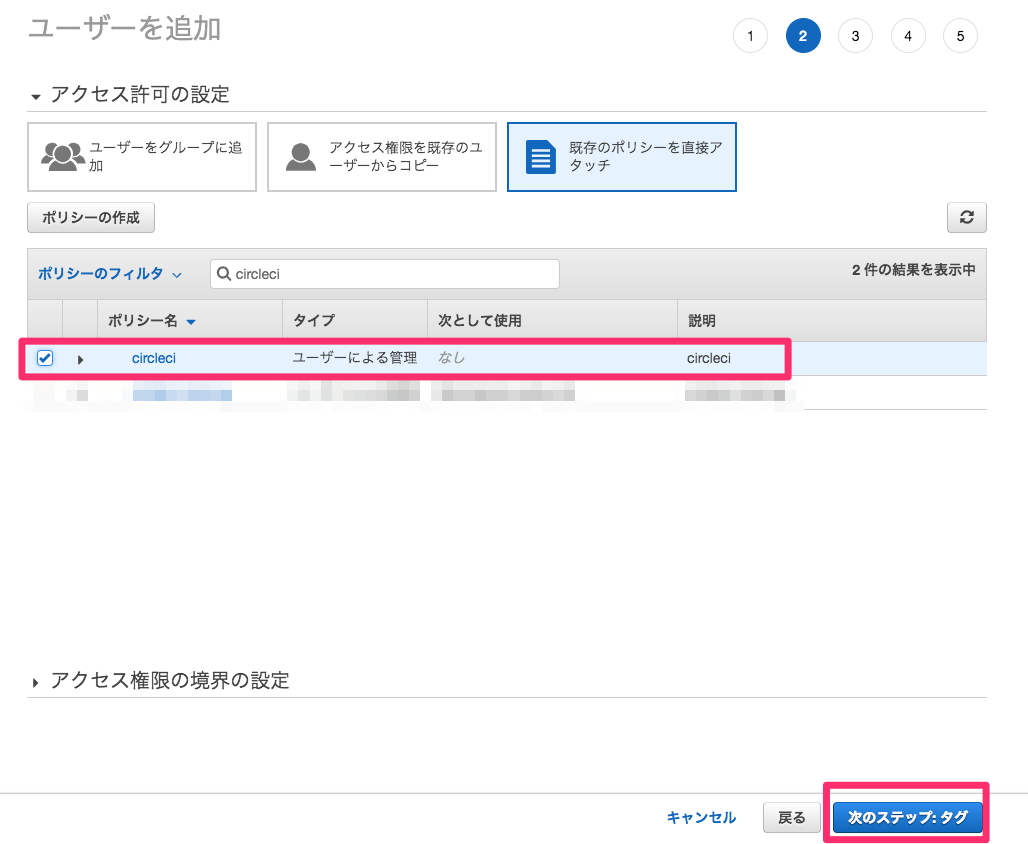
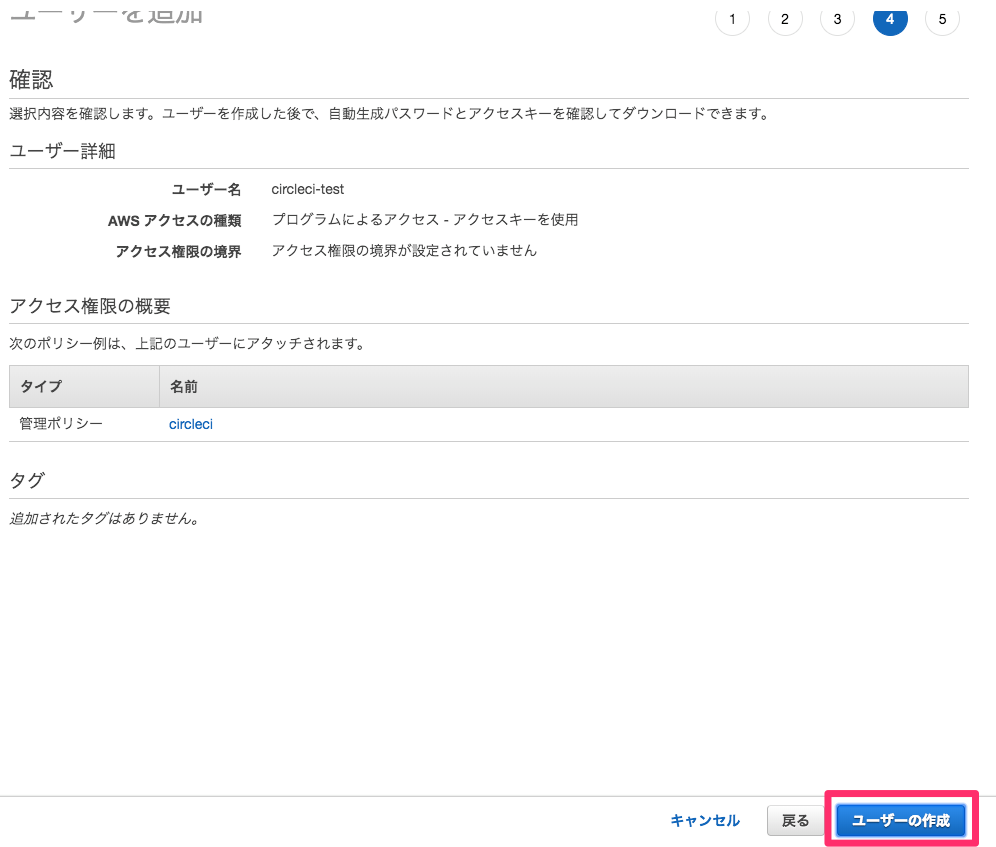
CircleCI用のIAMとかをごねごね
何でもかんでもEC2FullAccessとかしてませんよね?
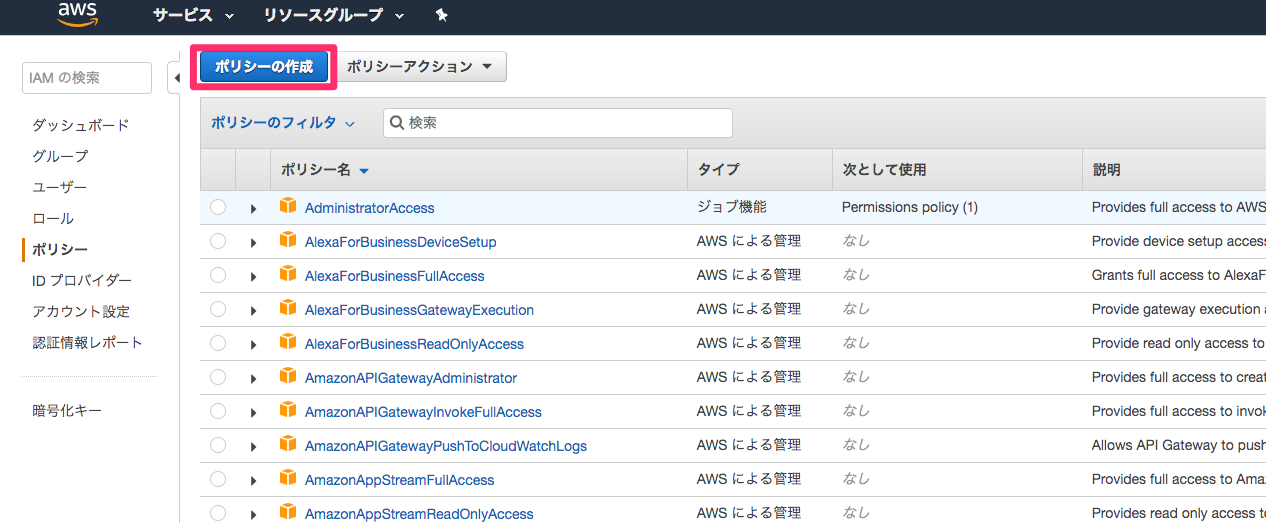
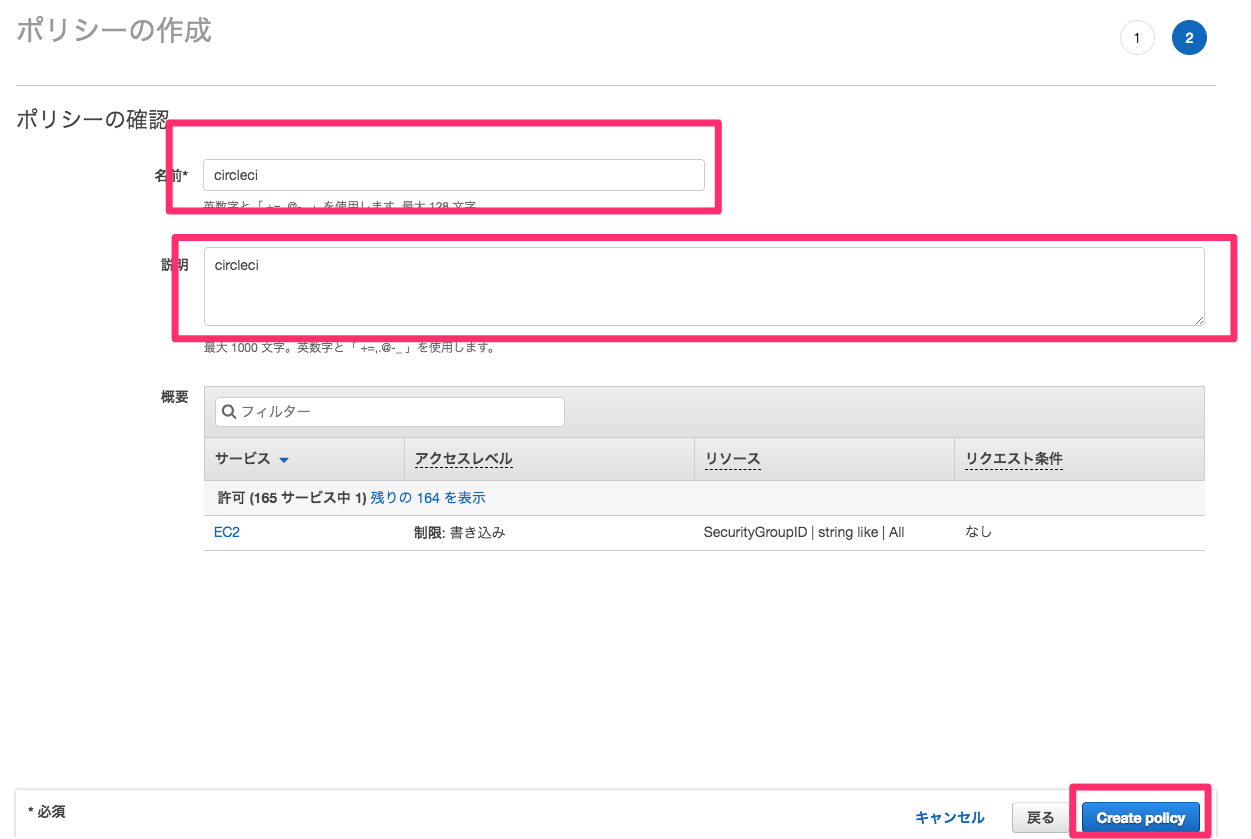
ちゃんとセキュリティグループを変更するためだけのポリシーを作っておきましょう。
とりあえず全部許可ダメ絶対。
はいコピペ用
{
    "Version": "2012-10-17",
    "Statement": [
        {
            "Action": [
                "ec2:AuthorizeSecurityGroupIngress",
                "ec2:RevokeSecurityGroupIngress"
            ],
            "Effect": "Allow",
            "Resource": "arn:aws:ec2:*:*:security-group/*"
        }
    ]
}
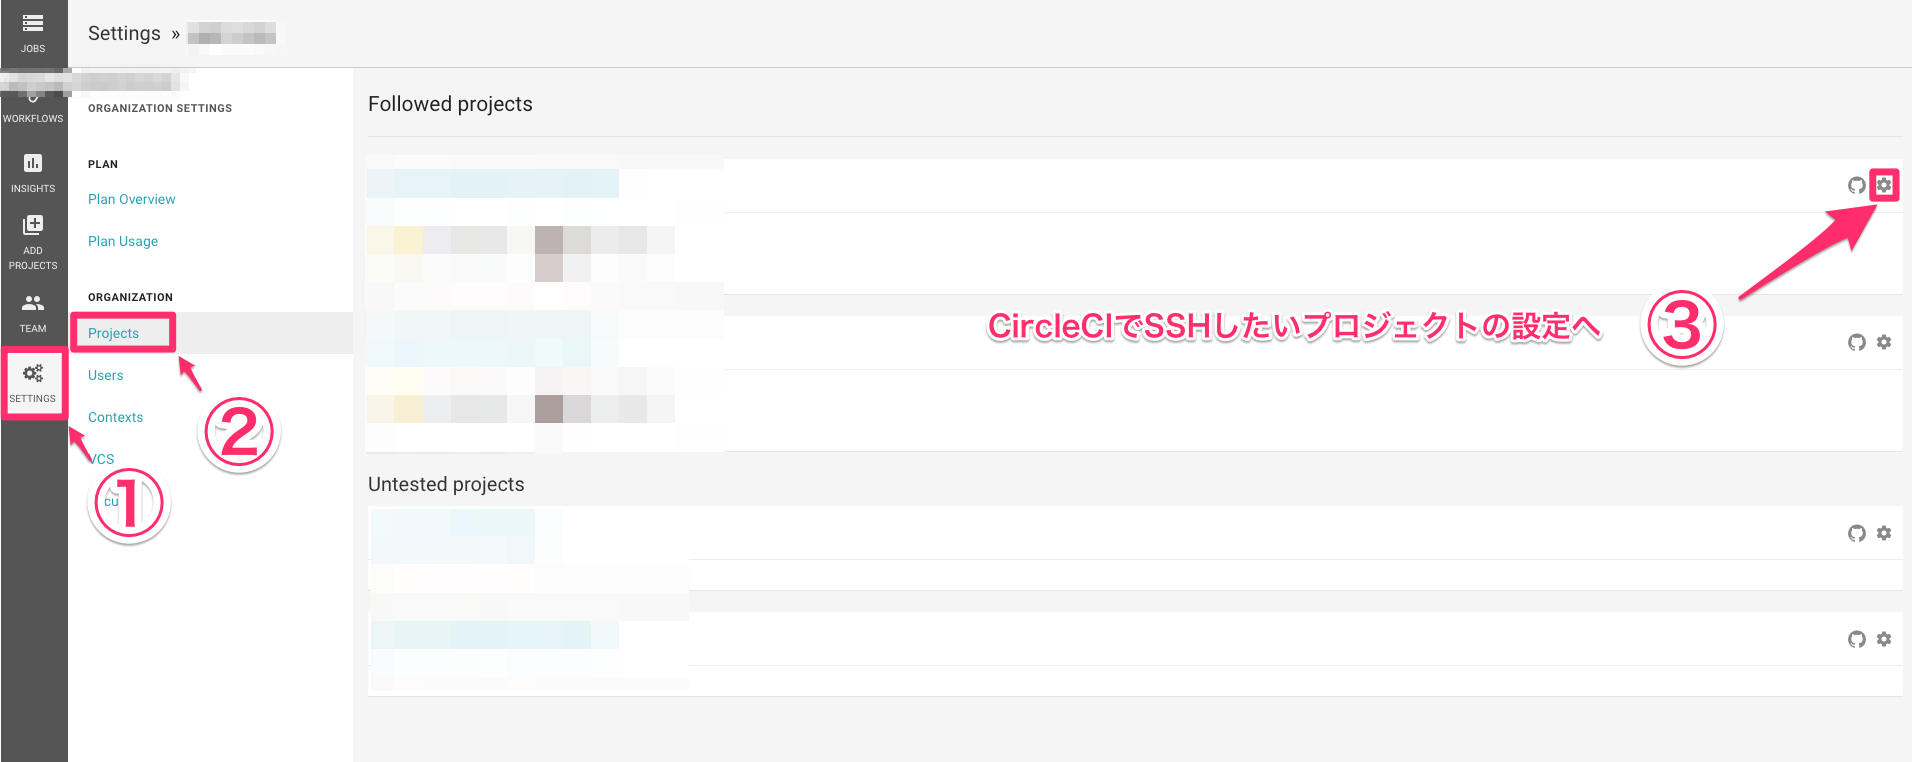
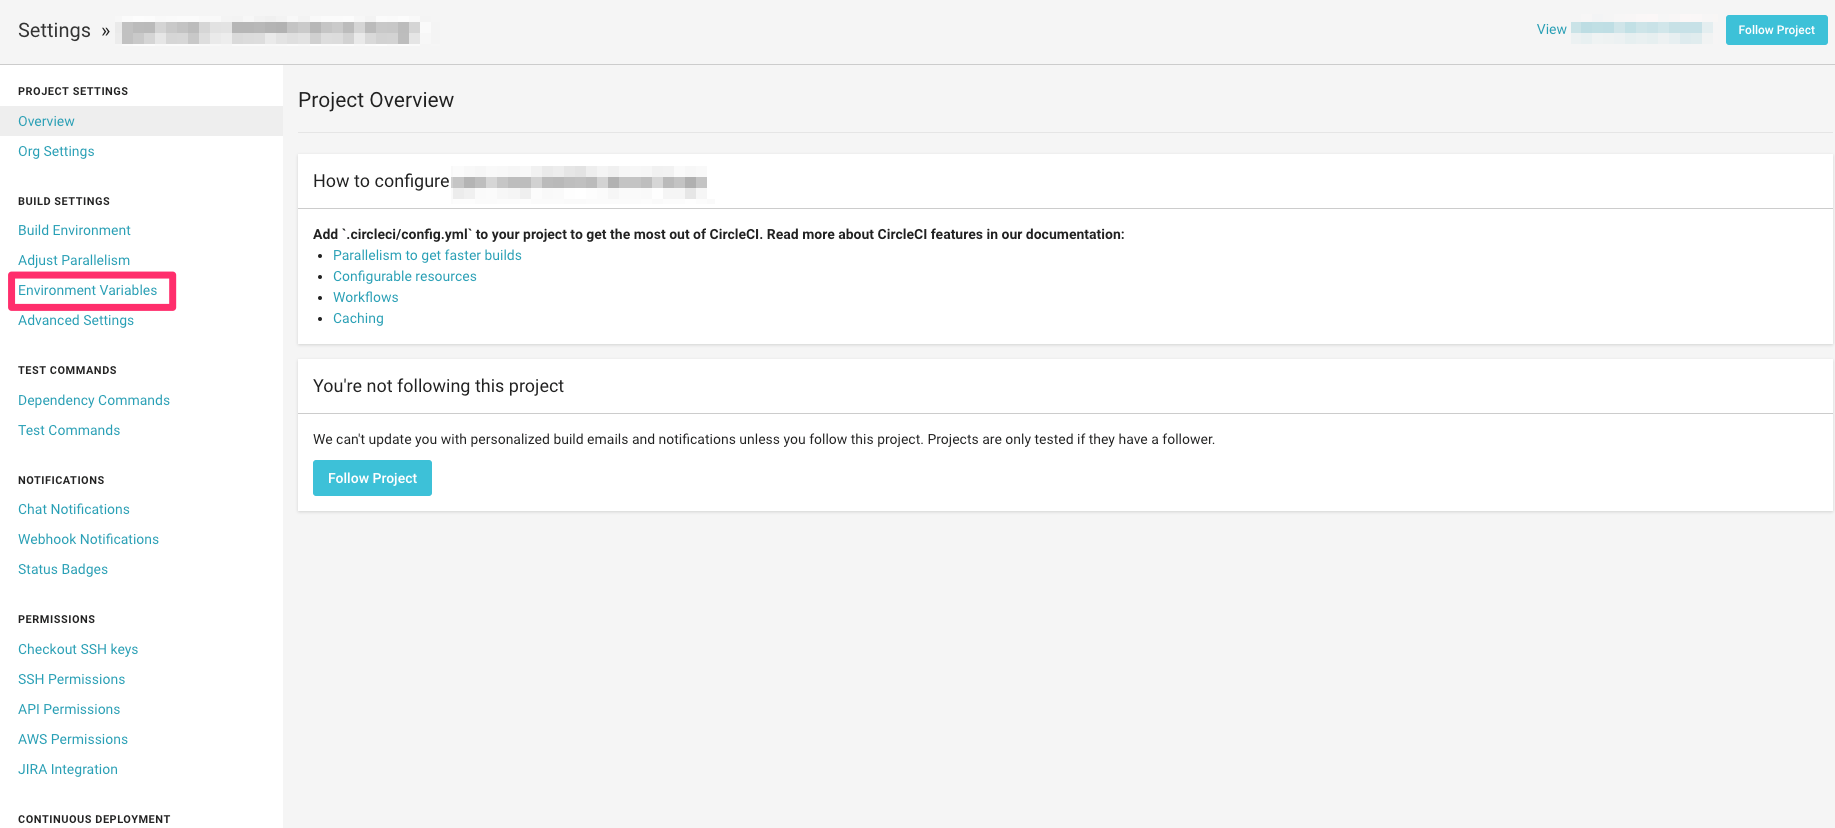
CircleCIの設定画面でアクセスキーを環境変数に入れておく
config.ymlに直接書いたりしたらダメだ。絶対にだ。
AWS_ACCESS_KEY_ID と AWS_SECRET_ACCESS_KEY をNameに設定して、先ほど作成したユーザの情報をそれぞれ登録しておく

CircleCIのconfig.ymlを書いてみる
わざと1行ずつ書いてみるとこんな感じ
version: 2
jobs:
  deploy:
    docker:
      - image: circleci/python:3.6-jessie
      - image: buildpack-deps:trusty
    working_directory: ~/
    steps:
      - run: sudo pip install awscli
      - run:
          name: "authorize-security-group-ingress"
          command: |
            IP=`curl -s ifconfig.me`
            echo "#!/bin/bash" > ./sg.sh
            echo "aws configure set region ap-northeast-1" >> ./sg.sh
            echo "aws ec2 authorize-security-group-ingress --group-id sg-xxxxxxxxxxxxxx --protocol tcp --port 22 --cidr ${IP}/32" >> ./sg.sh
            bash ./sg.sh
      - add_ssh_keys:
          fingerprints:
            - "xx:xx:xx:xx:xx:xx:xx:xx:xx:xx:xx:xx:xx:xx:xx:xx"
      - run:
          name: deploy
          command: ssh -oStrictHostKeyChecking=no circleci@xxx.xxx.xxx.xxx "bash /home/circleci/script/deploy.sh"
      - run:
          name: "revoke-security-group-ingress"
          command: |
            IP=`curl -s ifconfig.me`
            echo "#!/bin/bash" > ./sg.sh
            echo "aws configure set region ap-northeast-1" >> ./sg.sh
            echo "aws ec2 revoke-security-group-ingress --group-id sg-xxxxxxxxxxxxxx --protocol tcp --port 22 --cidr ${IP}/32" >> ./sg.sh
            bash ./sg.sh

workflows:
  version: 2
  test:
    jobs:
      - deploy:
aws-cliのコンテナとかも用意はされていたものの、何故かコケることが多かったので結局 pip install で入れてます。
aws ec2 authorize-security-group-ingress --group-id sg-xxxxxxxxxxxxxx --protocol tcp --port 22 --cidr ${IP}/32
この部分の sg-xxxxxxxxxxxxxx はアクセスしたいEC2インスタンスに紐付いてるセキュリティグループのIDを入れてやってください。
イメージ的にはこんな流れ
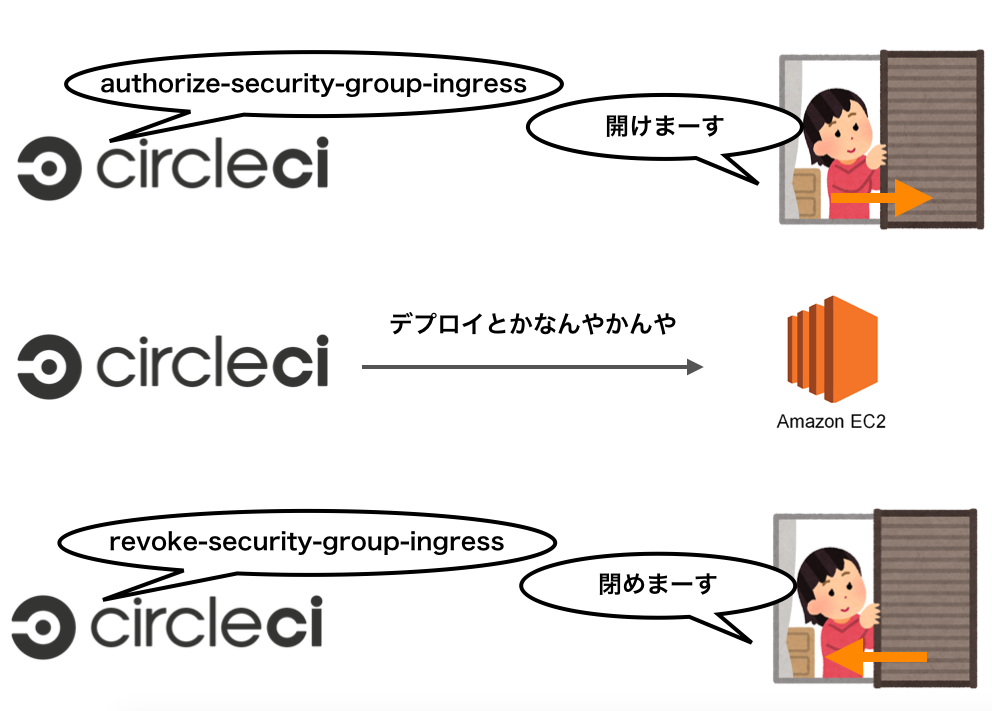
ただし デプロイ中にジョブが落ちるとセキュリティグループの閉め忘れが発生する のでそこらへんは色々やって監視してあげてる必要があります。
aws-cliは環境変数にアクセス用の情報を入れておくと勝手に読んでくれるので楽ですね。
(参考:AWS CLI 環境変数チートシート)
SSH用の設定のフィンガープリント云々とか、特定のブランチにプッシュしたら云々、とかは↓の記事がわかりやすかったのでおすすめです。
ホストも環境変数入れとけよ!とかは突っ込まないでください。すいません。
Circle CIでwebサイトを自動デプロイ
