RaspberryPi2を利用してウェブサイトを構築していきます
OS(raspbian jessie)がインストールされている状態から始めていきます
まずはwebminとvirtualminの導入から・・・
#1. webmin インストール
1-1. 必要なファイルのインストール
sudo apt-get install perl libnet-ssleay-perl openssl libauthen-pam-perl libpam-runtime libio-pty-perl apt-show-versions
1-2. webminパッケージのダウンロード
2016/1/24時点の最新バージョン(1.780)
wget http://prdownloads.sourceforge.net/webadmin/webmin_1.780_all.deb
1-3. webminインストール実行
sudo dpkg --install webmin_1.780_all.deb
1-4. webmin専用rootパスワードの設定
以下コマンドではパスワードを「password」に設定しています
sudo /usr/share/webmin/changepass.pl /etc/webmin root password
1-5. webminの稼働確認
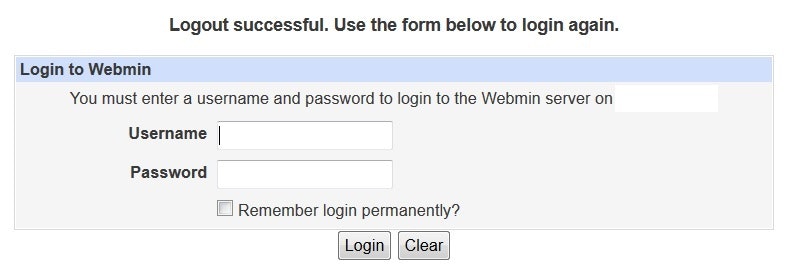
WEBブラウザでポート10000番でアクセスし、
1-4で設定したパスワードでログインできるか確認します
>#2. virtualmin インストール
2-1. virtualminパッケージのダウンロード
2016/1/24時点の最新バージョン(4.19)
wget http://download.webmin.com/download/virtualmin/webmin-virtual-server_4.19.gpl_all.deb
2-2. virtualminインストール実行
sudo dpkg --install webmin-virtual-server_4.19.gpl_all.deb
2-3. virtualminテンプレートのダウンロード
2016/1/24時点の最新バージョン(9.2)
wget http://download.webmin.com/download/virtualmin/webmin-virtual-server-theme_9.2_all.deb
2-4. virtualminテンプレートインストール実行
sudo dpkg --install webmin-virtual-server-theme_9.2_all.deb
>#3. virtualmin 初期設定
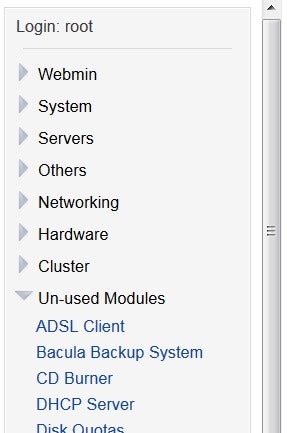
3-1. webminから必要なモジュールをインストール
- Apache Webserver
- BIND DNS
- Postfix Mail Server
3-2. Apacheの設定変更
Apacheの設定画面から
Configure Apache Modules の actions にチェックを入れて save
3-3. Postfixの設定変更
Postfixの設定画面から /etc/postfix/main.cf に以下のパラメータを追加
virtual_alias_maps = hash:/etc/postfix/virtual
3-4. virtualminテンプレートの設定変更
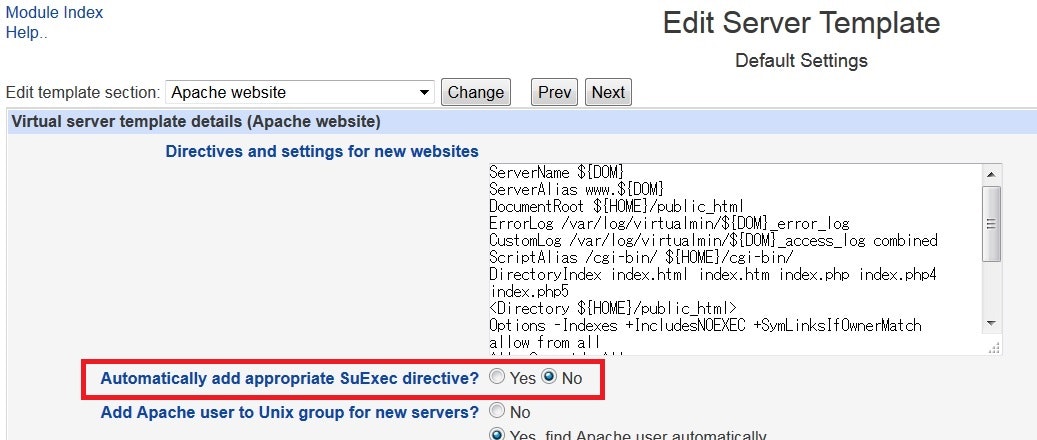
virtualminの設定画面から Default Settings テンプレートを編集
Edit template section の Apache website で
Automatically add appropriate SuExec directive? を No に変更
3-5. 不要なプラグインの無効化
今回の要件では不要なプラグインは無効化しておきます
(要件によっては使用することもありますので必要に応じて)
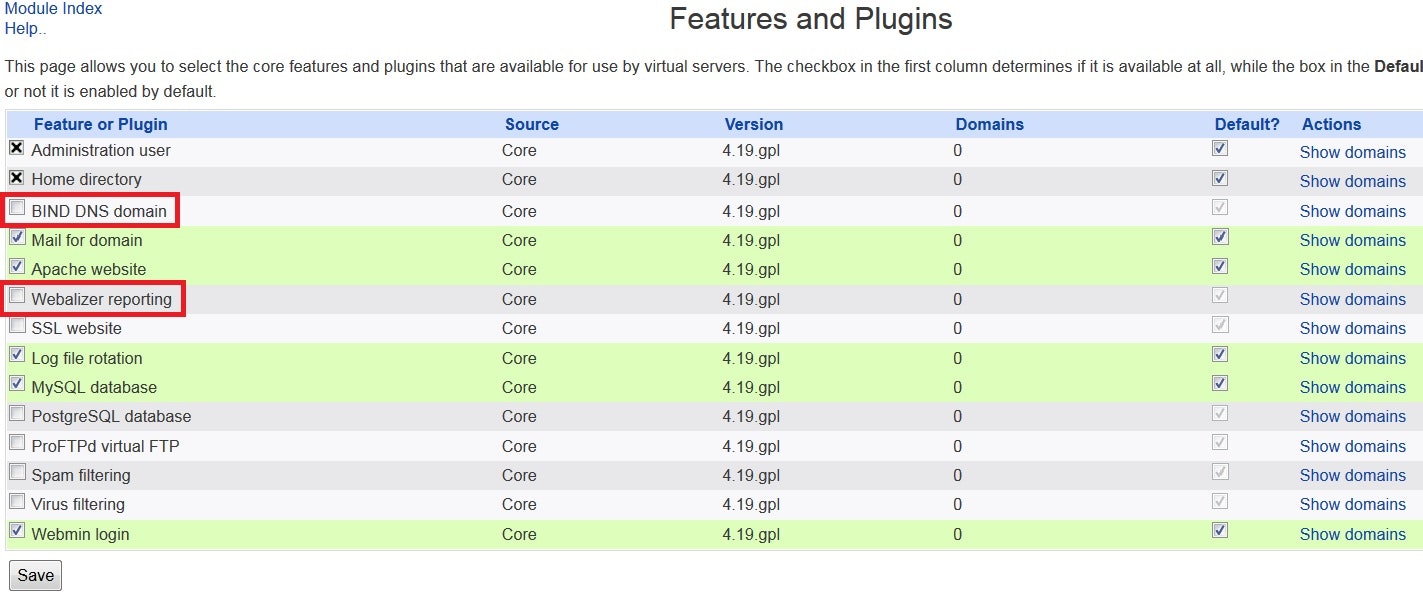
virtualminの設定画面にある Features and Plugins から設定変更します
- BIND DNS domain
- Webalizer reporting
これで導入完了です。
次はVirtual Serverの作成をします。


