
GitLabで個人開発するときにいつもプロジェクト作成からプル&プッシュまでで手こずるので手順をメモ。
1, プロジェクト作成
2, アクセストークン作成
3, クローン
4, プッシュ
アクセストークン作成
プロジェクト作成は特に詰まるところは無いので飛ばす。
作成後、git cloneしようとすると403エラーが出るのでアクセストークンを作らないといけない。
左上3本線からメニューを開き、
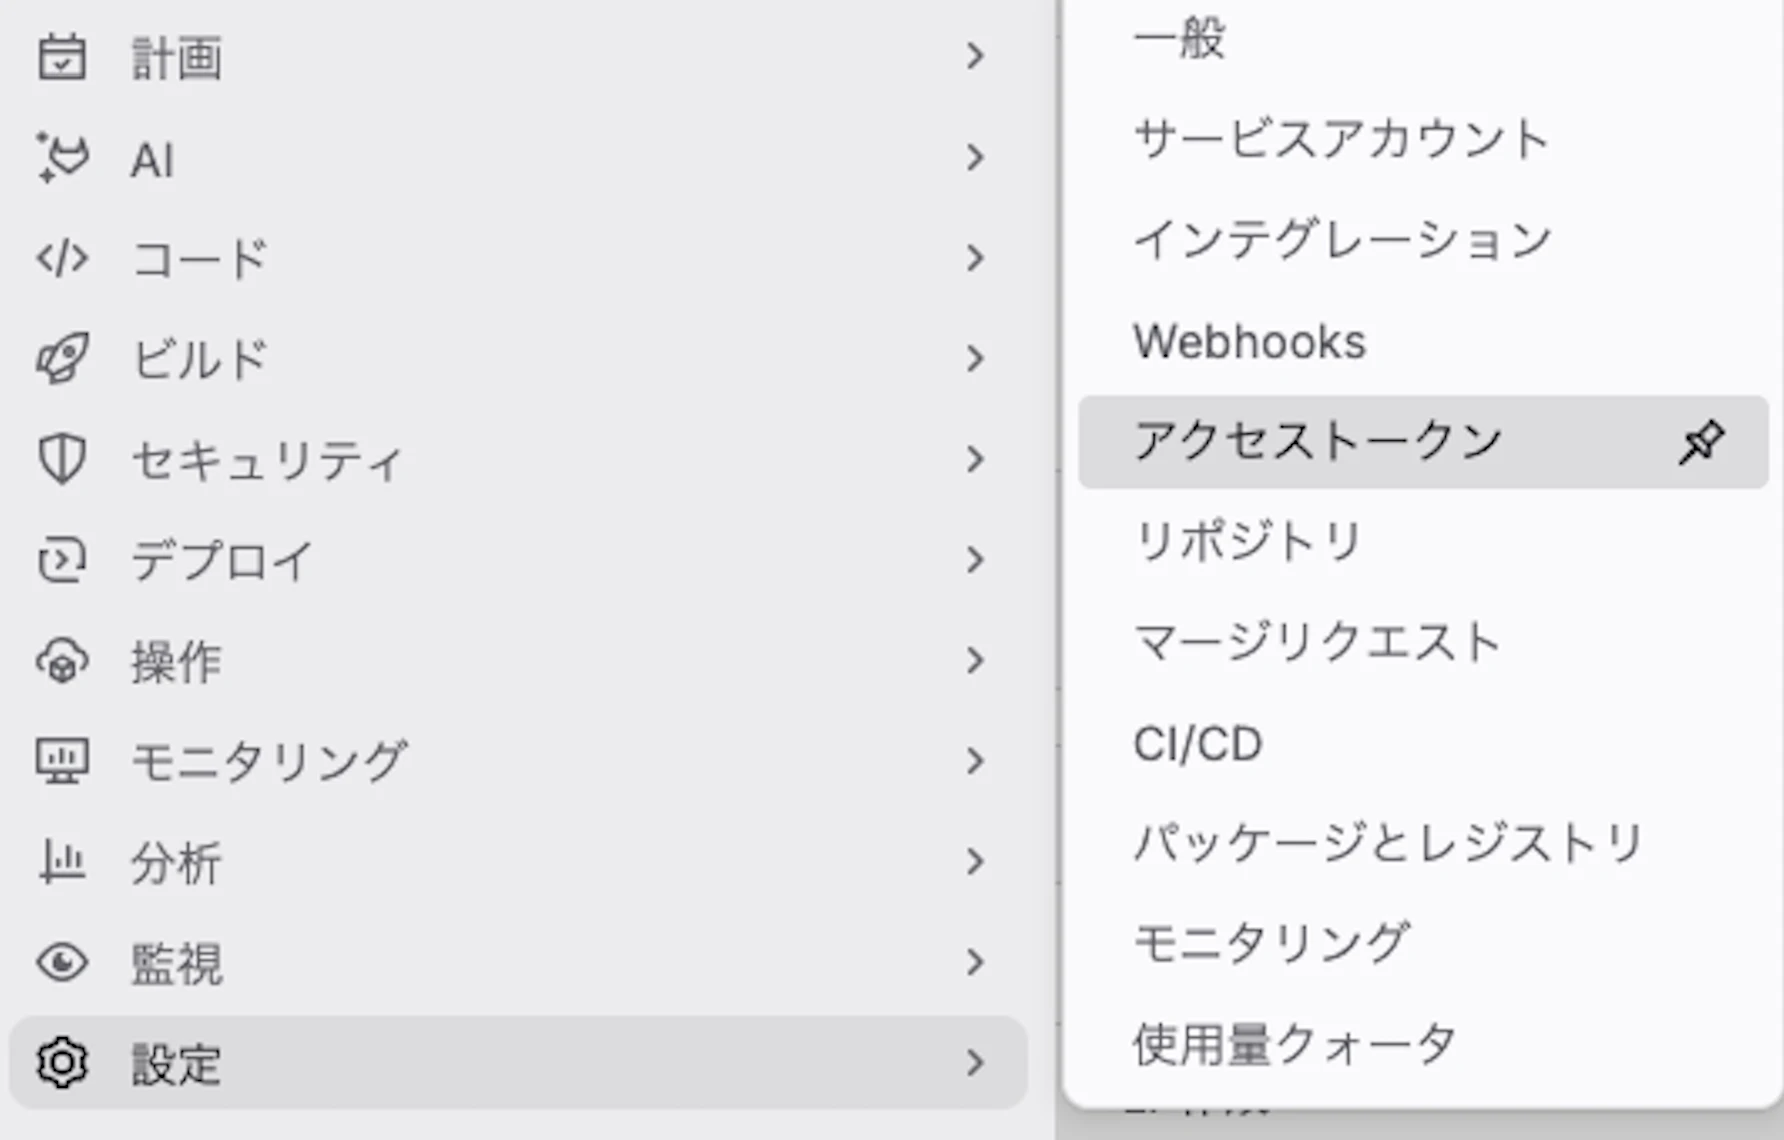
新しいトークンを追加から作成していく。
注意点は有効期限を最大にしておくことと、(デフォルトは1ヶ月後に設定されている)

pullとpushができるようになるwrite_repositoryにチェックを入れておくこと。

作成したらトークン文字列を必ずコピー(一度閉じたら見れない)
クローンとプッシュ
プロジェクトのホーム画面でhttpsでクローンのURLをコピーして作業フォルダでクローン。
その後、認証情報を登録後にプッシュ。
$ cd work_space
$ git clone git@gitlab.com:アカウント名/プロジェクト名
$ git remote set-url origin https://アカウント名:先ほどコピーしたトークン文字列@gitlab.com/アカウント名/プロジェクト名.git
$ git push origin main
終わりに
たまにしかやらないから何回やっても忘れる。
参考
Google AIの出力