新しくWordpressの開発環境を追加で作るときの手順を書きます。
この記事よりも簡単に環境を作ることができるvccwでWordPressのローカル開発環境を作りましたという記事も書いたのでそちらもご覧ください。
前提条件 + 開発環境
MacにVagrantのCentOSイメージがあり、ApacheやPHPとMySQLなどのインストール済みとします。MacからTerminal経由での操作を想定しています。
今回exaple.comのWordpressサイトを追加することを想定しておき、ローカルの開発環境では、dev.example.comでアクセスすることにします。
Wordpressをダウンロードする
最新のzipファイルを落として解凍します。~/Download/wordpress/以下にwordpressのファイルが解凍されました。
~/Download/wordpress/*
Worpdressのファイルを準備をする
ファイルをまず準備します。
# 開発ディレクトリを作成し移動
cd ~/Document/workspace
mkdir example.com
cd example.com

# Wordpressのファイルをまるごとコピー
cp -a ~/Download/wordpress/* ./
このディレクトリにファイルを置くと、Vagrant内でsyncされるようになっています。
ディレクトリ内を確認します。
ls -al ./*
もし一覧に.htaccessが存在しない場合は、コピーされていないので、コピーしておきます。
wp-config.phpファイルを作成する
Wordpressにはwp-config-sample.phpという雛型が用意されているので、wp-config-sample.phpをコピーします。
cp wp-config-sample.php wp-config.php
vi wp-config.php

/** WordPress のためのデータベース名 */
define('DB_NAME', 'example_database');

/** MySQL データベースのユーザー名 */
define('DB_USER', 'example_username');

/** MySQL データベースのパスワード */
define('DB_PASSWORD', 'example_password');
wp-config.phpファイルに、DB_NAME、DB_USER、DB_PASSWORDを指定します。exampleの部分にサービスドメインを使用するなどしておくとわかりやすくなります。
Vagrantfileの設定
Vagrantfileの中味を確認しておきます。
# Vagrantfileを置いてあるディレクトリ移動
cd ~/Document/vagrantWordpress

vi Vagrantfile

config.vm.network :private_network, ip: "192.168.33.30"
config.vm.synced_folder "/Users/pugiemonn/Documents/workspace", "/var/www/html/", :nfs => true
上記はnetworkとsynced_folderの抜粋です。
もう設定してあるので特にイジる必要はないです。使うのはipくらいでしょうか。
hostsの設定
Macのブラウザから dev.example.com へアクセスした時に、Vagrant側へリダイレクトするようにします。
sudo vi /etc/hosts

192.168.33.30 dev.example.com
Apacheの設定
VagrantにログインしてCentOS側の設定を行います。
vagrant ssh
httpdのバージョンを確認します。
httpd -v
Server version: Apache/2.2.15 (Unix)
Server built:   Aug 13 2013 17:29:28
httpdのconfファイルを編集します
sudo vi /etc/httpd/sites-available/dev.example.com.conf

<VirtualHost *:80>
ServerName dev.example.com
ServerAlias dev.example.com
DocumentRoot "/var/www/html/example.com/"
ErrorLog /var/log/httpd/dev.example.com_error.log
CustomLog /var/log/httpd/dev.example.com_access.log common
  <Directory "/var/www/html/example.com/" >
    Options All
    AllowOverride All
  </Directory>
</VirtualHost>
confファイルへシンボリックリンクを貼ります。
sudo ln -s /etc/httpd/sites-available/dev.example.com.conf /etc/httpd/sites-enabled/
sudo /etc/init.d/httpd restart
MySQLの準備
WordpressからMySQLを利用するための準備をしておきます。
mysql -u root
mysqlへログインします。コマンドを実行できるのならばrootユーザーでなくても構いません。
create database example_database;
show_databases;
example_databaseがデータベース一覧にあれば成功です。
grant all on example_database.* to 'example_username'@'localhost' identified by 'example_password';
use mysql;
select count(*) from user where User = "example_username";
+----------+
| count(*) |
+----------+
|        1 |
+----------+
1 row in set (0.00 sec)
1名のユーザーが確認できました。
ブラウザから動作確認
ブラウザからdev.example.comにアクセスします。
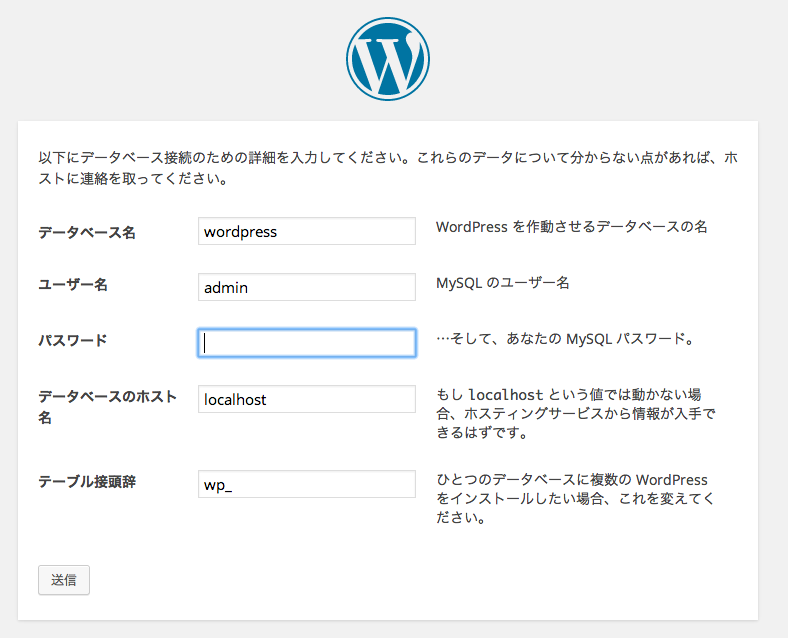
Wordpressの画面が見えたので成功です。
Wordpressのthemeディレクトリでgit initしておく
テーマはgitで管理しそうなのでリポジトリだけ作成しておきます。
# vagrantからexitしてMacへ
exit

# テーマディレクトリへ移動
cd /Users/pugiemonn/Documents/workspace/example.com/wp-content/themes/

git init
Initialized empty Git repository in /Users/pugiemonn/Documents/workspace/example.com/wp-content/themes/.git/
これでテーマを管理できるようになると思います。
感想
もっと簡単に出来そうなのですがどうしていいかわからないですぼすけて(☝ ՞ਊ ՞)