はじめに
フルリモートワークで曲を聴きながら作業することが増えた。
spotifyで流している曲をビジュアライザーで表示できたら面白いなと思ってやってみた。
前提としてspotifyのプレミアム会員じゃないとできない。
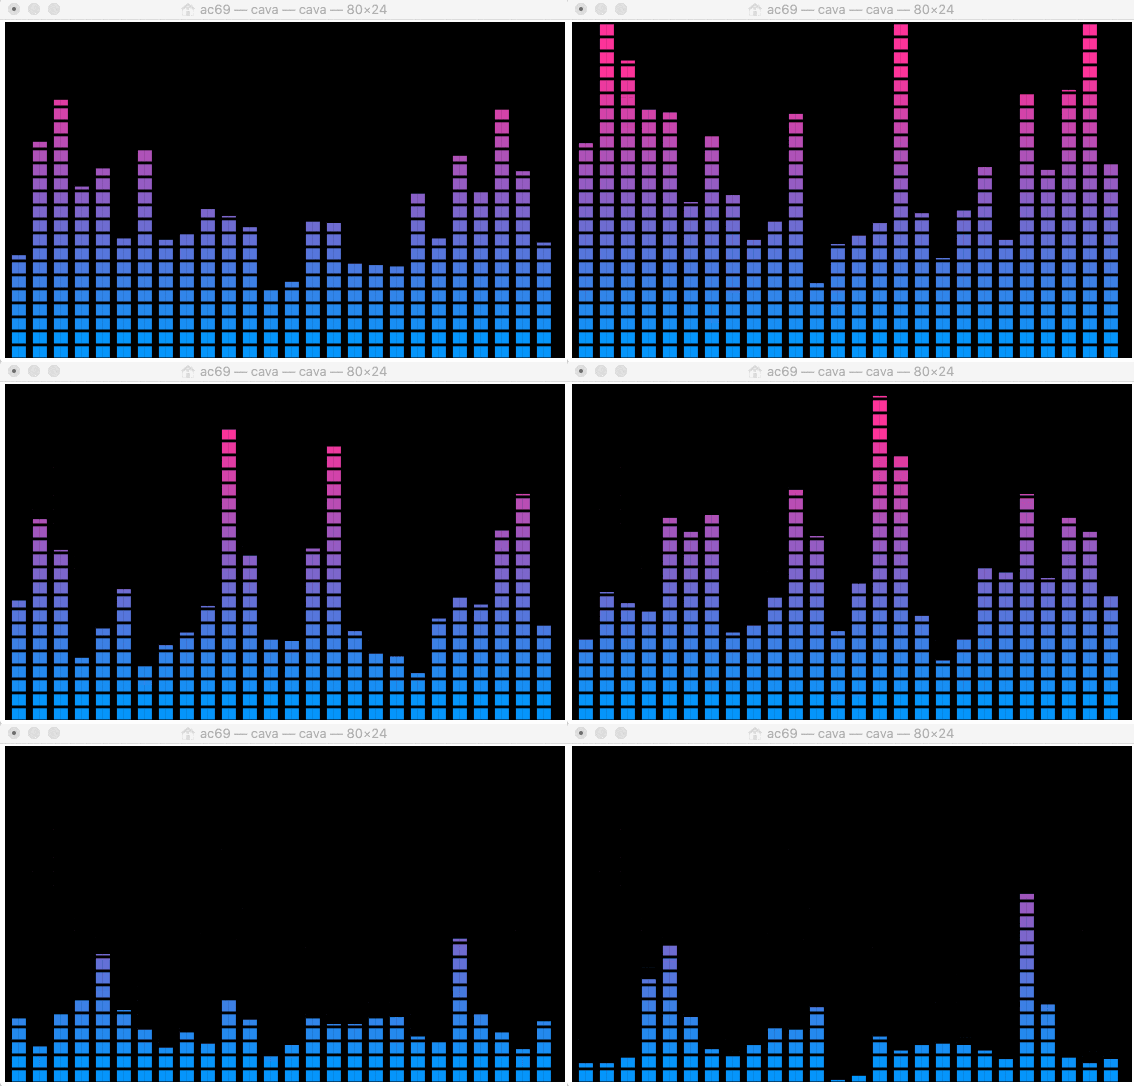
最終的に、spotifyで曲を流すとこんな感じでターミナル上でビジュアライザーが表示されるようになる。
利用するライブラリ
spotifyd
自分のPCをspotify connectできるようにする
spotifydを使わずにSoundflowerとcavaだけの利用でも問題ない。Soundflowerとcavaがあれば、macのサウンド出力をcavaに渡すことができるので、macでなにか音を出せば(youtubeでもなんでもいい)ターミナル上でビジュアライズされるようになる。
Soundflower
仮想オーディオIF
cava
ターミナル上で音をビジュアライズして表示してくれる
作業の流れ
- PCにspotifydをインストール、起動させる。(これでPCがspotify connectできるようになる)
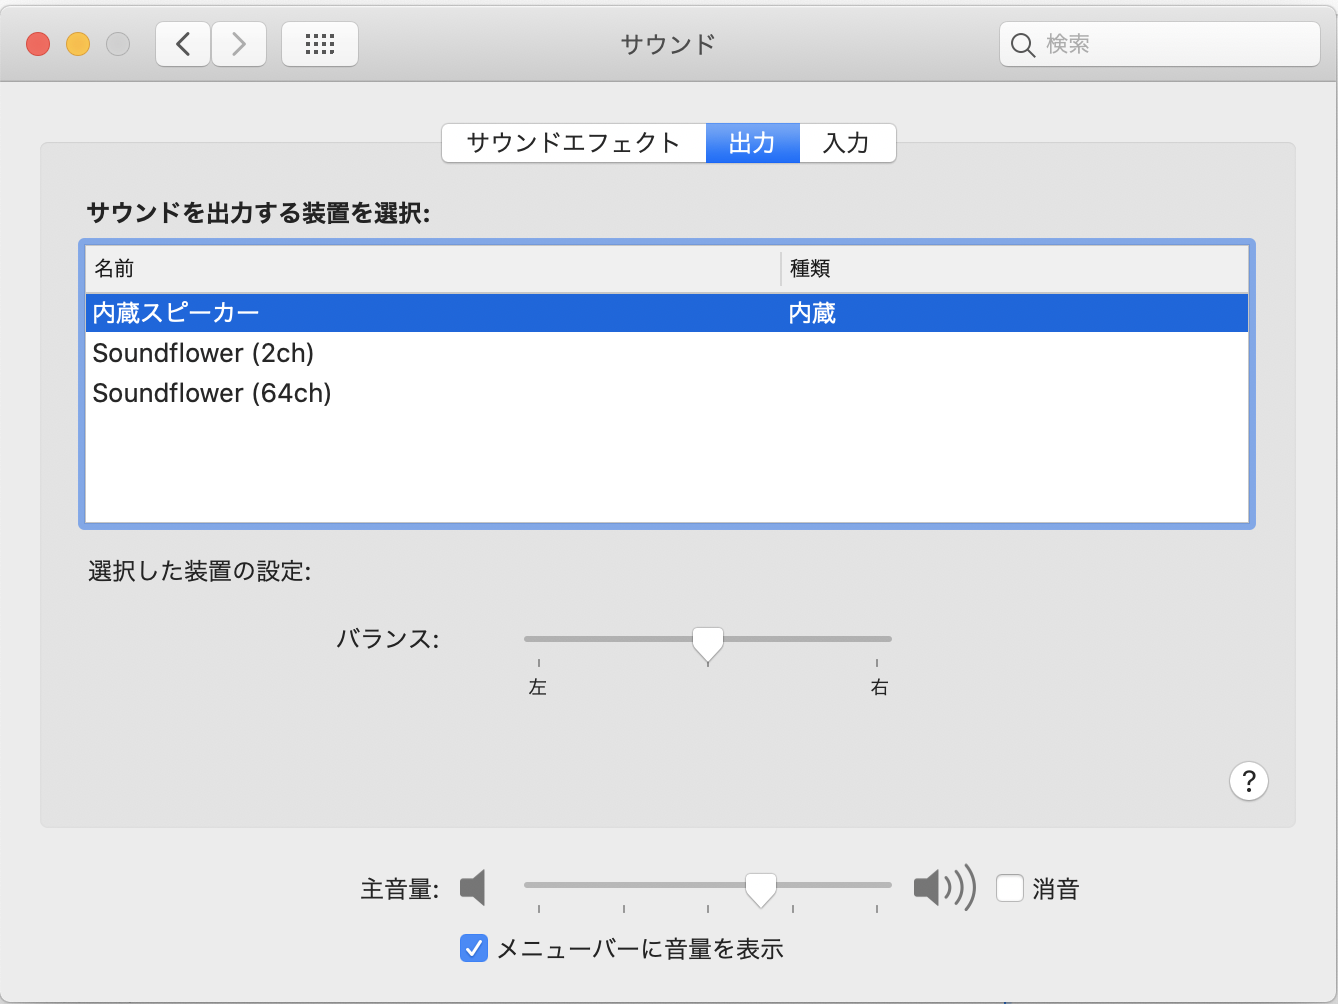
- Soundflowerをインストールし、macの音声出力にSoundflowerを追加する
- cavaをインストール。設定でSoundflowerを入力として受け取るようにする。
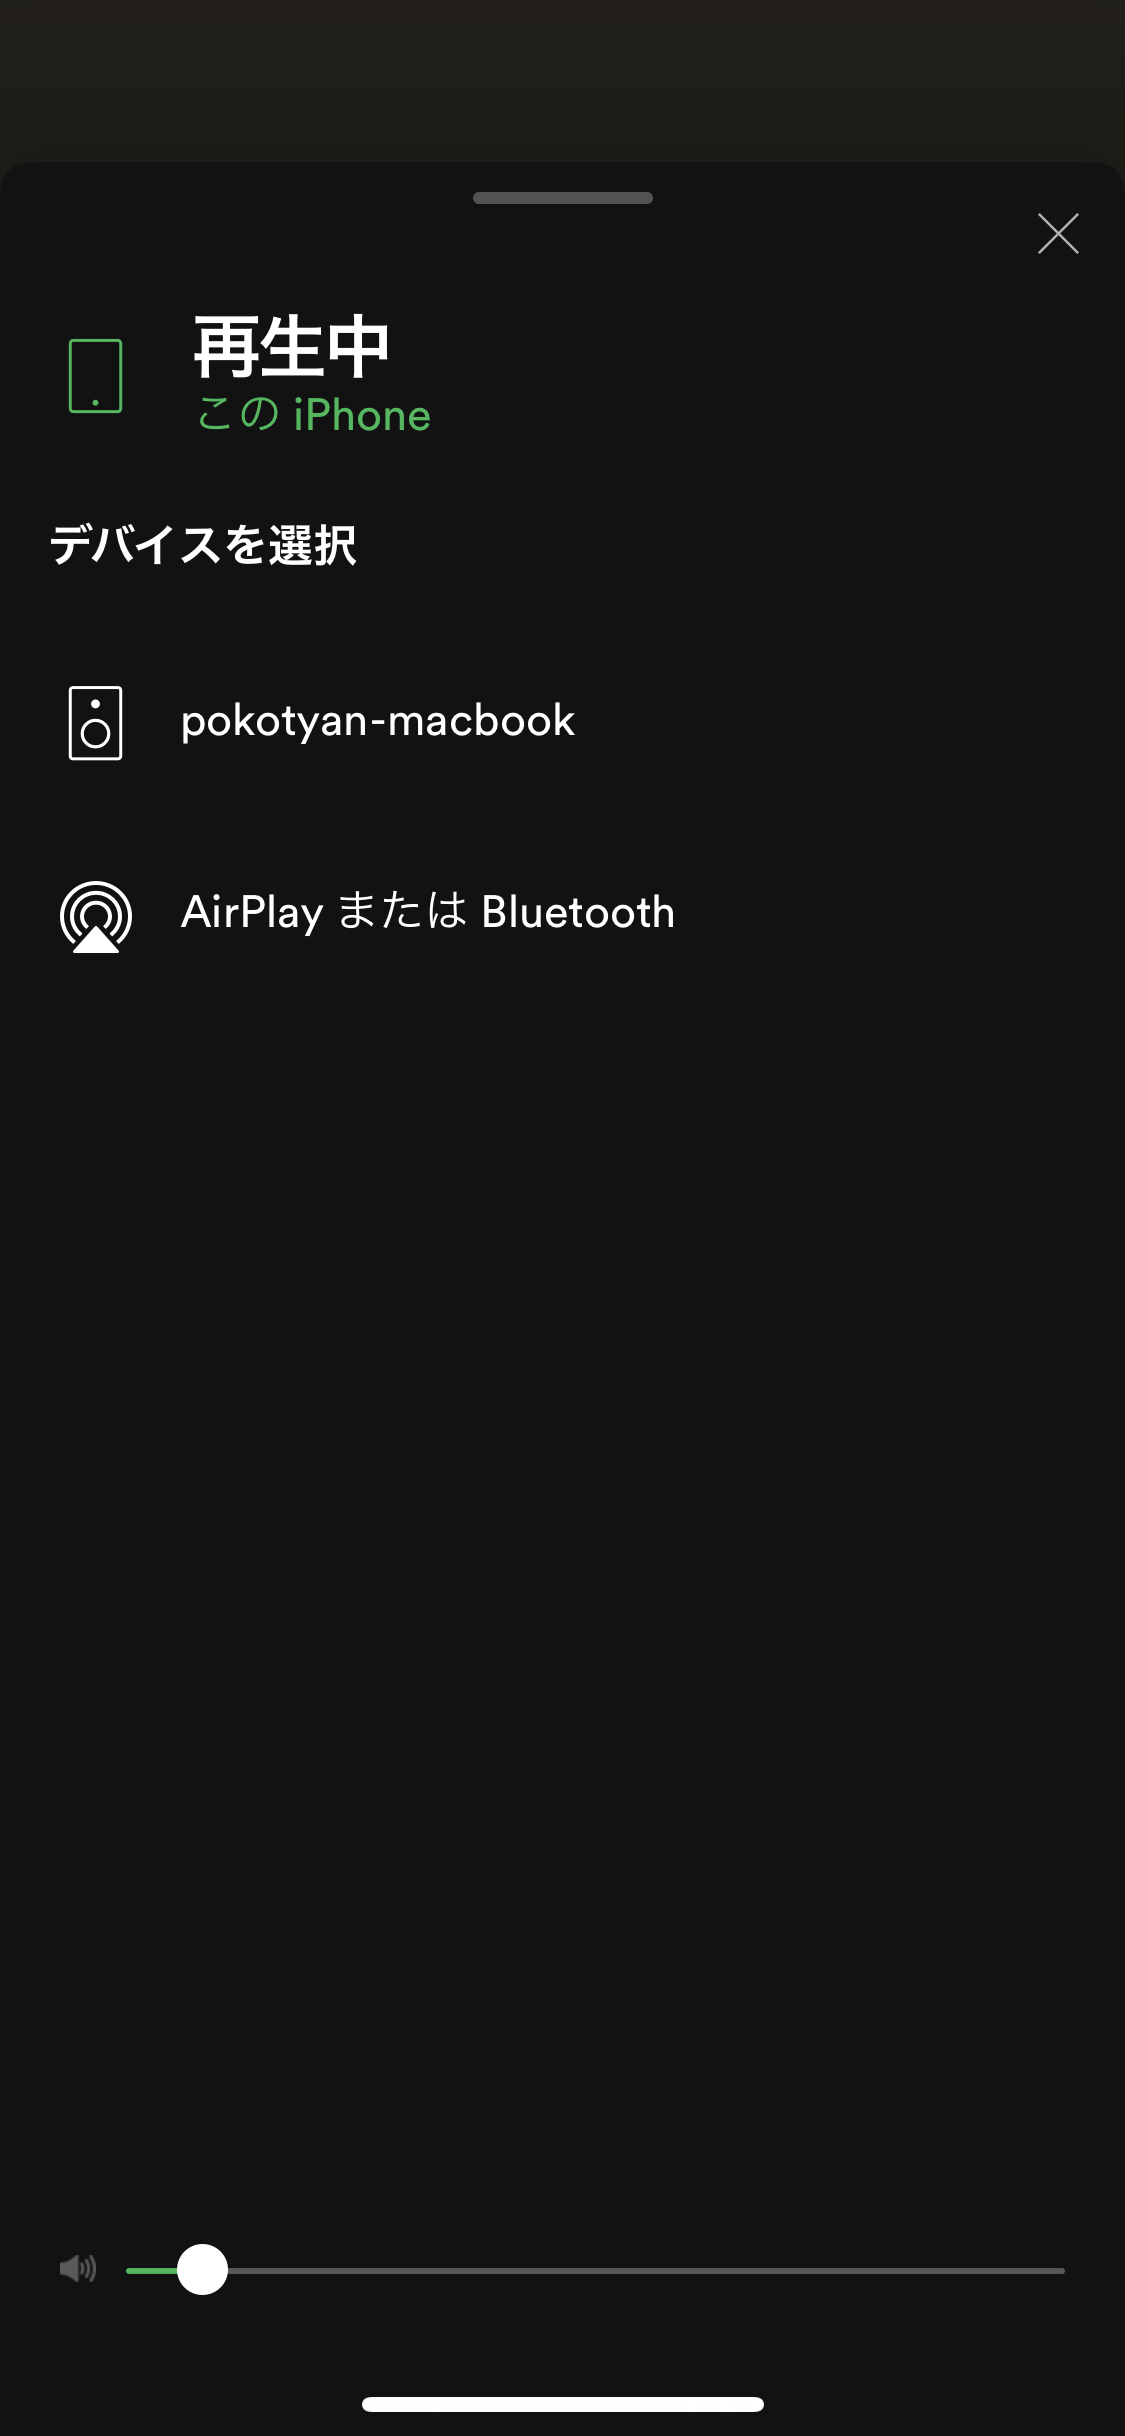
- スマホのspotifyアプリから自分のpcをspotify connectして、曲を流す。(スマホとPCは同じwifiに接続しておく)
- PCのターミナルを立ち上げてcavaを起動させる。
spotifyd
インストール
spotifydのインストールはここからバイナリを落としてインストールする。
各プラットフォーム向けに機能を制限したverやフル機能verなどいろいろあるが、今回はmac向けのフルバージョンを使った(spotifyd-macos-full.tar.gz)
以下はダウンロード配下にファイルを落とした状態からの作業手順
$ sudo cp Downloads/spotifyd /usr/local/bin
$
$ brew install dbus pkg-config portaudio # readmeに書いているが、dbus, pkg-config, portaudioが必要
$ /usr/local/bin/spotifyd --help         # 実行できた
spotifyd 0.2.24
Simon Persson <simon@flaskpost.org>, Sven Lechner <sven.lechner@rwth-aachen.de>
A Spotify daemon

USAGE:
    spotifyd [FLAGS] [OPTIONS]
:
:
設定
readmeにも書いてあるが、こんな感じのconfを用意する。
[global]
# Your Spotify account name.
username = <spotifyのユーザー名>

# Your Spotify account password.
password = <spotifyのパスワード>

# A command that gets executed and can be used to
# retrieve your password.
# The command should return the password on stdout.
#
# This is an alternative to the `password` field. Both
# can't be used simultaneously.
# password_cmd = command_that_writes_password_to_stdout

# If set to true, `spotifyd` tries to look up your
# password in the system's password storage.
#
# This is an alternative to the `password` field. Both
# can't be used simultaneously.
# use_keyring = true

# The audio backend used to play the your music. To get
# a list of possible backends, run `spotifyd --help`.
backend = portaudio

# The alsa audio device to stream audio to. To get a
# list of valid devices, run `aplay -L`,
# device = alsa_audio_device  # omit for macOS

# The alsa control device. By default this is the same
# name as the `device` field.
# control = alsa_audio_device  # omit for macOS

# The alsa mixer used by `spotifyd`.
mixer = PCM

# The volume controller. Each one behaves different to
# volume increases. For possible values, run
# `spotifyd --help`.
volume_controller = alsa  # use softvol for macOS

# A command that gets executed in your shell after each song changes.
# on_song_change_hook = command_to_run_on_playback_events

# The name that gets displayed under the connect tab on
# official clients. Spaces are not allowed!
device_name = pokotyan-macbook

# The audio bitrate. 96, 160 or 320 kbit/s
bitrate = 320

# The director used to cache audio data. This setting can save
# a lot of bandwidth when activated, as it will avoid re-downloading
# audio files when replaying them.
#
# Note: The file path does not get expanded. Environment variables and
# shell placeholders like $HOME or ~ don't work!
cache_path = cache_directory

# If set to true, audio data does NOT get cached.
# no_audio_cache = true

# If set to true, enables volume normalisation between songs.
volume_normalisation = true

# The normalisation pregain that is applied for each song.
normalisation_pregain = -10

# The port `spotifyd` uses to announce its service over the network.
zeroconf_port = 1234

# The proxy `spotifyd` will use to connect to spotify.
# proxy = http://proxy.example.org:8080

# The displayed device type in Spotify clients.
# Can be unknown, computer, tablet, smartphone, speaker, tv,
# avr (Audio/Video Receiver), stb (Set-Top Box), and audiodongle.
device_type = speaker
-
device_name
spotify connectする時の端末の表示名を指定できる。 -
backend
今回macで動かすので backend には portaudio を指定する。各プラットフォームごとに指定できるbackendは異なっており、spotifyd --helpをすればどの値が有効か確認できる。

作成したconfは以下のいずれかに配置すればspotifydが勝手にロードしてくれるようになる
~/.config/spotifyd
/etc
/etc/xdg/spotifyd
$ cp spotifyd.conf /etc
起動
spotifydを起動する。
$ spotifyd --no-daemon
Loading config from "/etc/spotifyd.conf"
No proxy specified
Using software volume controller.
Failed to register IPv6 receiver: Os { code: 49, kind: AddrNotAvailable, message: "Can\'t assign requested address" }
Connecting to AP "gae2-accesspoint-b-tpjk.ap.spotify.com:443"
Authenticated as "dfp0082708o85pndjel2s3caj" !
Country: "JP"
ここまで行えば、スマホのspotifyアプリから自分のPCをspotify connectできるようになる。

ハマったところ
最新のreleaseのspotifydを落とすとmacos10.15用のプログラムになっていて、起動できなかった。
macosを10.15にあげたらちゃんと動いた。
$ spotifyd --no-daemon
Loading config from "/etc/spotifyd.conf"
No proxy specified
Using software volume controller.
error sending packet Os { code: 65, kind: Other, message: "No route to host" }
Connecting to AP "gae2-accesspoint-b-wwhc.ap.spotify.com:443"
Authenticated as "dfp0082708o85pndjel2s3caj" !
Country: "JP"

Unhandled DBus message: (Signal, Some("/org/freedesktop/DBus"), Some("org.freedesktop.DBus"), Some("NameAcquired"))
Unhandled DBus message: (Signal, Some("/org/freedesktop/DBus"), Some("org.freedesktop.DBus"), Some("NameAcquired"))
Loading <裸の心> with Spotify URI <spotify:track:11OHUXwYHjsRNysUDdO2JS>
dyld: lazy symbol binding failed: Symbol not found: ____chkstk_darwin
  Referenced from: /usr/local/bin/spotifyd (which was built for Mac OS X 10.15)
  Expected in: /usr/lib/libSystem.B.dylib

dyld: Symbol not found: ____chkstk_darwin
  Referenced from: /usr/local/bin/spotifyd (which was built for Mac OS X 10.15)
  Expected in: /usr/lib/libSystem.B.dylib

Abort trap: 6
$
Soundflower
インストール
インストーラからインストールする。以下が参考になる。
https://hi3103.net/notes/mac/1214
インストールが完了すると、macのサウンド出力でSoundflowerを選べるようになる。

設定
サウンド出力を「macの内蔵スピーカー」と「Soudflower」の両方に出力するようにする。
macのアプリケーション => ユーティリティ => Audio MIDI設定 を開く。
内蔵出力 と SoundFlower (2ch) を選択する

cava
インストール
基本、readmeに書いてある通りにやればOK。
(libtoolizeあたりがreadme通りにやってもダメだった)
$ brew install fftw ncurses libtool automake portaudio
$ ln -s /usr/local/bin/glibtoolize /usr/local/bin/libtoolize
$ git clone git@github.com:karlstav/cava.git
$ cd cava/
$ ./autogen.sh
$ ./configure
$ make
$ make install
ハマったところ
autom4te: need GNU m4 1.4 or later: /usr/bin/m4
./autogen.shを実行すると上記エラーが発生。m4がちゃんと動いてない
$ m4 --version
dyld: Symbol not found: _OBJC_IVAR_$_NSFont._fFlags
  Referenced from: /Applications/Xcode.app/Contents/SharedFrameworks/DVTDocumentation.framework/Versions/A/../../../../SharedFrameworks/DVTKit.framework/Versions/A/DVTKit
  Expected in: /System/Library/Frameworks/AppKit.framework/Versions/C/AppKit
 in /Applications/Xcode.app/Contents/SharedFrameworks/DVTDocumentation.framework/Versions/A/../../../../SharedFrameworks/DVTKit.framework/Versions/A/DVTKit
m4: error: unable to locate xcodebuild, please make sure the path to the Xcode folder is set correctly!
m4: error: You can set the path to the Xcode folder using /usr/bin/xcode-select -switch
$
xcodeをアップデートしてみたら、ちゃんと動くようになった。
$ m4 --version
GNU M4 1.4.6
Copyright (C) 2006 Free Software Foundation, Inc.
This is free software; see the source for copying conditions.  There is NO
warranty; not even for MERCHANTABILITY or FITNESS FOR A PARTICULAR PURPOSE.

Written by Rene' Seindal.
$
./autogen.sh: line 9: libtoolize: command not found
./autogen.shを実行すると上記エラーが発生。
macではlibtoolizeはglibtoolizeというコマンドになるらしい。
https://qiita.com/udzura/items/3c656bbe3056e2b9ebd0
https://stackoverrun.com/ja/q/4191479
そのためシンボリックリンクを貼るようにした。
$ ln -s /usr/local/bin/glibtoolize /usr/local/bin/libtoolize
設定
./autogen.shを実行すると、以下にcavaの設定ファイルが作成される。
~/.config/cava/config
readmeにも書いているが、inputの設定のところを以下のように修正する
method = portaudio
source = "Soundflower (2ch)"
これで、Soundflower (2ch) へのサウンド出力をcavaがキャッチできるようになる。
また、デフォルトで各設定が全てコメントアウトされている。
inputの設定は上記のものを使い、他全ての箇所のコメントアウトは外した。
起動
cavaはmacのターミナルから動かすこと。(はじめiTermから動かしていたが動かなくてちょっとハマった)
$ cava
作業終了!
ここまでやれば、spotifyの曲をターミナル上でビジュアライズすることができる。
ビジュアライズされたから何?と言われればそれまでだが、楽しそうと思ってくれたらやってみてはいかがでしょうか


