はじめに
仕事でNode.js+Expressを使うことになったので、勉強したことをメモしていきます。
環境
- node v14.16.1
- npm 6.14.12
- Visual Studio Code
Expressとは
Node.js 向けの高速で最小限の Web フレームワークのことです。
詳しくは公式ドキュメントをご参照ください。
http://expressjs.com/ja/
プロジェクトの作成
フォルダを作成してVSCodeで開いてください。
各パッケージをインストール
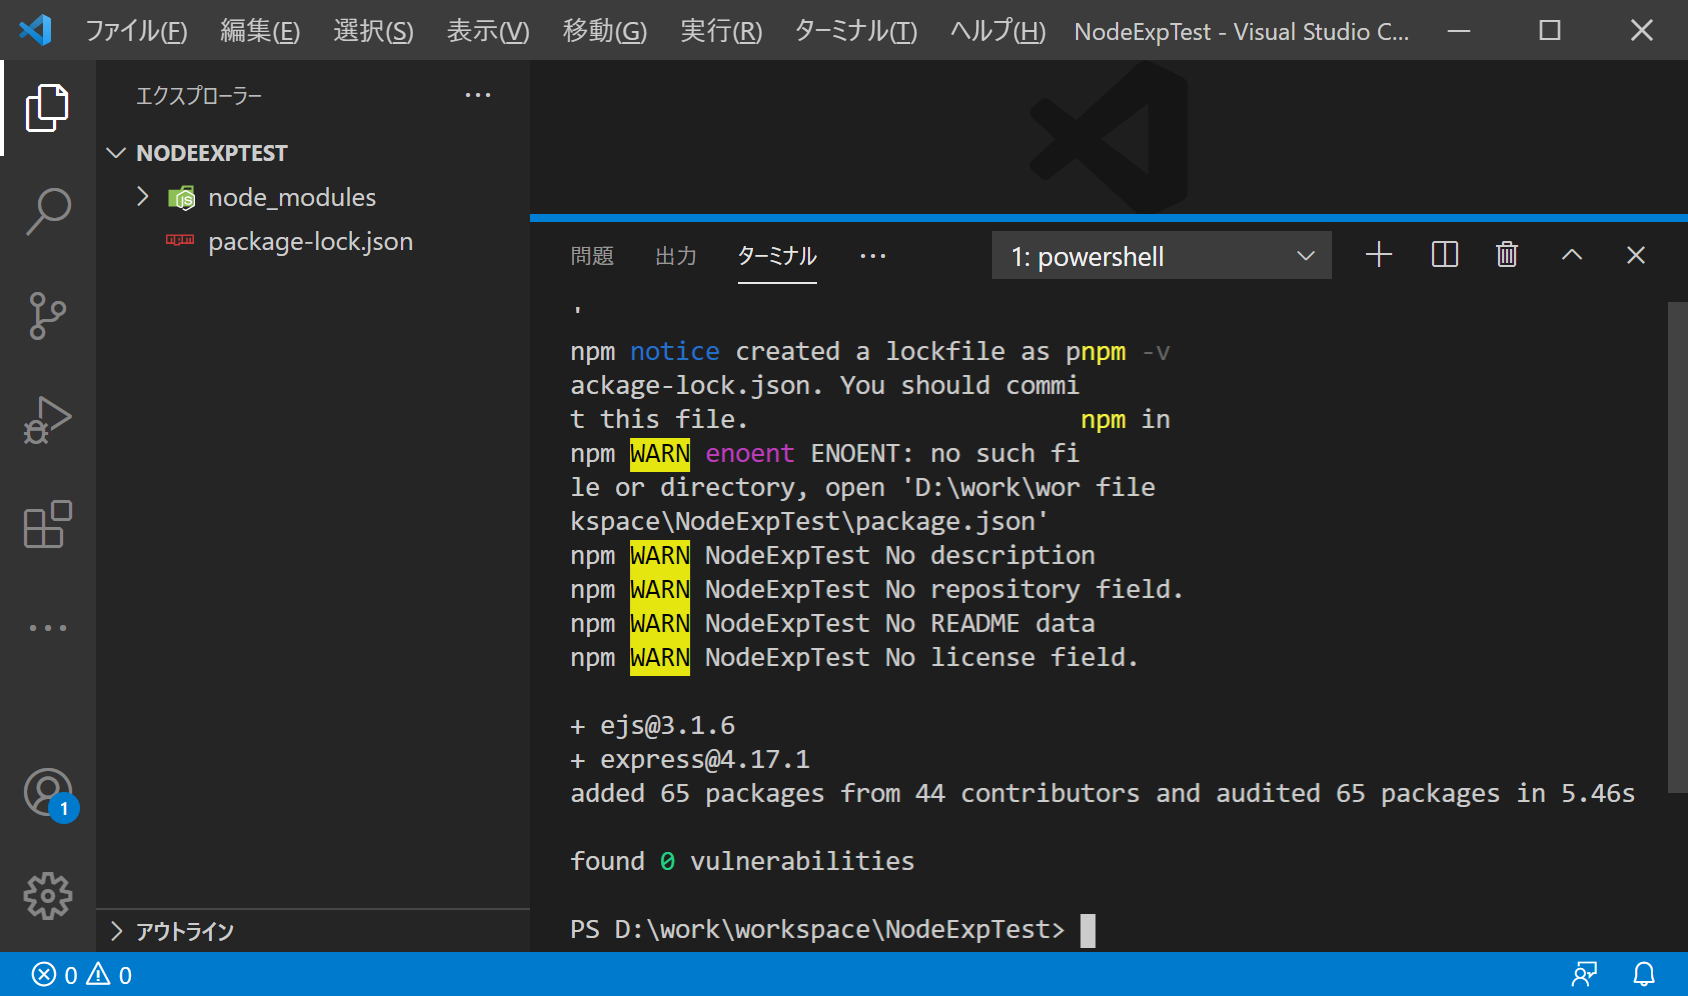
[Ctrl]+@でターミナルを開き、expressとejsをプロジェクトにインストールする。
npm install express ejs
package.json を生成する
npm init
プロジェクトの下に「node_modules」と「package-lock.json」作成されればOK。
各ファイルの作成とソースコード
以下のディレクトリ構成になるようフォルダ&ファイルを作成します。
NodeExpTest
│  package-lock.json
│  package.json
│  server.js
├─node_modules
│  (省略)
├─public
│  ├─css
│  │  index.css
│  │
│  ├─img
│  └─js
│     index.js
├─routes
│  index.js
└─views
   index.ejs
- server.js:Expressサーバの処理を定義。(一番初めに起動)
- public\css\index.css:index.ejsのCSSを定義。
- public\js\index.js:index.ejsのクライアント側の処理を定義。
- routes\index.js:index.ejsのサーバサイドの処理を定義。(Java相当)
- views\index.ejs:js:index.ejsの画面デザインを定義。(JSP相当)
package.json
{
  "name": "nodeexptest",
  "version": "1.0.0",
  "description": "",
  "main": "server.js",
  "dependencies": {
    "ejs": "^3.1.6",
    "express": "^4.17.1"
  },
  "devDependencies": {},
  "scripts": {
    "test": "echo \"Error: no test specified\" && exit 1",
    "start": "node server.js"
  },
  "author": "",
  "license": "MIT"
}
server.js
const express = require('express');

// express の実態 Application を生成
const app = express();
const port = 3000;

// テンプレートエンジンを EJS に設定
app.set('views', './views');
app.set('view engine', 'ejs');

// 静的ファイルは無条件に公開
app.use('/public', express.static('public'));

// ルーティング設定
app.use('/', require('./routes/index.js'));

// HTTPサーバを起動する
app.listen(port, function () {
  console.log(`listening at http://localhost:${port}`);
});

// アプリケーション開始ログ
console.log(`Server running at http://localhost:${port}`);
routes\index.js
const express = require('express');
const router = express.Router();

// デフォルトルーティング
router.get('/', function (request, response) {
    response.render('index', { title: 'Sample NodeExpTest', message: 'Hello World!' });
});

module.exports = router;
views\index.ejs
<!DOCTYPE html>
<html lang="ja">
    <head>
        <title><%= title %></title>
        <meta charset="UTF-8">
        <meta http-equiv="X-UA-Compatible" content="IE=edge">
        <meta name="viewport" content="width=device-width, initial-scale=1">
        <link rel="stylesheet" href="/public/css/index.css" />
        <script type="text/javascript" src="/public/js/index.js"></script>
    </head>
    <body>
        <div class="container">
            <p><%= message %></p>
        </div>
    </body>
</html>
実行とデバッグ
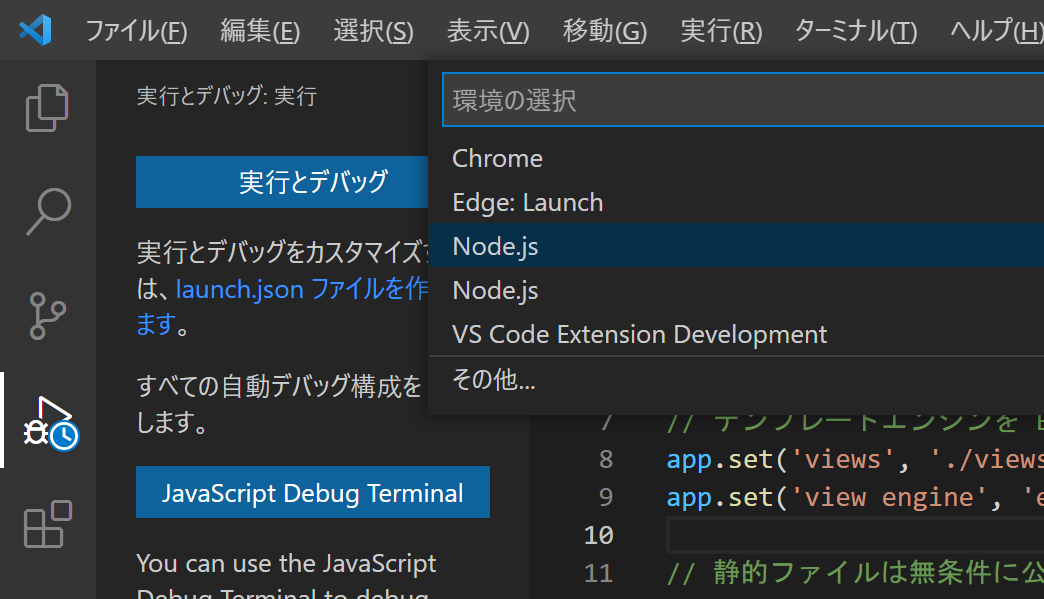
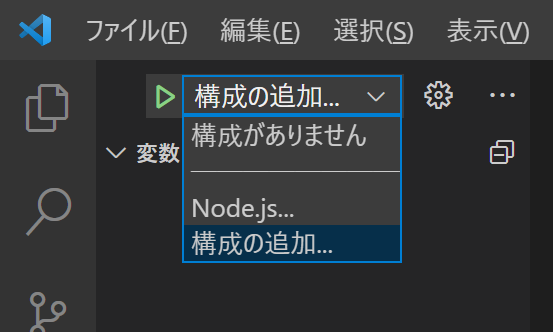
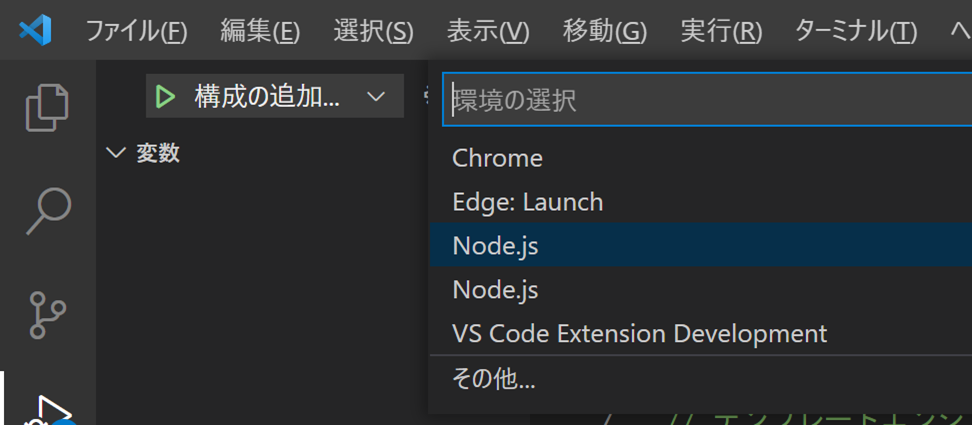
作成されたlaunch.jsonを以下の通り設定します。
launch.json
{
    "version": "0.2.0",
    "configurations": [
        {
            "type": "node",
            "request": "launch",
            "name": "Launch Express",
            "program": "${workspaceFolder}\\server.js"
        }
    ]
}
F5をクリックし、実行します。
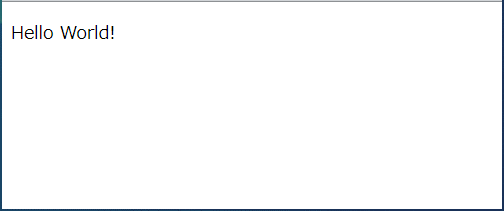
ブラウザを起動して、http://localhost:3000/にアクセスして以下のような画面が表示されればOKです。
また、server.jsやroutes\index.jsにブレークポイントを立てて、再度デバッグ実行してみましょう。
デバッグできれば成功です。
ひとまず、今回はここまで。
次回はGETとPOSTにチャレンジしたいと思います。
(続きはこちら)
https://qiita.com/pocota5260/items/6f972b4455f609dbfeec
ソースコードはこちら。
https://github.com/pocota5260/NodeExpTest