前の記事
前回はHelloWorldまででした。
今回はGETとPOSTを勉強してきたのでまとめていきます。
GET
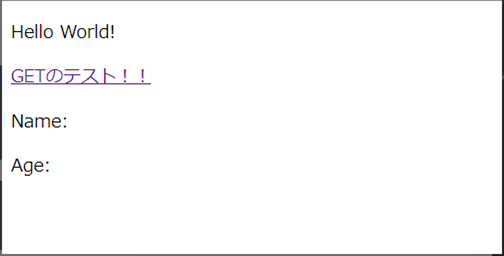
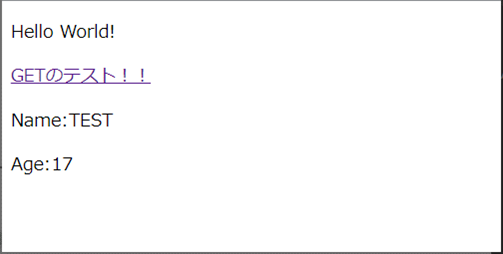
index.ejsに、自分自身にGetパラメータで"name"と"age"を渡し、再度読み込まれたときに"name"と"age"を表示するようなイメージで作りにしました。
        <div>
            <a href="?name=TEST&age=17">GETのテスト!!</a>
            <p>Name:<%= name %></p>
            <p>Age:<%= age %></p>
        </div>
サーバサイドのroutes\index.jsの処理です。
router.get関数でGetパラメータの"name"と"age"を受け取り、JSON形式のオブジェクトにセットし、自分自身に返しています。各Getパラメータは"request.query"で取得できます。
const express = require('express');
const router = express.Router();
// ここを追加
var resObj = {
    title: 'Sample NodeExpTest',
    message: 'Hello World!',
    name: "",
    age: "",
    sports: ""
};

router.get('/', function (request, response) {
    // response.render('index', { title: 'Sample NodeExpTest', message: 'Hello World!' });
    // ここを追加
    const query = request.query;
    resObj.name = query.name;
    resObj.age = query.age;
    response.render('index', resObj);
});
動作確認
POST
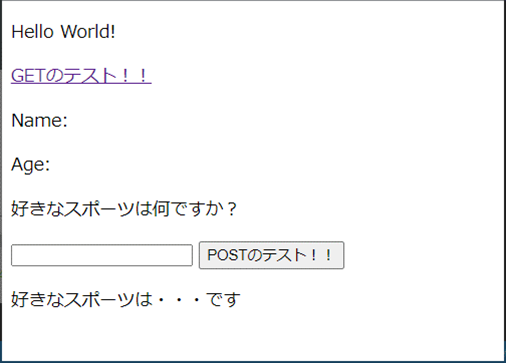
index.ejsに入力フォームを作成し、自分自身にPOSTすると、サーバサイドでフォームのデータを受け取り、JSON形式のオブジェクトにセットし、自分自身に返しています。各フォームデータは"request.body"で取得できます。
        <div>
            <form action="/" method="POST">
                <p>好きなスポーツは何ですか?</p>
                <input type="text" name="sports">
                <input type="submit" value="POSTのテスト!!"></input>
            </form>
            <p>好きなスポーツは・・・<%= sports %>です</p>
        </div>
router.post("/", function (request, response) {
    resObj.sports = request.body.sports;
    response.render('index', resObj);
});
このままでは"request.body"はundefinedとなり、フォームデータを受け取ることができませんでした。server.jsのappの直下に以下のようなおまじないを追加する必要があるようです。
// express の実態 Application を生成
const app = express();
// POSTのクエリーを良い感じに処理する
app.use(express.urlencoded({extended: true}));
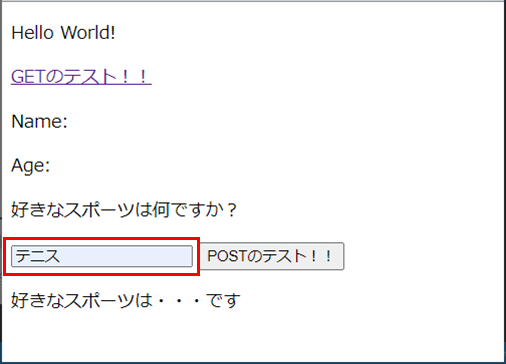
動作確認
"POSTのテスト!!"ボタンをクリックすると、入力したスポーツが画面に表示されました。
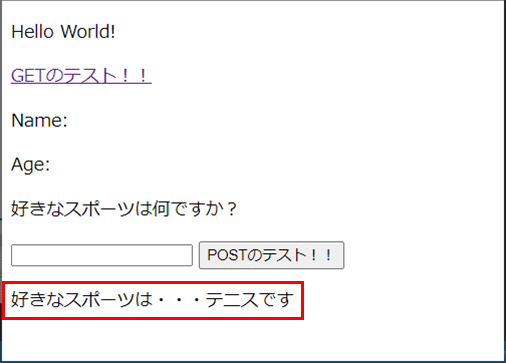
今回はここまで。
次回は画面遷移について勉強していきたいと思います。
ソースコードはこちら。
https://github.com/pocota5260/NodeExpTest
