aws-cliの導入
コマンドラインからAWSのサービスを操作できるツールを導入
Homebrewでインストール
$ brew install aws-cli
アクセスキー、シークレットアクセスキーを取得
- セキュリティ認証情報にアクセス
アクセスキー(アクセスキー ID とシークレットアクセスキー)- 新しいアクセスキーの作成
- モーダルに表示されたアクセスキー、シークレットアクセスキーをコピー
aws-cliの接続設定
コマンド入力後、対話的に設定情報を入力する
$ aws configure

# 対話的に設定情報を入力
AWS Access Key ID [None]: <アクセスキー>
AWS Secret Access Key [None]: <シークレットアクセスキー>
Default region name [None]: ap-northeast-1
Default output format [None]: 未力でOK

# S3で作成済みのバケット名が表示されていればOK
$ aws s3 ls
AwsServerlessExpressStackの作成
AWSリソースのオケーストレーションを行なってくれるAWS CloudFormationに、aws-serverless-expressによって作成されるAwsServerlessExpressStackを追加する。
クローン
# リポジトリをクローン
$ git clone https://github.com/awslabs/aws-serverless-express.git

# exsampleディレクトリをコピー
$ cp -r ./aws-serverless-express/example ./example

# クローンしたプロジェクトを削除
$ rm -rf aws-serverless-express
設定
aws-cli経由でS3を操作する際の設定を行う
アカウント設定からアカウント名は確認可能
なお、バケット名は作成済みのものが無ければ自動で作成される
$ npm run config -- --account-id="<アカウントID>" --bucket-name="<バケット名>" --region="ap-northeast-1"
$ npm run setup
確認
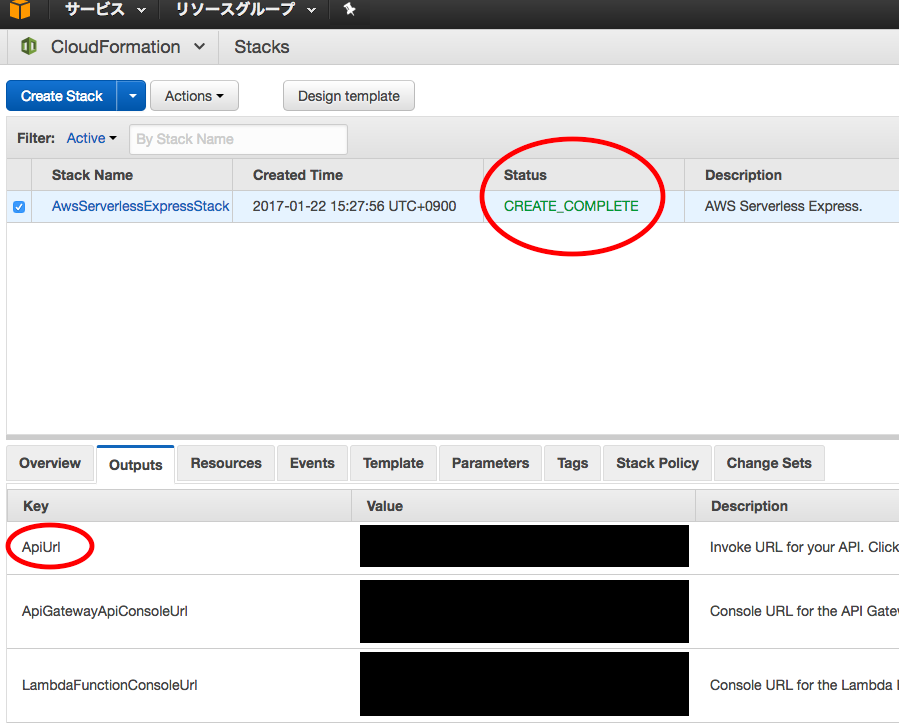
CloudFormationにAwsServerlessExpressStackが追加され、ステータスがCREATE_COMPLETEになっていれば無事作成されている。
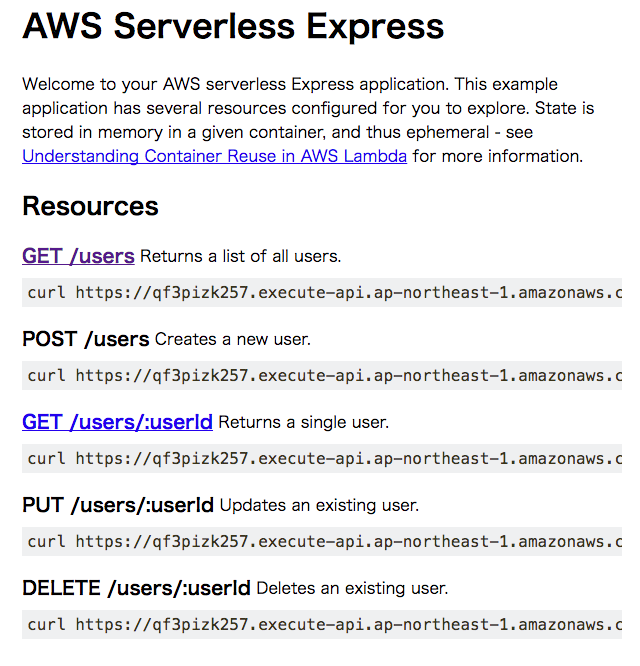
AwsServerlessExpressStackOutputsタブから、ApiUrlをクリックすると下記のようなトップページ(index.html)が確認できる。
ちなみに、生成されるapp.jsは下記↓
app.js
'use strict'
const express = require('express')
const bodyParser = require('body-parser')
const cors = require('cors')
const awsServerlessExpressMiddleware = require('aws-serverless-express/middleware')
const app = express()

app.use(cors())
app.use(bodyParser.json())
app.use(bodyParser.urlencoded({ extended: true }))
app.use(awsServerlessExpressMiddleware.eventContext())

app.get('/', (req, res) => {
    res.sendFile(`${__dirname}/index.html`)
})

app.get('/users', (req, res) => {
    res.json(users)
})

app.get('/users/:userId', (req, res) => {
    const user = getUser(req.params.userId)

    if (!user) return res.status(404).json({})

    return res.json(user)
})

app.post('/users', (req, res) => {
    const user = {
        id: ++userIdCounter,
        name: req.body.name
    }
    users.push(user)
    res.status(201).json(user)
})

app.put('/users/:userId', (req, res) => {
    const user = getUser(req.params.userId)

    if (!user) return res.status(404).json({})

    user.name = req.body.name
    res.json(user)
})

app.delete('/users/:userId', (req, res) => {
    const userIndex = getUserIndex(req.params.userId)

    if(userIndex === -1) return res.status(404).json({})

    users.splice(userIndex, 1)
    res.json(users)
})

const getUser = (userId) => users.find(u => u.id === parseInt(userId))
const getUserIndex = (userId) => users.findIndex(u => u.id === parseInt(userId))

// Ephemeral in-memory data store
const users = [{
    id: 1,
    name: 'Joe'
}, {
    id: 2,
    name: 'Jane'
}]
let userIdCounter = users.length

// The aws-serverless-express library creates a server and listens on a Unix
// Domain Socket for you, so you can remove the usual call to app.listen.
// app.listen(3000)

// Export your express server so you can import it in the lambda function.
module.exports = app
ローカルでの確認
- app.jsに下記を追加
...
// app.listen(3000)
+ process.env.PORT && app.listen(process.env.PORT)

// Export your express server so you can import it in the lambda function.
module.exports = app
- サーバー起動
$ PORT=1234 node app.js
- 確認
$ open http://localhost:1234

