とにかくnext.jsのデフォルト画面をworkersに速攻デプロイ(github連携)するまでの手順です
cloudflare workersでnext.js使うと、めちゃくちゃ安く済むというかかなり流行るまで、ほとんど無料でいけるはずなので、おすすめです
SSRだけならおよそ1日10万PVまでは無料です
ただし、next.jsをそのまま使う事はできず、opennextというアダプタを噛ますことでcloudflare workersにサクッとdeployできるようになります
opennextでプロジェクトを作成する
任意のフォルダで以下実行
npm create cloudflare@latest -- [my-project] --framework=next --platform=workers
選択肢は Framework Starter選ぶ
╰ What would you like to start with?
  ○ Hello World example
  ● Framework Starter
  ○ Application Starter
  ○ Template from a GitHub repo
  ◁ Go back
Next.jsを選択
 ○ React
 ○ React Router (formerly Remix)
 ○ Hono
 ● Next.js
あとはEnter連打すればいい感じの標準設定になります
githubにリポジトリを作ってpushする
デフォルト設定のままならすでにgit連携されてると思うので、
githubにリポジトリを作って、リモート登録してpushしてください
cloudflare workersのビルド設定をする
cloudflareのダッシュボードにログインします
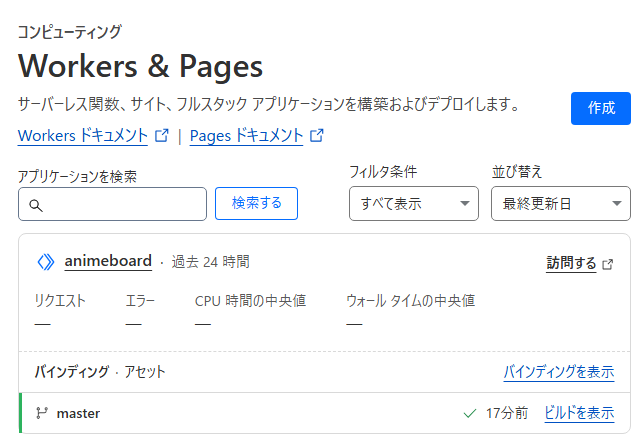
コンピューティング > Workers & Pagesを選択
作成を選択
先ほどpushしたリポジトリを選択します
ビルド設定は以下を入力します
ビルド コマンド:npx opennextjs-cloudflare build
デプロイ コマンド:npx opennextjs-cloudflare deploy
バージョン コマンド:npx opennextjs-cloudflare upload
これでビルドが始まります
うまくビルドが通れば、ページのURLが作られるので、「訪問する」から確認して終り
あとはagentic codingでゴリゴリ作ってもらいましょう

