きっかけ
ランニングマシンと連動して、ストリートビューで疑似ランニングを実現したい!
→とりあえず自動操縦してみる??(自動で前進)
備忘録&アウトプットの練習として執筆。
もはやただのメモ。
マークアップ記法難しいなぁ。
仕組み
・ブラウザで表示したストリートビューをキーボード操作で動かす
・キーボード操作はpyautoguiで自動化
・左折、右折はハンドジェスチャーで
操縦方法
1.ブラウザで走りたい地点のストリートビューを表示
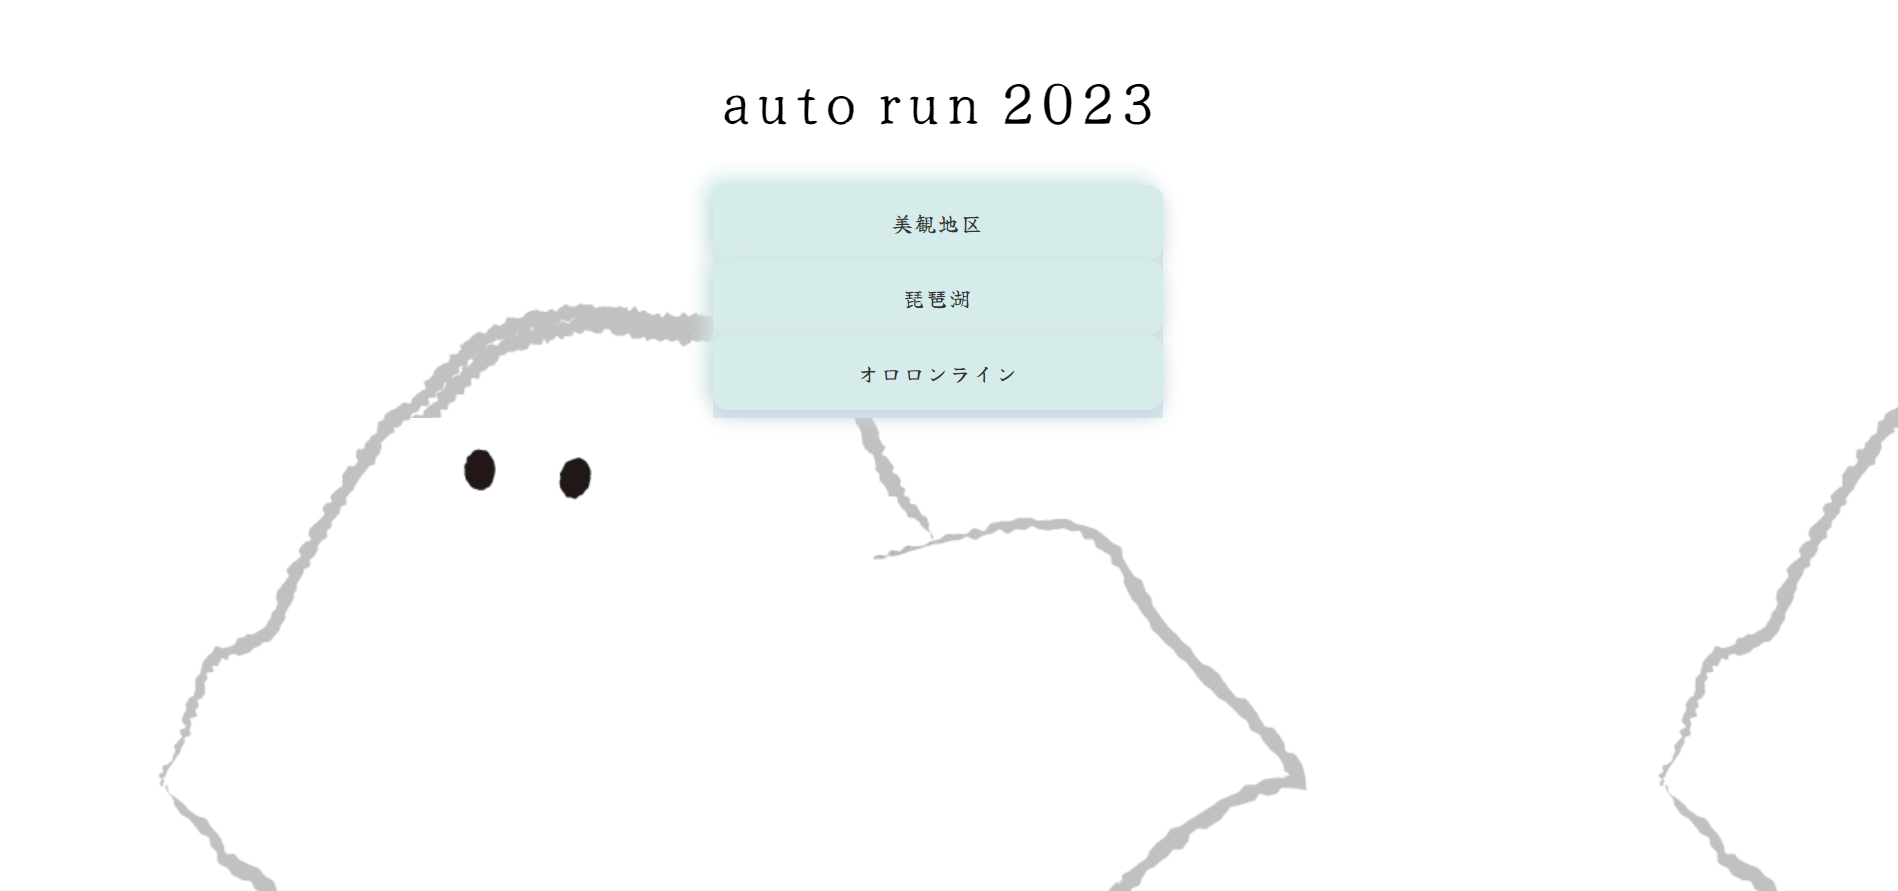
※HTMLで専用ページ作った
2.自動操縦用のpythonコードをコマンドラインで実行
※今回はanacondaのpromptで実行
※バッチファイルにして、実行簡略化
3.自動で前進、ピースサインで左折、4本指で右折
自動操縦pythonコード
かなり無駄多め。
import cv2
import mediapipe as mp
import os
import pyautogui
import time
import webbrowser
import pygetwindow as gw
import keyboard

from selenium import webdriver


######################################
# handDetector クラス
######################################
class handDetector():

	# 初期化処理
	def __init__(self, mode=False, maxHands = 2, modelComplexity = 1, detectionCon = 0.5, trackCon = 0.5):
		self.mode = mode
		self.maxHands = maxHands
		self.modelComplexity = modelComplexity
		self.detectionCon = detectionCon
		self.trackCon = trackCon

		self.mpHands = mp.solutions.hands
		self.hands = self.mpHands.Hands(self.mode, self.maxHands, self.modelComplexity,
							self.detectionCon, self.trackCon)
		self.mpDraw = mp.solutions.drawing_utils

	# ランドマークを描画する
	def DrawLandmarks(self, img, draw = True):
		imgRGB = cv2.cvtColor(img, cv2.COLOR_BGR2RGB)
		self.results = self.hands.process(imgRGB)

		if self.results.multi_hand_landmarks:
			for handLms in self.results.multi_hand_landmarks:
				if draw:
					self.mpDraw.draw_landmarks(img, handLms,
							self.mpHands.HAND_CONNECTIONS)
		return img

	# ポジション座標を取得する
	def GetPosition(self, img, handNo = 0, draw = True):

		PositionList = []
		if self.results.multi_hand_landmarks:
			myHand = self.results.multi_hand_landmarks[handNo]
			for id, lm in enumerate(myHand.landmark):
				h, w, c = img.shape
				cx, cy = int(lm.x * w), int(lm.y * h)
				PositionList.append([id, cx, cy])
				if draw:
					cv2.circle(img, (cx, cy), 10, (255, 0, 255), cv2.FILLED)

		return PositionList

######################################
# 内部変数の定義
######################################
wCam, hCam = 600, 400          # USB カメラで取り込むイメージサイズ
tipIds = [4, 8, 12, 16, 20]     # 親指、人差し指 ~ 小指 のインデックス
wipeX = wCam            # ワイプの横サイズ
wipeY = hCam             # ワイプの縦サイズ
maxFingerIndex = 1              # 指の数

# カメラ準備 ###############################################################
# VideoCapture インスタンスを生成し縦横のサイズを設定する
cap = cv2.VideoCapture(0)

cap.set(cv2.CAP_PROP_FRAME_WIDTH, wCam)
cap.set(cv2.CAP_PROP_FRAME_HEIGHT, hCam)

#画面サイズ取得
scr_w,scr_h= pyautogui.size()

cent_x = scr_w/2
cent_y = scr_h/2

w_title = 'auto_run_2023'

######################################


pyautogui.alert(text="escで終了します",title='確認',button='OK')

# handDetector クラスのインスタンスを生成する
detector = handDetector(detectionCon = 0.5)

while True:

	# USB カメラの映像を読み出す
	success, imgVideo = cap.read()

	# 映像にランドマークを描画する
	img = detector.DrawLandmarks(imgVideo)

	# 座標データを取得する
	Positionlist = detector.GetPosition(img, draw = False)

	# 座標データを出力する
	print(Positionlist)


	# 指定された番号の操作を行う

	if  keyboard.is_pressed('esc'):
		pyautogui.alert(text="終了します",title='確認',button='OK')
		break

	elif maxFingerIndex == 2:
		success, pyautogui.keyDown('left')

	elif maxFingerIndex == 4:
		success, pyautogui.keyDown('right')

	else:
		pyautogui.moveTo(cent_x,cent_y)
		pyautogui.click()
		pyautogui.press('w' , interval= 0.5)

	# ポジションデータが取得できているかどうかチェック
	if len(Positionlist) != 0:

		fingers = []

		# 親指の時
		if Positionlist[tipIds[0]][1] > Positionlist[tipIds[0] - 2][1]:
			maxFingerIndex = 5

		# 親指以外の 4 本の時
		else:
			for id in range(1, 5):
				if Positionlist[tipIds[id]][2] < Positionlist[tipIds[id] - 2][2]:
					# print("Index finger open")
					maxFingerIndex = id


	# 映像を表示する

	cv2.imshow(w_title, img)
	# Window位置の変更 第1引数:Windowの名前 第2引数:x 第3引数:y
	cv2.moveWindow(w_title, scr_w-600,scr_h-400)

	key = cv2.waitKey(1)
	if key == 27: # ESC で映像を停止する
		break
おまけ
ストリートビューへ飛ぶページ
中央ボタンをクリックで各地へジャンプ

参考にしたサイト
大変お世話になりました。
【自動操縦関連】
・https://www.nsfarm.life/page2021/acl2021BlogMediapipeWipe.html
・https://github.com/Kazuhito00/simple-virtual-mouse-using-mediapipe
【HTML関連】
・https://nawmin.com/
・https://125naroom.com/
・https://fonts.google.com/