はじめに
laradock での開発環境構築はこちら。
PHPStormでPHPUnitを動かす設定
1. CLI Interpreterの設定
-
Preference > Languages & Frameworks > PHPを選択。 -
CLI InterPreterの右端の...をクリック。

-
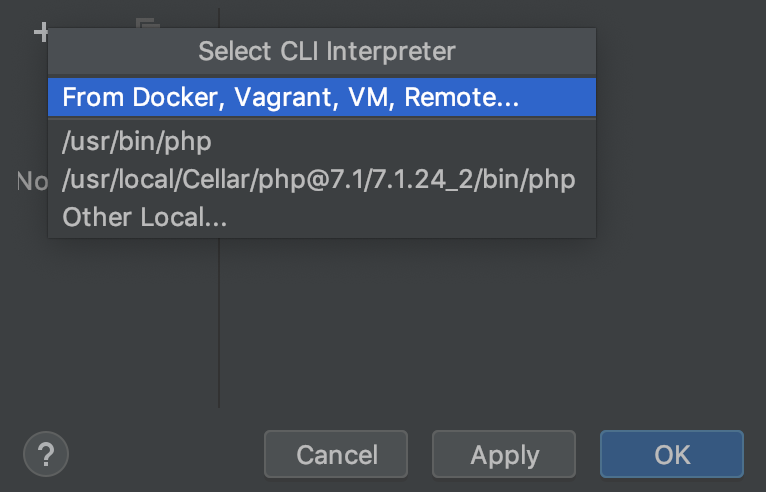
左上の+をクリック。 -
From Docker, ...を選択してOKをクリック。
-
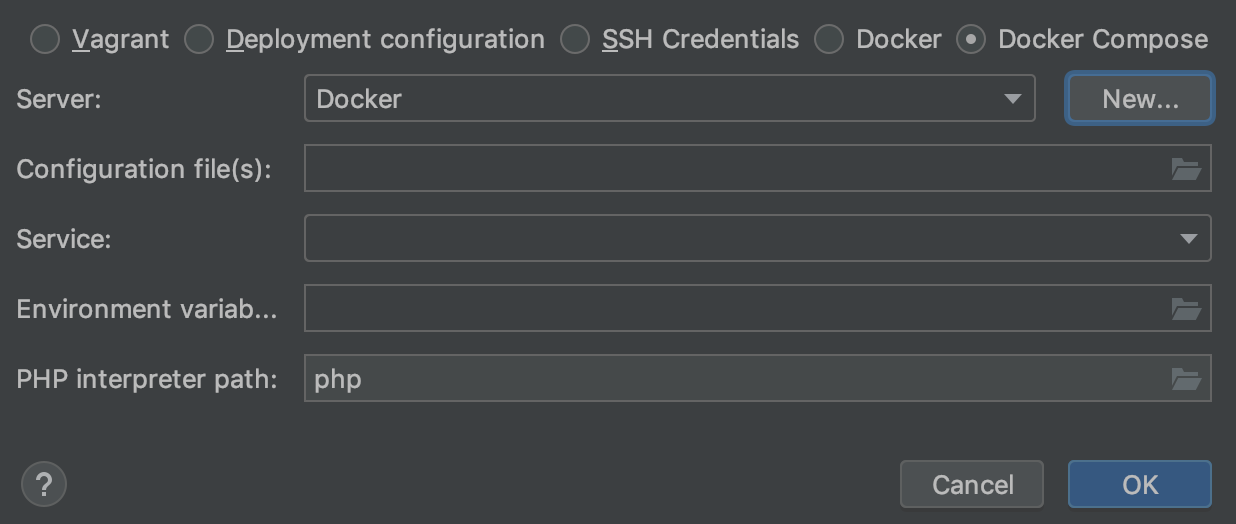
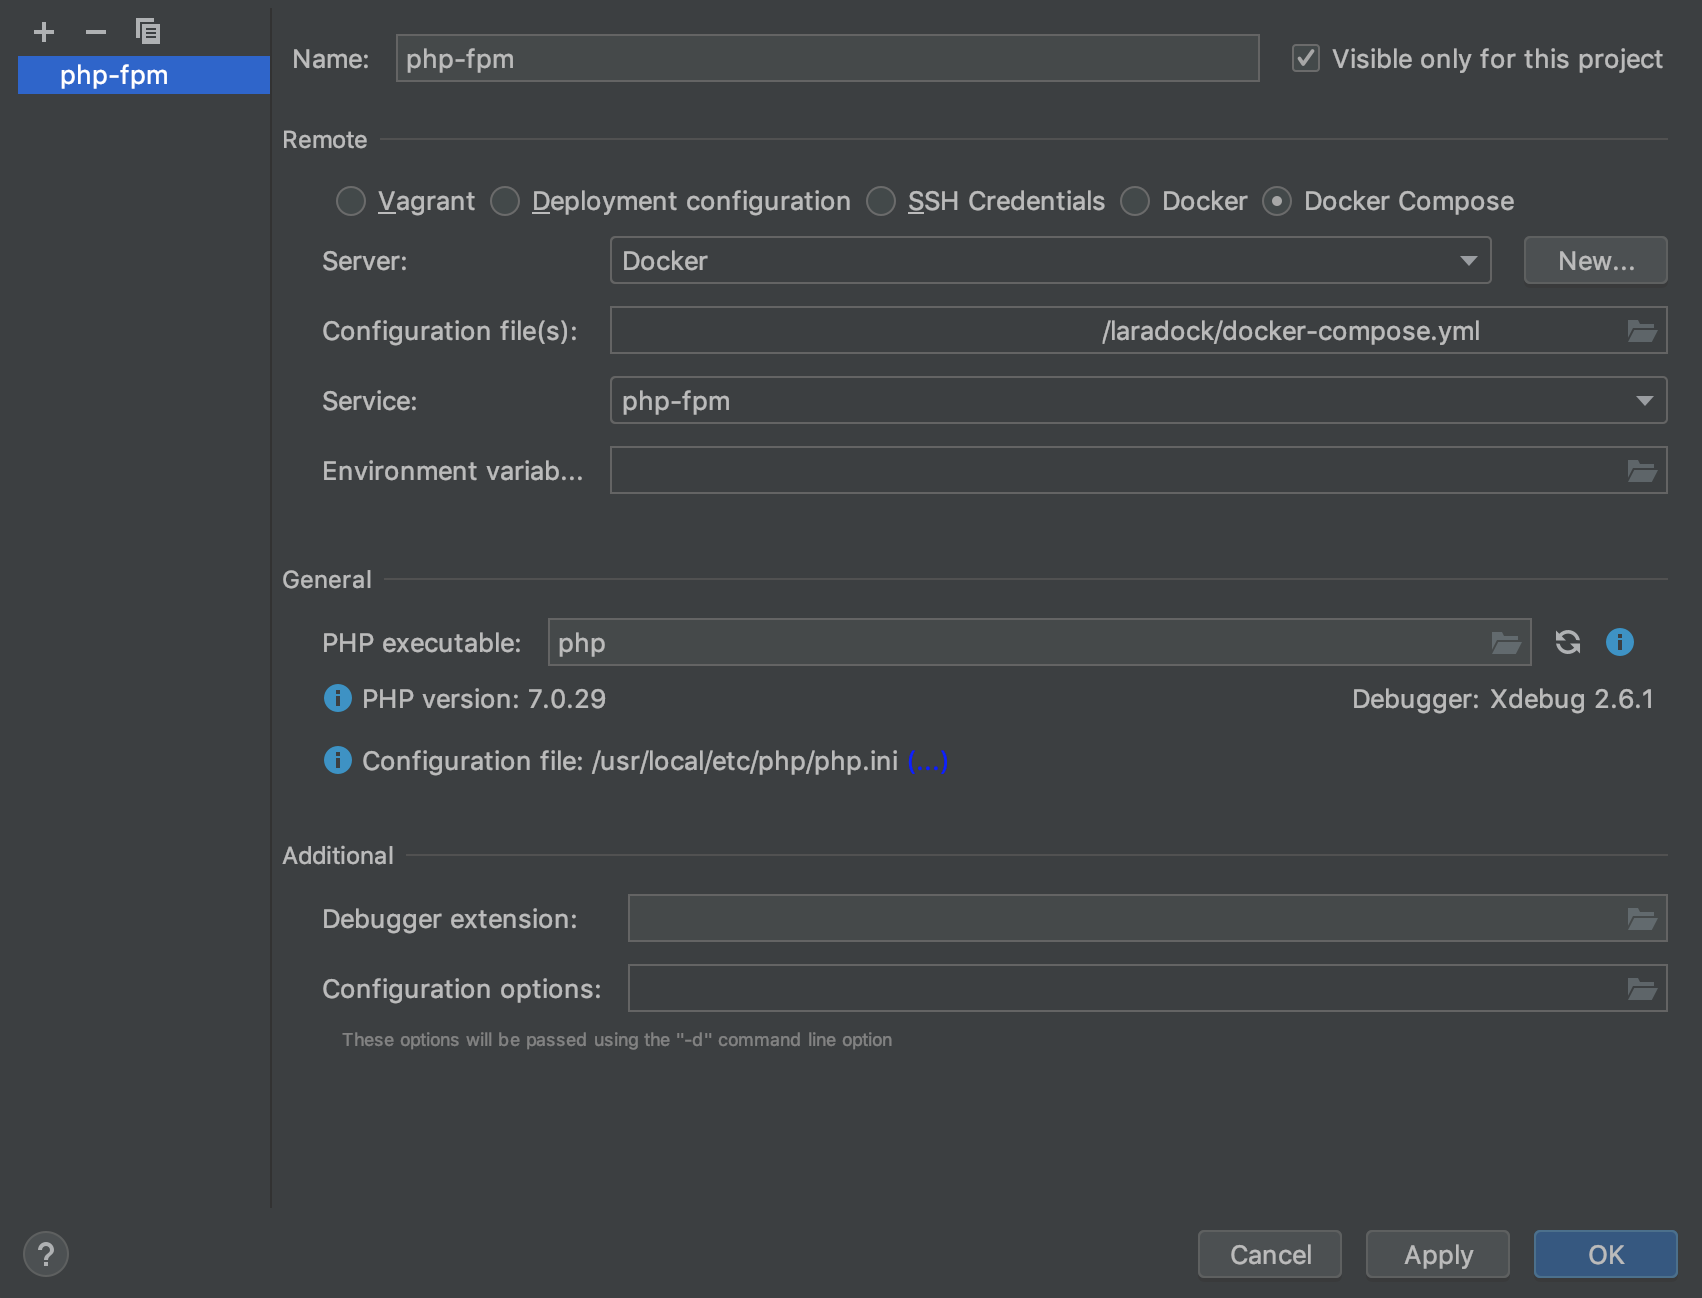
Docker Composeのラジオボタンを選択。 -
Server : Newボタンをクリック。
-
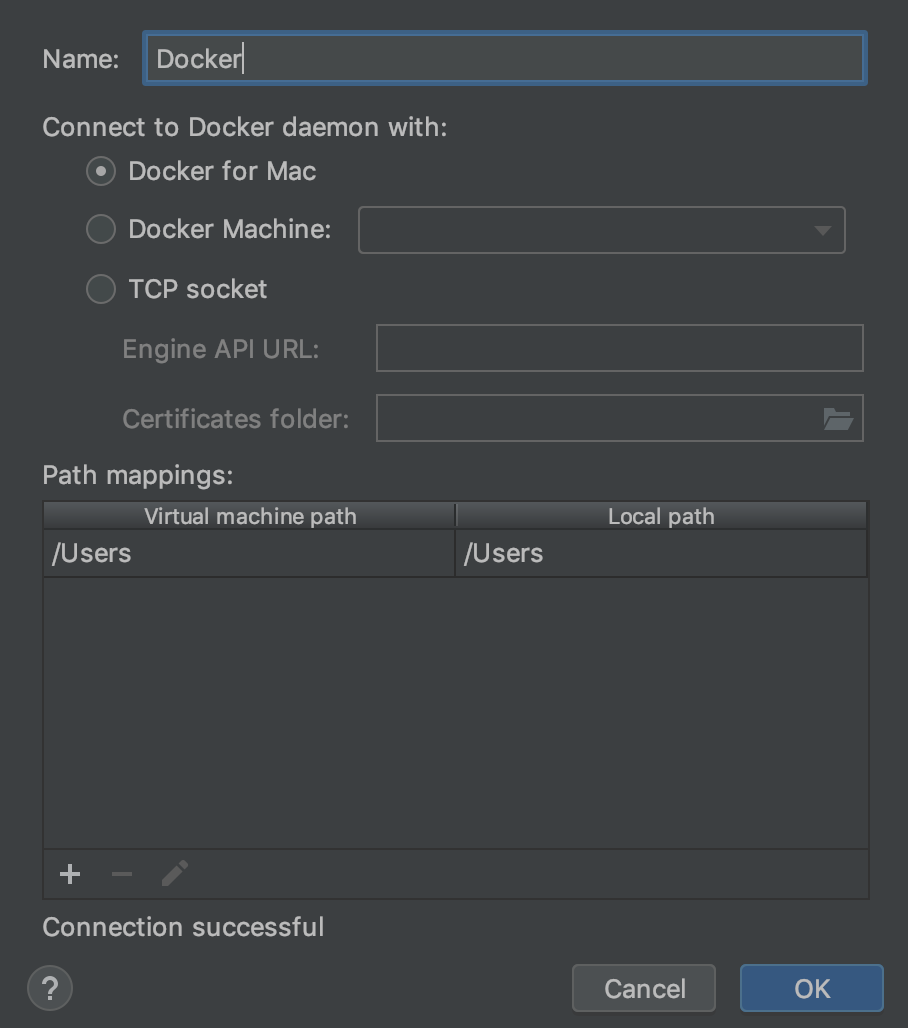
Nameに適当な名前を入力。 -
Connect to Docker...のラジオボックスからDocker for Macを選択してOKをクリック。
-
Configuration File(s):横のフォルダマークをクリック -
Docker Configuration Filesを追加。下部+をクリックし、laradock内のdocker-compose.ymlを選択。

-
Servicephp-fpmを選択
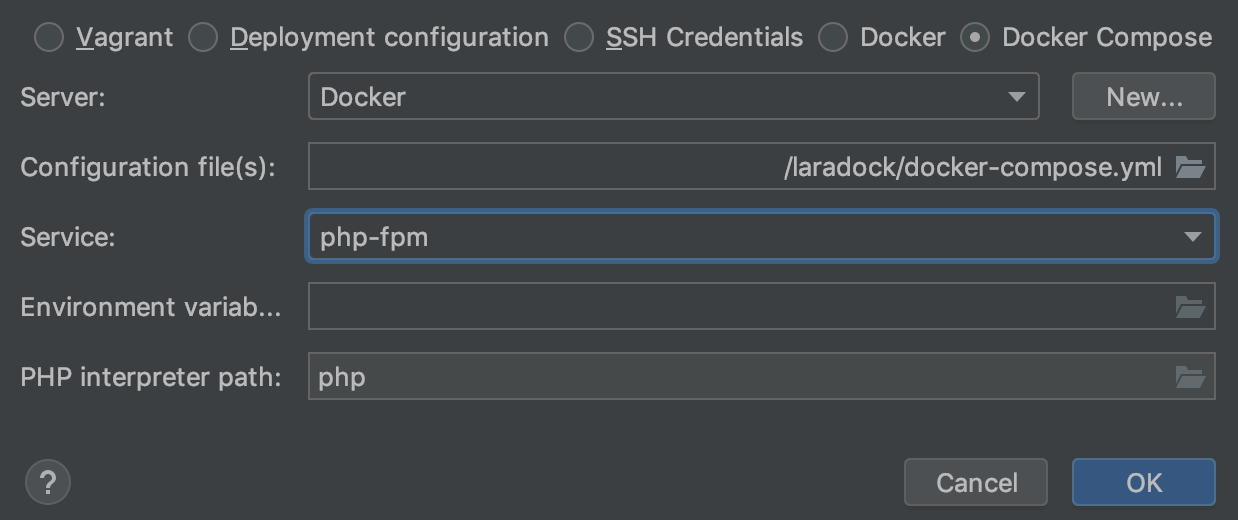
- docker-compose.ymlが読み込まれ、設定に反映されます。
2 PHPUnitの設定
-
Preference > Languages & Frameworks > Test Frameworksを選択。 -
+をクリックして、PHPUnit by Remote Interpreterを選択。
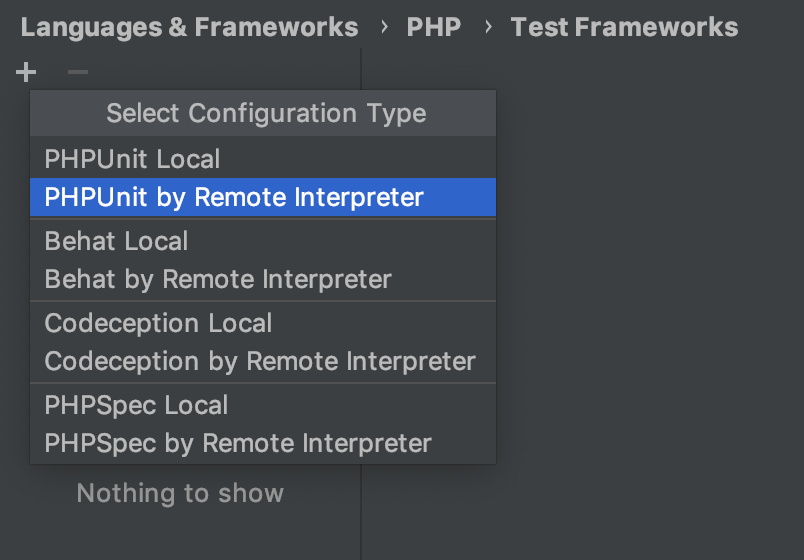
- プルダウンから、先ほど設定した
php-fpmを選択し、OKをクリック。

-
Use Composer autoloaderを選択。 -
Path to Scriptに、vendor/autoload.phpのパスを設定(リモートパス)。 -
Default configuration fileにphpunit.xmlのパスを設定(こちらもリモートパス)

3. パスマッピングの設定
-
Preference > languages & Frameworks > PHPのPath mappingsのフォルダマークをクリック。 -
Local Pathにプロジェクトルート、Remote PathにDocker内のプロジェクトルートを設定し、OKをクリック。

4. テスト設定
-
メニュー > RUN > Edit Configurationsを選択。 -
Nameに適当な名前、Defined in the configuration fileを選択。
5. テスト実行
-
メニュー > RUN > RUN...もしくはcontrol + Rでテスト実行。