こちらのWebAssemblyのサンプルがとてもわかりやすかったので、実際に自分で動かしてみました。
ただ、参考サイトに書いてあることをやっていくだけなので、参考サイトの方をいていただければ私の投稿は見なくても大丈夫です。![]()
サンプルはRustとAssemblyScriptのものがあったのですが、私はAssemblyScriptでやってみました。
私が実際にやってみたコードはこちらです
AssemblyScriptをインストール
yarn add -D AssemblyScript/assemblyscript
Hello World!
hello-world.tsを作成する。※TypeScriptではなく、AssemblyScriptで書きます。
export function add(a: i32, b: i32): i32 {
  return a + b;
}
AssemblyScriptのコンパイラを使って、wasmのモジュールを作成します。
yarn asc hello-world.ts -b hello-world.wasm
これでhello-world.wasmが作成されます。
wasmモジュールをロードするための関数を追加します。参考サイトにもあるようにこちらのをそのまま使用させていただきました。
export const wasmBrowserInstantiate = async (wasmModuleUrl, importObject) => {
    let response = undefined;

    if (!importObject) {
        importObject = {
            env: {
                abort: () => console.log("Abort!")
            }
        };
    }

    if (WebAssembly.instantiateStreaming) {
        response = await WebAssembly.instantiateStreaming(
            fetch(wasmModuleUrl),
            importObject
        );
    } else {
        const fetchAndInstantiateTask = async () => {
            const wasmArrayBuffer = await fetch(wasmModuleUrl).then(response =>
                response.arrayBuffer()
            );
            return WebAssembly.instantiate(wasmArrayBuffer, importObject);
        };
        response = await fetchAndInstantiateTask();
    }

    return response;
};
hello-world.jsを作成して、hello-world.wasmを読み込み、add関数を実行するようにします。
import { wasmBrowserInstantiate } from "./instantiateWasm.js";

(async () => {
  const wasmModule = await wasmBrowserInstantiate("./hello-world.wasm");

  const addResult = wasmModule.instance.exports.add(24, 24);

  document.body.textContent = `Hello World! addResult: ${addResult}`;
})();
hello-world.htmlを作成
<!DOCTYPE html>
<meta charset=utf-8>
<title>sample</title>
<script type="module" src=hello-world.js></script>
なんでもいいのでサーバーを起動し、動きを確認してみます。今回はnode-staticでサーバーを起動しました。
# Example:nodeで簡易サーバ
npx node-static -p 8000
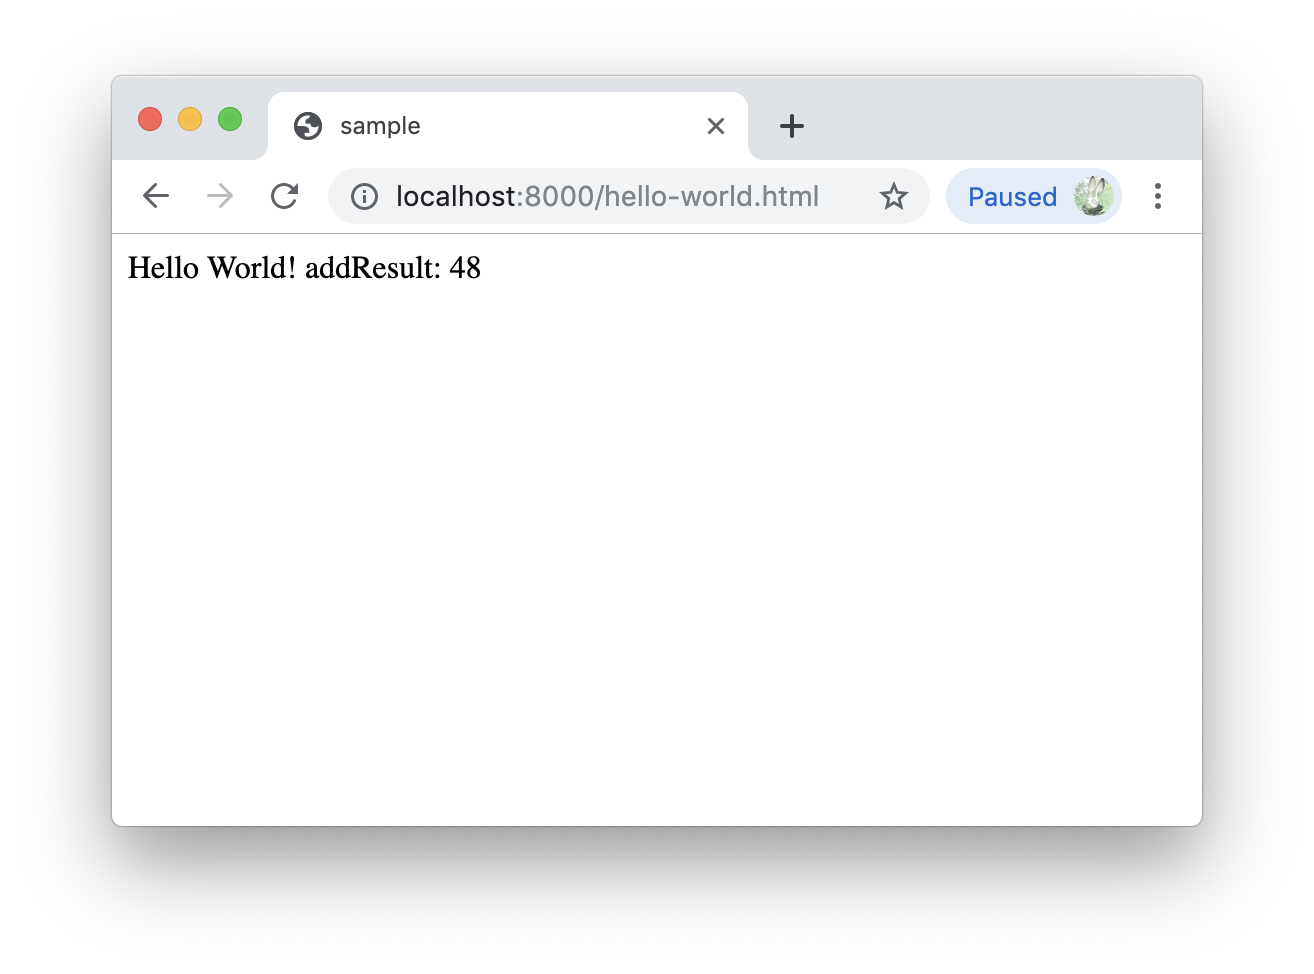
AssemblyScriptのadd関数を実行できたのを確認できました。
Exports
exportした関数と定数で使い方が若干違ったので確認してみます。
export function callMeFromJavascript(a: i32, b: i32): i32 {
    return addIntegerWithConstant(a, b);
}

export const GET_THIS_CONSTANT_FROM_JAVASCRIPT: i32 = 2424;

function addIntegerWithConstant(a: i32, b: i32): i32 {
    return a + b + ADD_CONSTANT;
}

const ADD_CONSTANT: i32 = 1;
見ての通り、callMeFromJavascriptとGET_THIS_CONSTANT_FROM_JAVASCRIPTをexportしています。
arn asc exports.ts -b exports.wasm
import { wasmBrowserInstantiate } from "./instantiateWasm.js";

(async () => {
    const wasmModule = await wasmBrowserInstantiate("./exports.wasm");

    // instance.exports にエクスポートされた関数などが設定されるsetteisareru
    // 参考:https://developer.mozilla.org/en-US/docs/Web/JavaScript/Reference/Global_Objects/WebAssembly/instantiateStreaming#Return_value
    const exports = wasmModule.instance.exports;

    // エクスポートしたcallMeFromJavascriptを実行
    console.log(exports.callMeFromJavascript(24, 24)); // 49

    // 定数の場合は `.valueOf()` を使う
    // ※場合によっては単純に exports.GET_THIS_CONSTANT_FROM_JAVASCRIPT になると注意書きあり
    console.log(exports.GET_THIS_CONSTANT_FROM_JAVASCRIPT.valueOf()); // 2424

    // exportしていない関数にはアクセスできない
    console.log(exports.addIntegerWithConstant); // undefined
})();
<!DOCTYPE html>
<meta charset=utf-8>
<title>sample</title>
<script type="module" src=exports.js></script>

WebAssembly Linear Memory
リニアメモリを使うと、wasmとjsの両方から読み書きができるバッファとして扱えるようです。
あまり詳しくないので、参考サイトのままですが動かすことはできました。
// Set up our memory
// By growing our Wasm Memory by 1 page (64KB)
// https://developer.mozilla.org/en-US/docs/Web/JavaScript/Reference/Global_Objects/WebAssembly/Memory#Examples
memory.grow(1);

// インデックスの0番目に24を設定
const index = 0;
const value = 24;
store<u8>(index, value);

// インデックスの1番目を取得する関数
// ※今回、jsファイルの方からインデックスの1番目を設定するコードを書きます
export function readWasmMemoryAndReturnIndexOne(): i32 {
    let valueAtIndexOne = load<u8>(1);
    return valueAtIndexOne;
}
yarn asc memory.ts -b memory.wasm
import { wasmBrowserInstantiate } from "./instantiateWasm.js";

(async () => {
    const wasmModule = await wasmBrowserInstantiate("memory.wasm");

    const exports = wasmModule.instance.exports;

    // memoryオブジェクトを取得
    const memory = exports.memory;

    const wasmByteMemoryArray = new Uint8Array(memory.buffer);

    // wasmで設定したインデックスの0番目の値を取得できる
    console.log(wasmByteMemoryArray[0]); // 24

    // インデックスの1番目に25と設定
    wasmByteMemoryArray[1] = 25;
    // インデックスの1番目を取得する関数を実行
    console.log(exports.readWasmMemoryAndReturnIndexOne()); // 25
})();
<!DOCTYPE html>
<meta charset=utf-8>
<title>sample</title>
<script type="module" src=memory.js></script>

Importing Javascript Functions Into WebAssembly
jsで設定した関数をwasmで実行することができます。
// 関数がないとコンパイルエラーなので declare で設定
declare function consoleLog(arg0: i32): void;

// .jsファイルで設定した consoleLog を実行
consoleLog(24);
yarn asc index.ts -b index.wasm
import { wasmBrowserInstantiate } from "./instantiateWasm.js";

(async () => {
    const wasmModule = await wasmBrowserInstantiate("index.wasm", {
        index: {
            consoleLog: value => console.log(value)
        },
        env: {
            abort: () => console.log("Abort!")
        },
    });
})();
<!DOCTYPE html>
<meta charset=utf-8>
<title>sample</title>
<script type="module" src=index.js></script>

jsで設定した関数をwasmで実行することができました。
最後まで読んでいただいてありがとうございました。m(_ _)m