はじめに
DockerでRailsの環境を構築することが多いので手順を備忘録として書きます。
本記事ではDocker上にRail6の環境を構築することに加えてBootstrap4を導入するところまでの手順を記述しています。
コマンドの解説などはほとんど書いていませんので、参考に貼っている記事を参照されてください🙇♂️
自分の環境
- Docker for mac
- macOS Catalina ver 10.15.4
各種ファイルの作成
まず、ターミナル上で開発を行うディレクトリ内にプロジェクト用のディレクトリを作成します。
今回はプロジェクト名をmy_appとするのでディレクトリ名はmy_appにしておきます。
# 作業スペースに移動
cd work
# プロジェクト用のディレクトリを作成
mkdir my_app
次にDocker用のファイルやGemfileを作成します。
作成するファイル
- Dockerfile
- docker-compose.yml
- entrypoint.sh
- Gemfile
- Gemfile.lock
cd my_app
touch Dockerfile
touch docker-compose.yml
touch entrypoint.sh
touch Gemfile
touch Gemfile.lock
次にDockerfileを記述します。
FROM ruby:2.7.1
RUN apt-get update -qq && apt-get install -y nodejs postgresql-client

RUN apt-get update && apt-get install -y curl apt-transport-https wget && \
curl -sS https://dl.yarnpkg.com/debian/pubkey.gpg | apt-key add - && \
echo "deb https://dl.yarnpkg.com/debian/ stable main" | tee /etc/apt/sources.list.d/yarn.list && \
apt-get update && apt-get install -y yarn

RUN curl -sL https://deb.nodesource.com/setup_7.x | bash - && \
apt-get install nodejs
RUN mkdir /my_app
WORKDIR /my_app
COPY Gemfile /my_app/Gemfile
COPY Gemfile.lock /my_app/Gemfile.lock
RUN bundle install
COPY . /my_app

COPY entrypoint.sh /usr/bin/
RUN chmod +x /usr/bin/entrypoint.sh
ENTRYPOINT ["entrypoint.sh"]
EXPOSE 3000

CMD ["rails", "server", "-b", "0.0.0.0"]
次にdocker-compose.ymlです。
version: '3'
services:
  db:
    image: postgres
    environment:
      POSTGRES_PASSWORD: postgres
  web:
    build: .
    command: bash -c "rm -f tmp/pids/server.pid && bundle exec rails s -p 3000 -b '0.0.0.0'"
    volumes:
      - .:/my_app
    ports:
      - "3000:3000"
    depends_on:
      - db
    stdin_open: true
    tty: true
次にentrypoint.shです。
# !/bin/bash
set -e

# Remove a potentially pre-existing server.pid for Rails.
rm -f /my_app/tmp/pids/server.pid

# Then exec the container's main process (what's set as CMD in the Dockerfile).
exec "$@"
次にGemfileです。
source 'https://rubygems.org'
gem 'rails', '6.0.3'
Gemfile.lockについては空のままで大丈夫です。
Dockerコマンドを叩く(プロジェクトの構築)
ターミナル上コマンドを叩いてでプロジェクトの構築を行います。
docker-compose run web rails new . --force --no-deps --database=postgresql
少し時間がかかりますが、以下のように出力が出れば成功です。
Webpacker successfully installed 🎉 🍰
次に以下のコマンドを叩いてgemなどを入れます。
docker-compose build
次のように出れば成功です。
Successfully tagged my_app_web:latest
次にデータベースの設定をします。
作成されたRailsプロジェクトの/config/database.ymlを以下のように編集します。
default: &default
  adapter: postgresql
  encoding: unicode
  host: db
  username: postgres
  password: postgres
  # For details on connection pooling, see Rails configuration guide
  # https://guides.rubyonrails.org/configuring.html#database-pooling
  pool: 5

development:
  <<: *default
  database: my_app_development
以下のコマンドを叩いてbashに入ります。
docker-compose run --rm web bash
bashに入れましたら、次のコマンドを叩いてdbを作成します。
rails db:create
ここでgemがないというようなエラーが出る場合は一度bashを抜けて再度docker-compose buildします。その後、同様の手順を行ってください。
dbの作成が成功しましたら、exitでbashを抜けるか、新規ウィンドウを開いて、作業ディレクトリに移動し以下のコマンドを叩きます。
docker-compose up
色々と文字が出て最後が以下の出力が出るはずです。
Use Ctrl-C to stop
ブラウザからlocalhost:3000にアクセスします。
以下のページが表示されれば成功です。

bootstrapの導入
続いてbootstrapの導入です。
まず、/app/javascript/packs/application.jsに以下を追記します。
require("@rails/ujs").start()
require("turbolinks").start()
require("@rails/activestorage").start()
require("channels")

//以下の2行
import 'bootstrap';
import '../stylesheets/application.scss';
続いて/app/javascript以下にstylesheetsディレクトリを作成し、さらにその中にapplication.scssを作成します。
パスは**/app/javascript/stylesheets/application.scss**となります。
次に今作成したapplication.scssに以下を書きます。
@import '~bootstrap/scss/bootstrap';
続いて再度Dockerのbashに入ります。
docker-compose run --rm web bash
bashに入りましたら、以下のコマンドを叩きます。
yarn add jquery bootstrap popper.js
処理が完了しましたら、exitでbashを抜けて、先ほど立ち上げたサーバーをC-cで停止します。
サーバーが止まりましたら、一度docker-compose downします。
docker-compose down
続いてDockerのbashに入ります。
docker-compose run --rm web bash
bashに入りましたら、次のコマンドを実行します。
yarn install --check-files
ここまでできましたら、作業完了です。
確認
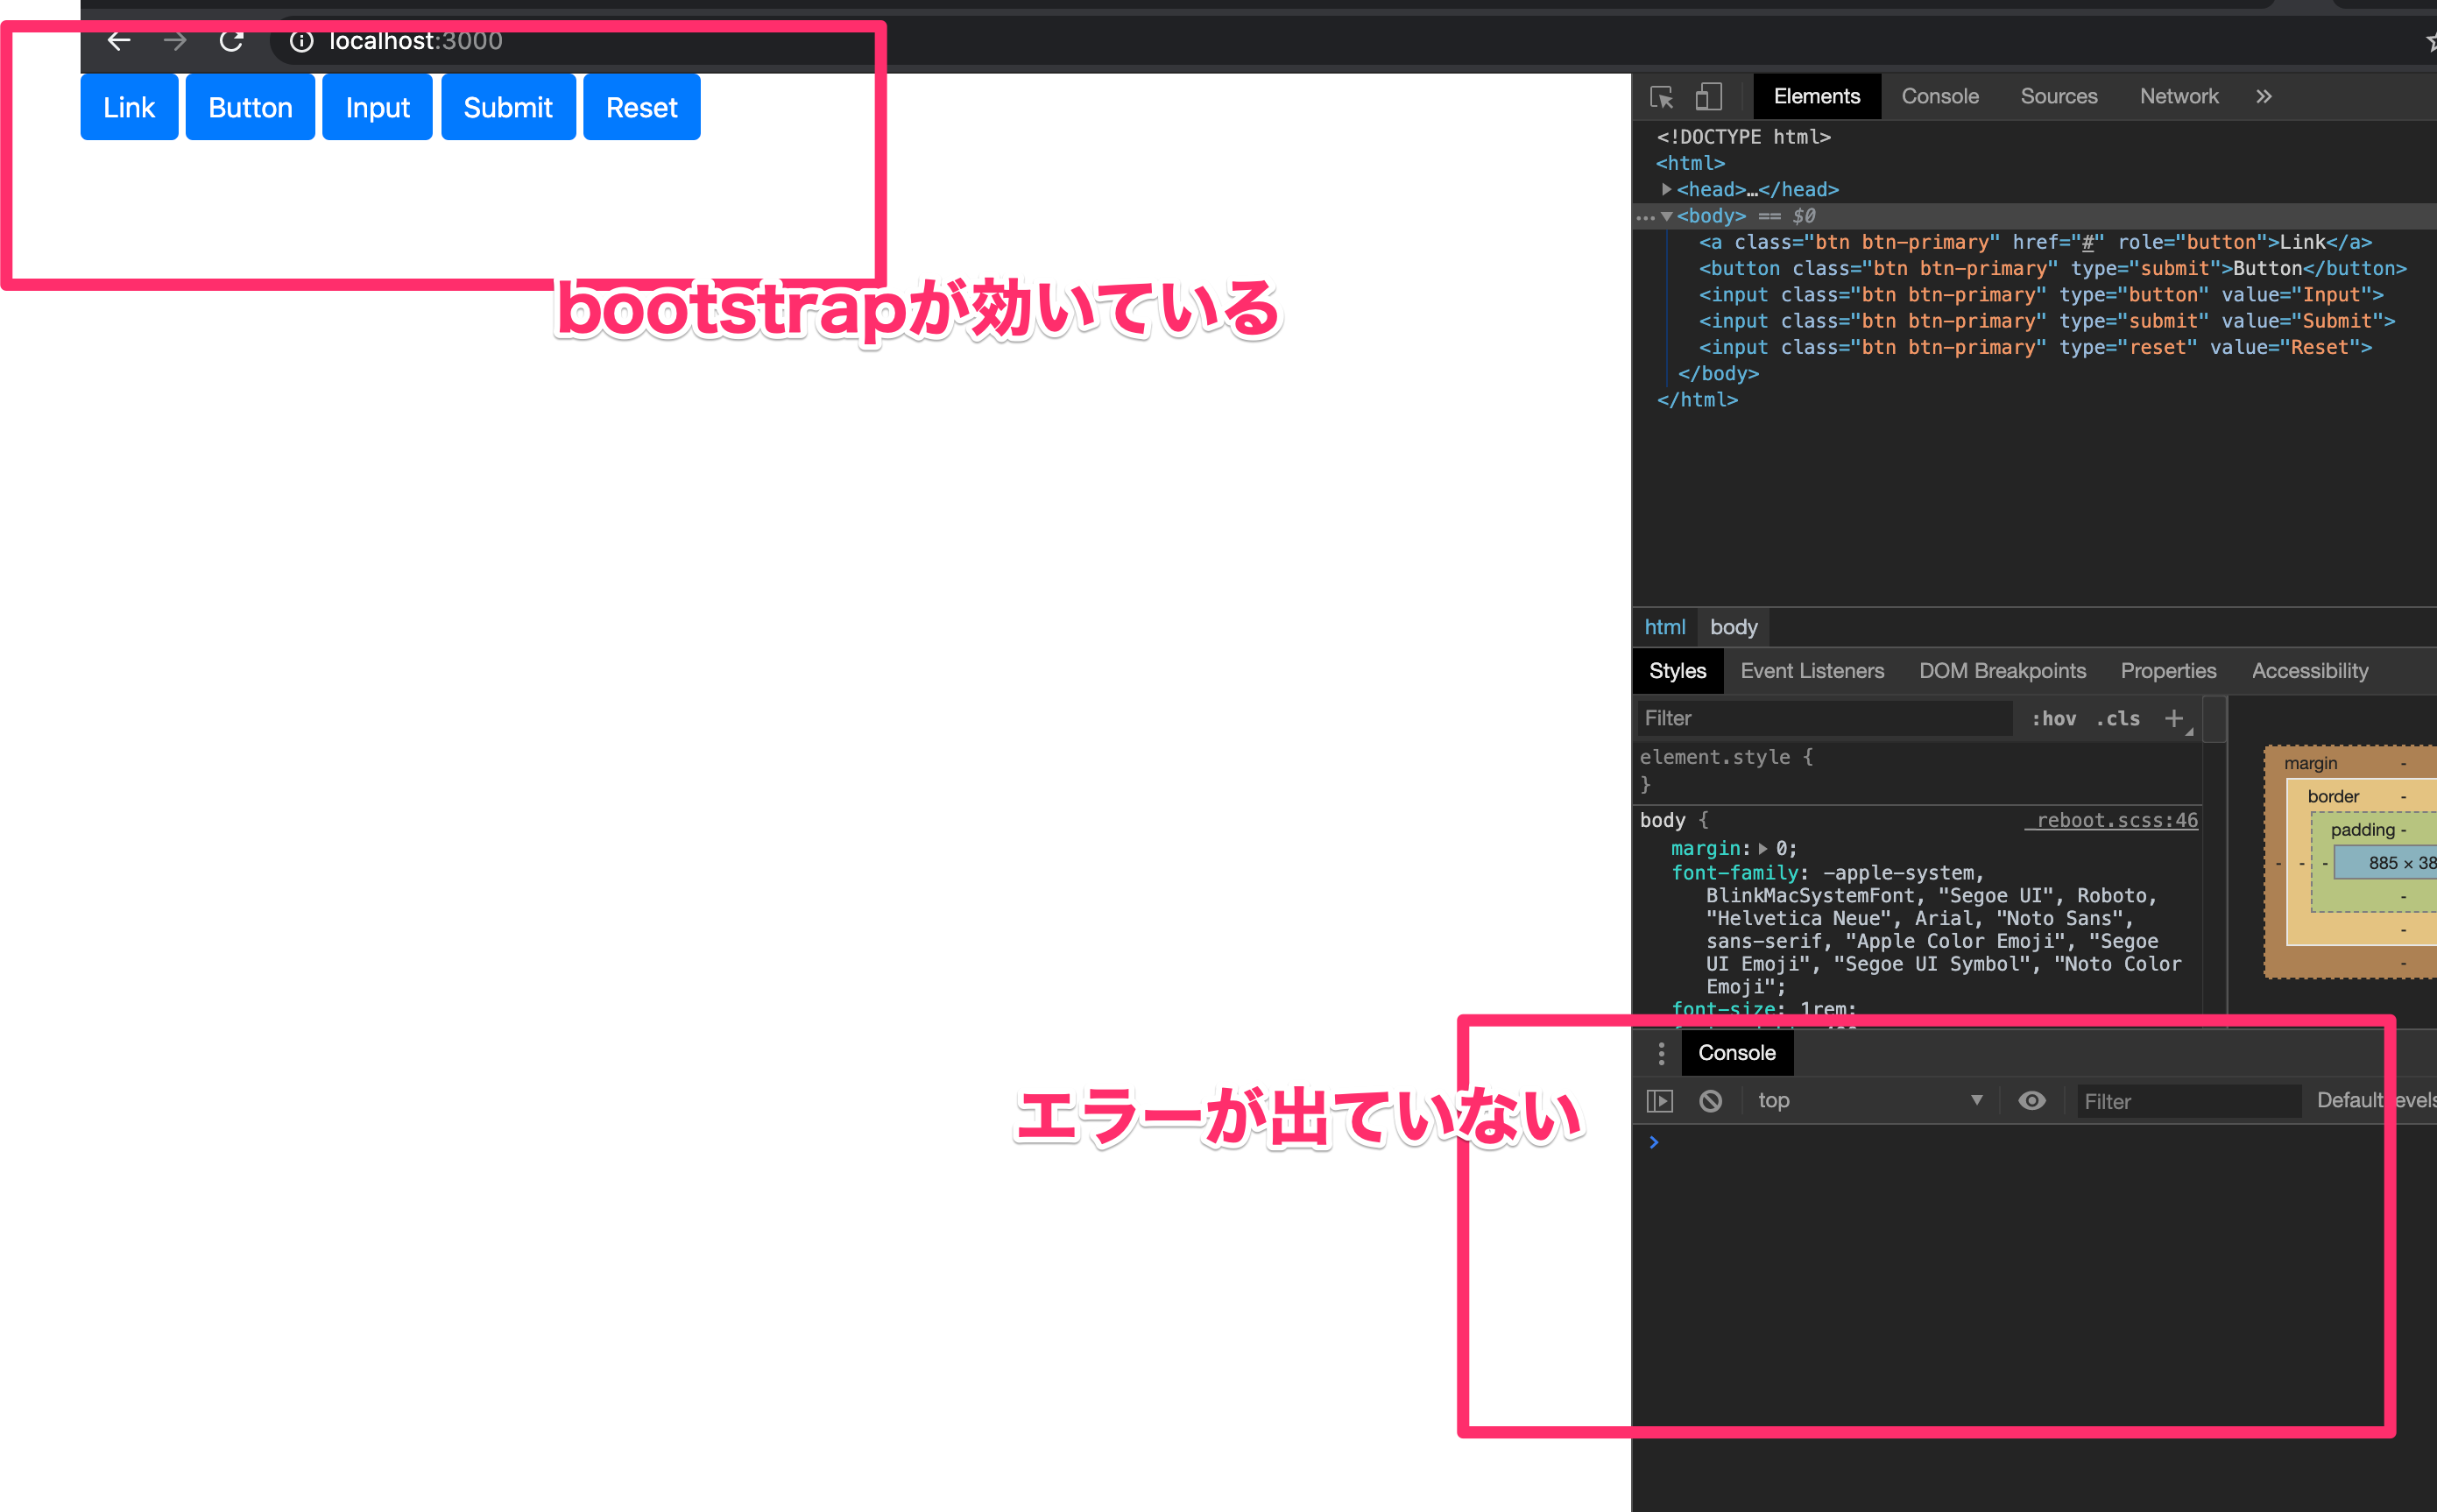
bootstrapが入っているか確認する際には、以下のテストコードをどこかしらのviewに貼り付けて、確認するのが良いかと思います。
<a class="btn btn-primary" href="#" role="button">Link</a>
<button class="btn btn-primary" type="submit">Button</button>
<input class="btn btn-primary" type="button" value="Input">
<input class="btn btn-primary" type="submit" value="Submit">
<input class="btn btn-primary" type="reset" value="Reset">
bootstrapが反映され、開発者ツールを開いた際にエラーが出ていなければ成功です。

ここで、application.js:1 Uncaught Error: Cannot find module 'bootstrap'
とエラーがでた場合は再度、以下のコマンドを叩いて、再度確認してみてください。
yarn add jquery bootstrap popper.js
最後に
Railsを使うことが多いので、備忘録として残しました。
自分もDockerファイルなどの書き方について、よくわかっていない部分が多く、他の方の記事を大いに参考にしながら環境を作りました。ありがとうございます🙇♂️
Rails6では環境を作る際にwebpack,yarn関係でつまづくことが多いと思います。
至らない点など多いと思われますが、参考にしていただければ幸いです。