こんにちは。
株式会社クラスアクト インフラストラクチャ事業部の大塚です。
今回は巷でよく聞くS3でWebサイトのホスティングをやってみたいと思います。
環境イメージ
S3のバケットを作成し、そのバケットを使って静的Webサイトをホスティングします。
デフォルトの画面をindex.htmlが担い、エラーを示す画面をerror.htmlが担うようにしていきます。

参考サイト
公式を参考にしました。
構築
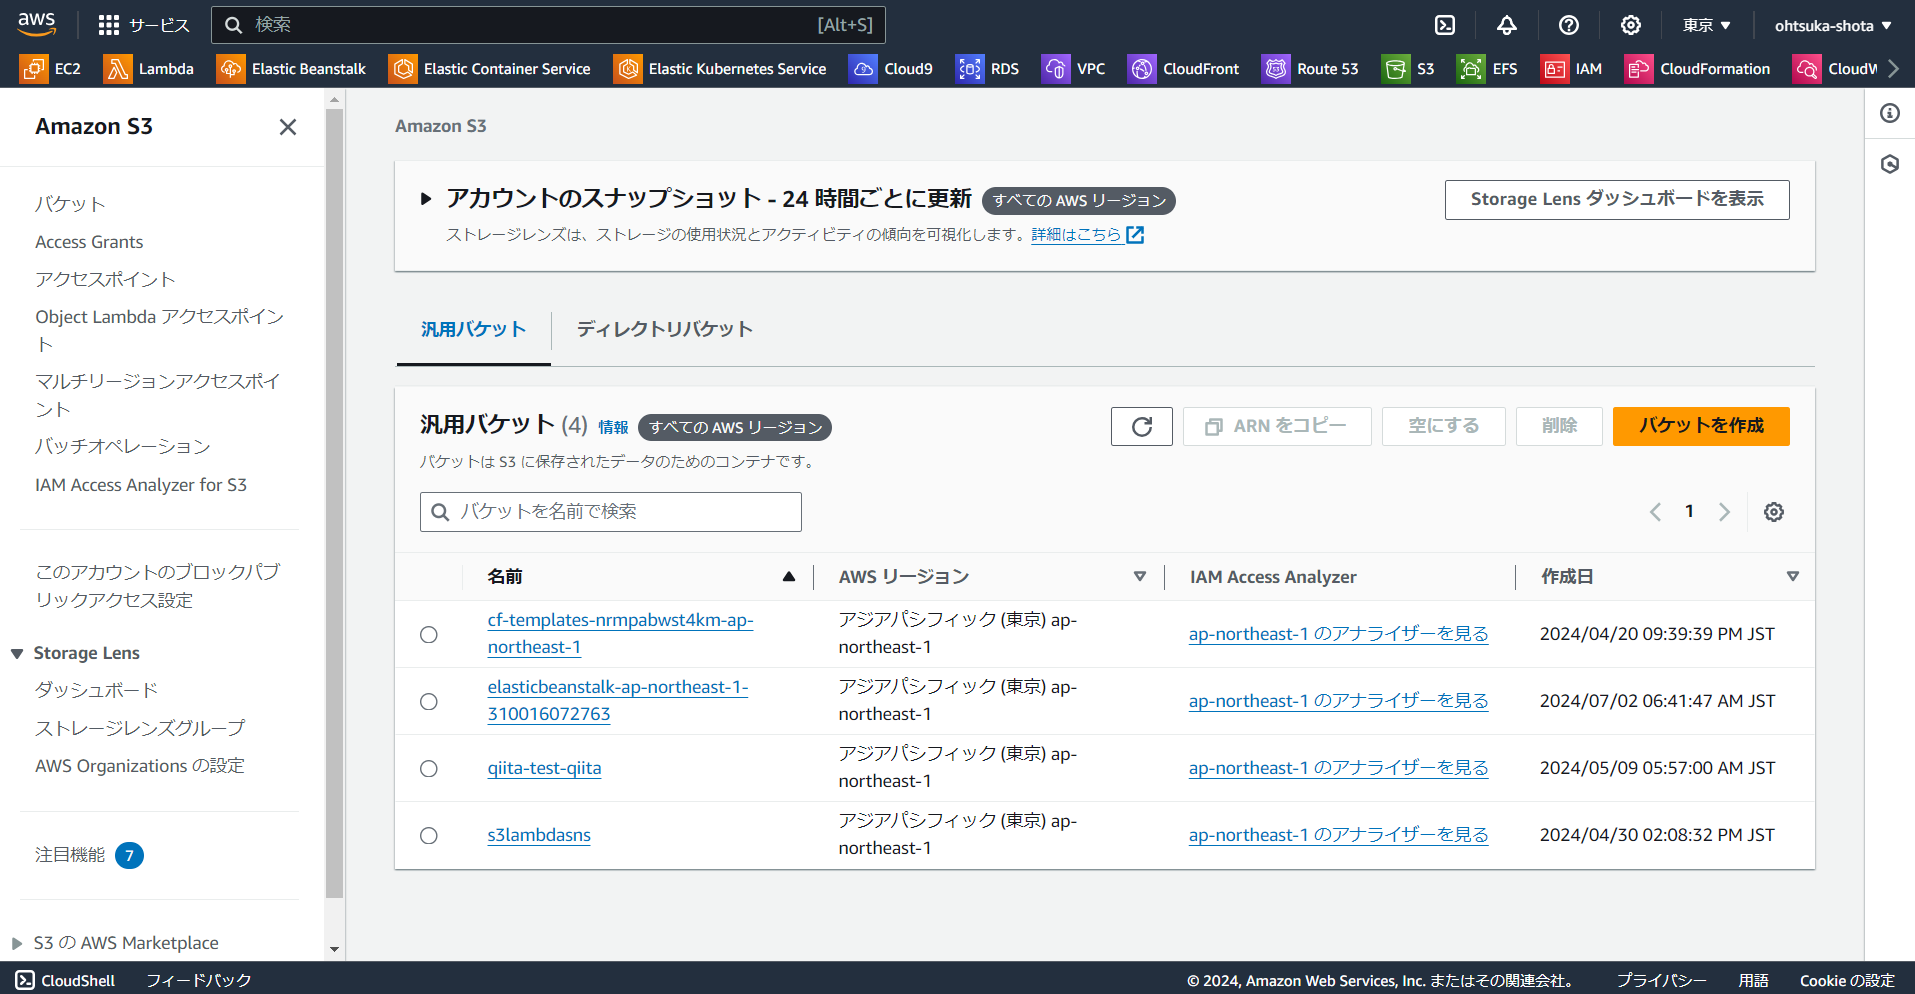
S3バケットの作成
S3の管理画面に遷移して、バケットを作成を押下します。
長くなってしまいますが、以下のような設定で作成をしていきました。
バケットタイプは汎用にしています。ブロックパブリックアクセス設定はチェックを全て外します。デフォルトだと全てにチェックが付いていますが、これを外さないとホスティングが出来ません。
またバケットの名前ですが、以前お名前.comで購入してRoute53と連携しているものを使用しています。将来的に独自ドメインでアクセスできるようにしたいなら、併せたほうが良いらしいですがそうでもないなら名前はドメインでなければならないという事はなさそうです。

バケットが作成されたことを確認します。プロパティタブの下の方に静的ウェブサイトホスティングという項目がありますので、これの編集ボタンを押下します。

画面が切り替わりましたら有効にするというラジオボタンを選択してください。
するとオプションが色々表示されるようになります。
ホスティングタイプで静的ウェブサイトをホストするを選択します。またインデックスドキュメントをindex.htmlと入力します。エラードキュメントをerror.htmlと入力します。
ここにあるHTMLファイルは後程作成してバケットにアップロードして使います。
index.htmlはホスティングする際にバケットに払い出されるURLをWebブラウジングする際に使用するデフォルトのHTMLとなり、error.htmlは例えば存在しないファイルなどに対してアクセスしようとした際に使用されるHTMLとなります。

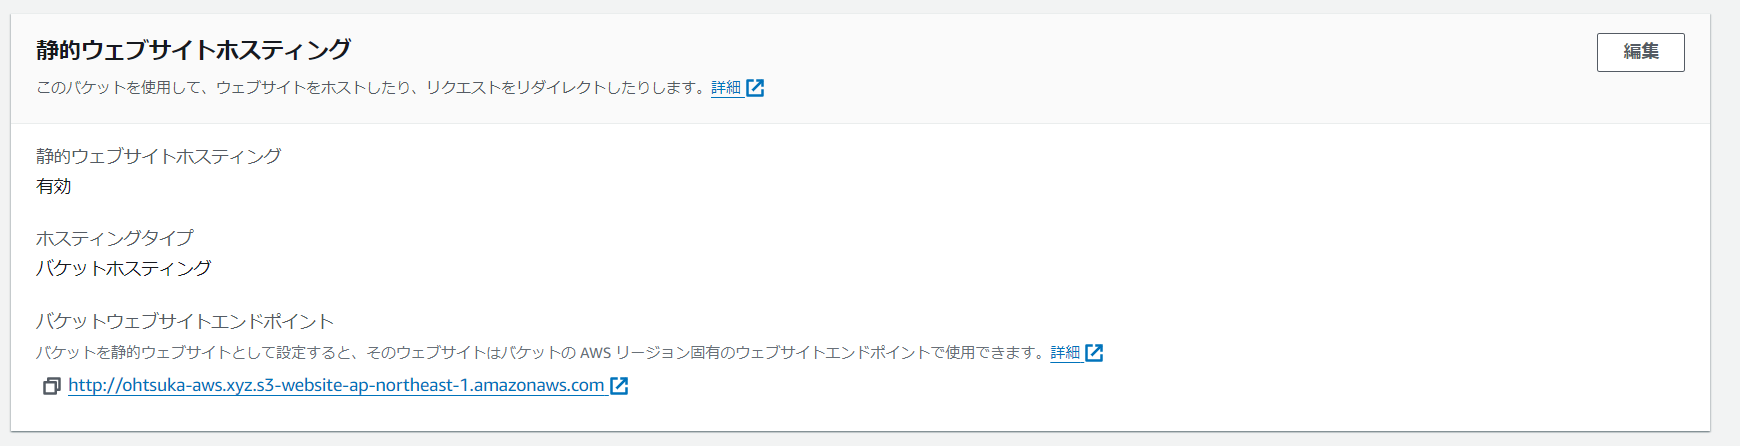
静的ホスティングを有効にすると以下のように画面の表示が変わります。
バケットウェブサイトエンドポイントのURLを控えます。
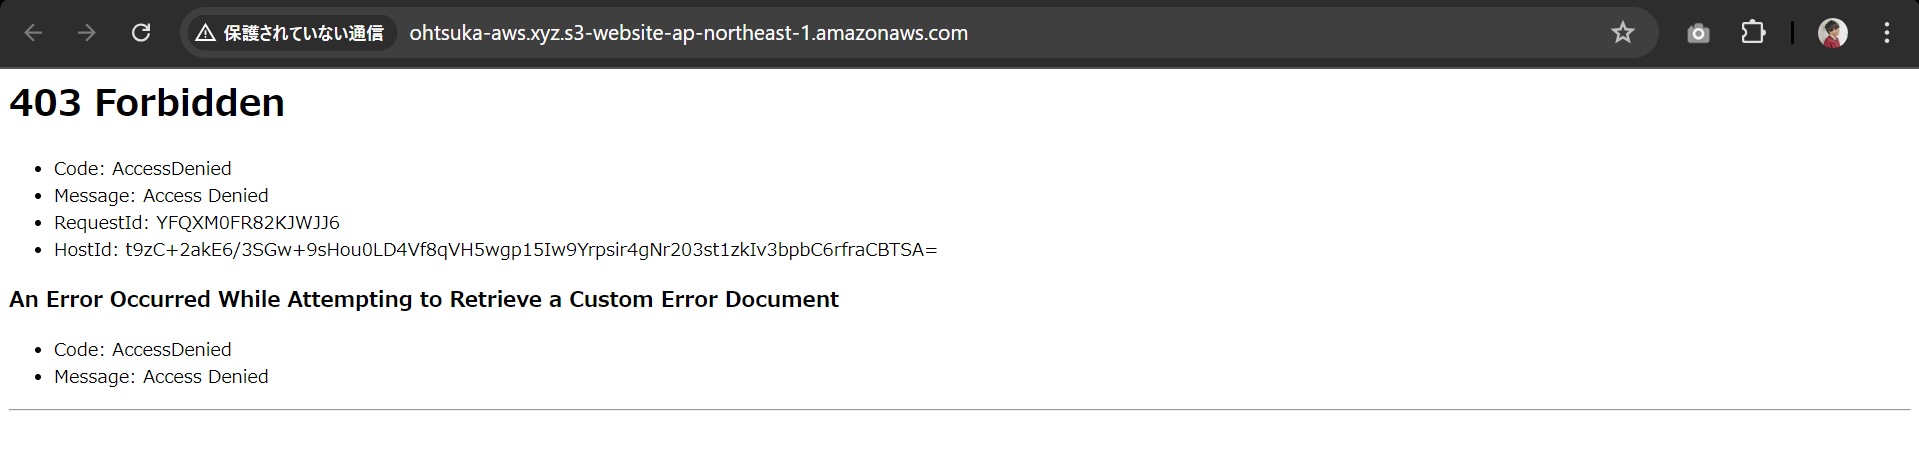
控えたURLに対してWebブラウジングしてみると「403 Forbidden」と権限的に許可されていないエラーメッセージが表示されます。
これを解消していきます。
アクセス許可タブのバケットポリシーの項目があります。こちらを編集しますので、編集ボタンを押下します。

以下の内容を貼り付けて更新します。
Resourceの部分は各自のバケット名を入力します。
{
    "Version": "2012-10-17",
    "Statement": [
        {
            "Sid": "PublicReadGetObject",
            "Effect": "Allow",
            "Principal": "*",
            "Action": [
                "s3:GetObject"
            ],
            "Resource": [
                "arn:aws:s3:::ohtsuka-aws.xyz/*"
            ]
        }
    ]
}

更新されたことを確認します。

改めてURLに対してWebブラウジングをしてみます。先程のエラー内容と異なり、今度は「Not Found」という内容になると思います。これはindex.htmlもerror.htmlも無いことが原因となります。これらのファイルを作成していきます。

以下のindex.htmlを作成します。中身はなんでも大丈夫です。
<!DOCTYPE html>
<html lang="en">
<head>
    <meta charset="UTF-8">
    <meta name="viewport" content="width=device-width, initial-scale=1.0">
    <title>My S3 Hosting Website</title>
    <style>
        body {
            font-family: Arial, sans-serif;
            display: flex;
            flex-direction: column;
            align-items: center;
            justify-content: center;
            height: 100vh;
            margin: 0;
            background-color: #f0f0f0;
        }
        h1 {
            color: #333;
        }
        p {
            color: #666;
        }
    </style>
</head>
<body>
    <h1>Welcome to my S3 Hosting website</h1>
    <p>AWS is so exciting,isn't it?</p>
</body>
</html>
このHTMLをアップロードしていきます。
バケットのオブジェクトタブからアップロードボタンを押下します。
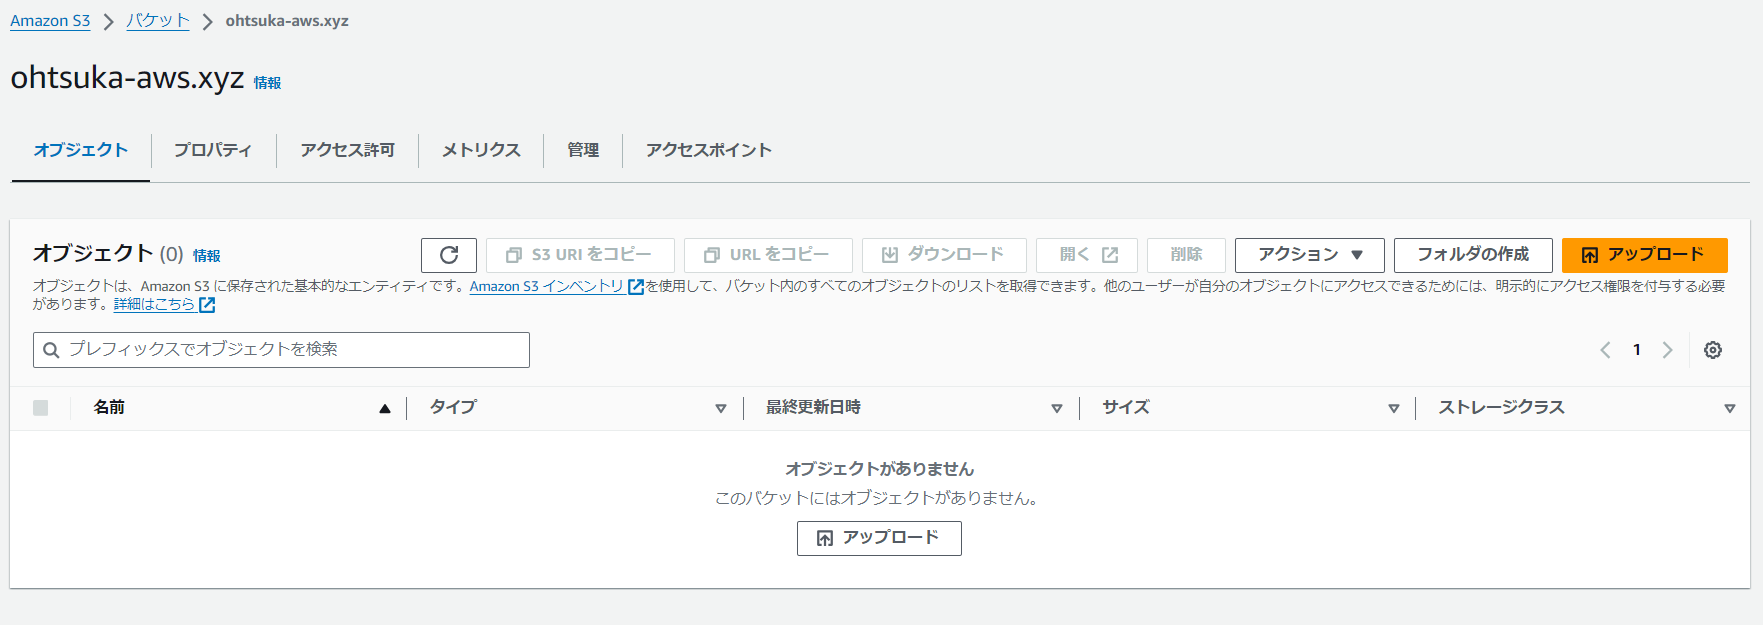
ファイルを追加ボタンを押下してindex.htmlを選択します。アップロードボタンを押下します。

アップロードされたことを確認します。

改めてWebブラウジングしていきましょう。「Not Found」から変わりHTMLの中身が表示されるようになりました。

この調子でerror.htmlも作成してバケットにアップロードしていきます。
以下の内容でHTMLを作成しました。
<!DOCTYPE html>
<html lang="en">
<head>
    <meta charset="UTF-8">
    <meta name="viewport" content="width=device-width, initial-scale=1.0">
    <title>Error - My S3 Hosting Website</title>
    <style>
        body {
            font-family: Arial, sans-serif;
            display: flex;
            flex-direction: column;
            align-items: center;
            justify-content: center;
            height: 100vh;
            margin: 0;
            background-color: #ff4c4c;
            color: #fff;
        }
        h1 {
            color: #fff;
            font-size: 3em;
        }
        p {
            color: #fff;
            font-size: 1.5em;
        }
        .error-icon {
            font-size: 5em;
            margin-bottom: 20px;
        }
    </style>
</head>
<body>
    <div class="error-icon">⚠️</div>
    <h1>Error 404: Page Not Found</h1>
    <p>Sorry, the page you are looking for does not exist.</p>
    <p>AWS is so exciting, isn't it?</p>
</body>
</html>
これをバケットにアップロードします。

Webブラウジングをする際に、例えば存在しないファイルに対してアクセスしようと試みます。
例えばhttp://"バケットウェブサイトエンドポイント"/hogehogeなどとしてみます。
するとerror.htmlの内容が表示されました。
