以前、Hinemosシステムを構築したのですが、その時はAgentがLinux系でした。
今回はWindows系で試してみたいので、環境を改めて用意しました。その備忘録です。
ついでにバージョンを7.1系にしてます。
Manager:
- AMI:AmazonLinux2023
- InstanceType:t3.small
- EBS:10GB GP3
Agent:
- AMI:Windows Server 2022 Core
- InstanceType:t3.medium
- EBS:30GB GP2
資材
- Hinemos 7.1.1
https://github.com/hinemos/hinemos/releases/tag/v7.1.1 - OpenJDK(ここじゃなくても大丈夫だと思います)
https://www.openlogic.com/openjdk-downloads
構築
Manager側
[root@ip-192-168-10-7 ~]# dnf install -y wget unzip
[root@ip-192-168-10-7 ~]# wget https://github.com/hinemos/hinemos/releases/download/v7.1.1/hinemos-7.1-manager-7.1.1-1.el9.x86_64.rpm
[root@ip-192-168-10-7 ~]# wget https://github.com/hinemos/hinemos/releases/download/v7.1.1/hinemos-7.1-web-7.1.1-1.el9.x86_64.rpm
[root@ip-192-168-10-7 ~]# dnf install wget libXi libXrender libXtst alsa-lib fontconfig freetype vim-common java-1.8.0-openjdk
[root@ip-192-168-10-7 ~]# rpm -ivh hinemos-7.1-manager-7.1.1-1.el9.x86_64.rpm

[root@ip-192-168-10-7 ~]# vi /etc/selinux/config
[root@ip-192-168-10-7 ~]# cat /etc/selinux/config | grep -i disabled
#     disabled - No SELinux policy is loaded.
# NOTE: Up to RHEL 8 release included, SELINUX=disabled would also
# fully disabled instead of SELinux running with no policy loaded, you
SELINUX=disabled

[root@ip-192-168-10-7 ~]# reboot

~再ログイン~

[root@ip-192-168-10-7 ~]# rpm -ivh hinemos-7.1-manager-7.1.1-1.el9.x86_64.rpm
[root@ip-192-168-10-7 ~]# rpm -ivh hinemos-7.1-web-7.1.1-1.el9.x86_64.rpm

[root@ip-192-168-10-7 ~]# systemctl start hinemos_manager
[root@ip-192-168-10-7 ~]# systemctl start hinemos_web
[root@ip-192-168-10-7 ~]# systemctl enable hinemos_manager
[root@ip-192-168-10-7 ~]# systemctl enable hinemos_web
EC2のIPアドレスでWebブラウジングして、Webコンソールが開けることを確認します。
hinemos:hinemosでログインすることが可能です。


Agent側
OpenJDKをWindows Serverにダウンロードしていきます。
OpenLocgicのWebサイトにアクセスして、OpenJDK1.8.0系を選択しましょう。
適当に.msiをインストールすればいいでしょう。

ダウンロードフォルダにmsiファイルがダウンロードされていることを確認します。
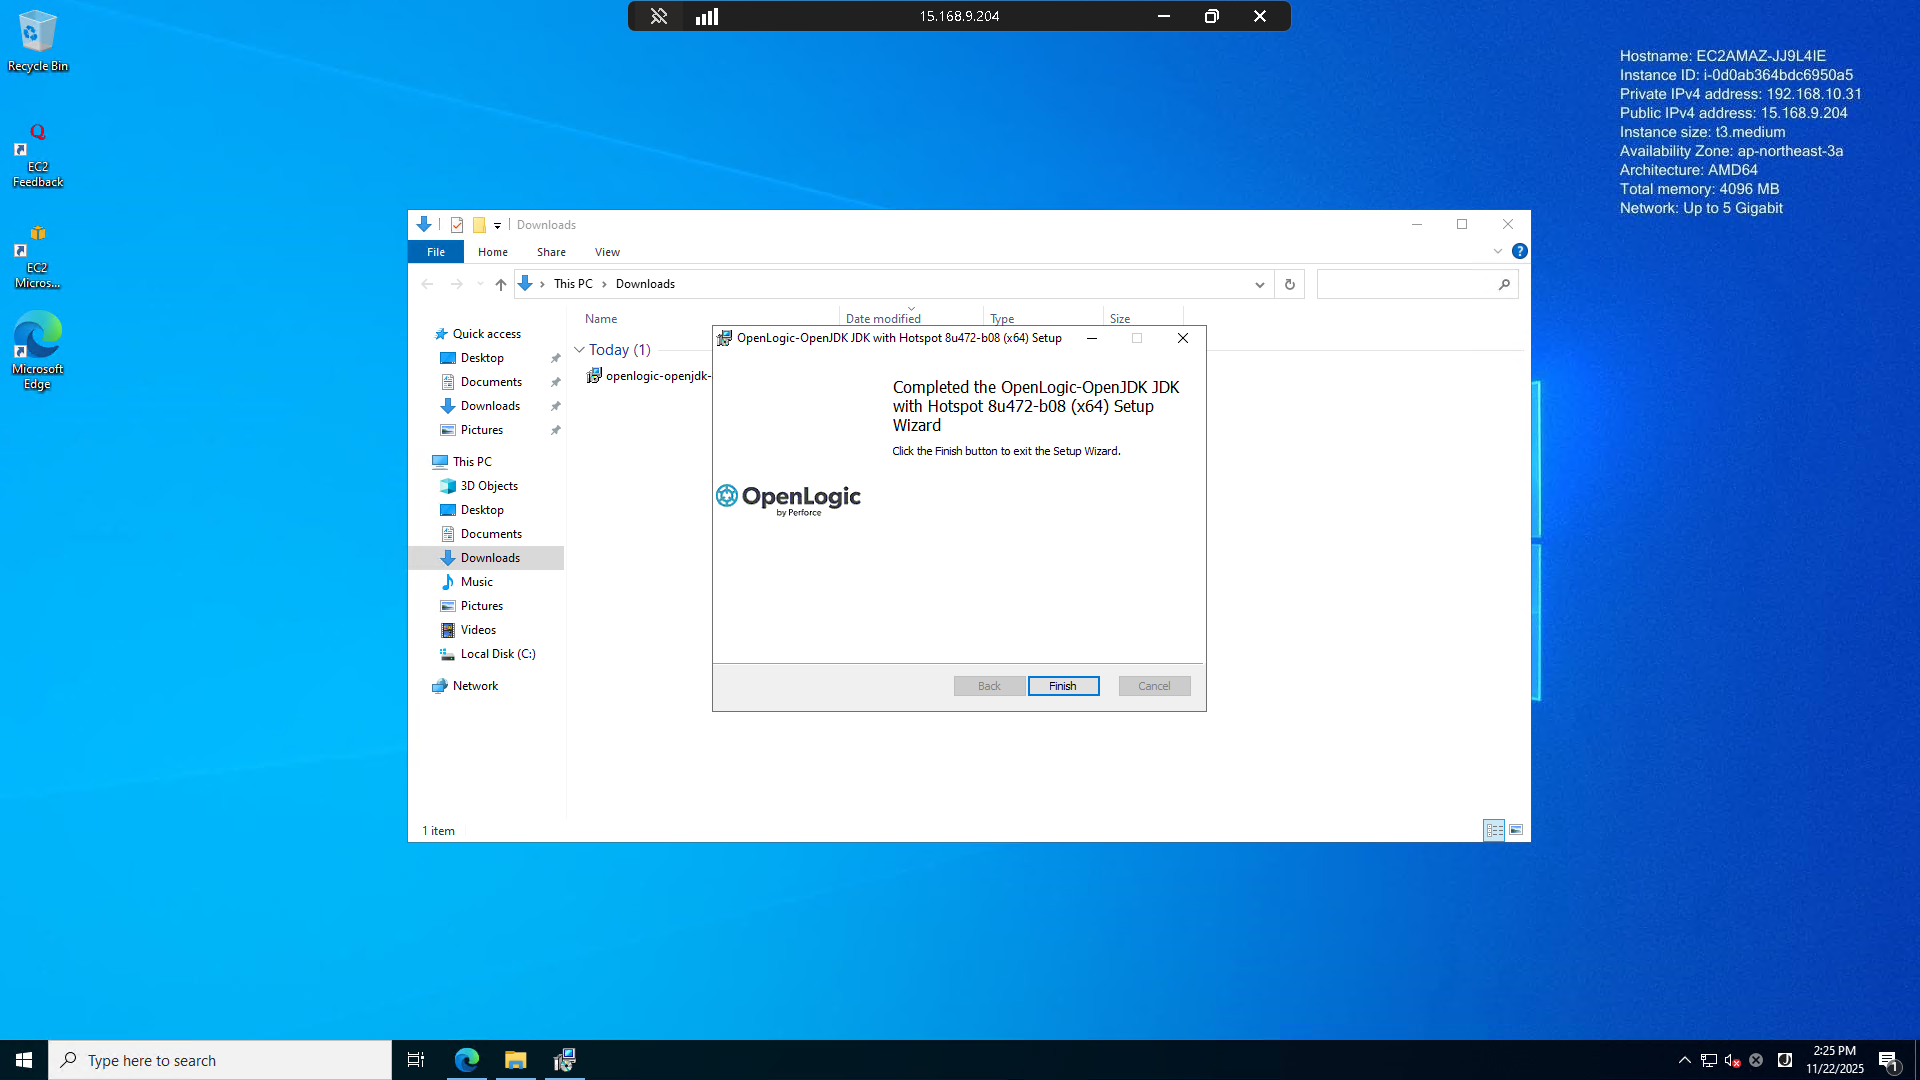
確認しましたら、ダブルクリックしインストールを実行していきます。

以下がインストール時のスクショです。全部デフォルトの設定で問題ありません。


Completeなんちゃらと出力されれば正常にインストールすることが出来ております。
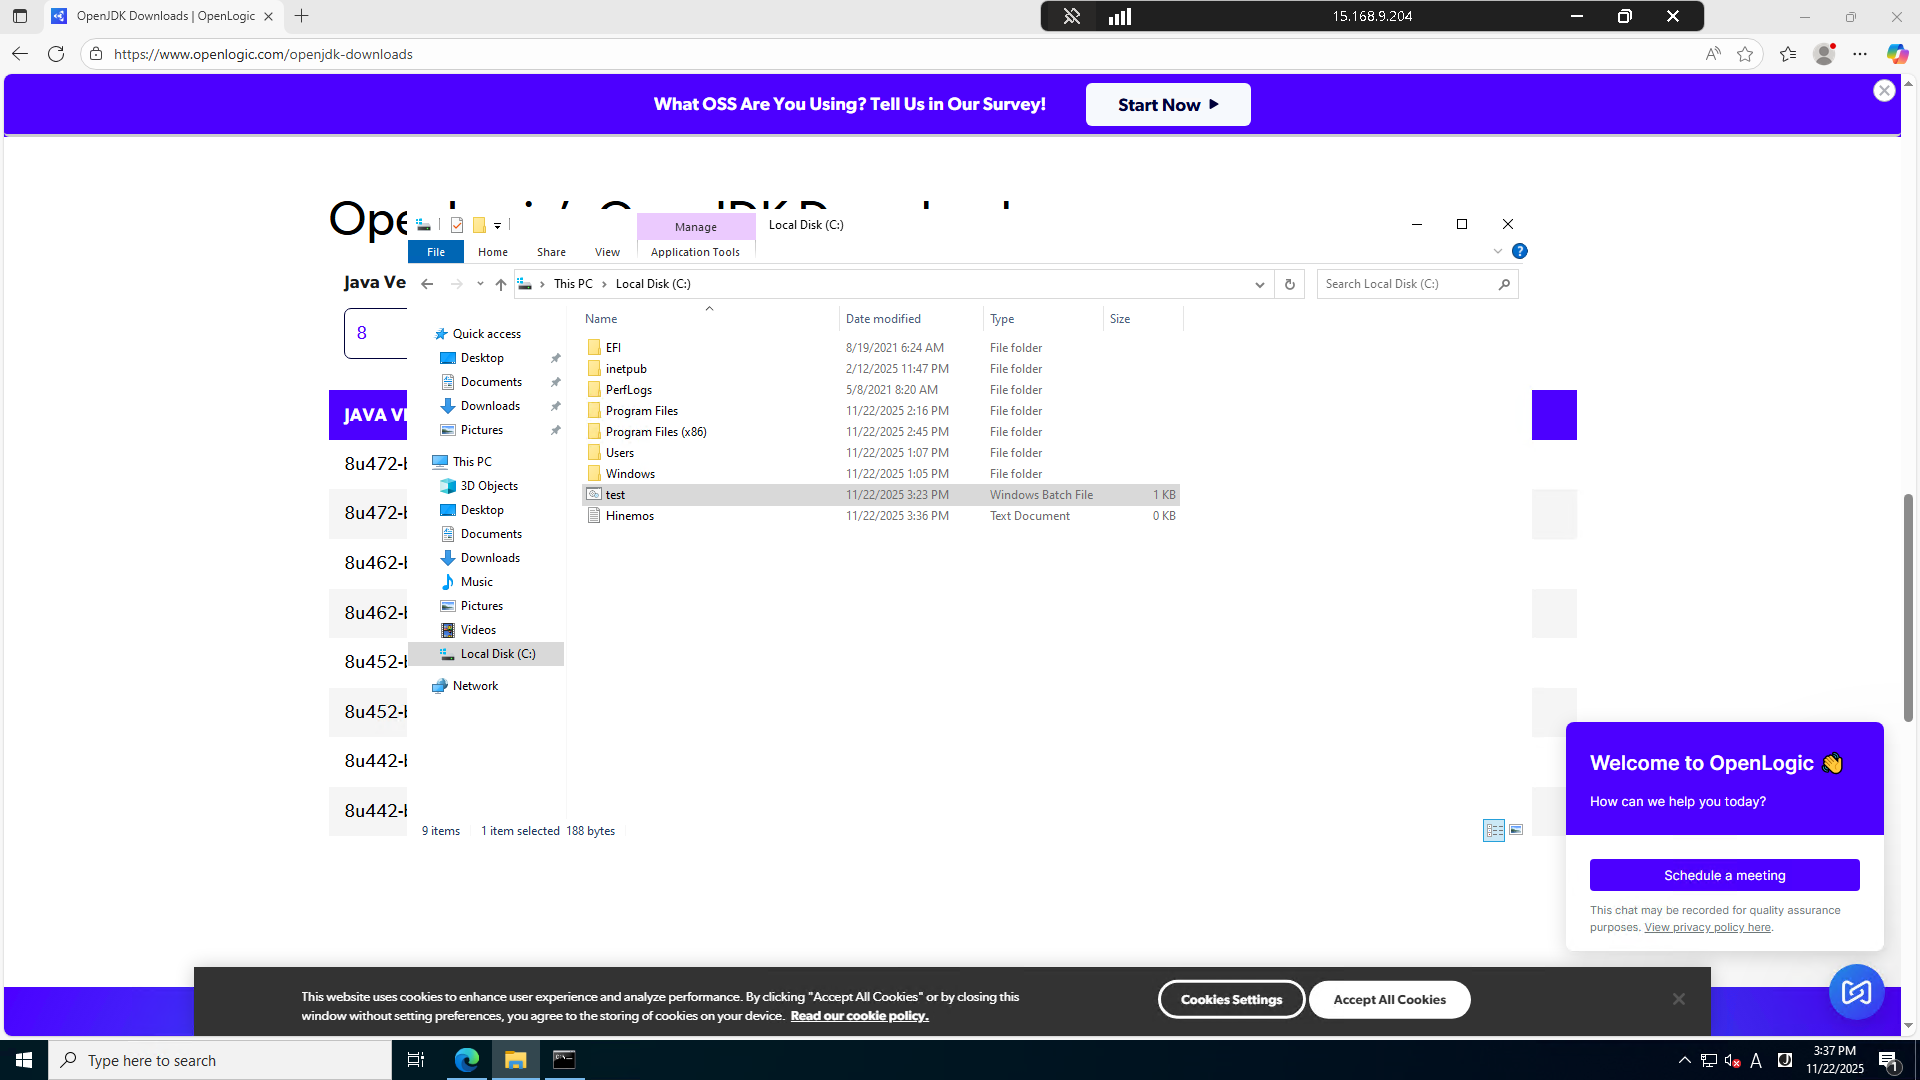
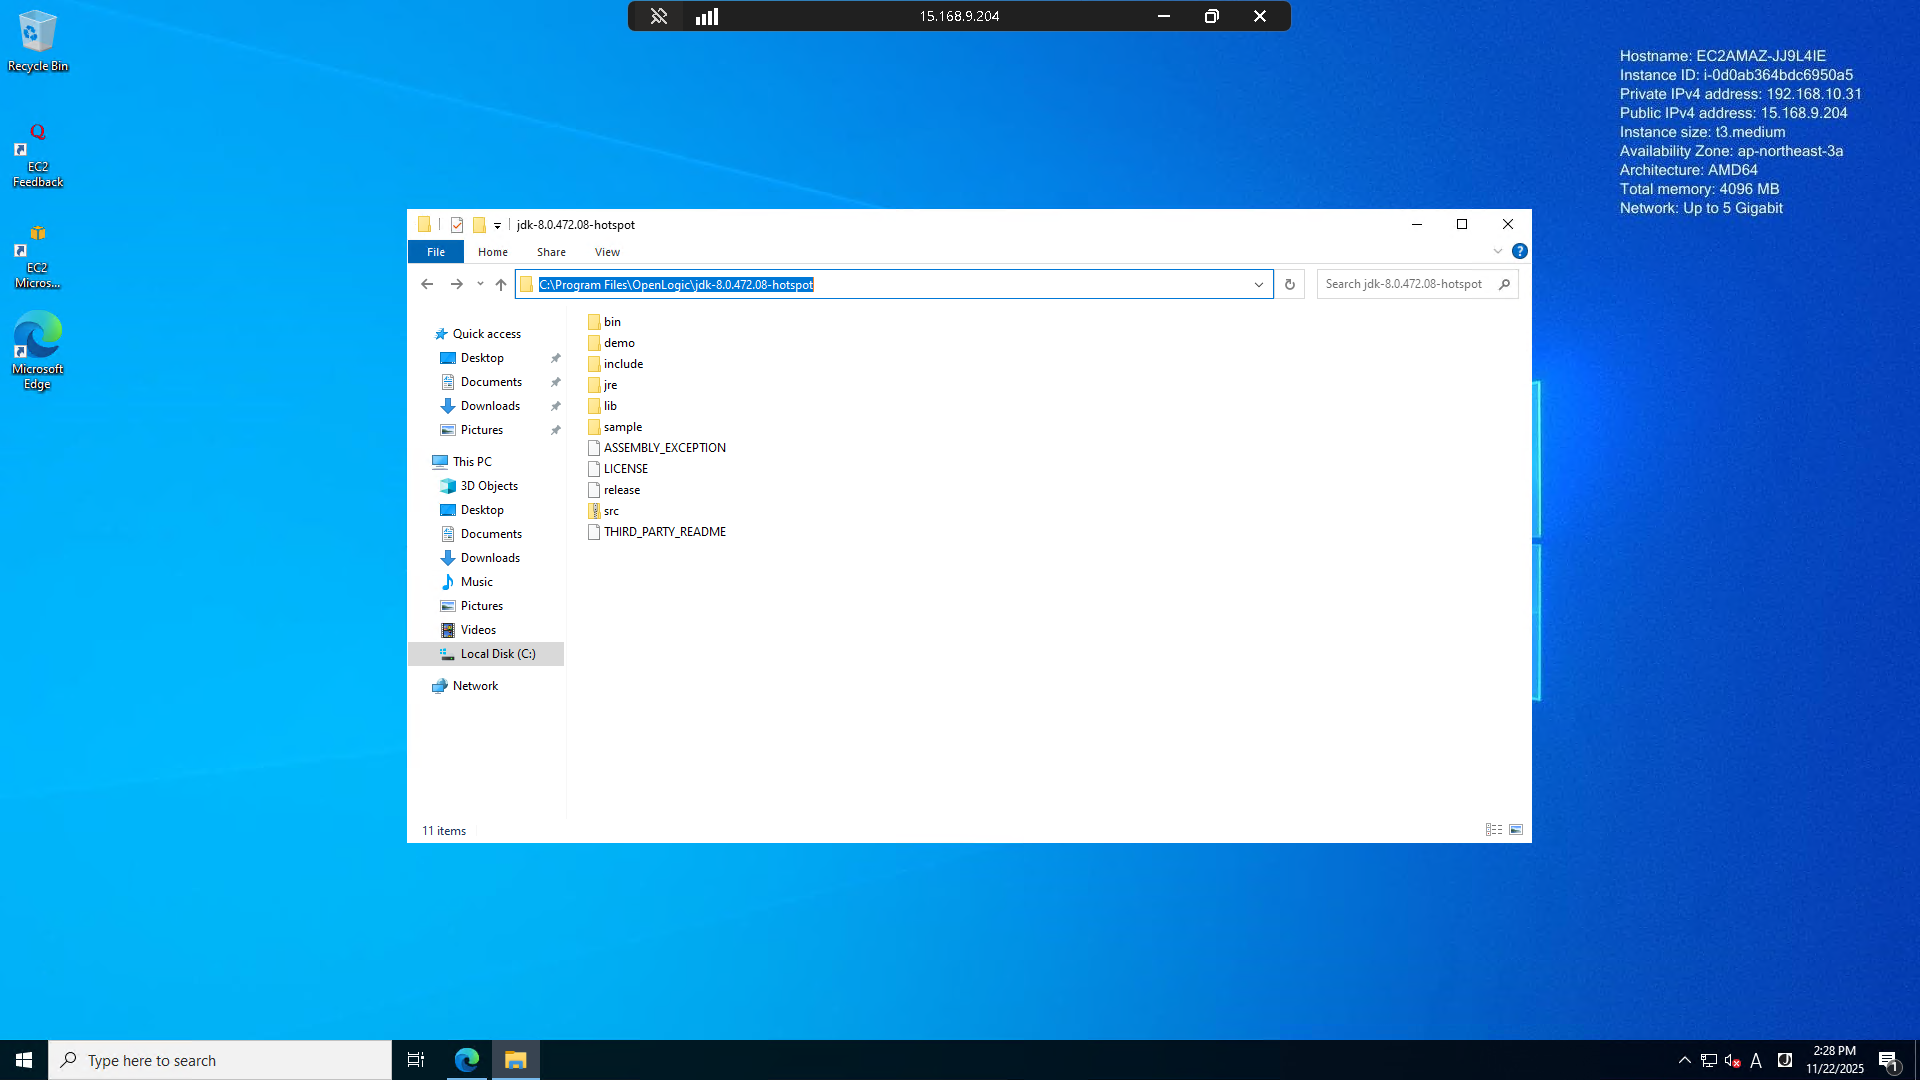
C:\Program Files\OpenLogic\jdk-8.0.472.08-hotspotにOpenJDKが展開されています。
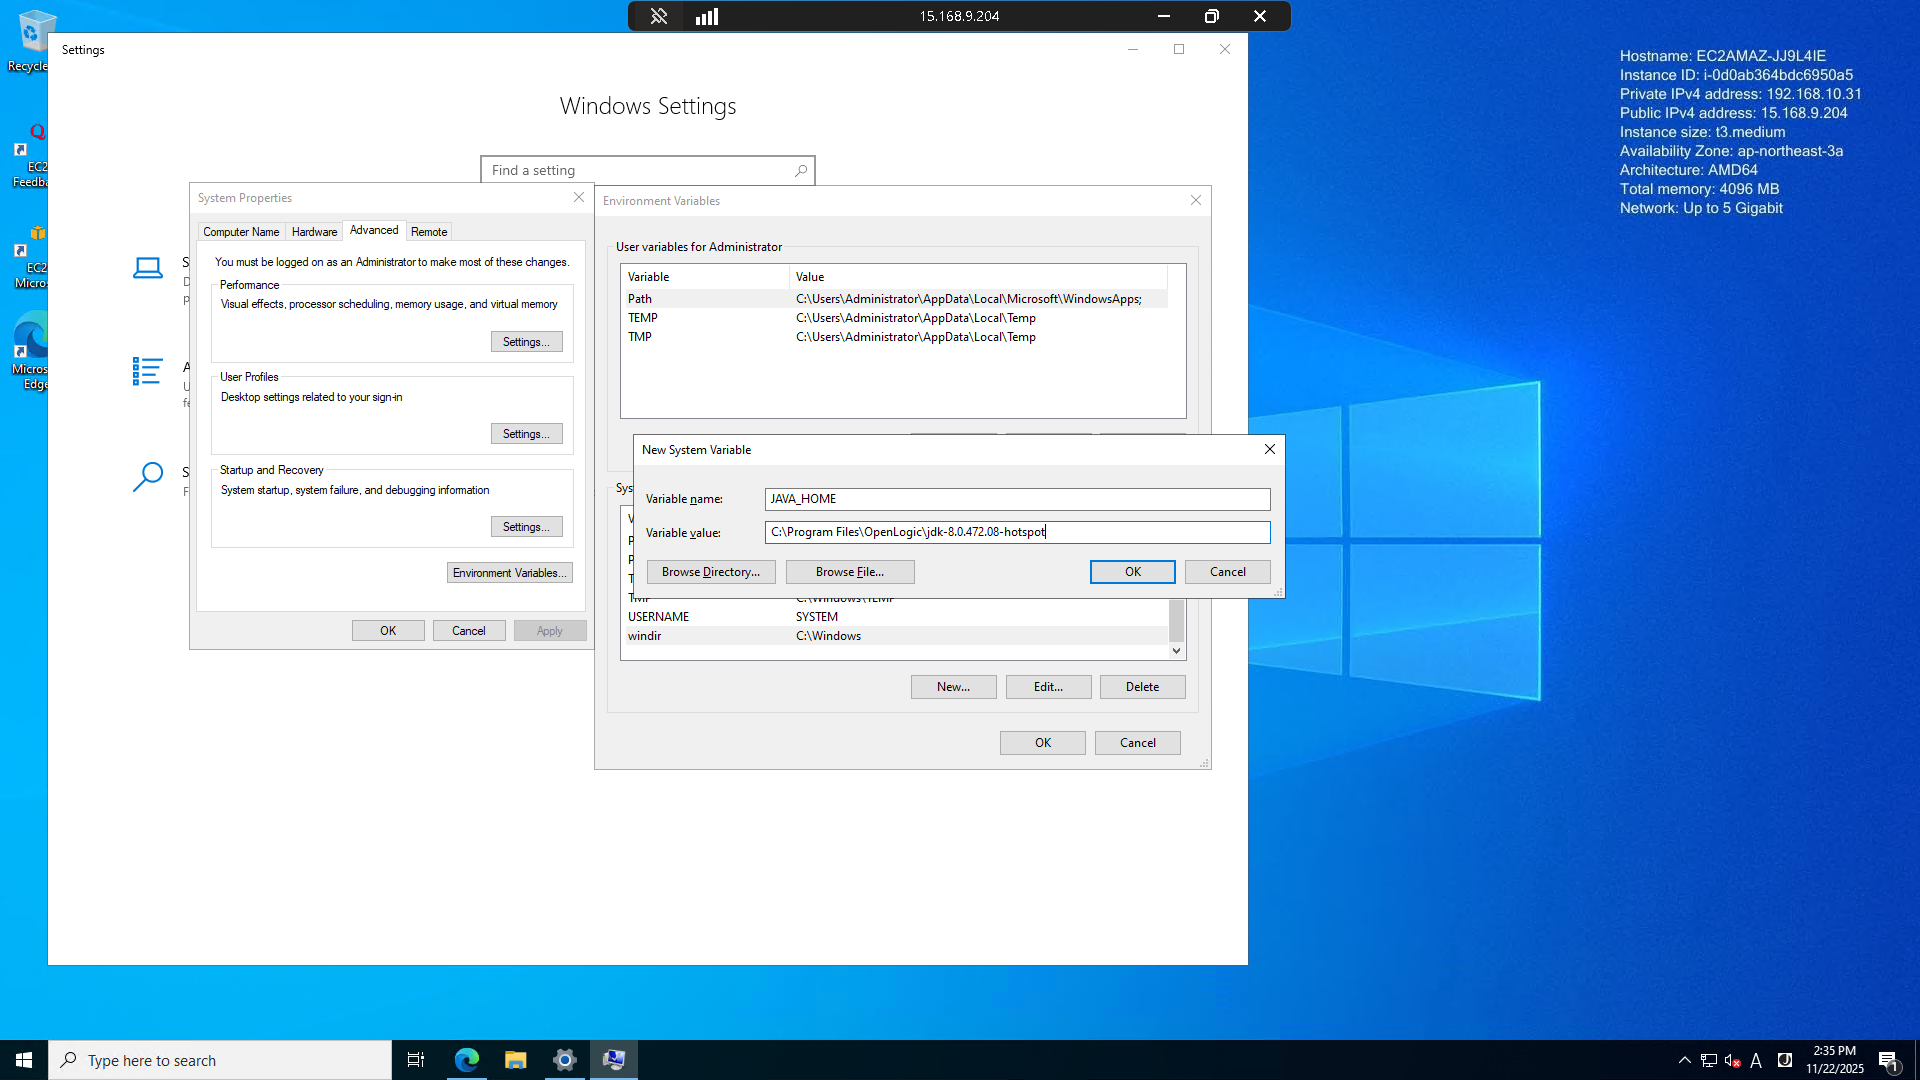
Windowsのシステム環境変数を編集して、OpenJDKへのパスを通します。
System variablesのNewを押下します。

JAVA_HOME
C:\Program Files\OpenLogic\jdk-8.0.472.08-hotspot
と入力し保存します。
hinemos-agent-7.1.1-1.win.zipをダウンロードします。
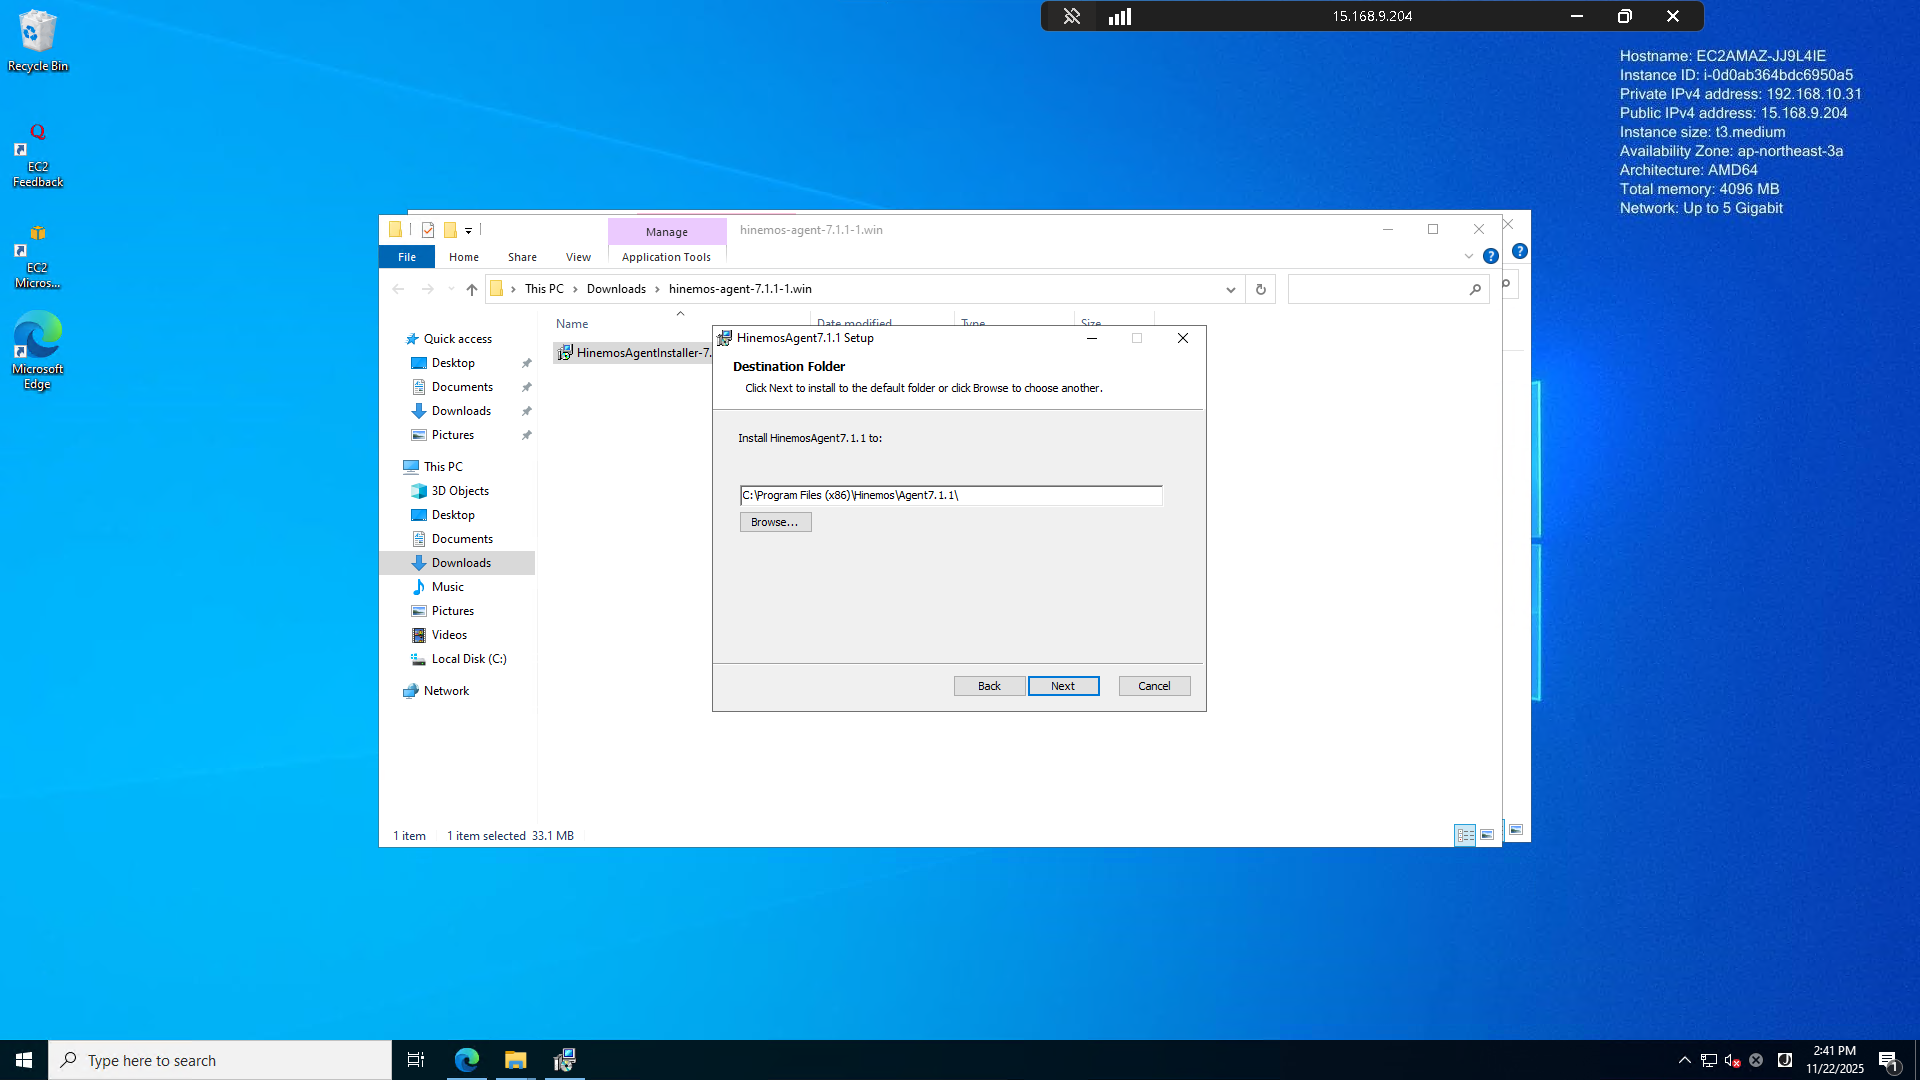
ダウンロード後、解凍して中に入っているファイルを起動します。
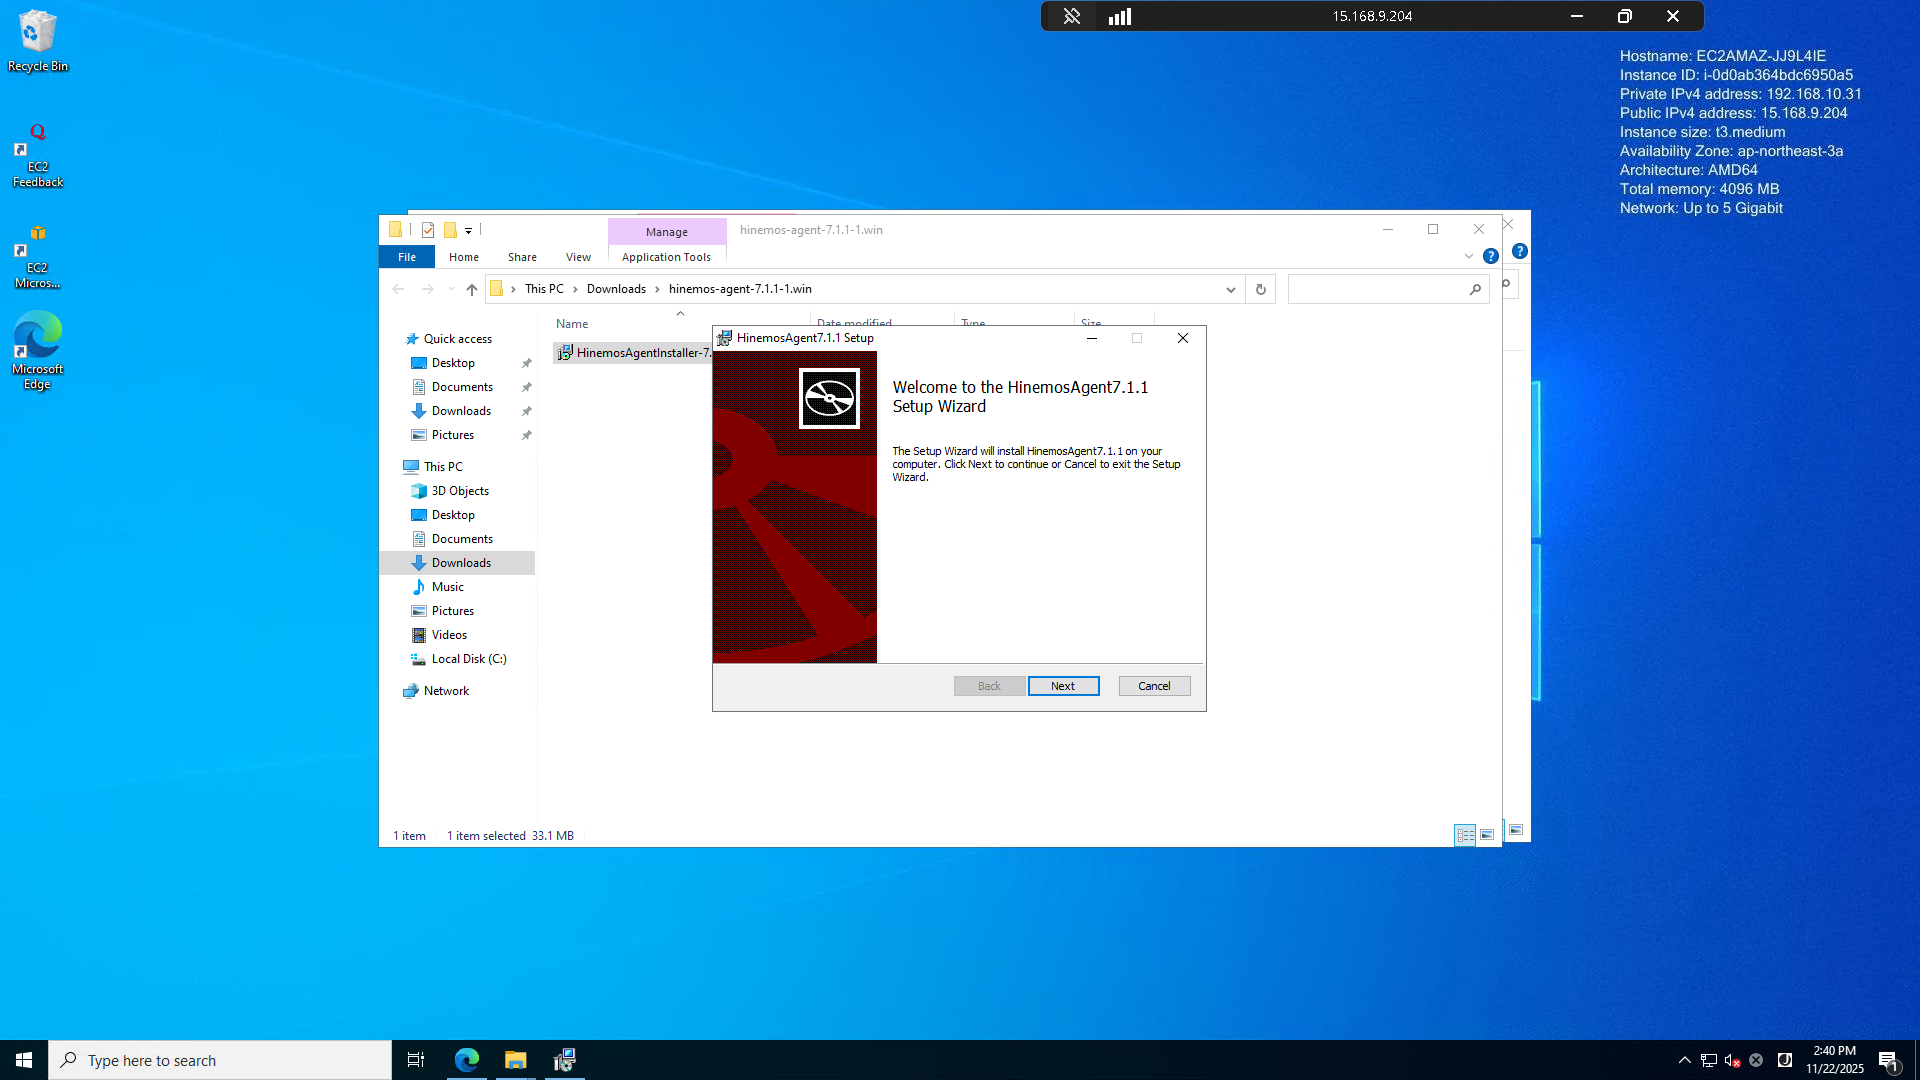

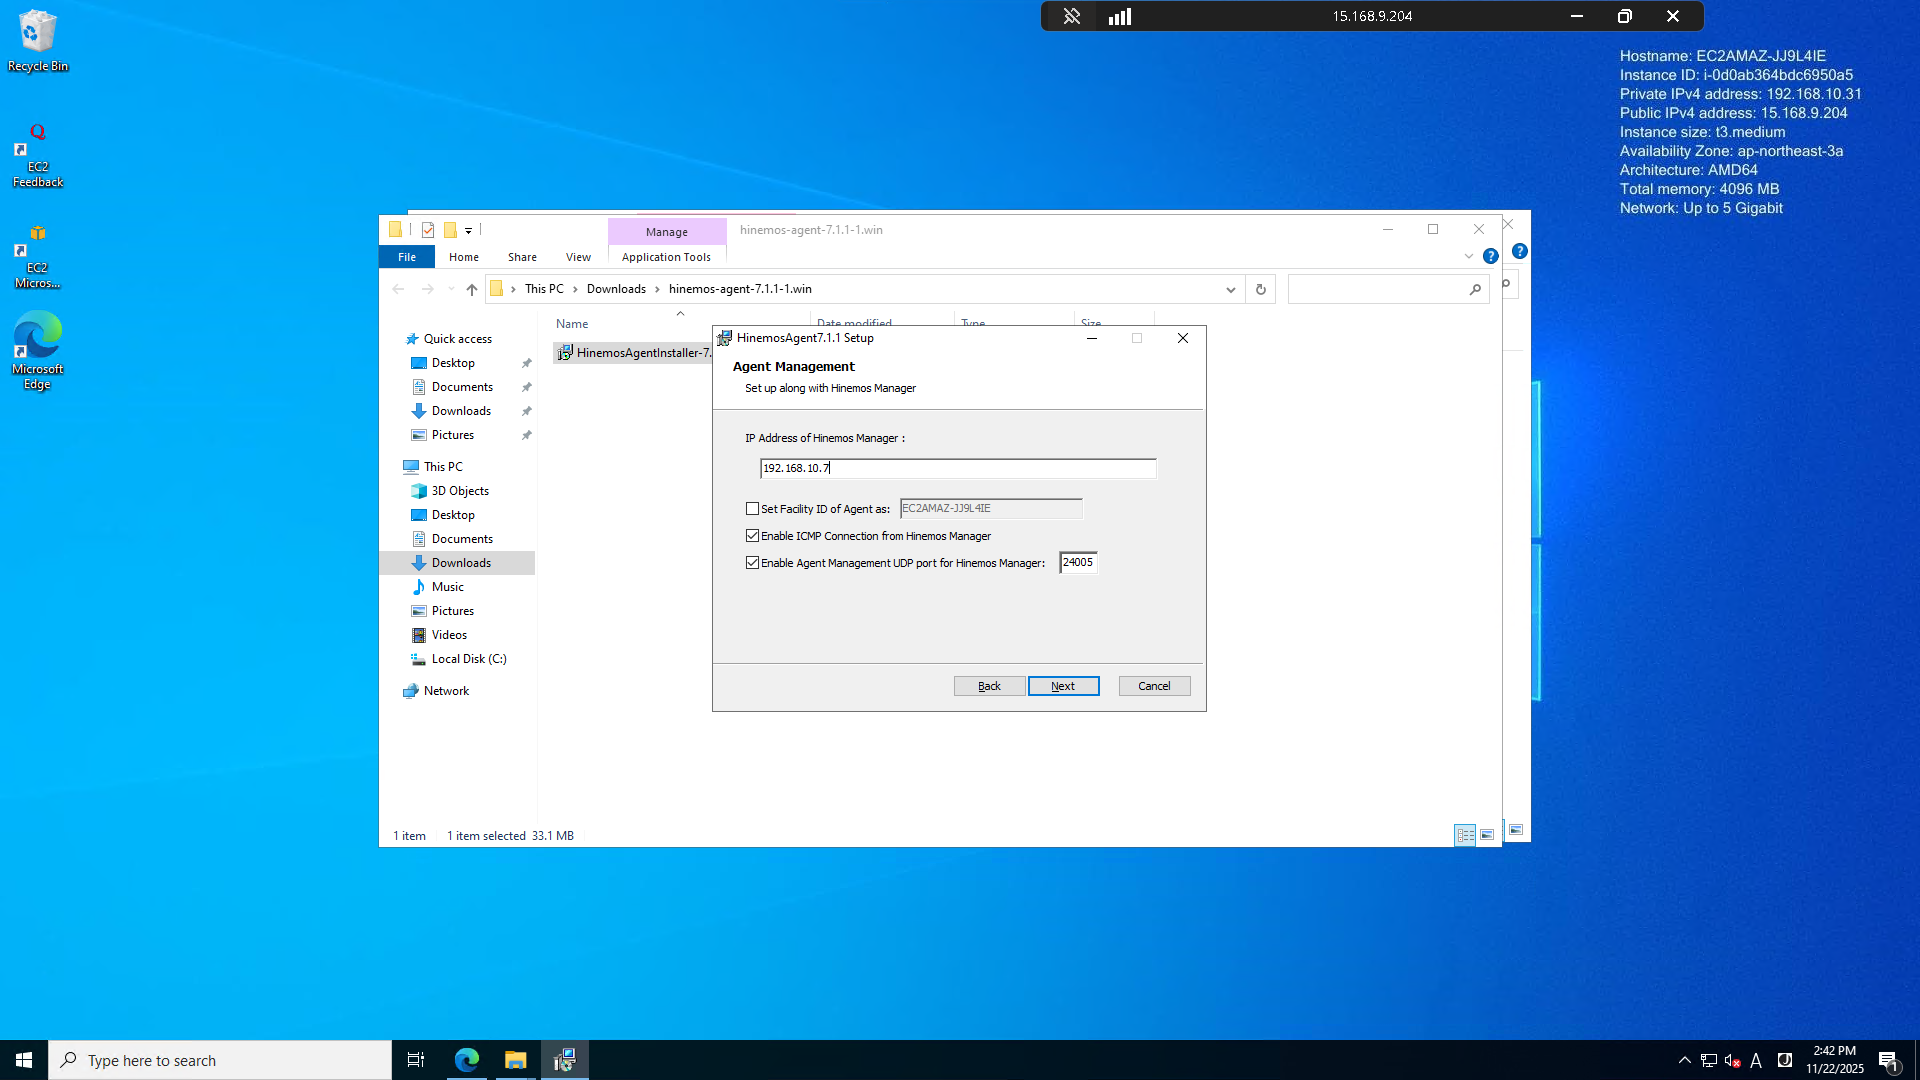
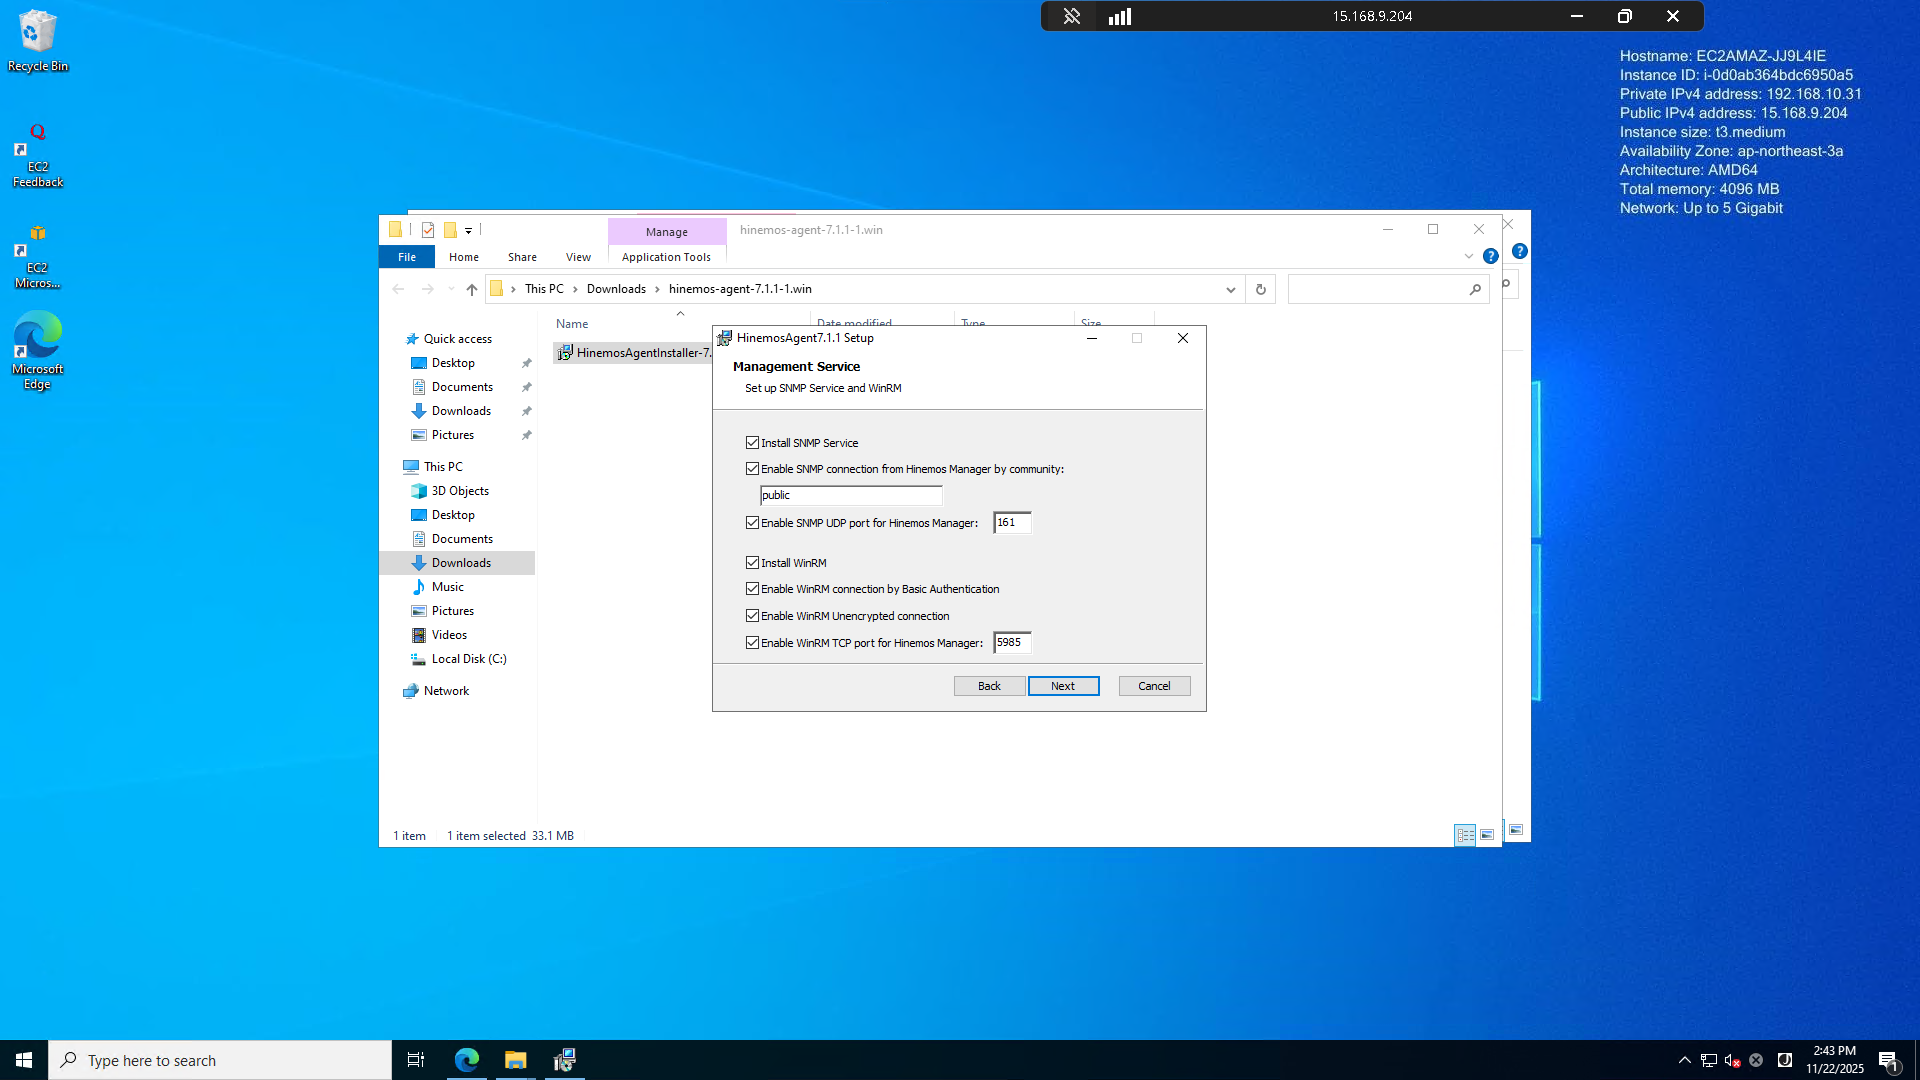
IPアドレスはHinemosManagerのIPアドレスを指定します。
あとから修正も出来ると思いますが、面倒なのでここで設定をしておくといいでしょう。


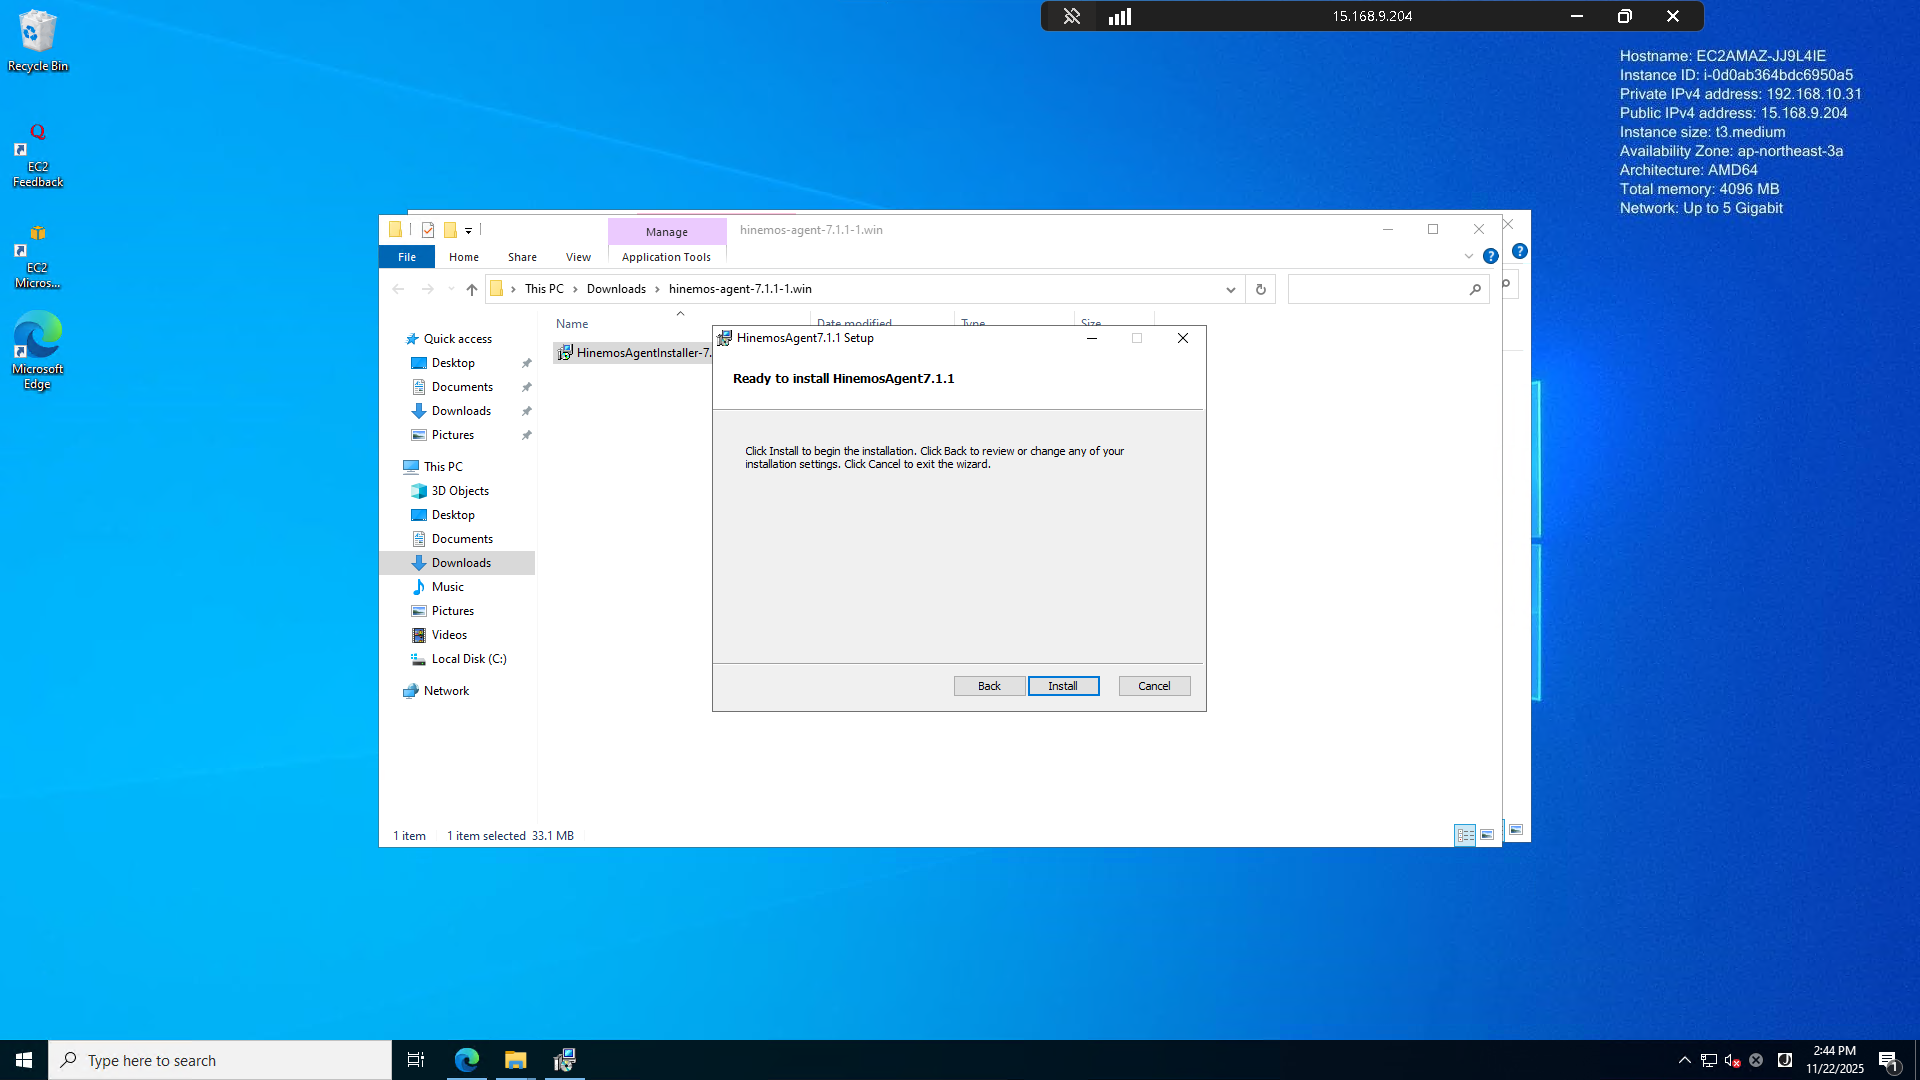
Completeなんちゃらと表示がされれば大丈夫です。
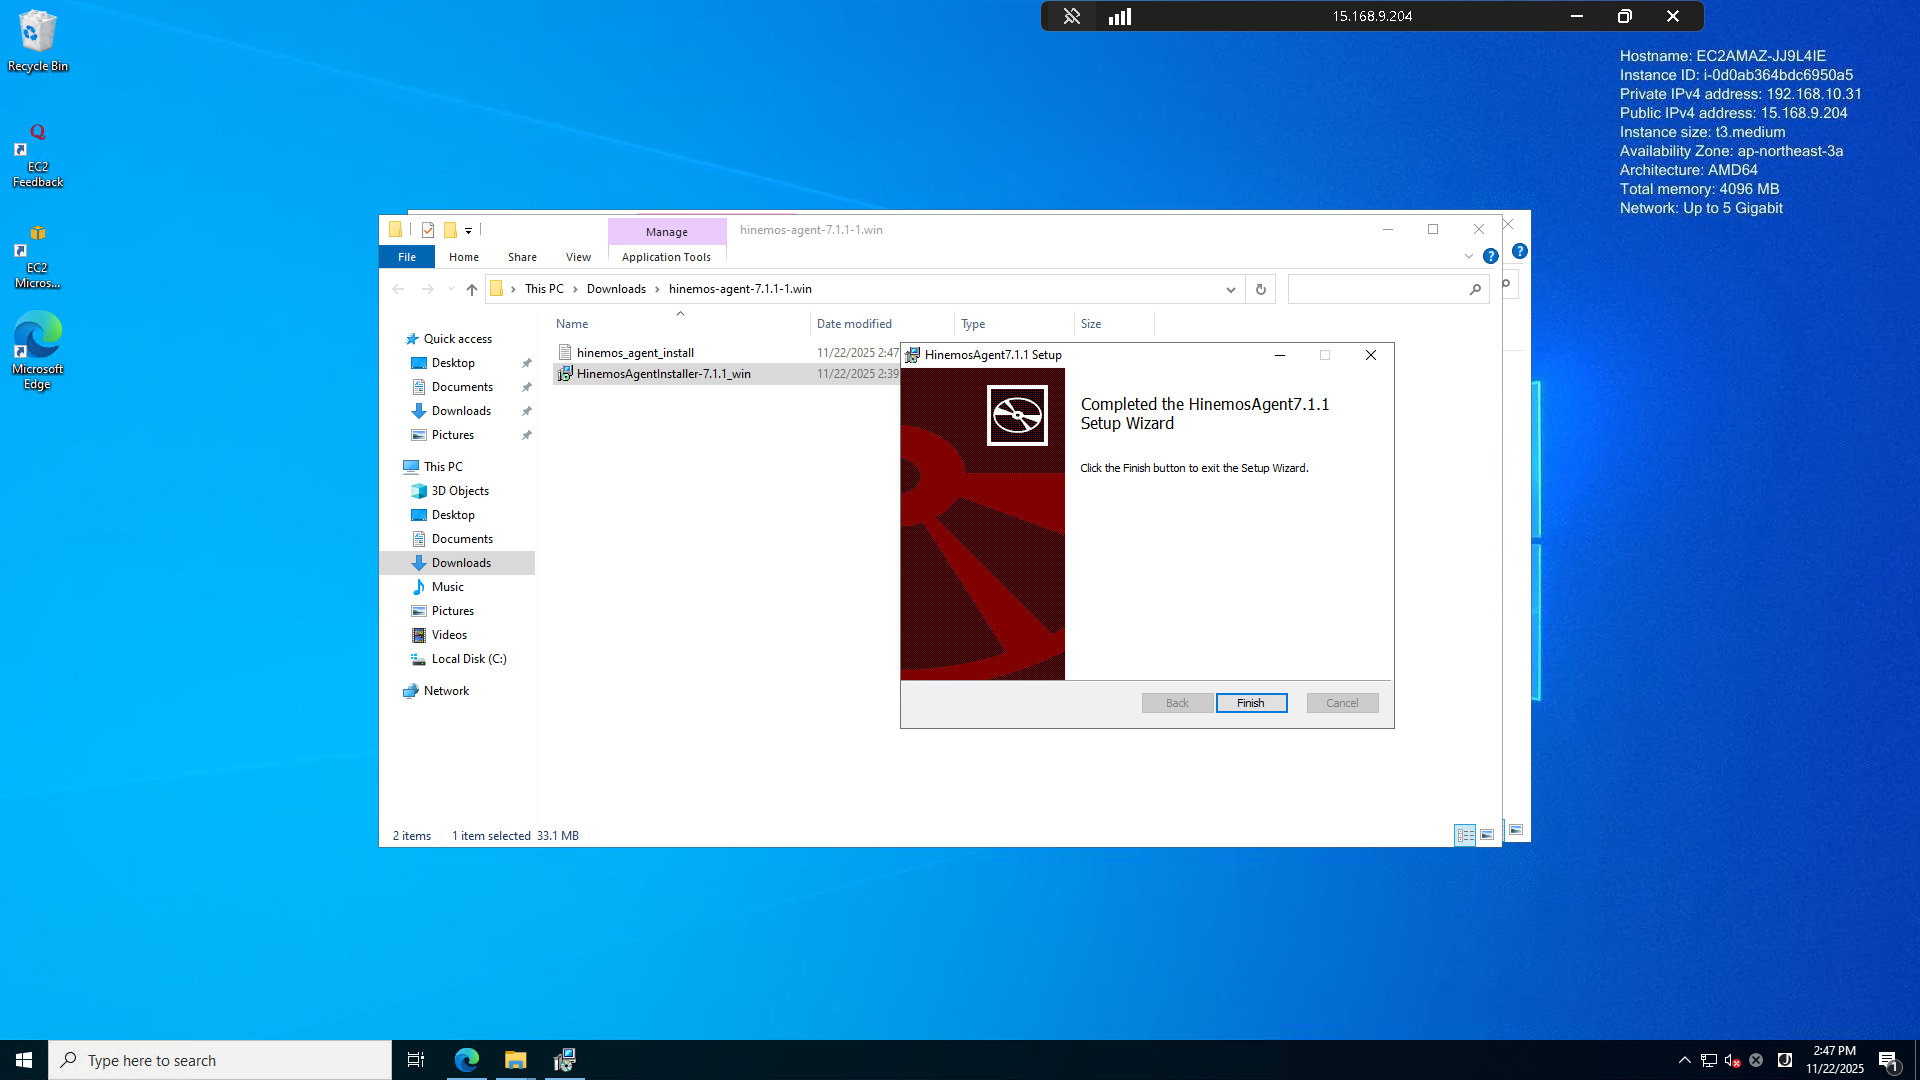
C:\Program Files (x86)\Hinemos\Agent7.1.1\confにAgent.propertiesという設定があるので、これを開き、managerAddressの設定値を確認しておきましょう。
以下のような表示となっていればOKです。
# facilityId=
managerAddress=http://192.168.10.7:8083/HinemosWeb/
Hinemosの7系より前だと恐らく以下のような表記になっていると思います。
※7系はRESTful API、それより前はSOAP APIを使っている関係上、このような差分が出ているようです。
# facilityId=
managerAddress=http://192.168.10.7:8081/HinemosWS/
動作確認
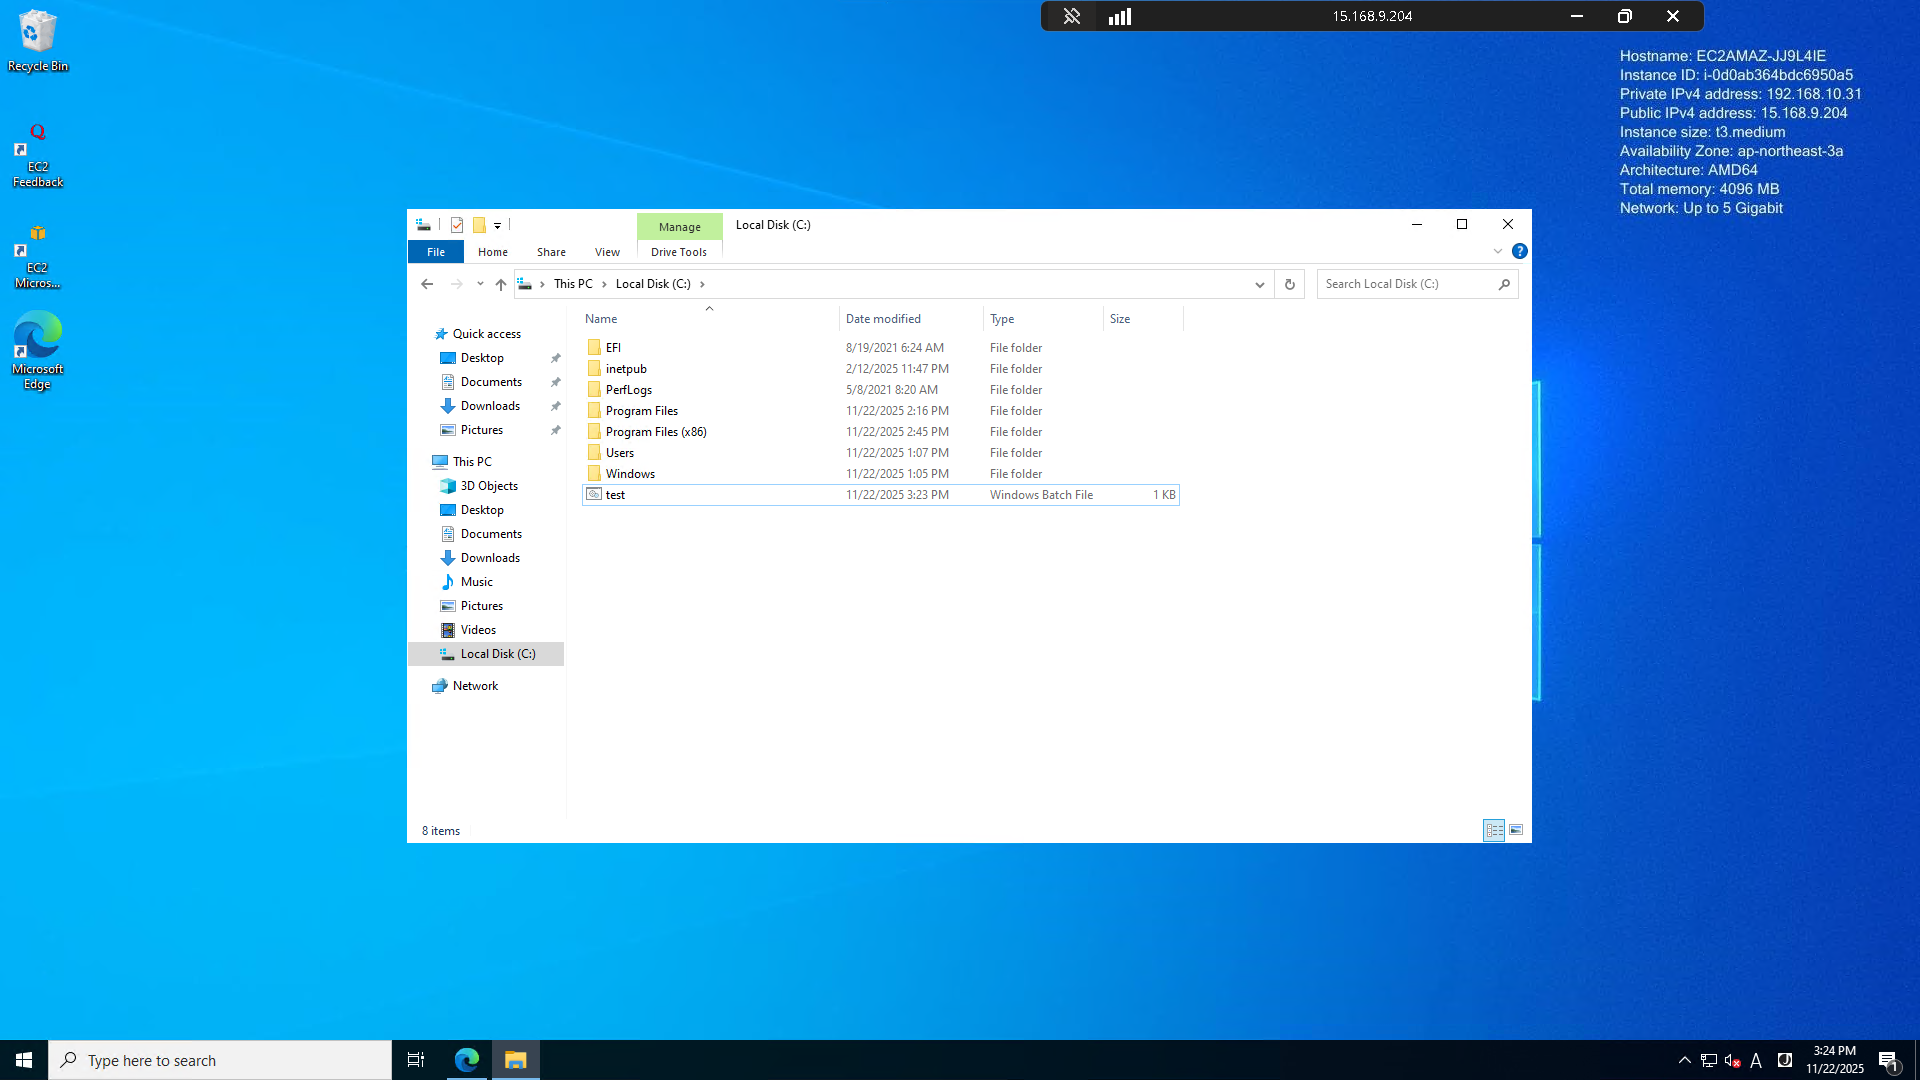
以下のbatファイルを用意します。
名前をtest.batとして、Cドライブ直下に配置します。
@echo off
type nul > C:\Hinemos.log
if exist C:\Hinemos.log (
    echo File created successfully.
) else (
    echo Failed to create file. Administrator privileges may be required.
)
exit
Hinemos Manager側で設定をしていきます。
基本的には私が過去にやったものと同様に設定をしていけば問題ありません。
リポジトリでAgent側のノードを登録する際、IPv4とNode NameだけはAgentが稼働しているサーバと完全一致している必要があるので気を付けます。
IPアドレスはAWSのマネジメントコンソールか、cmdでipconfig/allを入力して確認できます。
Node Nameに関しては同じくcmdでhostnameと入力して出力される内容を入力してあげれば基本的には問題ないはずです。

コマンドジョブで指定するコマンドはフルパスで.batファイルを指定してあげます。

コマンドジョブを手動で実行して、ジョブ履歴を確認します。
EndStatusが緑色になっていれば問題ありません。

Cドライブ直下にHinemosという名前のログが出来ていればOKです。