はじめに
今回はSwiftを使ってMapKitを使ったアプリを作成します。
iOS7から追加された「MKDirections」を使って
2点間の経路を検索するアプリを作成してみましょう。
ソースコード
今回作成したソースコードはgithubに置いています。
https://github.com/oggata/SwiftMapKitTest
プロジェクトの作成
Xcode6 Beta をダウンロードします.
iOSDevCenterからDLできます。
(iOS Developer Programへの登録(有償)が必要です)
https://developer.apple.com/devcenter/ios/index.action
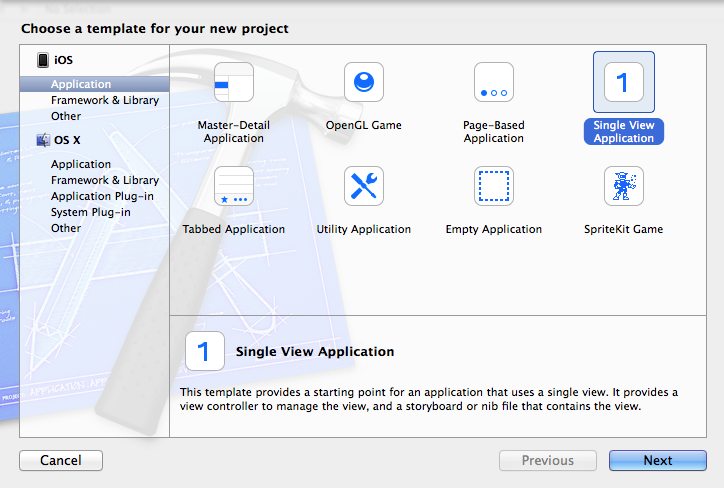
まずはSingleViewApplicationを選択します
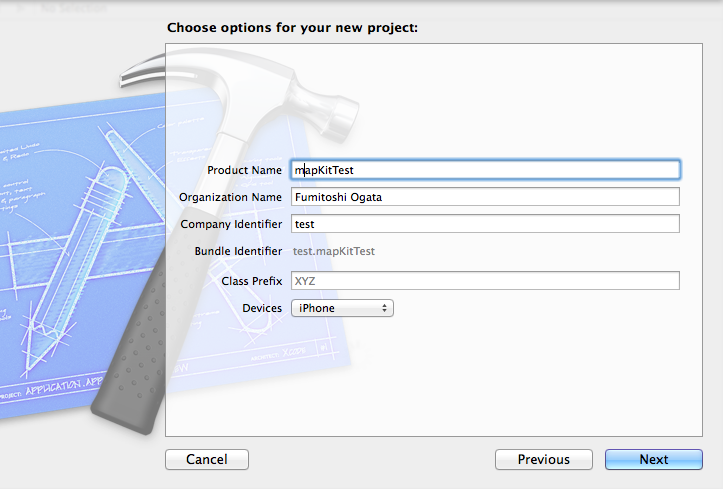
ProductNameを入力します
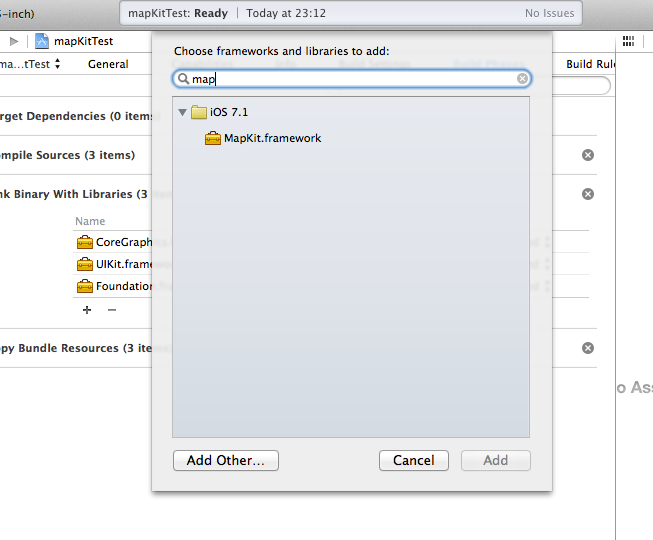
BuildPurchase->Link Binary With LibrariesからMapKitFrameworkを追加します
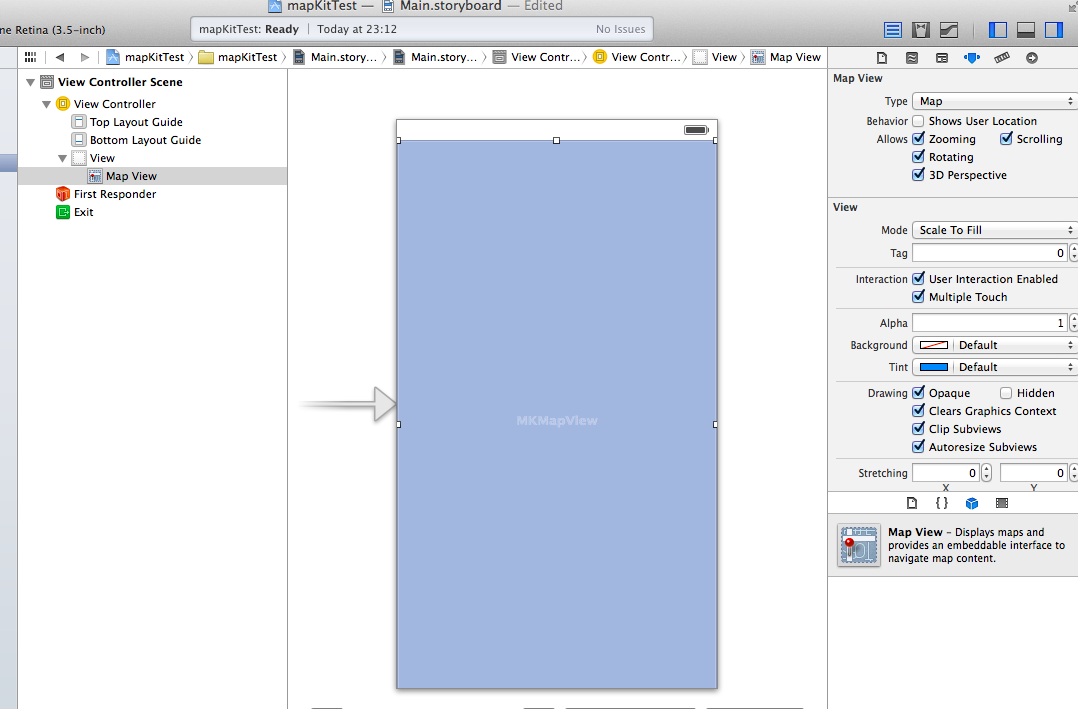
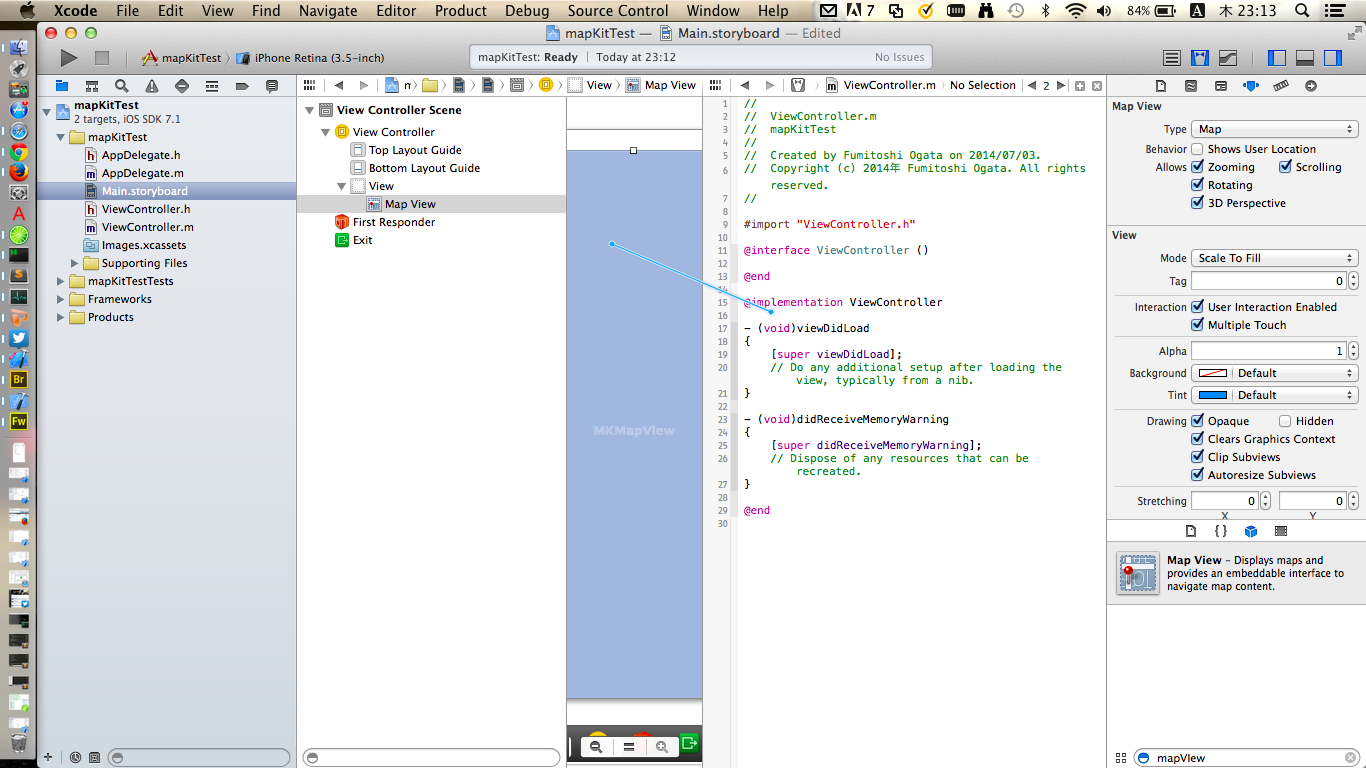
Main.storyboardにMapViewを貼付けます
MapViewからViewControllerに追加します
コードの追加
ViewController.swiftがメインのコードになるので、この中に記述していきます。
1.経度、緯度からメルカトル図法の点に変換する
    //出発点:六本木 〜 目的地:渋谷
    var fromCoordinate :CLLocationCoordinate2D = CLLocationCoordinate2DMake(35.665213, 139.730011)
    var toCoordinate   :CLLocationCoordinate2D = CLLocationCoordinate2DMake(35.658987, 139.702776)
2.CLLocationCoordinate2DからMKPlacemarkを作成する
    var fromPlacemark = MKPlacemark(coordinate:fromCoordinate, addressDictionary:nil)
    var toPlacemark = MKPlacemark(coordinate:toCoordinate, addressDictionary:nil)
3.MKPlacemarkからMKMapItemを生成します。
    var fromItem = MKMapItem(placemark:fromPlacemark);
    var toItem = MKMapItem(placemark:toPlacemark);
4.MKMapItem をセットして MKDirectionsRequest を生成します
    let request = MKDirectionsRequest()
    request.setSource(fromItem)
    request.setDestination(toItem)
    request.requestsAlternateRoutes = true; //複数経路
    request.transportType = MKDirectionsTransportType.Walking //移動手段 Walking:徒歩/Automobile:車
5.経路を検索する(非同期で実行される)
    let directions = MKDirections(request:request)
    directions.calculateDirectionsWithCompletionHandler({
        (response:MKDirectionsResponse!, error:NSError!) -> Void in
        if (error? || response.routes.isEmpty) {
            return
        }
        let route: MKRoute = response.routes[0] as MKRoute
        self.mapView.addOverlay(route.polyline!)
        })
6.経路検索のルート表示設定を行います
func mapView(mapView: MKMapView!, rendererForOverlay overlay: MKOverlay!) -> MKOverlayRenderer! {
    let route: MKPolyline = overlay as MKPolyline
    let routeRenderer = MKPolylineRenderer(polyline:route)
    routeRenderer.lineWidth = 5.0
    routeRenderer.strokeColor = UIColor.redColor()
    return routeRenderer
}
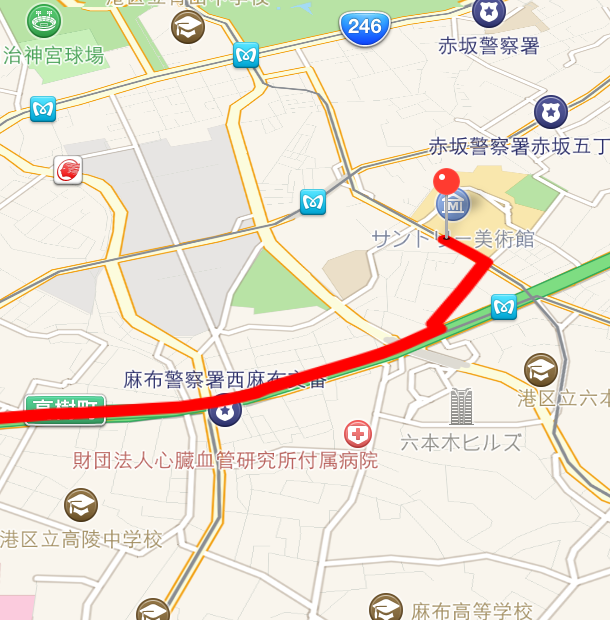
シュミレーターで実行してみましょう
その他
経路検索以外にも用意された関数を使うことで、いろいろな装飾を行うことができます。
1.アノテーションを使って地図にピンをドロップする
    var theRoppongiAnnotation = MKPointAnnotation()
    theRoppongiAnnotation.coordinate  = fromCoordinate
    theRoppongiAnnotation.title       = "Roppoingi"
    theRoppongiAnnotation.subtitle    = "xxxxxxxxxxxxxxxxxx"
    self.mapView.addAnnotation(theRoppongiAnnotation)
2.カメラの角度を調整する
    var camera:MKMapCamera = self.mapView.camera;
    //camera.altitude += 100
    //camera.heading += 15
    camera.pitch += 60
    self.mapView.setCamera(camera, animated: true)
参考
Swift Programming for iOS 101 – Part 4: MapKit App Displaying Locations
http://www.appshocker.com/swift-programming-ios-101-part-4-mapkit-app-displaying-locations/
