microCMSのWebhookにおける、カスタム通知を試してみます。
Webhookを使った以下の記事
では、microCMSのChatwork用の標準Webhookを使ってみたのですが、今度はカスタム通知を試してみます。
参考情報
解説サイト
(ステップ1) microCMS側の準備
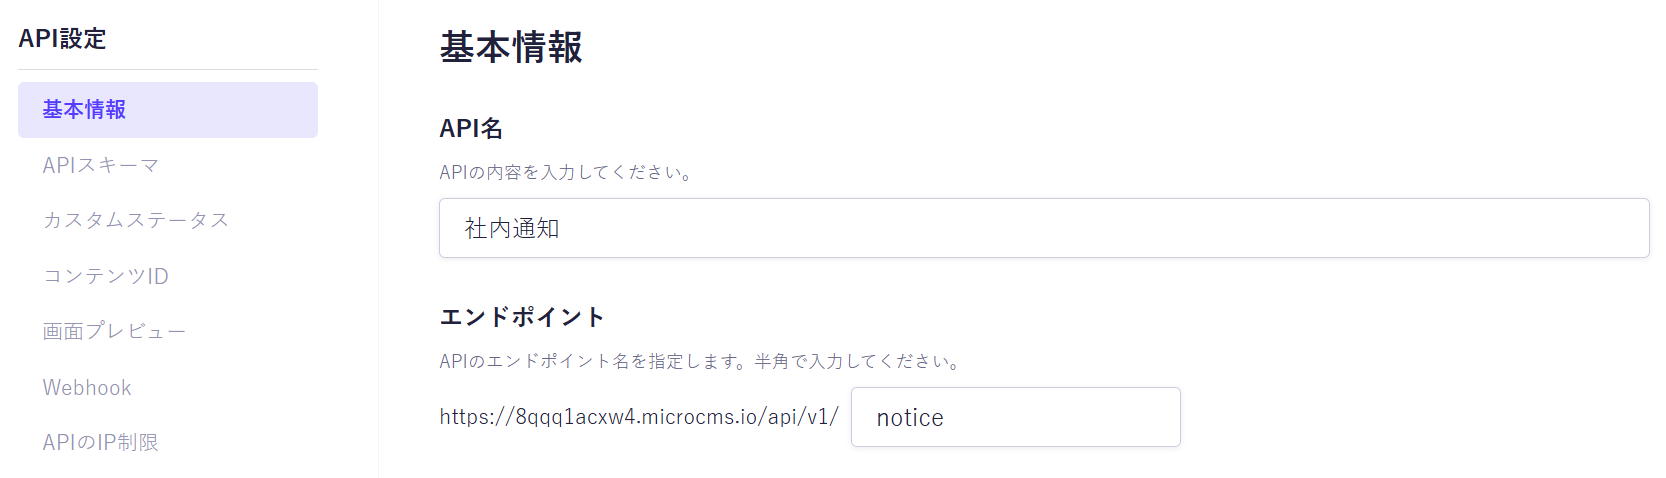
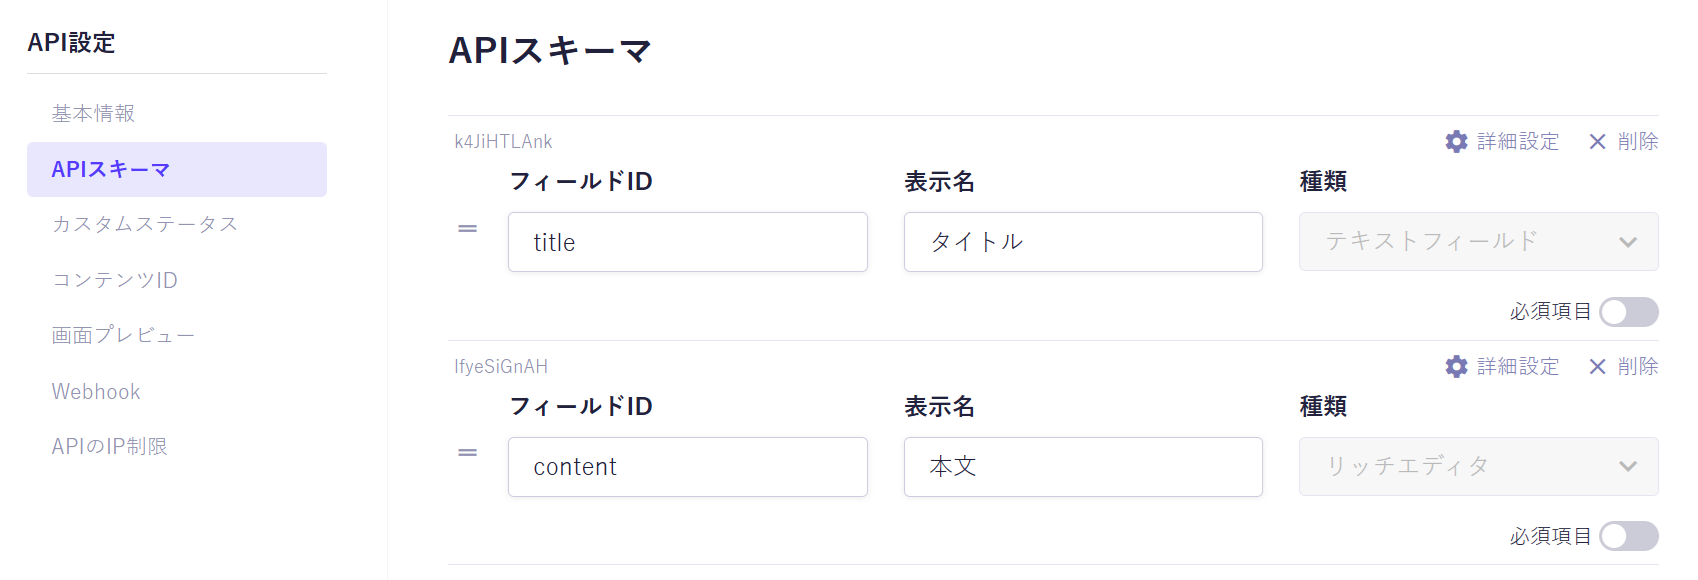
分かりやすくするために、なるべく単純なものを準備します。スキームはタイトルと本文だけとします。
API名とエンドポイント
APIスキーマ
(ステップ2) AWS側
自分で作った記事
を参考にして、AWS API GatewayにAPIを用意します。
ポイントは、microCMSから送られる署名を利用して、本当にmicroCMSからの呼び出しかどうかをチェックするところです。microCMSのドキュメント
の「Signatureの検証」に説明がありますので、これをpythonに書き換えた形です。
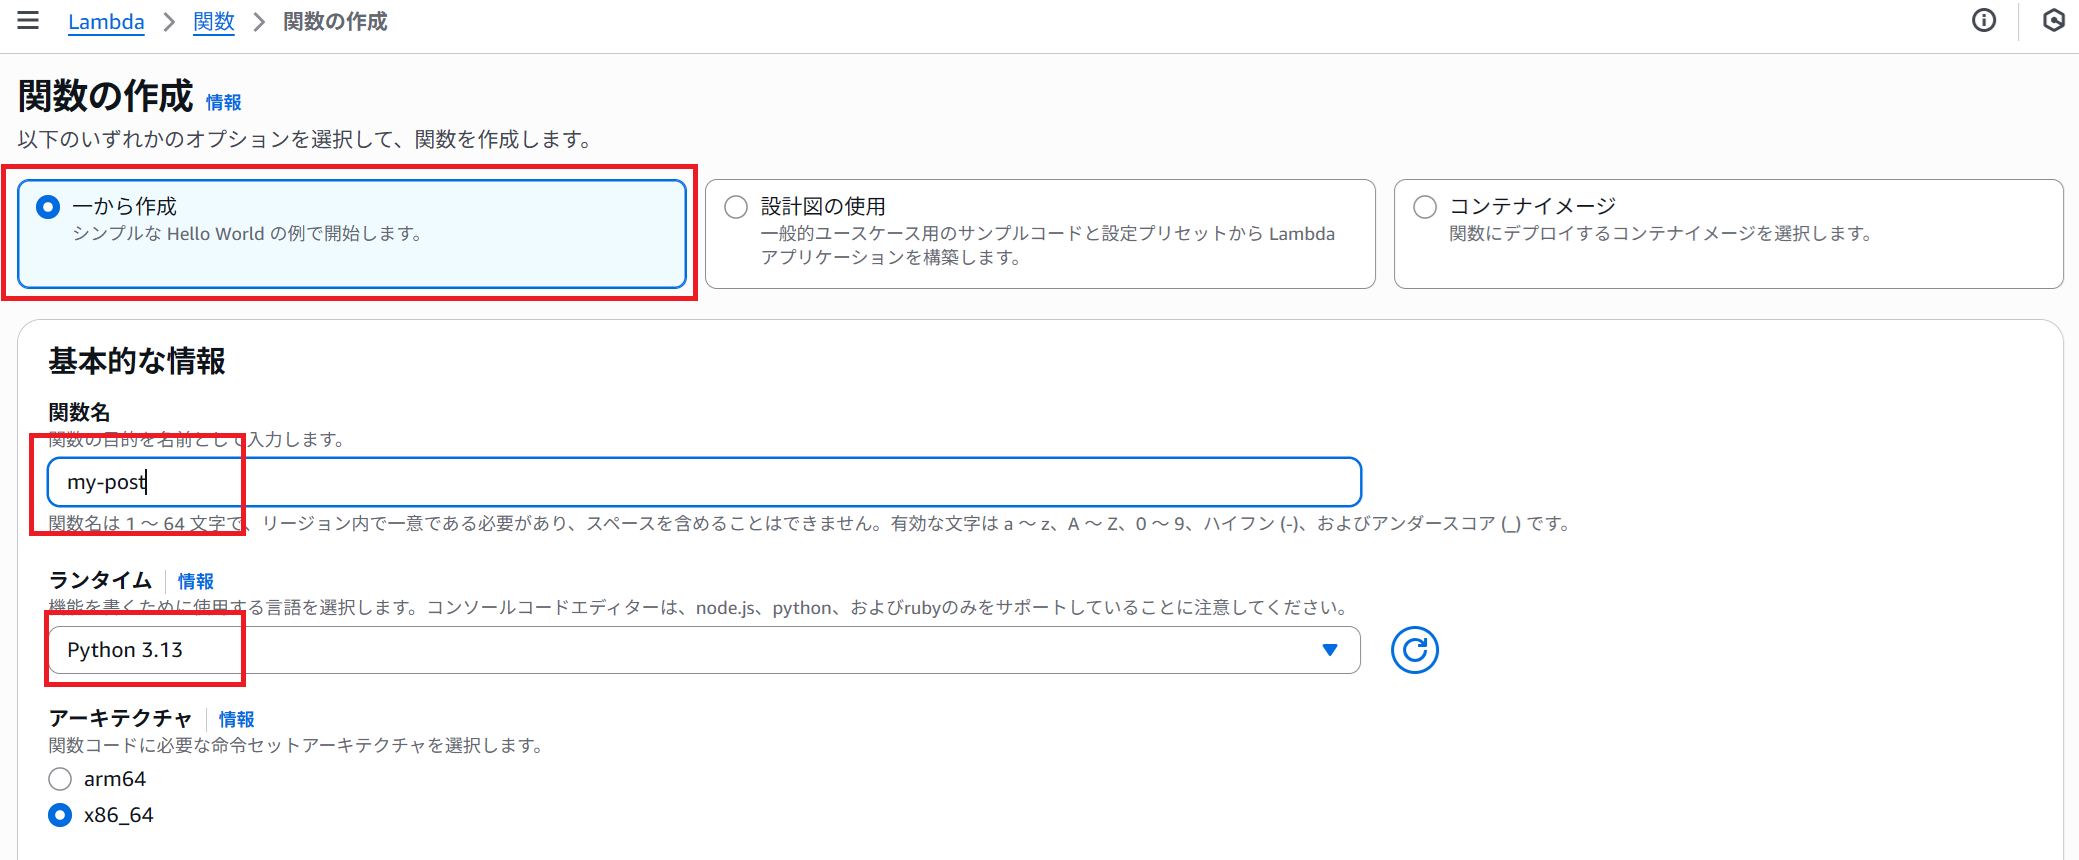
AWS Lambda
関数を以下の設定で作成します。
コードは
import os
import hmac
import hashlib
import json
import urllib.parse
import base64

def _get_header(event, name: str):
    headers = event.get("headers") or {}
    lname = name.lower()
    for k, v in headers.items():
        if k.lower() == lname:
            return v
    return None

def _response(status: int, body: str):
    return {
        "statusCode": status,
        "headers": {"Content-Type": "application/json"},
        "body": json.dumps(body),
    }

def lambda_handler(event, context):
    secret = os.environ.get("MICROCMS_WEBHOOK_SECRET")
    print('secret=', secret)
    if not secret:
        return _response(500, "Server misconfigured: missing secret")

    # イベントとコンテキストの内容を出力
    print( "event:" , event )
    print( "context:", context )

    # QueryString をパースする
    body = event.get('body')
    param = urllib.parse.parse_qs(body)

    # microCMSから送られる署名
    signature = _get_header(event, "x-microcms-signature")
    print('signature=', signature)

    body = event.get("body") or ""
    if event.get("isBase64Encoded"):
        try:
            body_bytes = base64.b64decode(body)
        except Exception:
            return _response(400, "Invalid base64 body")
    else:
        # UTF-8でbytes 化
        body_bytes = body.encode("utf-8")

    # HMAC-SHA256
    expected_signature = hmac.new(
        key=secret.encode("utf-8"),
        msg=body_bytes,
        digestmod=hashlib.sha256,
    ).hexdigest()
    print('expected_signature=', expected_signature)

    # 比較
    if not hmac.compare_digest(signature, expected_signature):
        print("Invalid signature")
        # abort(401, "Invalid signature")

    # 検証成功
    print("Valid signature ✅")
    return _response(200, "OK")
※hmac.compare_digestで、署名が正しいかどうかをチェックしています。比較としては、signature == expected_signature という判定なのですが、単純な文字列判定だと、比較の処理時間から攻撃者に情報を与えるので、それを避ける考慮をしているとか...
シークレット値は環境変数にしたいので、
キー=MICROCMS_WEBHOOK_SECRETで、適当な値(ここでは、mysecret)

を追加しておきます。
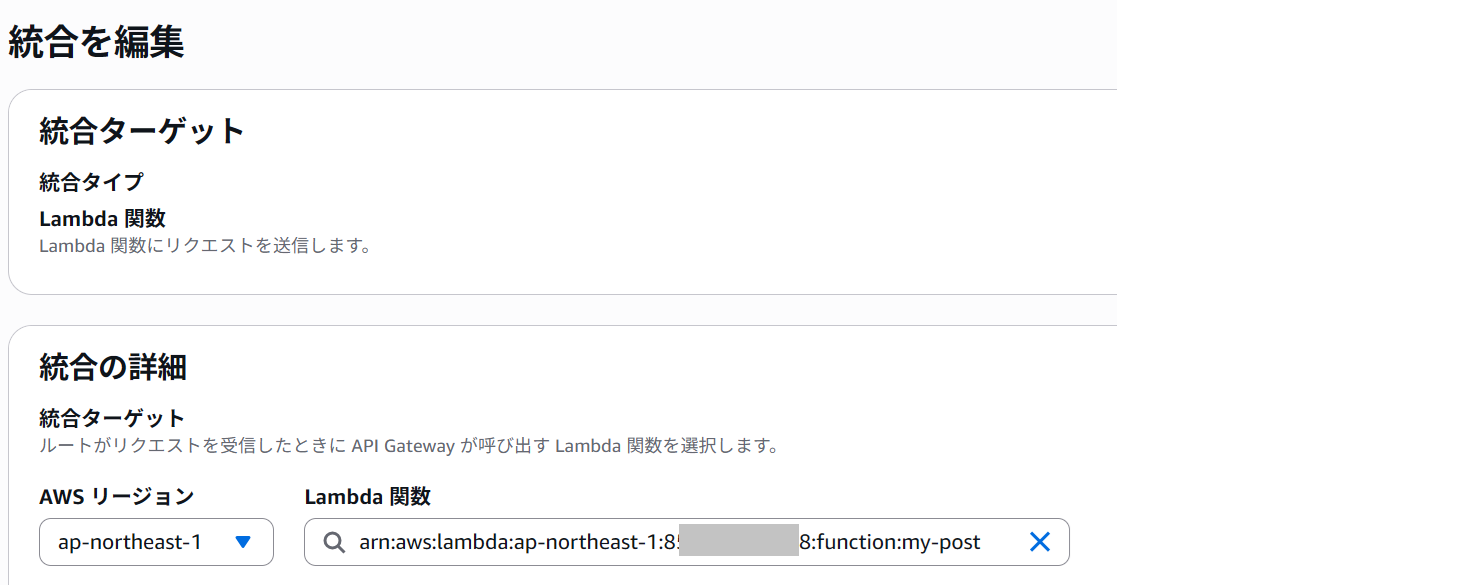
AWS API Gawatey
ルートを作成
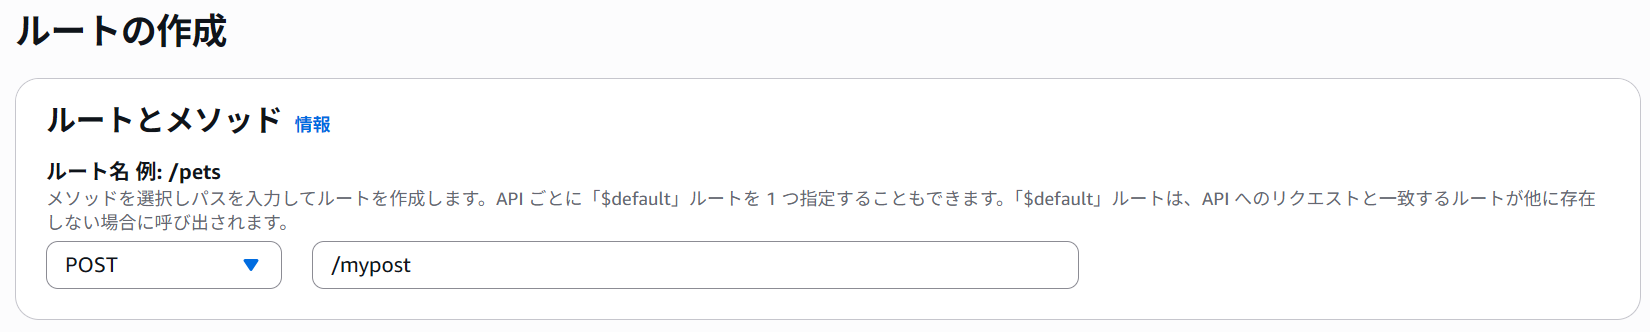
上記のLambda関数に統合する。
(ステップ3) microCMS側のWebhook
API設定のWebhookに、
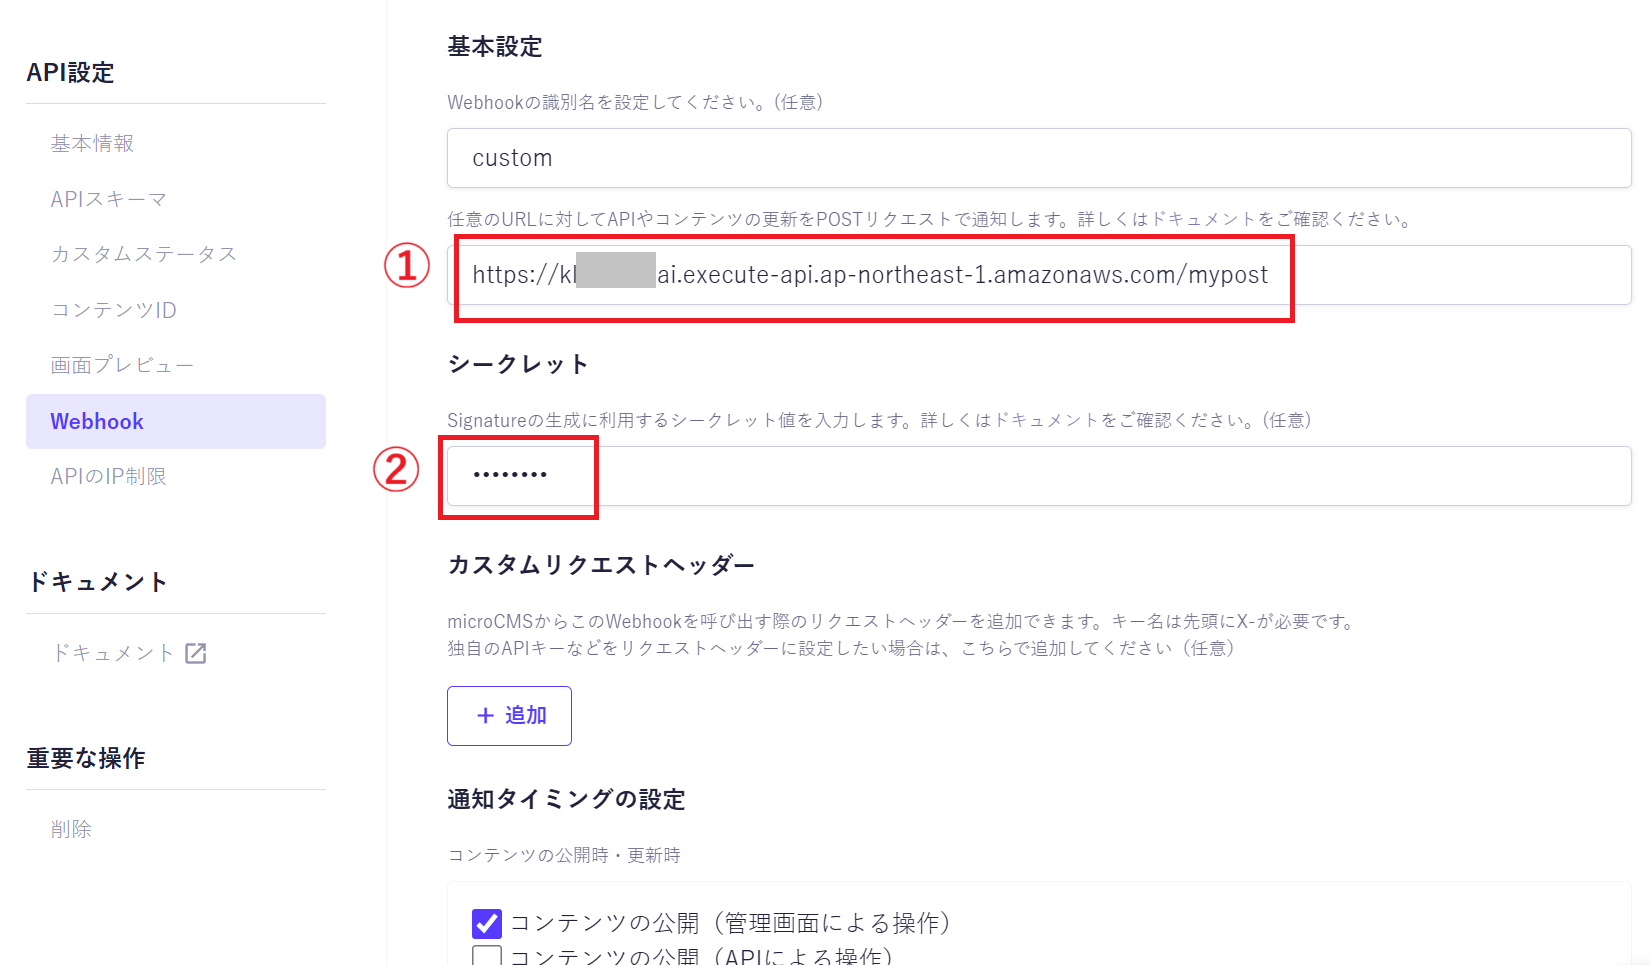
① ... API Gateway の URL
② ... Lambdaの環境変数で設定したシークレット値
を設定し、通知タイミングの設定は「コンテンツの公開」とします。
これで設定完了です。
(ステップ4) テスト
テストしてみます。
microCMSで適当にデータを入力して
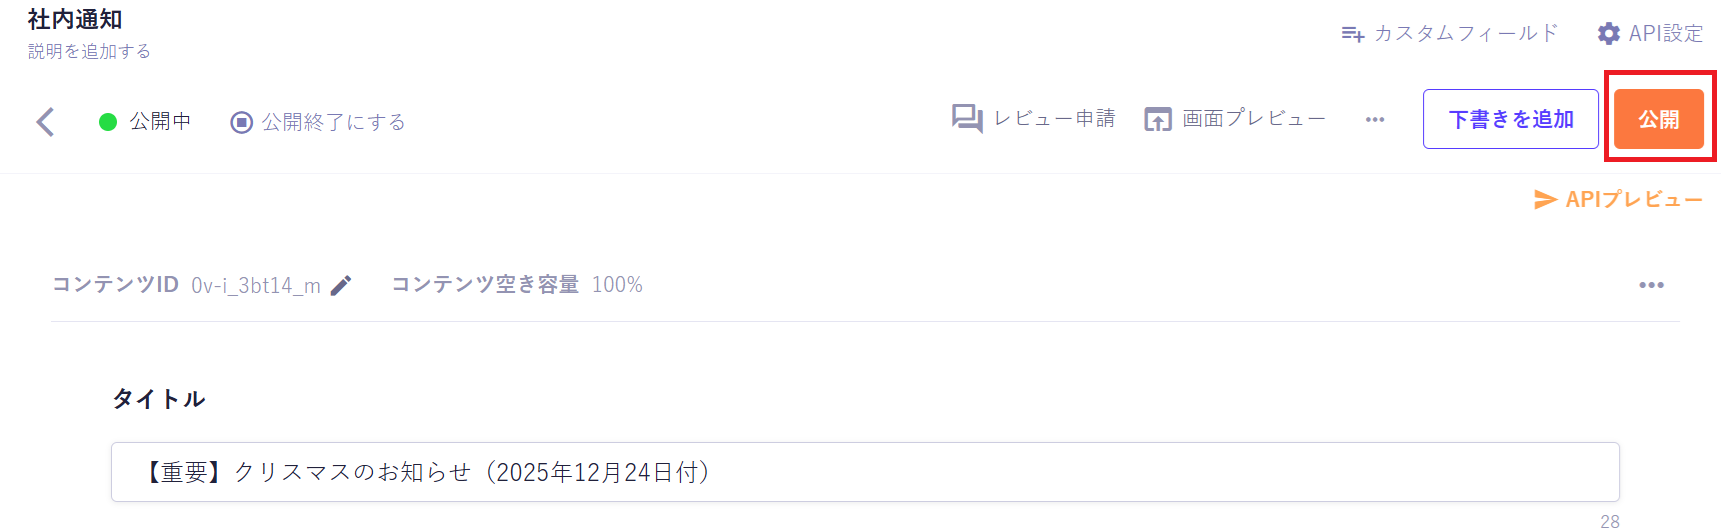
公開ボタンをクリックします。
これで、Webhook経由で、AWS API Gatewayにデータ送信されます。
この送信結果を確認するには、
AWS の CloudWatchで、
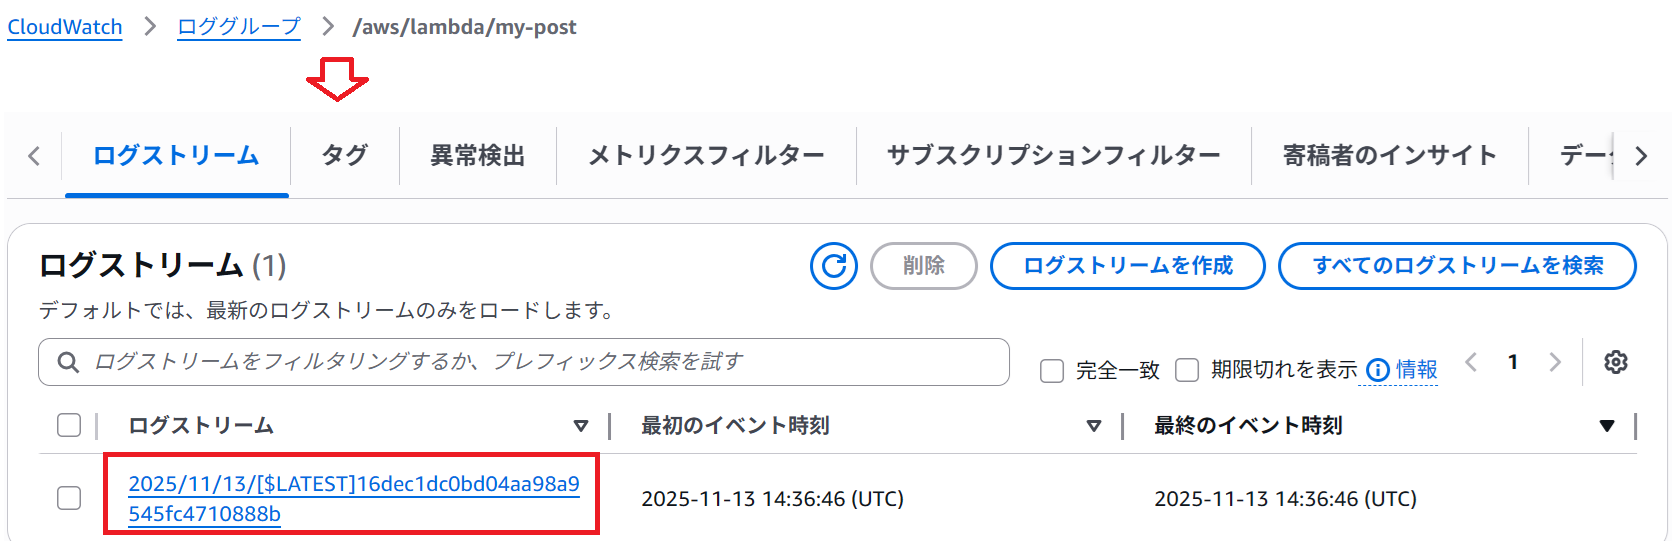
で、ログをクリックすると、
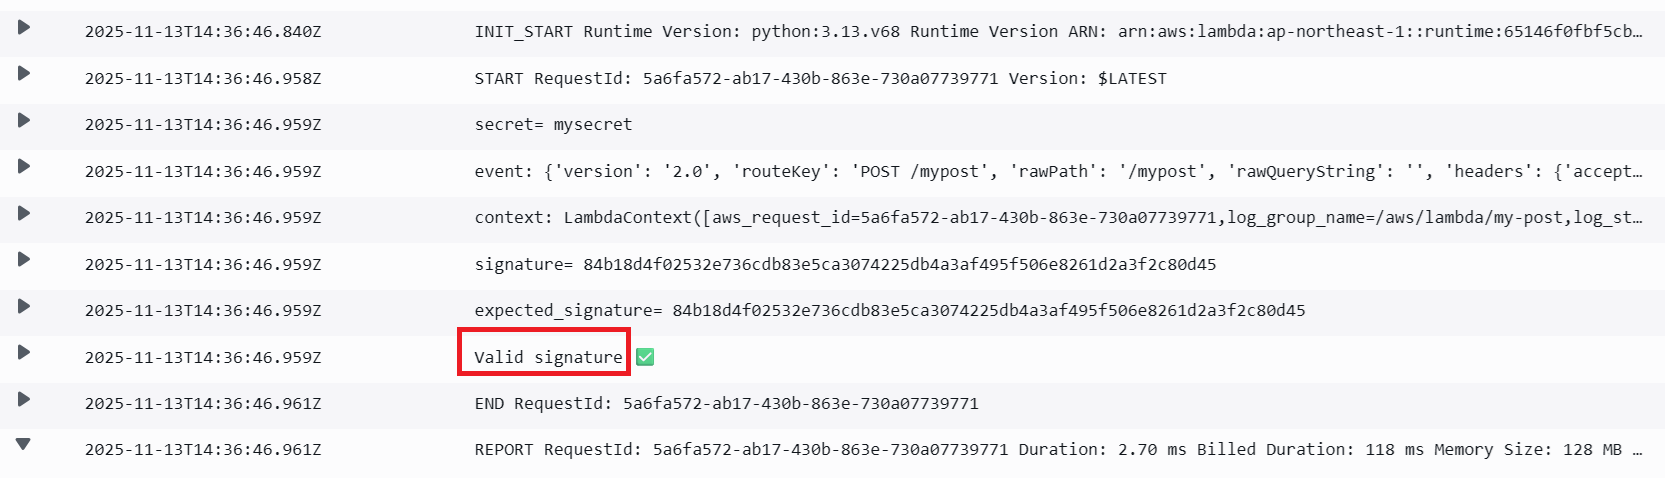
とデータが送信されていることを確認できました。