はじめに
iPhone SE(2020)を購入したので、A13 Bionicチップの実力が知りたく TensorFlow Lite を試してみました🙋♂️
最近のスマートフォンに搭載されているSoCは処理性能も高く、どの程度動くのか気になってました。
前回試したときは、僕が学生の頃だったので、2016年〜2017年くらいだったと思います。
当時は、iPad mini3で動かした記憶がありますが、あまり処理速度も高くなかった印象です。
僕の環境
machine:MacBook Pro (Retina, 13-inch, Early 2015) / iPhone SE(2020)
OS:macOS Catalina バージョン10.15.6 / iOS 13.5.1
XcodeやiOSを触るのも3年ぶりなので、初回の環境構築からやっていきたいと思います![]()
CocoaPodsの導入
CocoaPods:iOS/macOS向けのライブラリマネージャーです。
今回は、2020/08/29時点で最新版の v1.9.3 をインストールしました。
CocoaPods はRubyGemsなので、普段はRailsでサーバーサイドの開発をしている身としてはとても親近感があります![]()
インストール
# cocoapodの導入
$ gem install cocoapods
Installing ri documentation for cocoapods-1.9.3
Done installing documentation for concurrent-ruby, i18n, thread_safe, tzinfo, activesupport, nap, fuzzy_match, algoliasearch, ffi, ethon, typhoeus, netrc, cocoapods-core, claide, cocoapods-deintegrate, cocoapods-downloader, cocoapods-plugins, cocoapods-search, cocoapods-stats, cocoapods-trunk, cocoapods-try, molinillo, atomos, CFPropertyList, colored2, nanaimo, xcodeproj, escape, fourflusher, gh_inspector, ruby-macho, cocoapods after 60 seconds
32 gems installed

# ローカル環境にcocoapodがインストールされたか確認する
$ gem list cocoapod

*** LOCAL GEMS ***

cocoapods (1.9.3)
cocoapods-core (1.9.3)
cocoapods-deintegrate (1.0.4)
cocoapods-downloader (1.4.0)
cocoapods-plugins (1.0.0)
cocoapods-search (1.0.0)
cocoapods-stats (1.1.0)
cocoapods-trunk (1.5.0)
cocoapods-try (1.2.0)

# インストールしたcocoapodのバージョンを確認(2020/08/29現在の最新版を導入した)
$ pod --version
1.9.3
セットアップ
# podコマンドが使用できるか確認する
$ pod
Usage:

    $ pod COMMAND

      CocoaPods, the Cocoa library package manager.

Commands:

    + cache         Manipulate the CocoaPods cache
    + deintegrate   Deintegrate CocoaPods from your project
    + env           Display pod environment
    + init          Generate a Podfile for the current directory
    + install       Install project dependencies according to versions from a
                    Podfile.lock
    + ipc           Inter-process communication
    + lib           Develop pods
    + list          List pods
    + outdated      Show outdated project dependencies
    + plugins       Show available CocoaPods plugins
    + repo          Manage spec-repositories
    + search        Search for pods
    + setup         Setup the CocoaPods environment
    + spec          Manage pod specs
    + trunk         Interact with the CocoaPods API (e.g. publishing new specs)
    + try           Try a Pod!
    + update        Update outdated project dependencies and create new Podfile.lock

Options:

    --silent        Show nothing
    --version       Show the version of the tool
    --verbose       Show more debugging information
    --no-ansi       Show output without ANSI codes
    --help          Show help banner of specified command

# pod setupコマンドで~/.cocoapods以下にCocoaPodsのリポジトリの情報を設定する
$ pod setup
Setup completed

# cocoapodの管理下にあるライブラリを確認する(初回導入時は一つも存在しないはず)
$ pod list

0 pods were found
ビルド前の準備
公式のチュートリアルに従って導入します![]()
チュートリアルは、リポジトリ内にも格納されています。
TensorFlowリポジトリの取得
$ git clone https://github.com/tensorflow/tensorflow
モデルをダウンロード
サンプルで使用するモデルデータをダウンロードします。
$ sh tensorflow/lite/examples/iosdownload_models.sh
TensorFlowLiteGpuExperimental をインストール
TensorFlowLiteGpuExperimental を利用したいので、Podfileの内容を下記の形に修正します。
--- a/tensorflow/lite/examples/ios/camera/Podfile
+++ b/tensorflow/lite/examples/ios/camera/Podfile
@@ -9,5 +9,6 @@ target 'tflite_camera_example'
   # Note: TFLite GPU Delegate binary isn't released yet, but we're working
   # on it.

-  pod 'TensorFlowLite', '1.13.1'
+  # pod 'TensorFlowLite', '1.13.1'
+  pod 'TensorFlowLiteGpuExperimental', '0.0.1'
pod installコマンドを使って、 TensorFlowLiteGpuExperimental をインストールします。
# pod installコマンドでライブラリを導入する
$ pod install
Analyzing dependencies
Downloading dependencies
Installing TensorFlowLiteGpuExperimental (0.0.1)
Generating Pods project
Integrating client project

[!] Please close any current Xcode sessions and use `tflite_camera_example.xcworkspace` for this project from now on.
Pod installation complete! There is 1 dependency from the Podfile and 1 total pod installed.
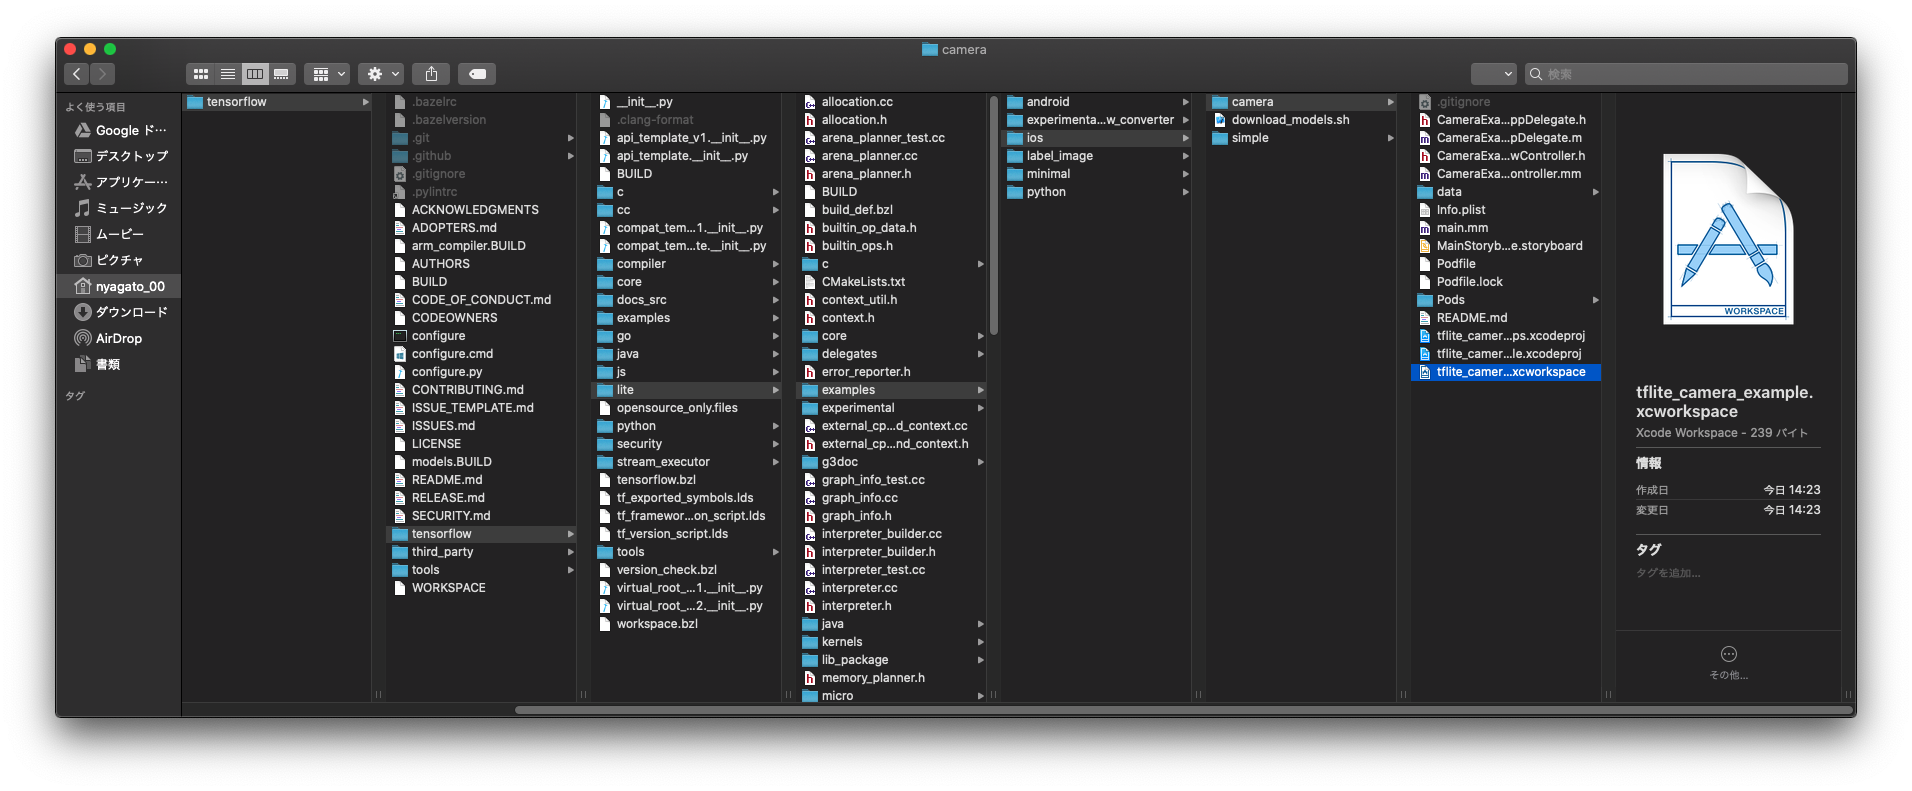
サンプルをビルドする
pod installを走らせたときに、 tflite_camera_example.xcworkspace を使ってねと言われるので、こちらを開きます。
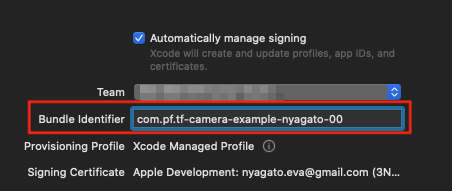
Bundle identifierをユニークなものに変更します。
Product > Scheme > Edit Scheme... から Run を選択して、 Info タブの Build Configurationと Debug executable を下記のように変更します。
| 変更前 | 変更後 |
|---|---|
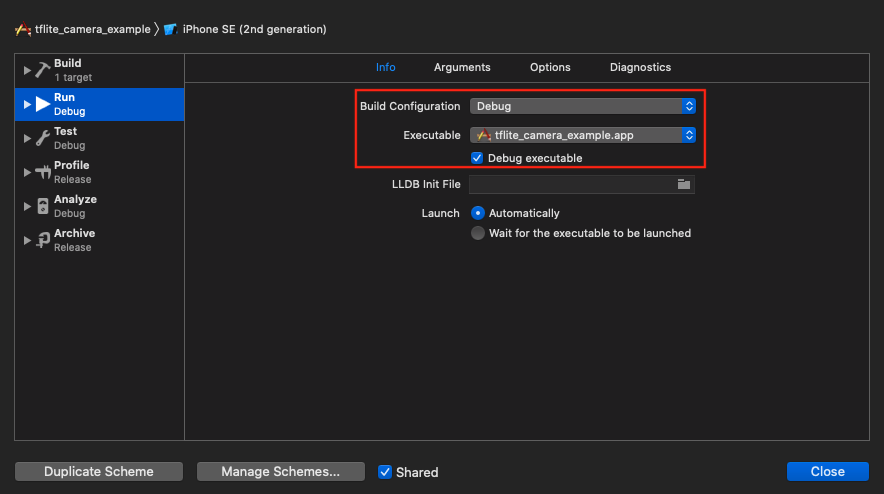 |
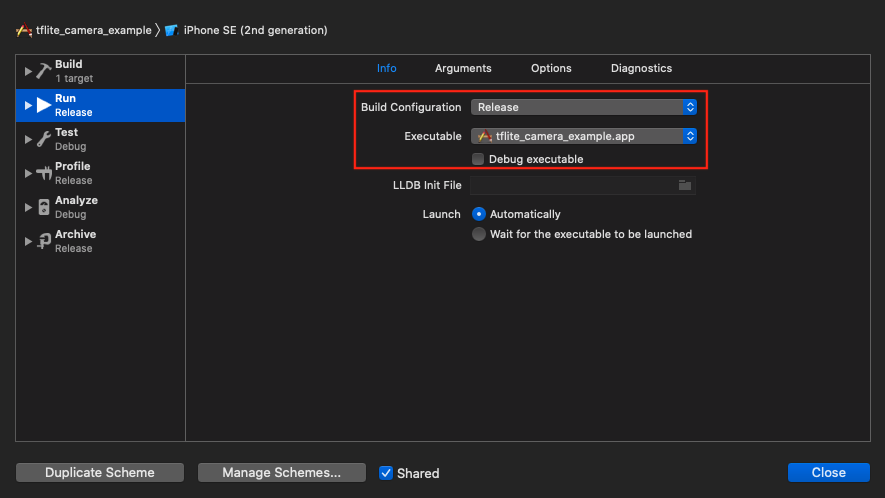 |
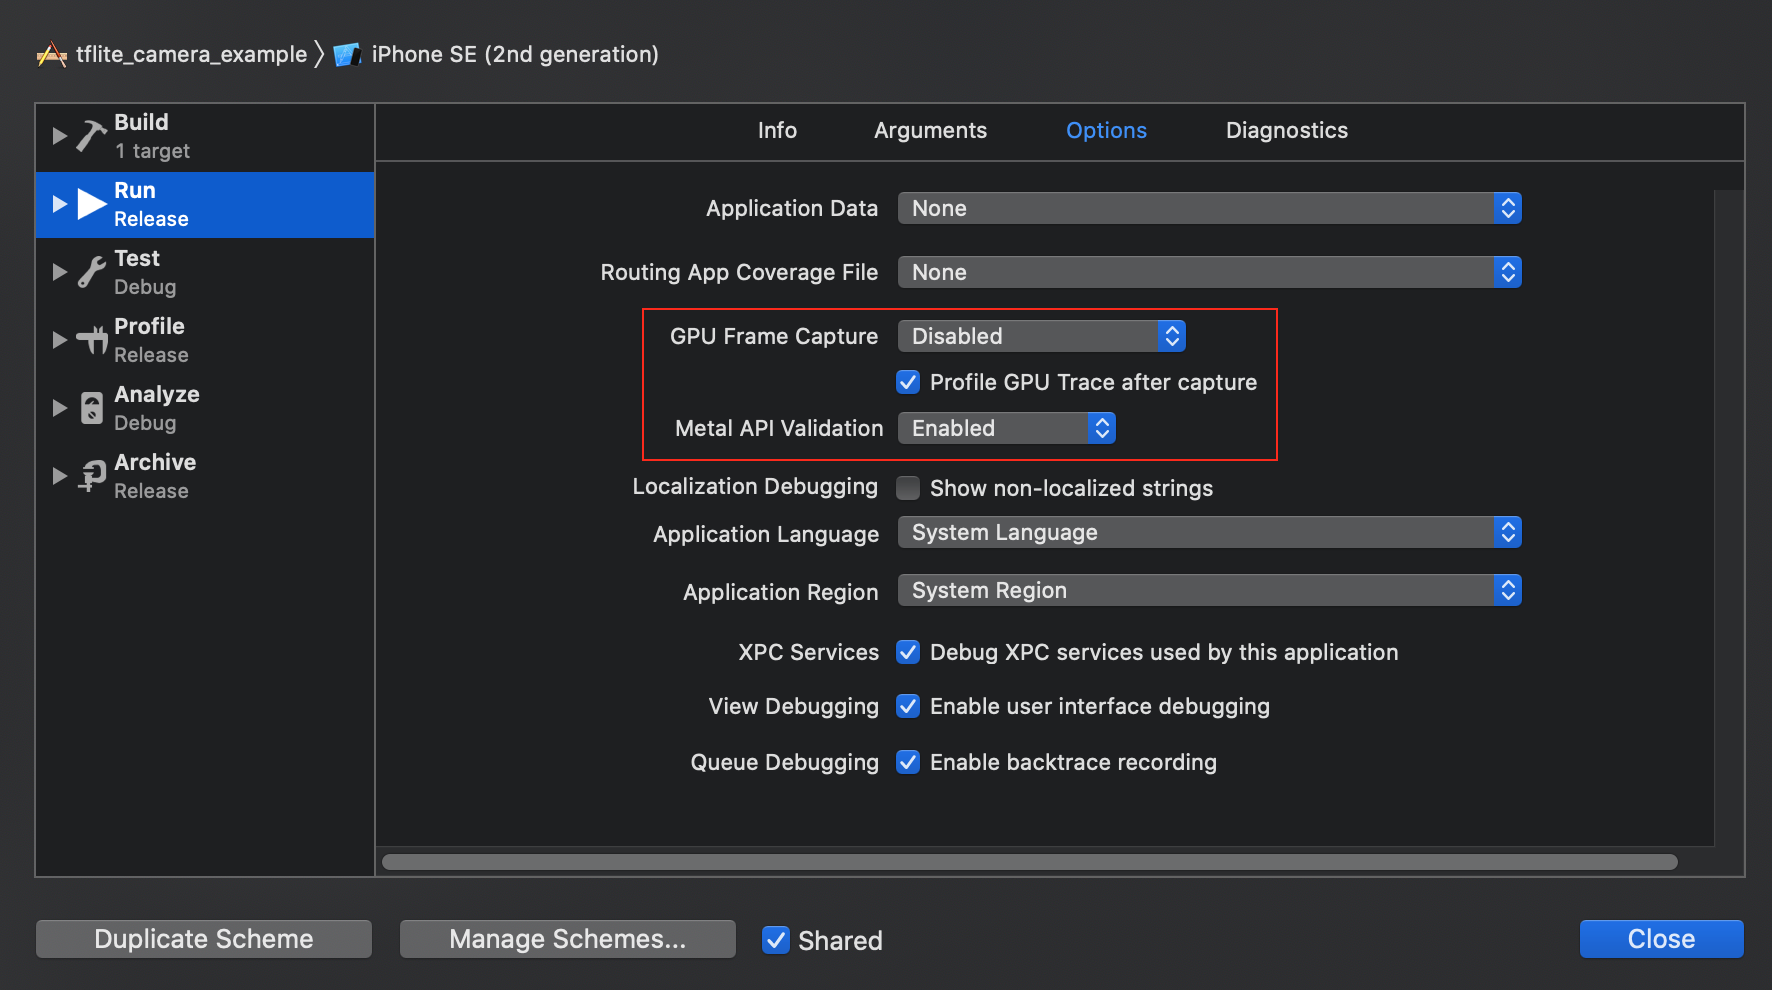
次に、 Options タブの、 GPU Frame Capture を Disabled に、 Metal API Validation を Disabled にします。
最後に、64ビットアーキテクチャによるリリースのみのビルドを選択します。 Project navigator -> tflite_camera_example -> PROJECT -> tflite_camera_example -> Build Settings の Build Active Architecture Only > Release をYesに設定します。
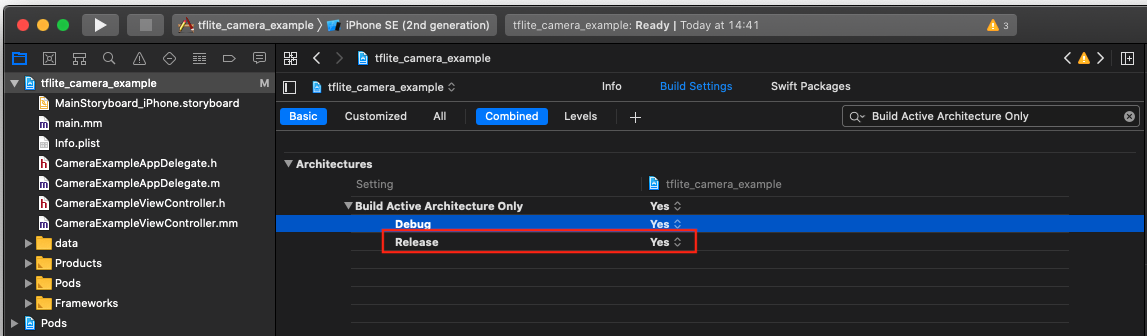
これでCPUを使う場合のビルド設定はできたので、実機を繋いでビルドします。
CPUを使って物体認識
最初のnotebookが認識するくらいで、CPUだからなのか認識率はあまり良くないですね... ![]()
A13 Bionicチップとは言えども、CPUだけでは限界があるみたいですね!
GPUデリゲートを有効にする
TFLITE_USE_GPU_DELEGATE の値を0から1に変更します。
# define TFLITE_USE_GPU_DELEGATE 1
変更したので再ビルドします。
します。しますが、ビルドが通りません!![]()
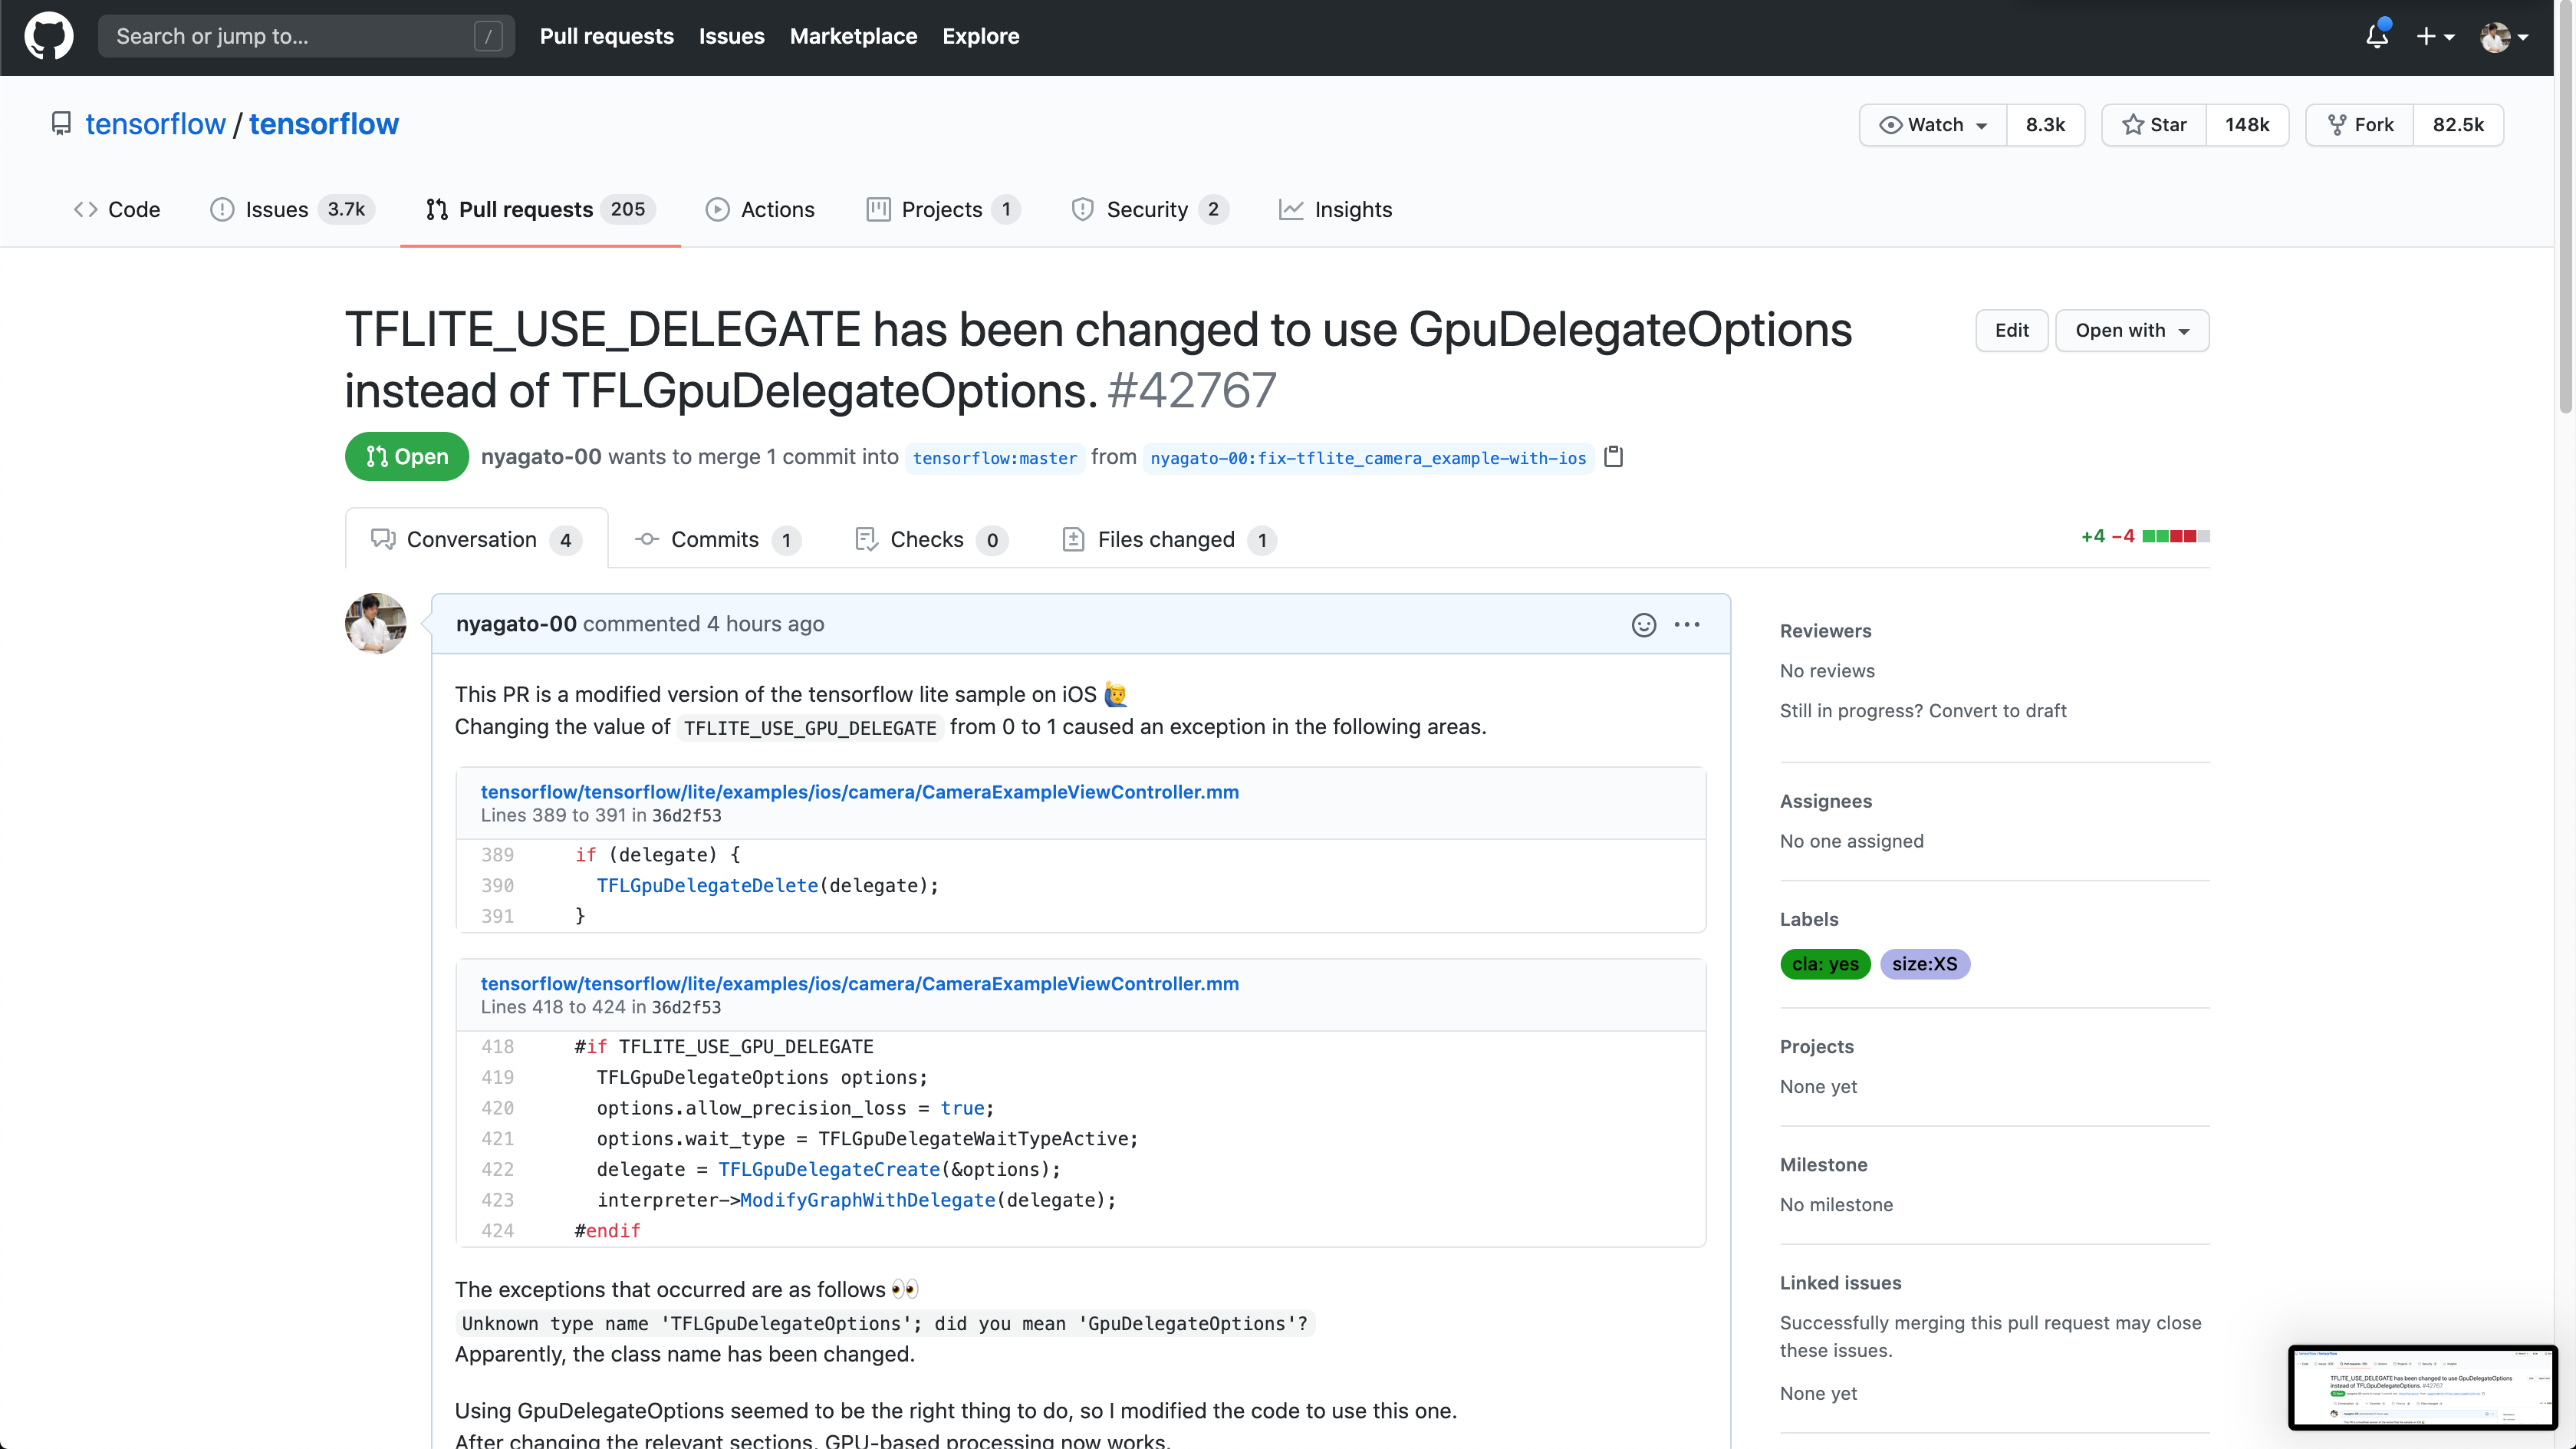
Unknown type name 'TFLGpuDelegateOptions'; did you mean 'GpuDelegateOptions'? のようなエラーが出力されビルドに失敗するのです。
GPUが使えるように修正する
このままだとやりたいことができないので、GPUが使えるように修正します。
どうやら TFLGpuDelegateDelete と TFLGpuDelegateOptions が使えなくなっているみたいです![]()
TFLGpuDelegateDelete を DeleteGpuDelegate に、 TFLGpuDelegateOptions を GpuDelegateOptions に変更します。
diff --git a/tensorflow/lite/examples/ios/camera/CameraExampleViewController.mm b/tensorflow/lite/examples/ios/camera/CameraExampleViewController.mm
index 665131195e..01c24c1838 100644
--- a/tensorflow/lite/examples/ios/camera/CameraExampleViewController.mm
+++ b/tensorflow/lite/examples/ios/camera/CameraExampleViewController.mm
@@ -387,7 +387,7 @@ void ProcessInputWithQuantizedModel(
 - (void)dealloc {
 #if TFLITE_USE_GPU_DELEGATE
   if (delegate) {
-    TFLGpuDelegateDelete(delegate);
+    DeleteGpuDelegate(delegate);
   }
 #endif
   [self teardownAVCapture];
@@ -416,10 +416,10 @@ void ProcessInputWithQuantizedModel(
   tflite::InterpreterBuilder(*model, resolver)(&interpreter);

 #if TFLITE_USE_GPU_DELEGATE
-  TFLGpuDelegateOptions options;
+  GpuDelegateOptions options;
   options.allow_precision_loss = true;
-  options.wait_type = TFLGpuDelegateWaitTypeActive;
-  delegate = TFLGpuDelegateCreate(&options);
+  options.wait_type = GpuDelegateOptions::WaitType::kActive;
+  delegate = NewGpuDelegate(&options);
   interpreter->ModifyGraphWithDelegate(delegate);
 #endif
該当箇所は下記URLの箇所になります。
https://github.com/tensorflow/tensorflow/blob/36d2f532a1eade7ad8b77589c85059a9ddb2f1e1/tensorflow/lite/examples/ios/camera/CameraExampleViewController.mm#L389-L391
これで、再度ビルドしてみると、ビルドが成功しました![]()

GPUを使って物体認識
GPUを使うことで、CPUよりも圧倒的に認識速度が向上していますね![]()
CPU vs GPU
CPUとGPUの認識速度をGIF画像を使って見比べてみます。
CPUを使った場合に比べて、認識する物体の件数や速度が圧倒的にGPUを使った場合のほうが向上していることが分かります。
比較的安価に購入できるiPhone SE(2020)でも、11シリーズと同じA13 Bionicチップのおかげで十分に処理できているみたいですね。(10分くらい動かし続けると、ほんのり温かくなってきましたw)
| CPU版 | GPU版 |
|---|---|
|
|
おわりに
TensorFlow Liteを試したきっかけは、敬愛する@shu223さんのツイートを偶然見かけたからでした![]()
https://twitter.com/shu223/status/1298210477357424640?s=20
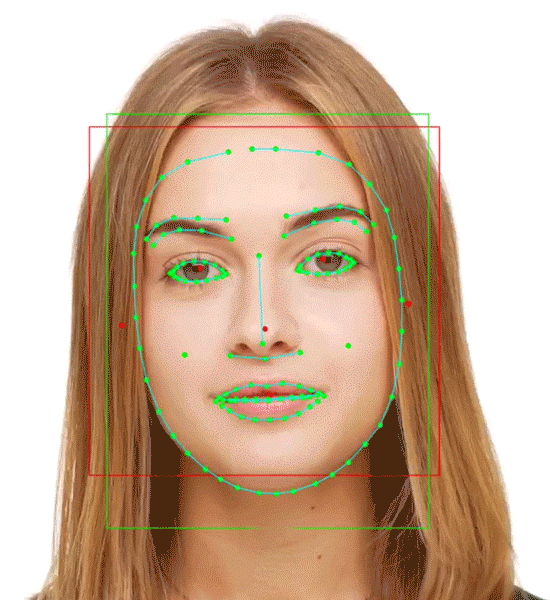
@shu223さんのQiita記事にリンクが貼られている公式の Face Contour detection を試してみたく、先にチュートリアルから復習しようとしたら、意外とハマりどころを見つけたという感じです。
最新の環境でもチュートリアルの内容が動くようになったので、次は Face Contour detection に挑戦してみようと思います![]()
おまけ
今回見つけたサンプルコードの修正箇所のPRを作ってみました![]()