はじめに
Google Maps SDK for iOS を使用する機会が多いので、
備忘録として Google Map をアプリ上に表示→現在地を表示するところまでをまとめておきたいと思います。
開発環境
- Xcode:11.1(11A1027)
- Swift 5
- iOS:13.1
実装
以下のような Step に分けて実装していきます
- Google Maps SDK for iOS の Key を取得
- Google Map をアプリ上に表示
- 現在地を Map 上に表示
1. Google Maps SDK for iOS の Key を取得
こちらの手順に沿って API Key を取得します
2. Google Map をアプリ上に表示
こちらに沿ってアプリ上に表示します
Cocoapods をインストール
こちらを参考に Cocoapods をインストールしていきます
Podfile を編集
source 'https://github.com/CocoaPods/Specs.git'
target 'YOUR_APPLICATION_TARGET_NAME_HERE' do
  pod 'GoogleMaps'
end
pod install を実行
$ pod install
AppDelegate.swift で key を登録
func application(_ application: UIApplication, didFinishLaunchingWithOptions launchOptions: [UIApplication.LaunchOptionsKey: Any]?) -> Bool {
    GMSServices.provideAPIKey({input your API key})
    return true
}
Map をアプリ上に表示
import UIKit
import GoogleMaps

class ViewController: UIViewController {

    var mapView = GMSMapView()

    override func viewDidLoad() {
        super.viewDidLoad()
        setupMap()
    }

    private func setupMap() {
        // GoogleMapの初期位置(仮で東京駅付近に設定)
        let camera = GMSCameraPosition.camera(withLatitude: 35.6812226, longitude: 139.7670594, zoom: 12.0)
        mapView = GMSMapView.map(withFrame: CGRect.zero, camera: camera)
        view = mapView
    }
現在地を Map に表示
現在地を取得するにはユーザに対し現在地取得の許可を求める必要があります
この部分も Google Maps SDK のドキュメントに記載されているので、こちらに沿って進めていきます
1. 位置情報を取得するために Info.plist を編集する
<key>NSLocationWhenInUseUsageDescription</key>
<string>現在地を表示するために使用します.</string>
今回はアプリ使用中のみ位置情報を取得するため、 Privacy - Location When In Use Usage Description を記述しました
常に位置情報を取得したい場合は Privacy - Location Always and When In Use Usage Description を使用します
2. 位置情報取得のダイアログを表示する
    var locationManager = CLLocationManager() // 追記

    override func viewDidLoad() {
        requestLoacion() // 追記
    }

    private func setupMap() {
        ...
        mapView.isMyLocationEnabled = true // 追記
        view = mapView
    }

    // 以下、追記
    private func requestLoacion() {
        // ユーザにアプリ使用中のみ位置情報取得の許可を求めるダイアログを表示
        locationManager.requestWhenInUseAuthorization()
        // 常に取得したい場合はこちら↓
        // locationManager.requestAlwaysAuthorization()
    }
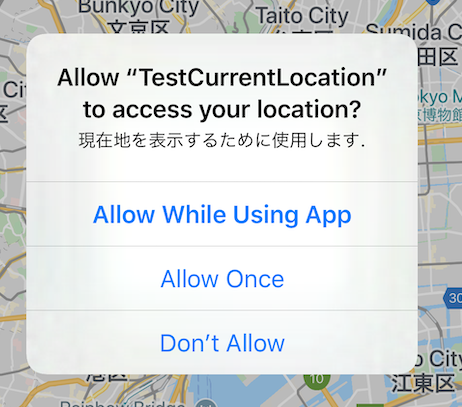
以上を追加して再度ビルドを実行してみると以下のようなダイアログが表示されます
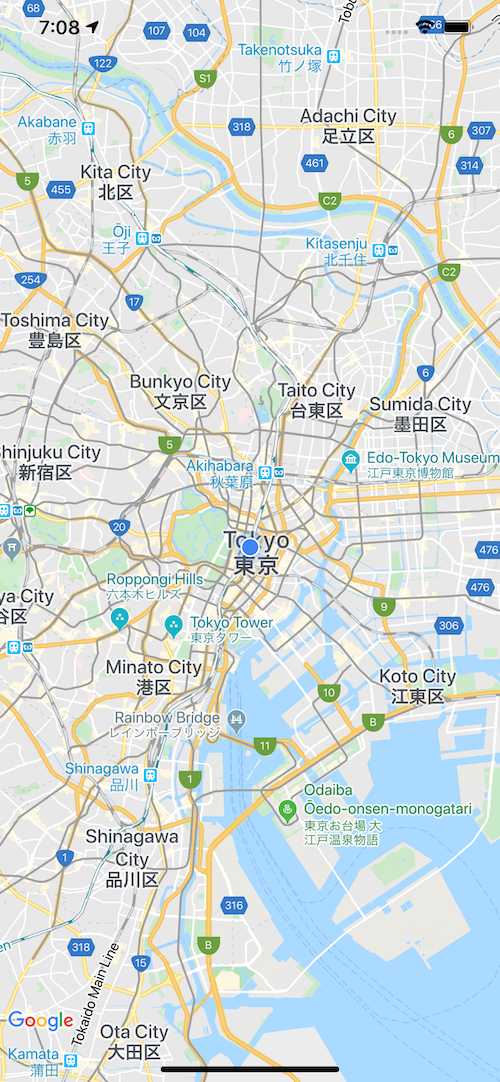
上記のダイアログで Allow While Using App もしくは Allow Once を選択すると地図上に青いマーカーが表示されるかと思います。
Simulator で現在地を表示する
Simulator で動作を確認していた場合、上記の流れでは現在地が表示できていないかもしれません
その場合は Simulator の GPS 設定を変更する必要があります
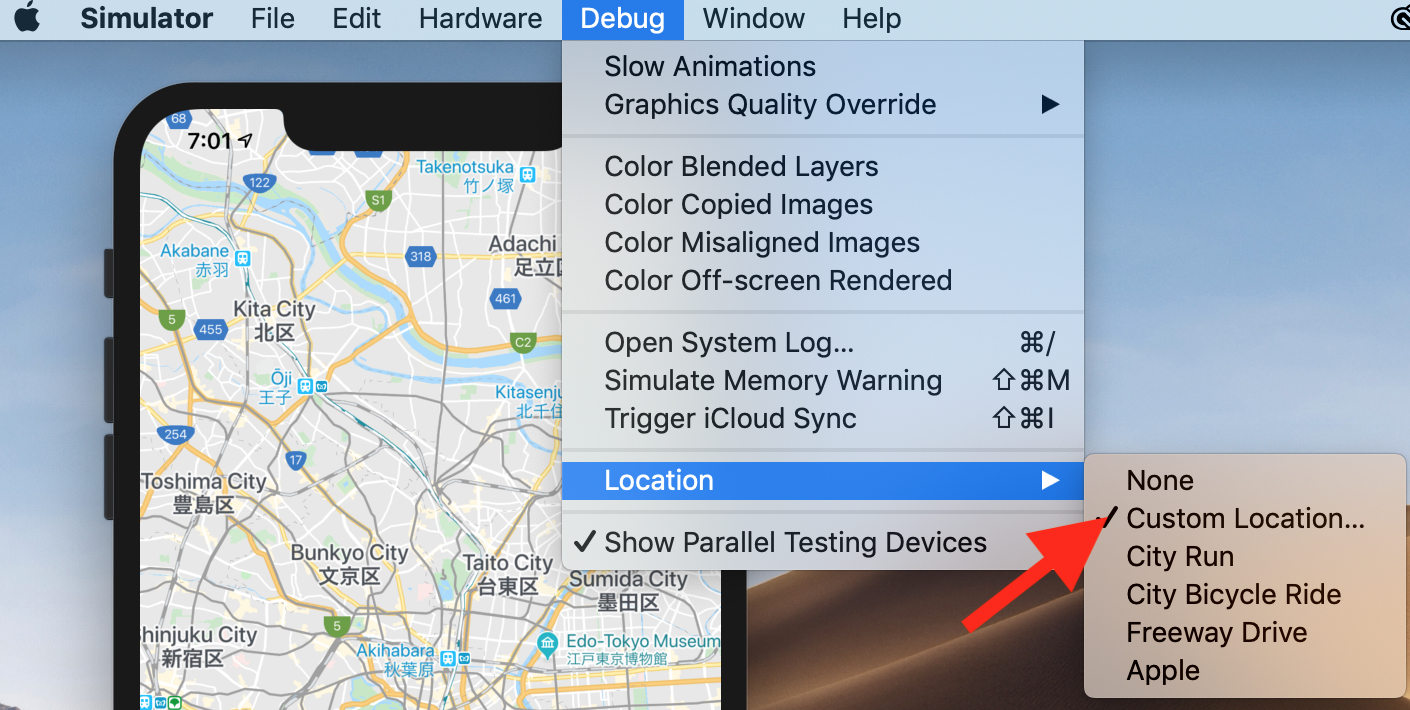
Simulator を選択した状態で、
Debug -> Location -> Custom Location を選択します

表示される View に任意の座標を入れてあげるとその場所が現在地として表示されるようになります
ex)東京駅付近
Latitude: 35.681223
Longitude: 139.767059

終わりに
以上で Google Map 上に現在地を表示できるようになります

