
前提
開発環境: mac
動作環境: MAMP
アプリ名: myblog
バージョン管理: git
- ディレクトリを作成する
$ cd /Applications/MAMP/htdocs
$ mkdir symfony2
$ cd symfony2
- ダウンロードする
ここから Symfony2 をダウンロードする。
http://symfony.com/download
ダウンロードしたら/Applications/MAMP/htdocs/symfony2に格納する。
コマンドでダウンロードしても良い。
$ wget "http://symfony.com/download?v=Symfony_Standard_Vendors_2.1.4.tgz"
$ mv download?v=Symfony_Standard_Vendors_2.1.4.tgz Symfony_Standard_Vendors_2.1.4.tgz
- 解凍する
$ tar zxvf Symfony_Standard_Vendors_2.1.4.tgz
解凍されるとSymfonyディレクトリができる
$ ll
total 6536
drwxr-xr-x  12 nouphet  admin      408 11 29 21:04 Symfony
-rw-r--r--   1 nouphet  admin  3342513 12  4 02:37 Symfony_Standard_Vendors_2.1.4.tgz
ディレクトリ名をSymfonyからmyblogに変更する。
mv Symfony myblog
- gitで管理する
cd myblog
wget https://raw.github.com/symfony/symfony-standard/master/.gitignore
git init
git add .
git commit -m "first commit"
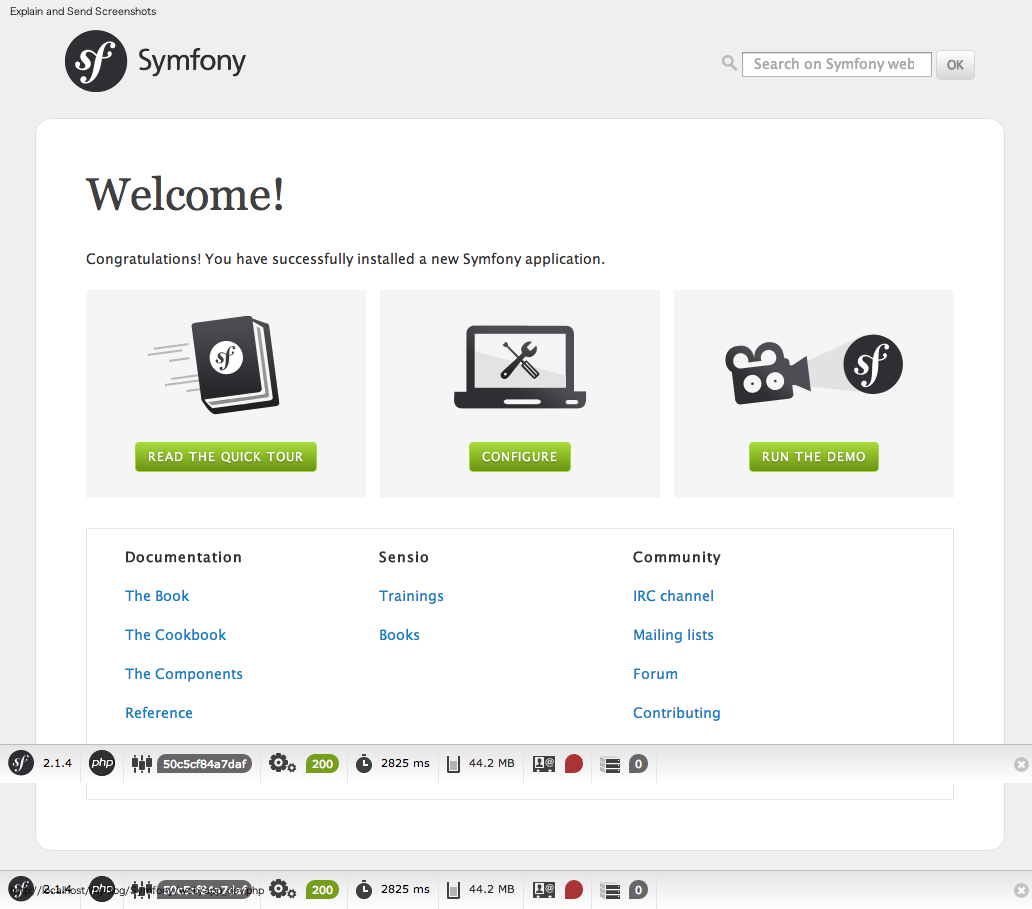
- ブラウザでアクセスしてみる
open http://localhost/symfony2/myblog/web/app_dev.php
成功すると下記の画面になる
- データベースへのアクセス情報を定義
5     database_name:     myblog
6     database_user:     root
7     database_password: root
ここで設定しておくと、後の手順でこの設定に基いてデータベースを作成してくれる
- データベースを作成
./app/console doctrine:database:create
下記のメッセージが出来たら成功です。
Created database for connection named `myblog`
- Bundle を作成する
ここではNouphetというVender名でMyblogBundleというBundleを生成します。
./app/console generate:bundle
実行すると下記の様に、ウィザードで聞いてくるので、Bundle名を入力する。他は基本的にデフォルトのままEnterを押下すれば良い。
$ ./app/console generate:bundle


  Welcome to the Symfony2 bundle generator


Your application code must be written in bundles. This command helps
you generate them easily.

Each bundle is hosted under a namespace (like Acme/Bundle/BlogBundle).
The namespace should begin with a "vendor" name like your company name, your
project name, or your client name, followed by one or more optional category
sub-namespaces, and it should end with the bundle name itself
(which must have Bundle as a suffix).

See http://symfony.com/doc/current/cookbook/bundles/best_practices.html#index-1 for more
details on bundle naming conventions.

Use / instead of \  for the namespace delimiter to avoid any problem.

Bundle namespace: Nouphet/Bundle/MyblogBundle

In your code, a bundle is often referenced by its name. It can be the
concatenation of all namespace parts but it's really up to you to come
up with a unique name (a good practice is to start with the vendor name).
Based on the namespace, we suggest NouphetMyblogBundle.

Bundle name [NouphetMyblogBundle]:

The bundle can be generated anywhere. The suggested default directory uses
the standard conventions.

Target directory [/Applications/MAMP/htdocs/myblog/Symfony/src]:

Determine the format to use for the generated configuration.

Configuration format (yml, xml, php, or annotation) [annotation]:

To help you get started faster, the command can generate some
code snippets for you.

Do you want to generate the whole directory structure [no]?


  Summary before generation


You are going to generate a "Nouphet\Bundle\MyblogBundle\NouphetMyblogBundle" bundle
in "/Applications/MAMP/htdocs/myblog/Symfony/src/" using the "annotation" format.

Do you confirm generation [yes]?


  Bundle generation


Generating the bundle code: OK
Checking that the bundle is autoloaded: OK
Confirm automatic update of your Kernel [yes]?
Enabling the bundle inside the Kernel: OK
Confirm automatic update of the Routing [yes]?
Importing the bundle routing resource: OK


  You can now start using the generated code!
Bundleが生成されると、下記のディレクトリとファイルが追加される。
$ tree src/
src/
└── Nouphet
    └── Bundle
        └── MyblogBundle
            ├── Controller
            │   └── DefaultController.php
            ├── DependencyInjection
            │   ├── Configuration.php
            │   └── NouphetMyblogExtension.php
            ├── NouphetMyblogBundle.php
            ├── Resources
            │   ├── config
            │   │   └── services.xml
            │   └── views
            │       └── Default
            │           └── index.html.twig
            └── Tests
                └── Controller
                    └── DefaultControllerTest.php
ブラウザでhttp://localhost/myblog/Symfony/web/app_dev.php/hello/nouphetへアクセスしてみる。
open http://localhost/symfony2/myblog/web/app_dev.php/hello/nouphet
画面の左上に
Hello nouphet!
と表示されれば NouphetMyblogBundle の生成成功です。
- エンティティの作成
ここで入力する shortcut は NouphetMyblogBundle
1つ目のfields名は title
Field typeは string
Field lengthは 255
2つ目のfields名は body
Field typeは text
とします。
./app/console doctrine:generate:entity
$ ./app/console doctrine:generate:entity


  Welcome to the Doctrine2 entity generator


This command helps you generate Doctrine2 entities.

First, you need to give the entity name you want to generate.
You must use the shortcut notation like AcmeBlogBundle:Post.

The Entity shortcut name: NouphetMyblogBundle:Post

Determine the format to use for the mapping information.

Configuration format (yml, xml, php, or annotation) [annotation]:

Instead of starting with a blank entity, you can add some fields now.
Note that the primary key will be added automatically (named id).

Available types: array, simple_array, json_array, object,
boolean, integer, smallint, bigint, string, text, datetime, datetimetz,
date, time, decimal, float, blob, guid.

New field name (press <return> to stop adding fields): title
Field type [string]:
Field length [255]:

New field name (press <return> to stop adding fields): body
Field type [string]: text

New field name (press <return> to stop adding fields):

Do you want to generate an empty repository class [no]?


  Summary before generation


You are going to generate a "NouphetMyblogBundle:Post" Doctrine2 entity
using the "annotation" format.

Do you confirm generation [yes]?


  Entity generation


Generating the entity code: OK


  You can now start using the generated code!
- テーブル名を小文字にする
このままテーブル生成を行うと、テーブル名がPostとなり、大文字が入ってしまう。このままで良ければ次の作業は不要だが、テーブル名に小文字を含めたくないので、ファイルを編集する。
ちなみに作成されるテーブル名を確認(クエリー実行計画の確認)するには下記コマンドを実行する。
$ ./app/console doctrine:schema:update --dump-sql
CREATE TABLE Post (id INT AUTO_INCREMENT NOT NULL, title VARCHAR(255) NOT NULL, body LONGTEXT NOT NULL, PRIMARY KEY(id)) DEFAULT CHARACTER SET utf8 COLLATE utf8_unicode_ci ENGINE = InnoDB
- テーブル名を変更
変更前
10 * @ORM\Table()
変更後
10 * @ORM\Table(name="post")
再度、クエリー実行計画の確認
$ ./app/console doctrine:schema:update --dump-sql
- テーブルの作成実行
項11の結果が正常であったなら --dump-sql を force にして実行
$ ./app/console doctrine:schema:update --force
$ ./app/console doctrine:schema:update --force
Updating database schema...
Database schema updated successfully! "1" queries were executed
- CRUDの作成
$ ./app/console doctrine:generate:crud
※ ポイント
Do you want to generate the "write" actions [no]? で yes とすることがポイント。
$ ./app/console doctrine:schema:update --force
Updating database schema...
Database schema updated successfully! "1" queries were executed
nouphet@NouphetMacBookAir.local:/Applications/MAMP/htdocs/myblog/Symfony[master]
$ ./app/console doctrine:generate:crud


  Welcome to the Doctrine2 CRUD generator


This command helps you generate CRUD controllers and templates.

First, you need to give the entity for which you want to generate a CRUD.
You can give an entity that does not exist yet and the wizard will help
you defining it.

You must use the shortcut notation like AcmeBlogBundle:Post.

The Entity shortcut name: NouphetMyblogBundle:Post

By default, the generator creates two actions: list and show.
You can also ask it to generate "write" actions: new, update, and delete.

Do you want to generate the "write" actions [no]? yes

Determine the format to use for the generated CRUD.

Configuration format (yml, xml, php, or annotation) [annotation]:

Determine the routes prefix (all the routes will be "mounted" under this
prefix: /prefix/, /prefix/new, ...).

Routes prefix [/post]:


  Summary before generation


You are going to generate a CRUD controller for "NouphetMyblogBundle:Post"
using the "annotation" format.

Do you confirm generation [yes]?


  CRUD generation


Generating the CRUD code: OK
Generating the Form code: OK


  You can now start using the generated code!
- ブラウザでアクセス
$ open http://localhost/symfony2/myblog/web/app_dev.php/post/
下記の画像の様なページが表示されたら正常に作成された。

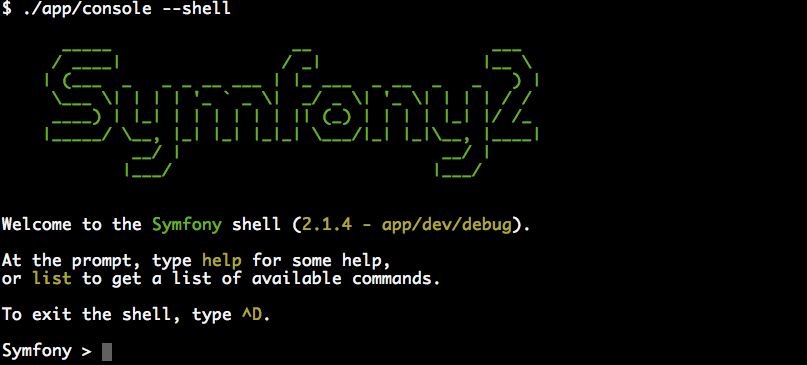
おまけ
$ ./app/console --shell

      _____                  __                  ___
     / ____|                / _|                |__ \
    | (___  _   _ _ __ ___ | |_ ___  _ __  _   _   ) |
     \___ \| | | | '_ ` _ \|  _/ _ \| '_ \| | | | / /
     ____) | |_| | | | | | | || (_) | | | | |_| |/ /_
    |_____/ \__, |_| |_| |_|_| \___/|_| |_|\__, |____|
             __/ |                          __/ |
            |___/                          |___/


Welcome to the Symfony shell (2.1.2 - app/dev/debug).

At the prompt, type help for some help,
or list to get a list of available commands.

To exit the shell, type ^D.