概要
vue.jsまたはNuxt.jsで作成したSPAをfirebaseにホスティングして無料ドメインで公開するまでの手順と忘備録。まずはfirebaseにWebサイトをホスティングするまでを記載。
2019/05/08 続きを作成しました。
前提
- Vue.jsまたはNuxt.jsで作成したSPAを使用。(試していないが、他のSPAフレームワークでもほぼ同じとは思われる。)
- Googleアカウントを取得済み。
- OSはWindows10(64bit)を使用。(ただしOSに依存するような箇所はほぼ無しと思われる。)
- node.js及びnpmはインストール済み。
手順
1.1.firebase環境セットアップ
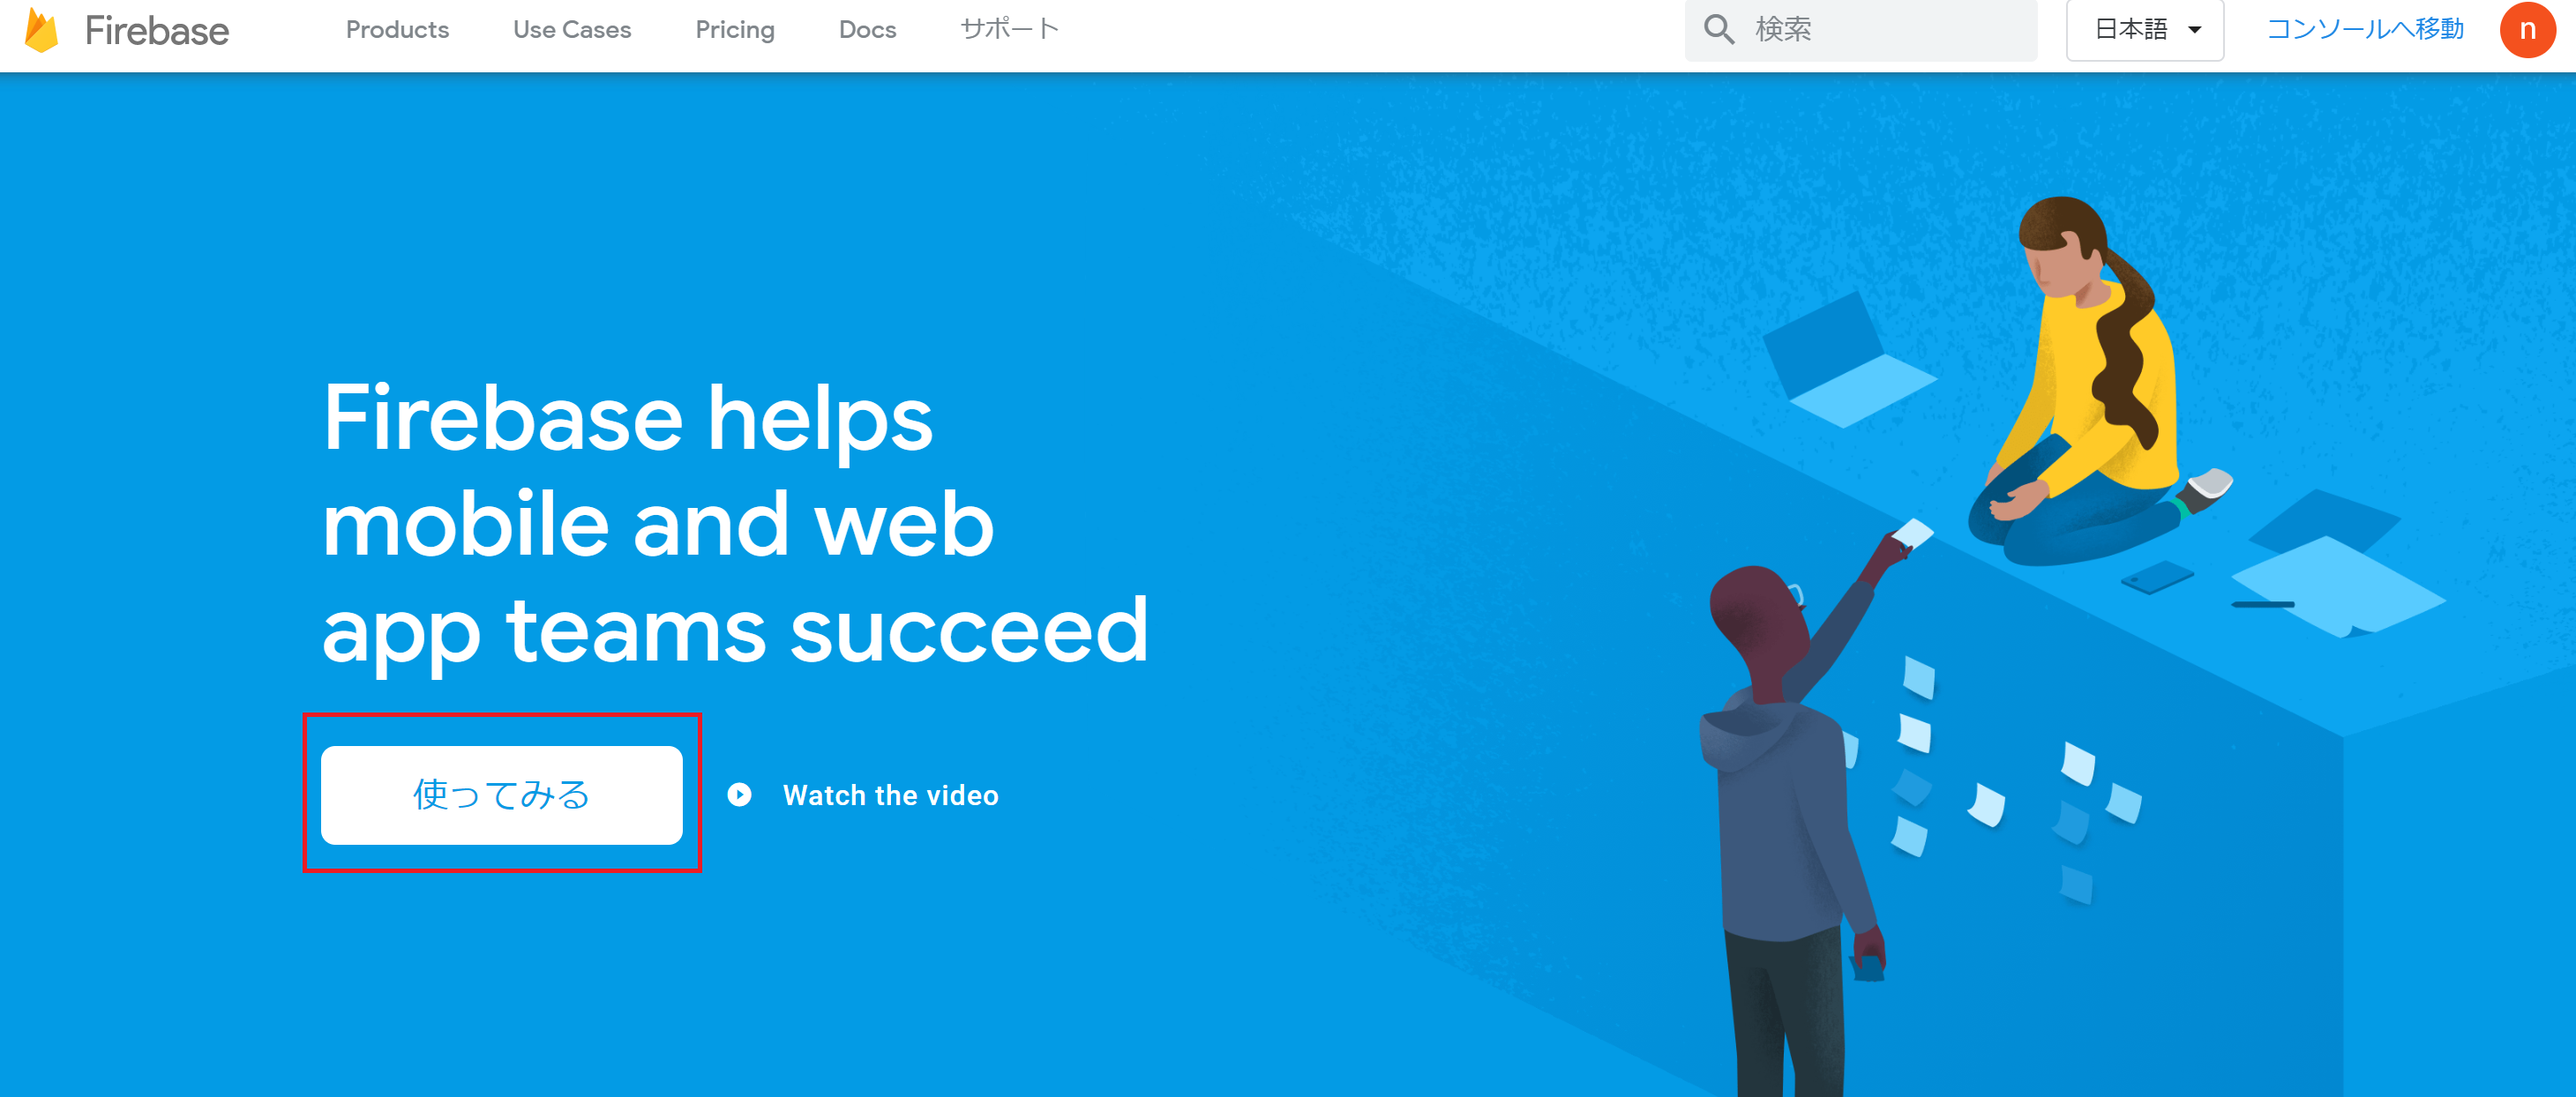
firebaseウェブサイトにアクセスして、使ってみるを選択。
(未ログインの場合は予め画面右上のアイコンからGoogleアカウントでログインする。)
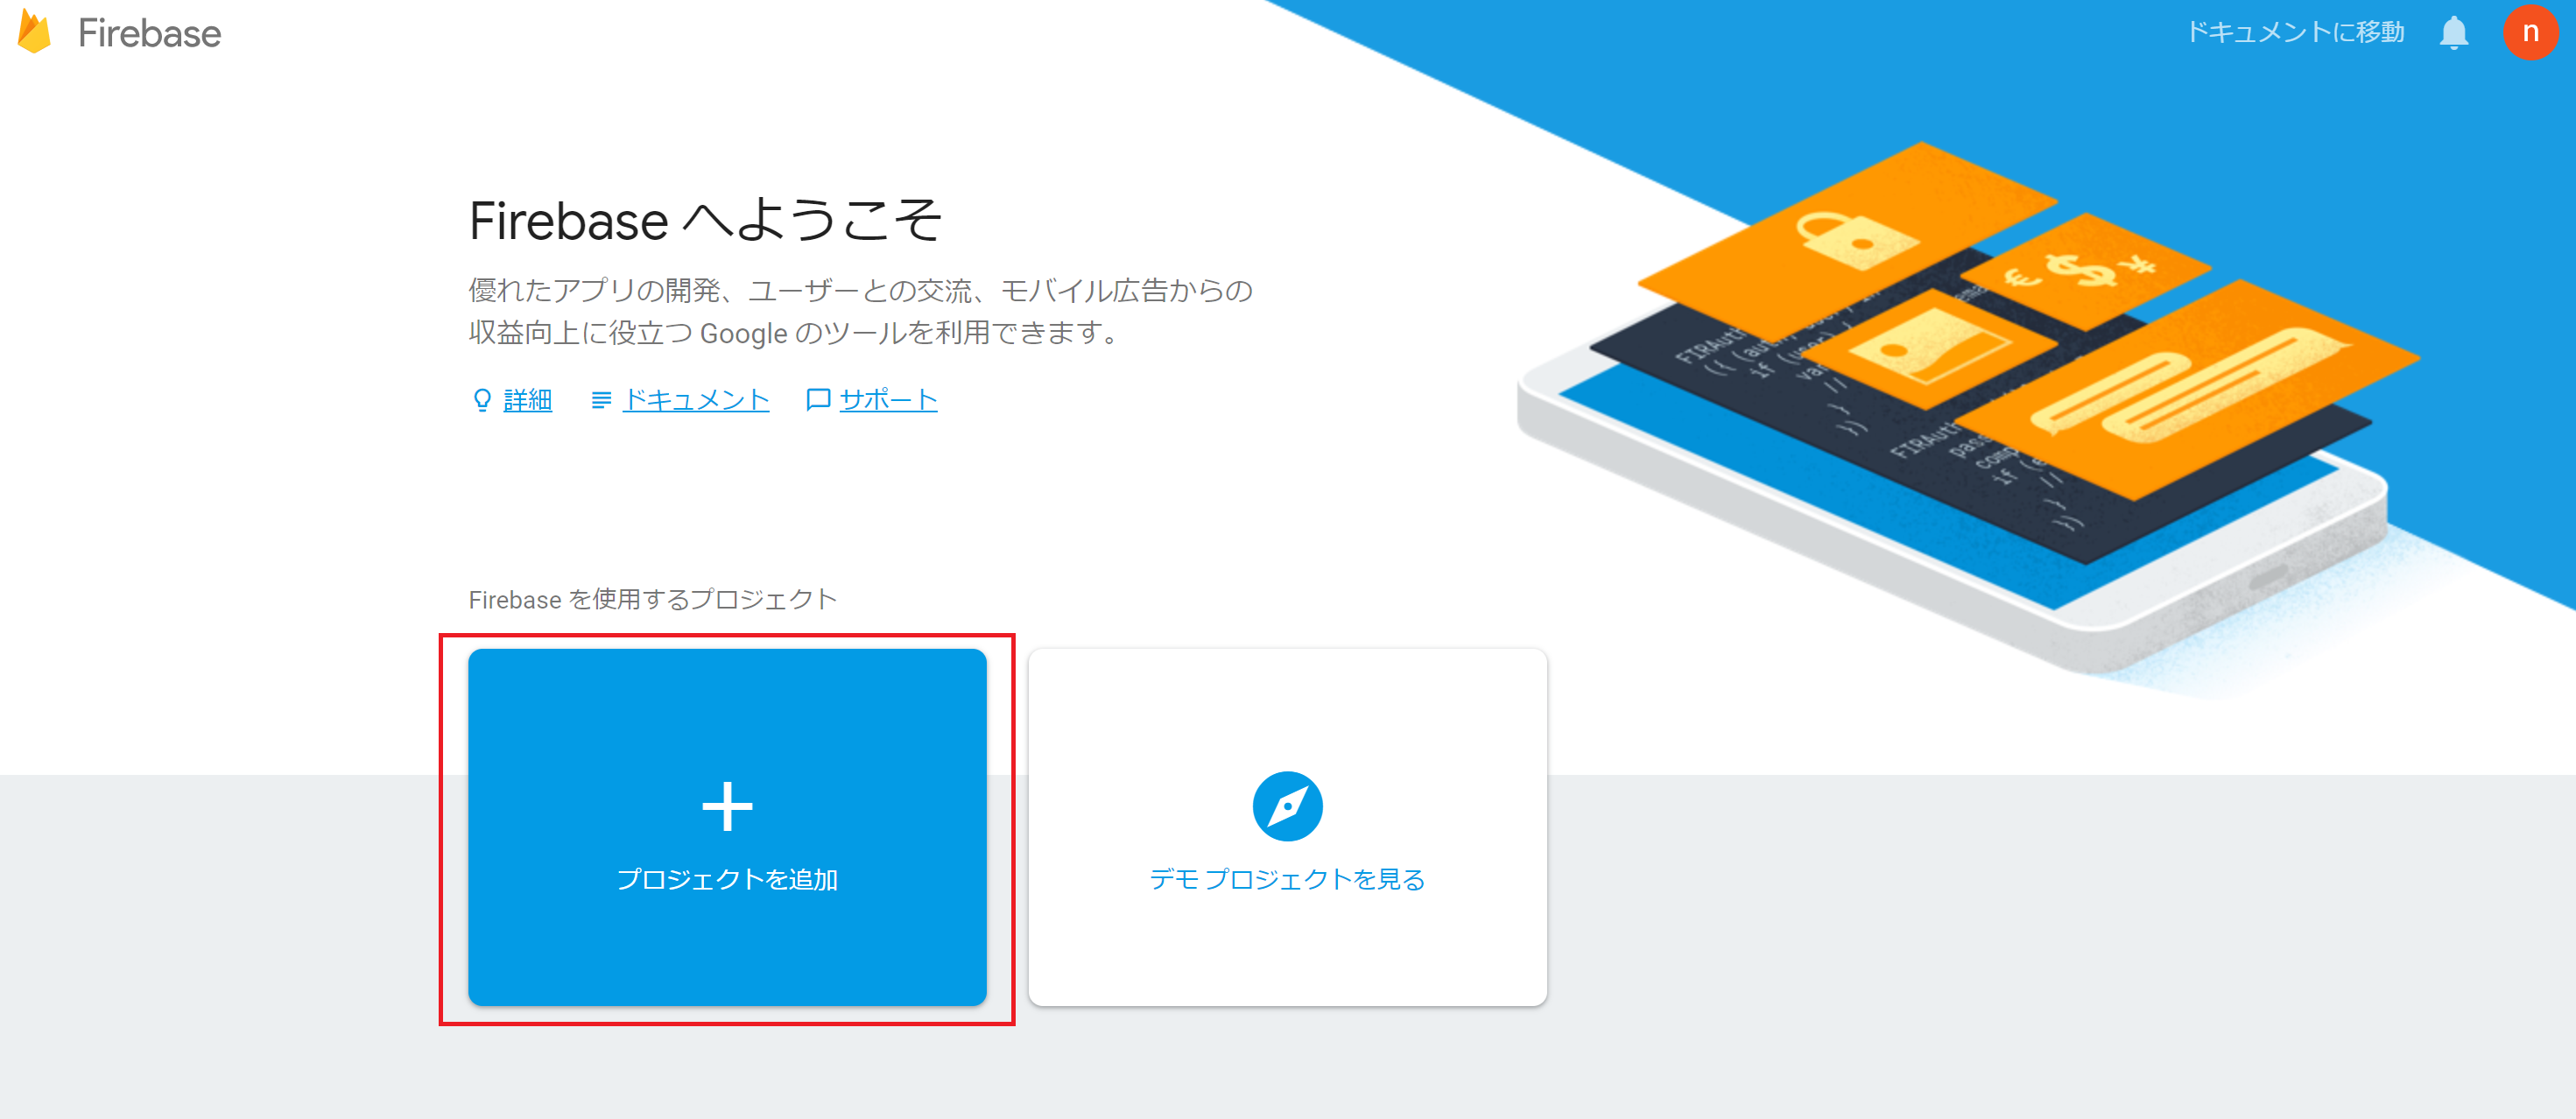
プロジェクトを追加を選択。
プロジェクトの設定ダイアログが表示されるの下記を入力。
- プロジェクト名
→任意の名称を入力 - アナリティクスの地域
→日本を選択 - ClodFirestoreのロケーション
→asia-northeast1を選択 (Tokyo) - 各種確認項目にチェック
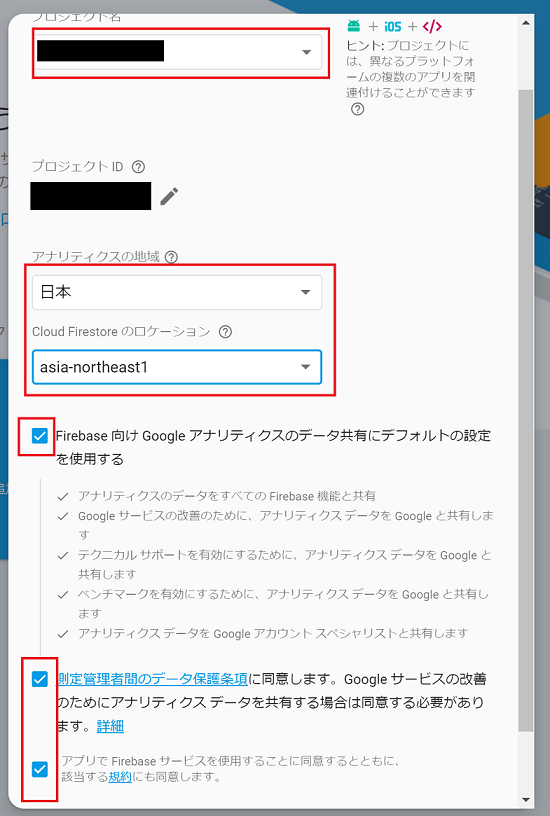
最後にプロジェクトを作成ボタンを押下。
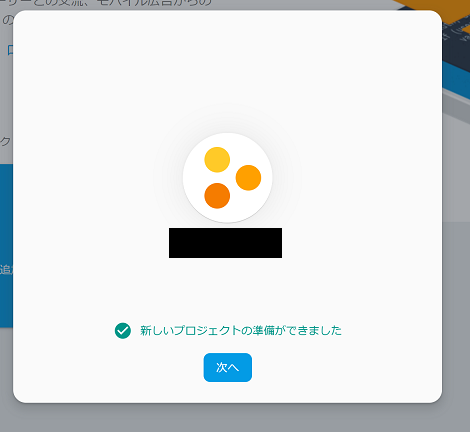
暫くして、下記のような完了画面が表示されればfirebaseプロジェクトの作成は完了です。
1.2.firebase-toolsインストール
※下記操作はすべてコマンドプロンプトからの実行
firebaseの各種操作を行うためのツールをnpmでインストール。
npm install -g firebase-tools
インストールが終わったら、firebaseアカウントへのログインを行う。
ブラウザが表示されるので、googleアカウントでログインする。
なお、ログイン前に初回はエラーレポート等の送信確認同意が表示されるので、どちらかお好みで選択する。
firebase login
? Allow Firebase to collect anonymous CLI usage and error reporting information? (Y/n)
ログインに成功すれば下記のような画面が表示されるので、ブラウザを閉じる。
以上で、firebaseを使うための準備が整ったので、次項からfirebaseに実際にデプロイするための設定を行う。
1.3.Webサイトのホスティング初期化設定
※下記操作はすべてコマンドプロンプトからの実行
カレントディレクトリを作成したVue.jsまたはNuxt.jsのアプリのルートに移動して下記コマンドを実行。
firebase init hosting
カレントディレクトリで初期化していいか聞かれるのでyと入力。
     ######## #### ########  ######## ########     ###     ######  ########
     ##        ##  ##     ## ##       ##     ##  ##   ##  ##       ##
     ######    ##  ########  ######   ########  #########  ######  ######
     ##        ##  ##    ##  ##       ##     ## ##     ##       ## ##
     ##       #### ##     ## ######## ########  ##     ##  ######  ########

You're about to initialize a Firebase project in this directory:

  (※カレントディレクトリがここに表示)

Before we get started, keep in mind:

  * You are currently outside your home directory

? Are you ready to proceed? (y/n)
プロジェクトの選択では、新規作成ではなく1.1.で作成したプロジェクトを選択する。
=== Project Setup

First, let's associate this project directory with a Firebase project.
You can create multiple project aliases by running firebase use --add,
but for now we'll just set up a default project.

? Select a default Firebase project for this directory:
i  Using project (※作成したプロジェクト名)
デプロイするディレクトリを聞かれるのでVueまたはNuxtでビルドして作成したhtmlファイルの出力先フォルダを指定します。
通常はdistフォルダとなるので
dist
と入力。
=== Hosting Setup

Your public directory is the folder (relative to your project directory) that
will contain Hosting assets to be uploaded with firebase deploy. If you
have a build process for your assets, use your build's output directory.

? What do you want to use as your public directory?
SPAとして公開するか聞かれるのでyと入力。
(Nuxt.jsの場合、nuxt.config.jsを開いてあらかじめ mode: ‘spa’,となっていることを確認すること。)
? Configure as a single-page app (rewrite all urls to /index.html)?
index.htmlを上書きするか聞かれるのでnと入力して上書きをしない。
? File dist/index.html already exists. Overwrite?
下記のような完了メッセージが表示されれば設定は終了。
i  Writing configuration info to firebase.json...
i  Writing project information to .firebaserc...

+  Firebase initialization complete!
次項で実際にデプロイを行う。
1.4.Webサイトのデプロイ
1.3.のカレントディレクトリの状態のまま下記のコマンドを実行。
firebase deploy
デプロイが始まるので暫く待つ。
Deploy complete!と表示されたら成功。
Hosting URLに実際にブラウザでアクセスして、表示されるかを確認する。
=== Deploying to '(※プロジェクト名)'...

i  deploying hosting
i  hosting[(※プロジェクト名)]: beginning deploy...
i  hosting[(※プロジェクト名)]: found 18 files in dist
+  hosting[(※プロジェクト名)]: file upload complete
i  hosting[(※プロジェクト名)]: finalizing version...
+  hosting[(※プロジェクト名)]: version finalized
i  hosting[(※プロジェクト名)]: releasing new version...
+  hosting[(※プロジェクト名)]: release complete

+  Deploy complete!

Project Console: https://console.firebase.google.com/project/(※プロジェクト名)/overview
Hosting URL: https://(※プロジェクト名).firebaseapp.com
まとめ
firebaseにSPAサイトをホスティングするまでの手順を記載した。
非常に簡単に公開できて、しかも無料である程度使えてしまうので凄い。
まだURLはfirebaseのものとなっているため、ドメインを取得して独自URLでアクセス可能とするための設定が必要となる。
次回はこの辺りの説明を行う。
2019/05/08 続きを作成しました。