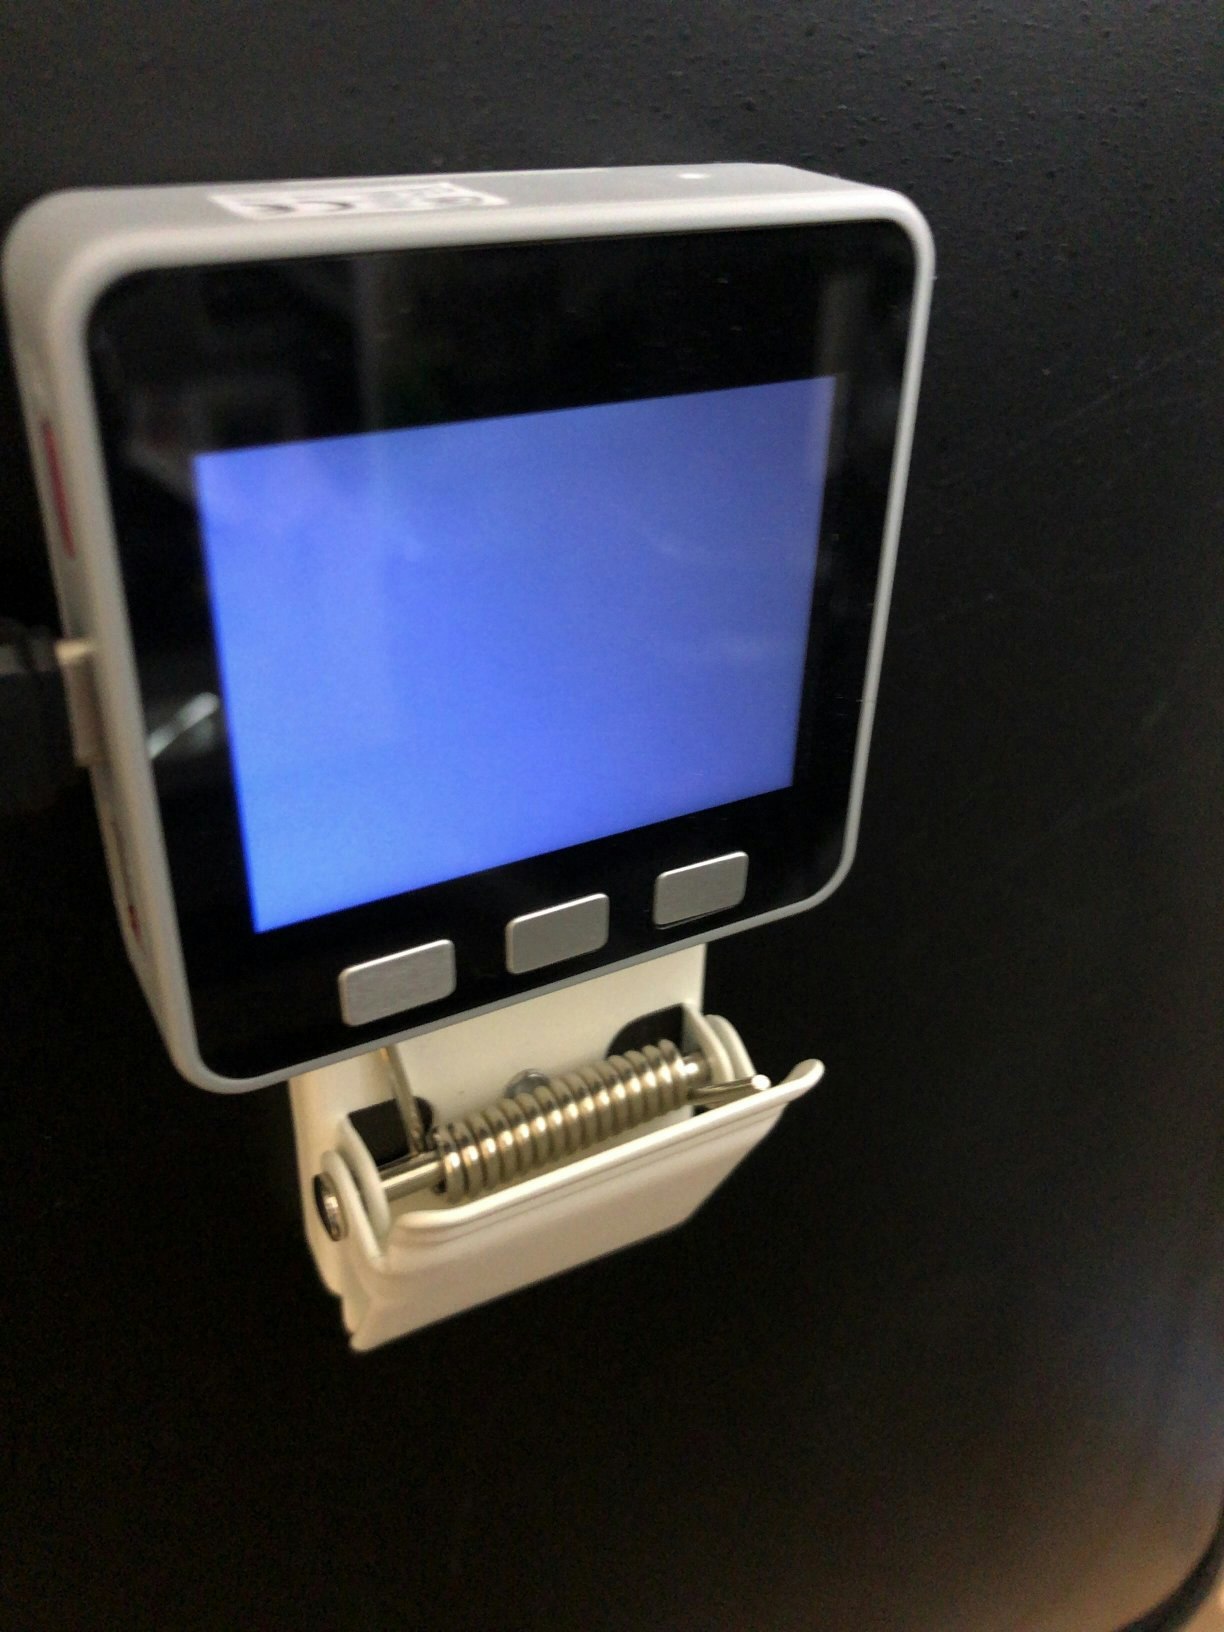
目的
ROSのrosserialを使ってM5stackでLチカをする。
ROSには、arduinoと通信を行うパッケージrosserial-arduinoが用意されているが、これはM5stackでも使うことが出来、ROSノード化することができる。rosserial-arduinoは、USBでのシリアル通信だけでなく、wifiでの通信にも対応している。
環境
Ubuntu-14.04.1(x64)
ROS:Indigo
インストール
ROSのrosserialを使って、M5stackとUSB通信してLチカする
を参照して環境整備する。
Arduinoへの書き込み
ArduinoIDEに下記のソースを貼り付けて、
「スケッチ」→「検証・コンパイル」→「マイコンボードに書き込む」
Arduinoの実装
rosのNodeHandleを、NodeHandle_型で宣言する。
それ以外はUSB通信と相違ない。
test.ino
# include <M5Stack.h>
# include <ros.h>
# include <std_msgs/Empty.h>
# include <WiFi.h>
const char* ssid = "*****";
const char* password = "*****";

WiFiClient client;
IPAddress server(192, 168, 10, 100); //ROS core IP adress
TFT_eSprite img = TFT_eSprite(&M5.Lcd);

class WiFiHardware {
  public:
    WiFiHardware() {};
    void init() {
      client.connect(server, 11411);
    }
    int read() {
      return client.read();
    }
    void write(uint8_t* data, int length) {
      for (int i = 0; i < length; i++)
        client.write(data[i]);
    }
    unsigned long time() {
      return millis(); // easy; did this one for you
    }
};
ros::NodeHandle_<WiFiHardware> nh;
void messageCb( const std_msgs::Empty& toggle_msg) {
  img.fillSprite(TFT_GREEN);
  img.pushSprite(0, 0);
  Serial.println("messageCb");
  delay(500);
}
ros::Subscriber<std_msgs::Empty> sub("toggle_led", &messageCb );
void setupWiFi() {
  WiFi.begin(ssid, password);
  Serial.print("\nConnecting to "); Serial.println(ssid);
  uint8_t i = 0;
  while (WiFi.status() != WL_CONNECTED && i++ < 20) delay(500);
  if (i == 21) {
    Serial.print("Could not connect to"); Serial.println(ssid);
    while (1) delay(500);
  }
  Serial.print("Ready! Use ");
  Serial.print(WiFi.localIP());
  Serial.println(" to access client");
}
void setup() {
  Serial.begin(115200);
  M5.begin();
  setupWiFi();
  M5.Lcd.fillScreen(TFT_BLUE);
  img.setColorDepth(8);
  img.createSprite(320, 240);
  img.fillSprite(TFT_BLACK);
  nh.initNode();
  nh.subscribe(sub);
}
void loop() {
  img.fillSprite(TFT_BLACK);
  img.pushSprite(0, 0);
  nh.spinOnce();
  M5.update();
}
下記のコマンドで、ROSを立ち上げ、rostopicで「toggle_led」をpublishする。「toggle_led」を受けとると、M5StackはディスプレイでLチカを行う。
roscore
rosrun rosserial_python serial_node.py tcp
```

M5Stackの電源を付ける。

```
rostopic pub toggle_led std_msgs/Empty --once
参考
rosserial_arduino Tutorials
http://wiki.ros.org/rosserial_arduino/Tutorials
ROS serial for ESP8266 over WiFi:
https://github.com/agnunez/espros

