SpringBootの開発環境作成3回目です。
今回はVPSにデプロイします。
作成内容
①Springプロジェクト作成
②BitBucketプッシュ
③VPSにデプロイ
④Jenkins自動デプロイ
VPS設定
こちらでSSH公開鍵の設定をしてます。
処理の流れ
①Gradle処理追加しJarファイル作成
②SFTPツールでJar送信
③Jarファイル権限変更
④serviceファイル作成
⑤起動コマンド実行
Gradle処理追加しJarファイル作成
SpringプロジェクトのGradleに以下の処理を追加します。
アプリケーション(Jar)がデーモン化されます。
bootJar {
    launchScript()
}
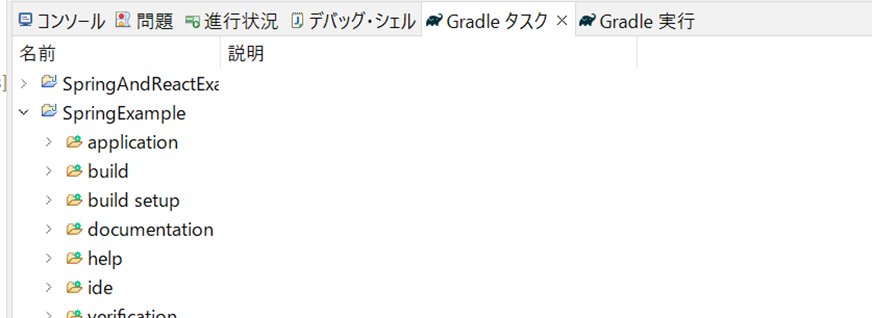
Ecripseを使用している場合「Gradleタスク」からビルドすることができます。

SFTPツールでJar送信(VPS)
管理者がアプリケーションをインストールする場所は基本的に以下のディレクトリです。
$ cd /usr/local
上記ディレクトリからファイルを作成します。
$ mkdir SpringExample
ビルドしたファイルをFTPSツールでサーバにアップロードします。

Jarファイル権限変更
権限変更します。
$ chmod 700 SpringExample.jar
権限を確認するコマンド
$ ls -l
serviceファイル作成
ユニットファイルを作成します
$ sudo vim SpringExample.service
以下内容を追加します
Userでは操作するユーザを設定
ExecStartではJarファイルを指定しています。
[Unit]
Description=demo
After=network.target

[Service]
User=root
ExecStart= /usr/local/SpringExample/SpringExample.jar
SuccessExitStatus=143

[Install]
WantedBy=multi-user.target
起動コマンド実行
起動します。
$ systemctl start SpringExample


