SpringBootの開発環境作成をしていきます。
作成内容
①Springプロジェクト作成
②BitBucketプッシュ
③VPSにデプロイ
④Jenkins自動デプロイ
プロジェクト作成
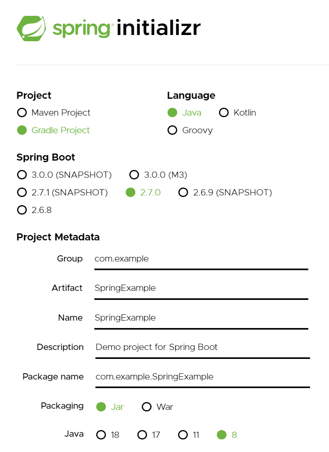
Web(Spring Initializr)もしくはSTS(SpringToolSuite)を使ってプロジェクトを作成します。
今回はWebで作成しました。

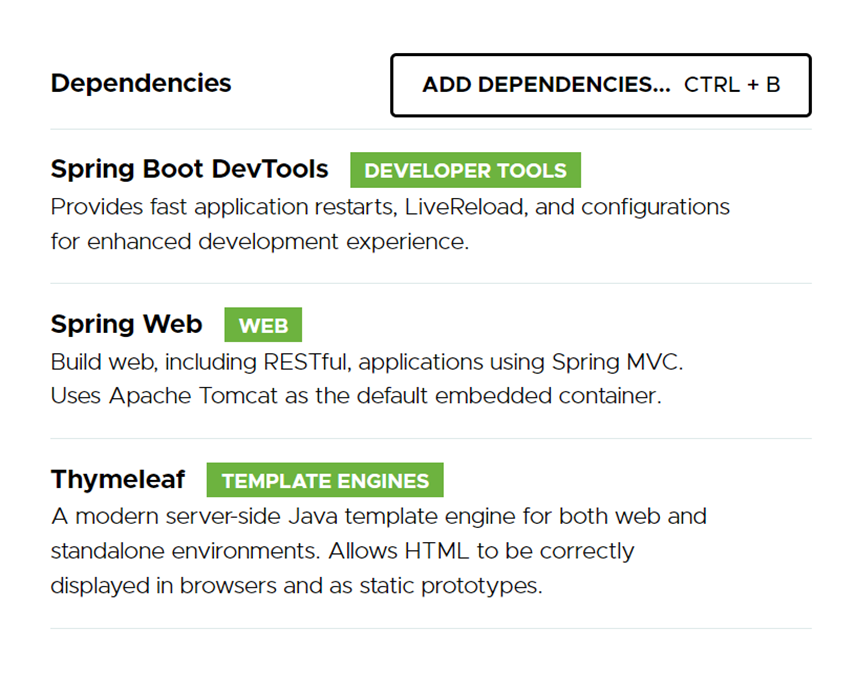
依存関係は以下の3つです。
・「DevTools」は開発時、ソースコードに変更があれば自動で再起動
・「Spring Web」はWeb開発ツール
・「Thymeleaf」テンプレートエンジン

追加するのは以下の3点です。
・MainController クライアントからのリクエストを受け取りHTML返却
・Index.html 画面に渡すテンプレートファイル
・application.yml .applicationを.ymlに変更、Portを80に設定。(デフォルト:8080)

"/"にリクエストでHTML返却します。
@Controller
public class MainController {

	@GetMapping("/")
	public String index() {
		return "index";
	}
}
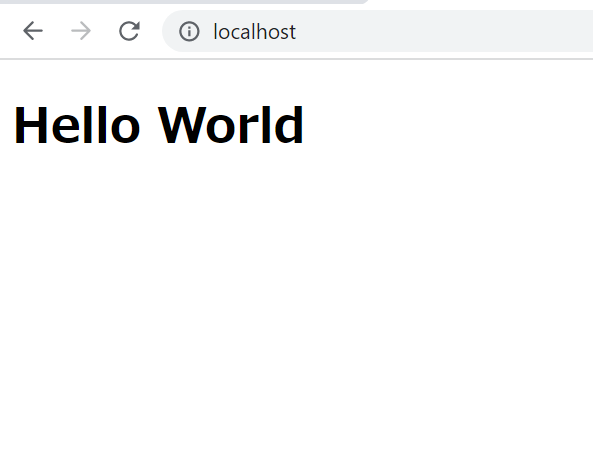
返却されるHTMLです。Hello Worldという文字列を返します。
<!DOCTYPE html>
<html lang="ja">
 <head>
 <meta charset="utf-8">
 <title>Hello World</title>
 </head>
 <body>
  <h1>Hello World</h1>
 </body>
</html>
HTTPの場合PORT80で設定されている為、デフォルト:8080を80に変更しています。
server:
  port: 80
SpringBoot起動後、localhostで以下画面が表示されます。

