フラットなPHPサイトにSlimフレームワークを導入したのでその忘備録です。
環境
CentOS 6.6
PHP 5.3
Slimフレームワークを選んだ理由
CakePHPとかSymfonyとか使うほど大掛かりなサイトではなく、
ちょっとルーティング処理とか部品を共通化できればよかったのでシンプルで軽量なフレームワークで探してみたら行き着いた。
導入
http://www.slimframework.com/
公式サイトにしたがって
composer require slim/slim
をすると
- composer.json
- composer.lock
- vendor/
が出来上がる。
ディレクトリ構成は自由なので
- composer.json
- composer.lock
- vendor/
- templates/
- public/
- ├ css/
- ├ img/
- └ js/
として、public/index.phpを設置。
同じ階層下にpublic/.htaccessを設置して
.htaccess
RewriteEngine On

RewriteCond %{REQUEST_FILENAME} !-f
RewriteCond %{REQUEST_FILENAME} !-d
RewriteRule ^(.*)$ index.php?page=$1
リクエストをindex.phpに集めるように設定する。
そしてapacheのドキュメントルートを変更。
DocumentRoot "/var/www/html/public"
public/index.phpの中身は
テンプレートのvendor/slim/slim/index.phpの中身をコピペして
autoload.phpのpathだけ書き換えます。
require '../vendor/autoload.php';
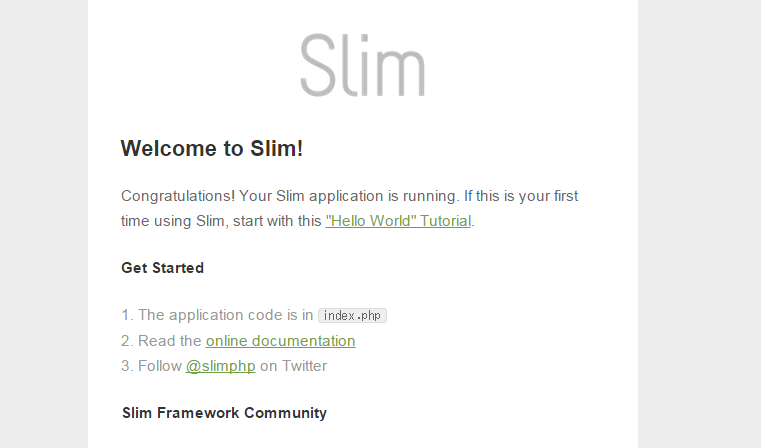
が表示されていればとりあえず設置は完了。
次回はログの出力とコンポーネントの読み込みを書く予定。
