はじめに
CloudFormationを使って、Nginxが動作するEC2インスタンスを作成しました。
作成したテンプレートファイルは以下のGithubリポジトリにアップロードしています。
https://github.com/nkserveren26/ec2-cloudformation
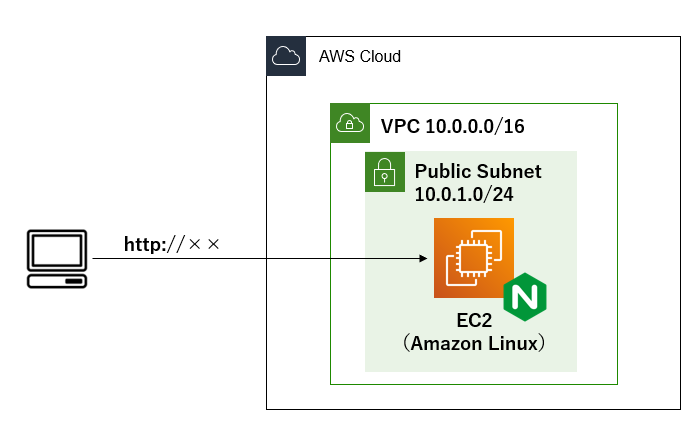
インフラ構成図
作成するインフラ構成図を以下に示します。
EC2はAmazon Linuxです。
事前準備
リソースを作成できるIAMユーザー
キーペア
参考にした記事
・CloudFormationによるネットワークリソース(VPC、Internet Gatewayなど)の作成
https://dev.classmethod.jp/articles/cloudformation-beginner01/
・CloudFormationによるEC2作成
https://qiita.com/tyoshitake/items/c5176c0ef4de8d7cf5d8
テンプレート内容
テンプレートはJSONまたはYAML形式で記述することができます。
今回はYAML形式で記述しています。
AWSTemplateFormatVersion、Description
テンプレートファイルの始めに形式のバージョン(AWSTemplateFormatVersion)とテンプレート内容(Description)を記述します。
AWSTemplateFormatVersion: '2010-09-09'
Description: Provision VPC,PubSub, and EC2
Parameters
Parametersに、EC2のキーペアの情報を記述します。
(Parametersに記載することで、テンプレートファイル内にキーペア名を直接書く必要がなくなり、テンプレートの修正が楽になります。)
Parameters:
  KeyName:
    Description: The EC2 Key Pair to allow SSH access to the instance
    Type: "AWS::EC2::KeyPair::KeyName"
Resources
Resourcesに作成するリソースを記述します。
今回作成するリソースは以下です。
・VPC
・InternetGateway
・パブリックサブネット
・ルーティングテーブル
・EC2
・セキュリティグループ
各リソースの記述内容を以下に記載します。
Resources全体の記述内容はGithubのテンプレートファイルをご参照ください。
VPC、InternetGateway
VPC、InternetGatewayの記述内容は以下です。
AttachGatewayで、VPCにInternetGatewayをアタッチします。
  # VPCの作成
  VPC:
    Type: AWS::EC2::VPC
    Properties:
      CidrBlock: 10.0.0.0/16
      Tags:
      - Key: Name
        Value: VPC
  # InternetGatewayの作成
  InternetGateway:
    Type: AWS::EC2::InternetGateway
    Properties:
      Tags:
      - Key: Name
        Value: VPC-IGW
  # VPCにInternetGatewayをアタッチ
  AttachGateway:
    Type: AWS::EC2::VPCGatewayAttachment
    Properties:
      VpcId: !Ref VPC
      InternetGatewayId: !Ref InternetGateway
ルーティングテーブル
ルーティングテーブルの記述内容は以下です。
PubSubToInternetでパブリックサブネット-インターネット間のルートを作成します。
  # ルートテーブルの作成
  PubSubRouteTable:
    Type: AWS::EC2::RouteTable
    DependsOn: AttachGateway
    Properties:
      VpcId: !Ref VPC
      Tags:
      - Key: Name
        Value: PubSubRouteTable
  # PubSub-インターネット間のルーティング
  PubSubToInternet:
    Type: AWS::EC2::Route
    DependsOn: AttachGateway
    Properties:
      RouteTableId: !Ref PubSubRouteTable
      DestinationCidrBlock: 0.0.0.0/0
      GatewayId: !Ref InternetGateway
パブリックサブネット
パブリックサブネットの記述内容は以下です。
SubnetRouteTableAssociationで、パブリックサブネットと↑で作成したルートテーブルの関連付けをします。
  # パブリックサブネットの作成
  PublicSubnet:
    Type: AWS::EC2::Subnet
    DependsOn: AttachGateway
    Properties:
      CidrBlock: 10.0.1.0/24
      MapPublicIpOnLaunch: 'true'
      VpcId: !Ref VPC
      Tags:
      - Key: Name
        Value: VPC-PublicSubnet
  # パブリックサブネットにルートテーブルを関連付け
  SubnetRouteTableAssociation:
    Type: AWS::EC2::SubnetRouteTableAssociation
    Properties:
      SubnetId: !Ref PublicSubnet
      RouteTableId: !Ref PubSubRouteTable
EC2
EC2の記述内容は以下です。
UserDataに、nginxのインストール・起動設定を記述します。
  # EC2の作成
  EC2:
    Type: AWS::EC2::Instance
    DependsOn: SubnetRouteTableAssociation
    Properties:
      ImageId: ami-00d101850e971728d
      KeyName: !Ref KeyName
      InstanceType: t2.micro
      NetworkInterfaces:
        - AssociatePublicIpAddress: "true"
          DeviceIndex: "0"
          SubnetId: !Ref PublicSubnet
          GroupSet:
            - !Ref EC2SG
      # nginxのインストール・起動設定
      UserData: !Base64 |
        #!/bin/bash
        sudo amazon-linux-extras install -y nginx1
        sudo systemctl start nginx
        sudo systemctl enable nginx
      Tags:
          - Key: Name
            Value: ec2-nginx
セキュリティグループ
セキュリティグループの記述内容は以下です。
インバウンドルールで、全ての送信元に対して、httpおよびsshの通信を許可します。
  # SGの作成
  EC2SG:
    Type: AWS::EC2::SecurityGroup
    Properties:
      GroupName: ec2-sg-cf
      GroupDescription: Allow SSH and HTTP access only MyIP
      VpcId: !Ref VPC
      SecurityGroupIngress:
        # http
        - IpProtocol: tcp
          FromPort: 80
          ToPort: 80
          CidrIp: 0.0.0.0/0
        # ssh
        - IpProtocol: tcp
          FromPort: 22
          ToPort: 22
          CidrIp: 0.0.0.0/0
Outputs
Outputの記述内容は以下です。
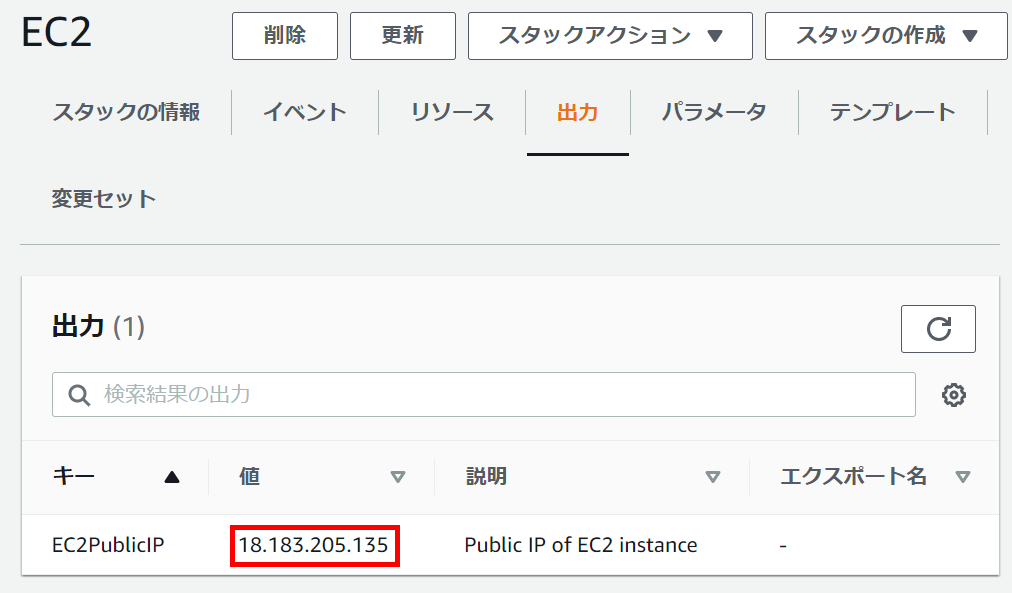
作成したEC2インスタンスのパブリックIPを返します。
パブリックIPは、後述の接続確認で使用します。
Outputs:
  EC2PublicIP:
    Value: !GetAtt EC2.PublicIp
    Description: Public IP of EC2 instance
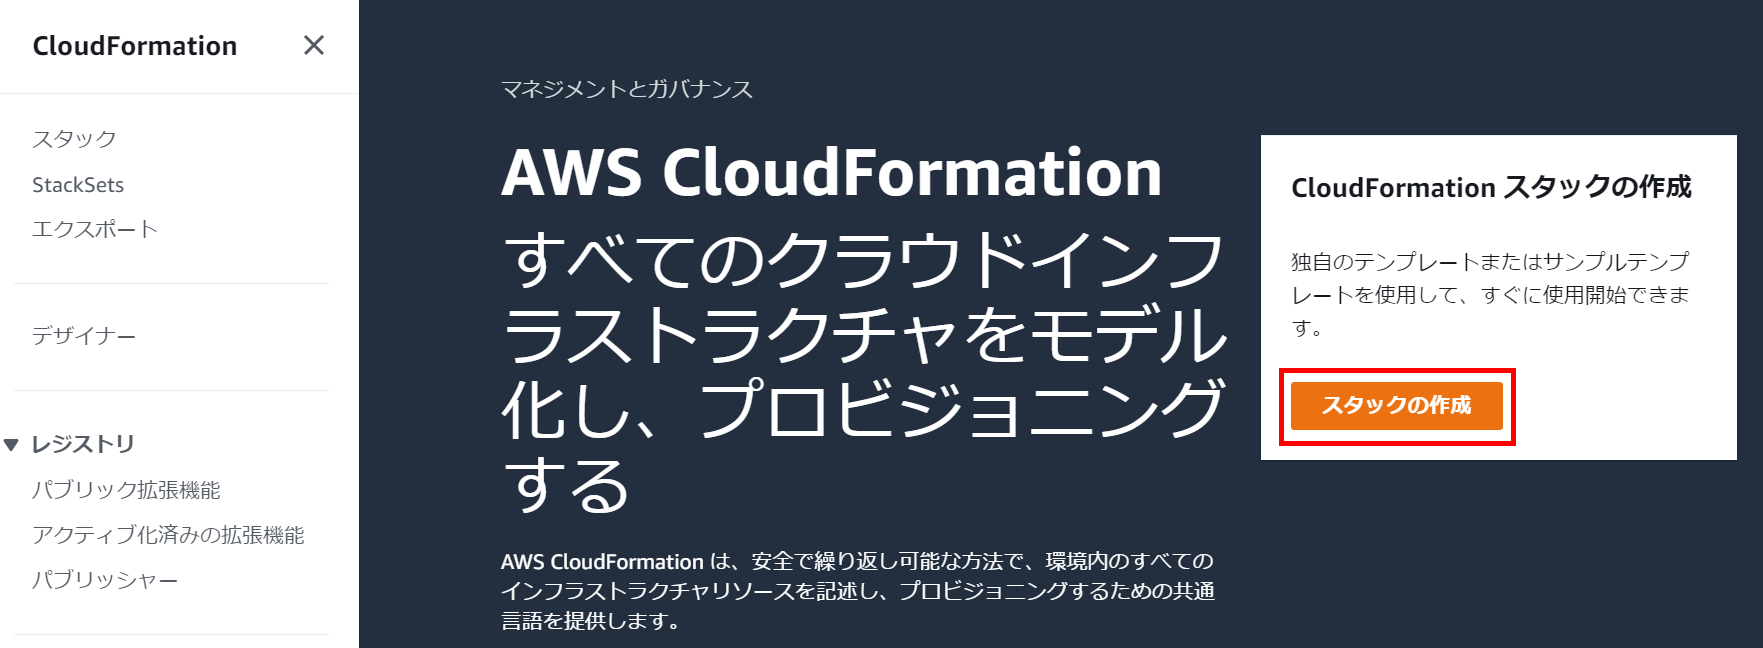
実行
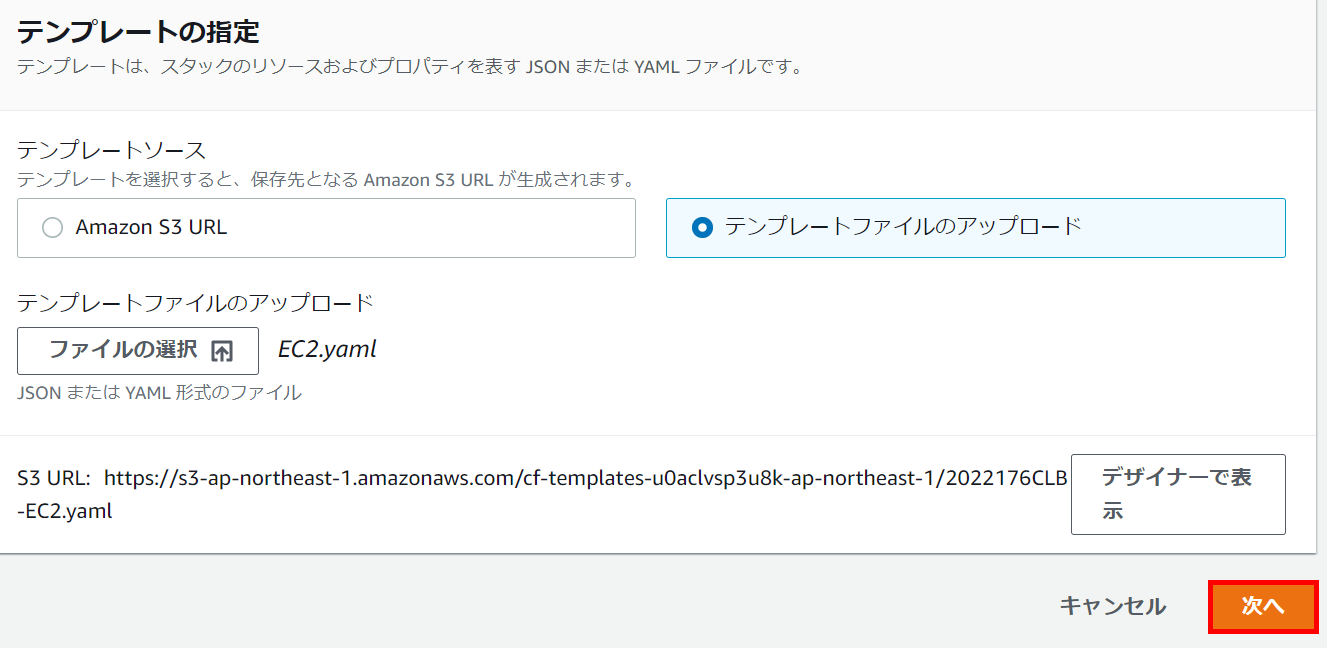
CloudFormationのWebコンソールを開き、スタックの作成をクリックします。
「テンプレートファイルのアップロード」を選択し、「ファイルの選択」をクリックします。
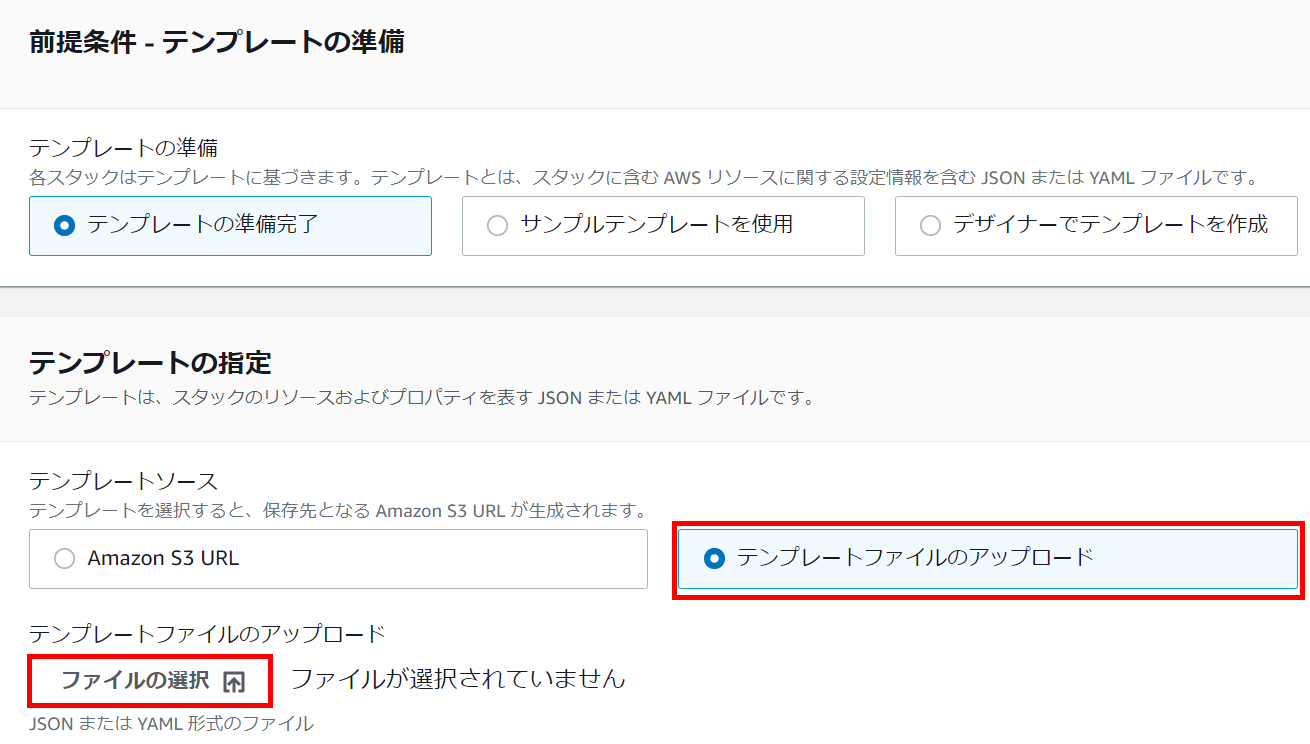
ファイルを選択したら、次へをクリックします。
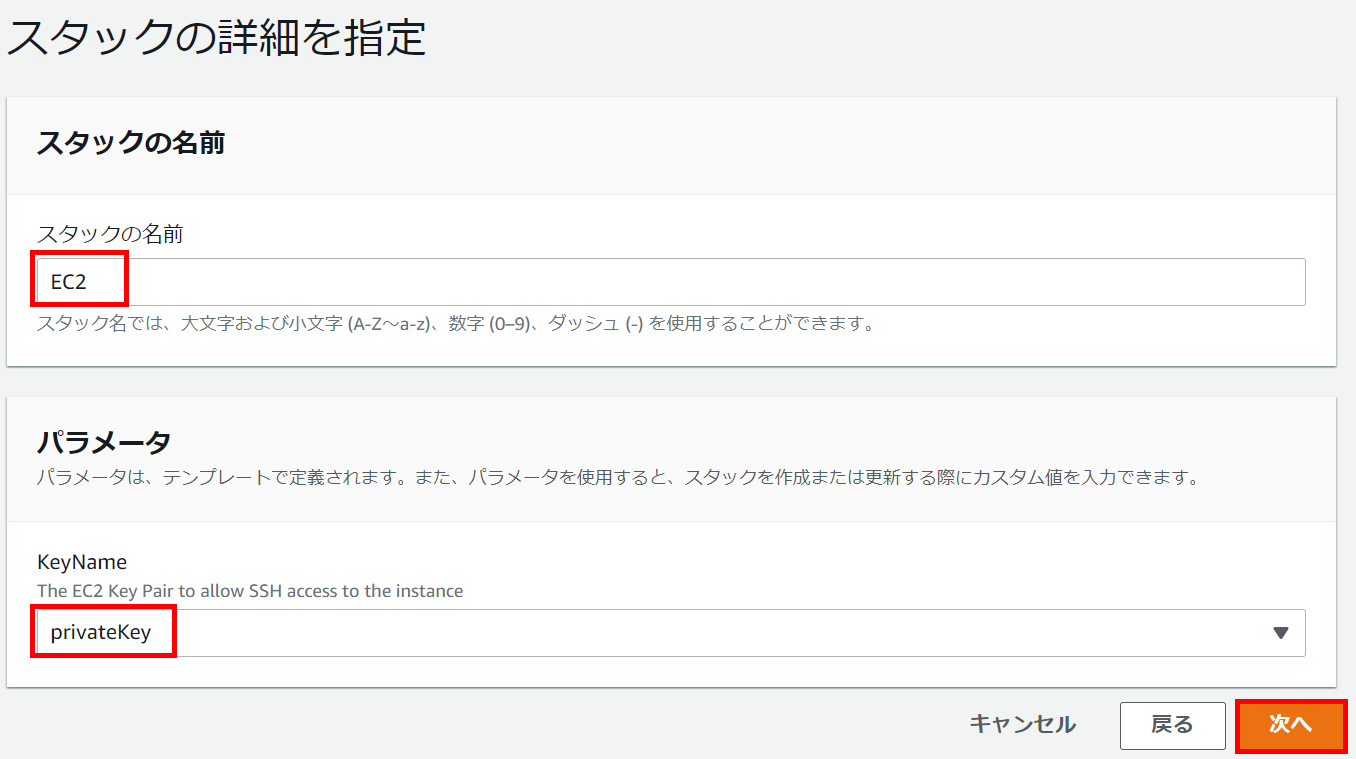
スタックの名前を入力します。
パラメータのKeyNameに、EC2へのssh接続で使用するキーペアを選択します。
(キーペアは事前に作成する必要があります)
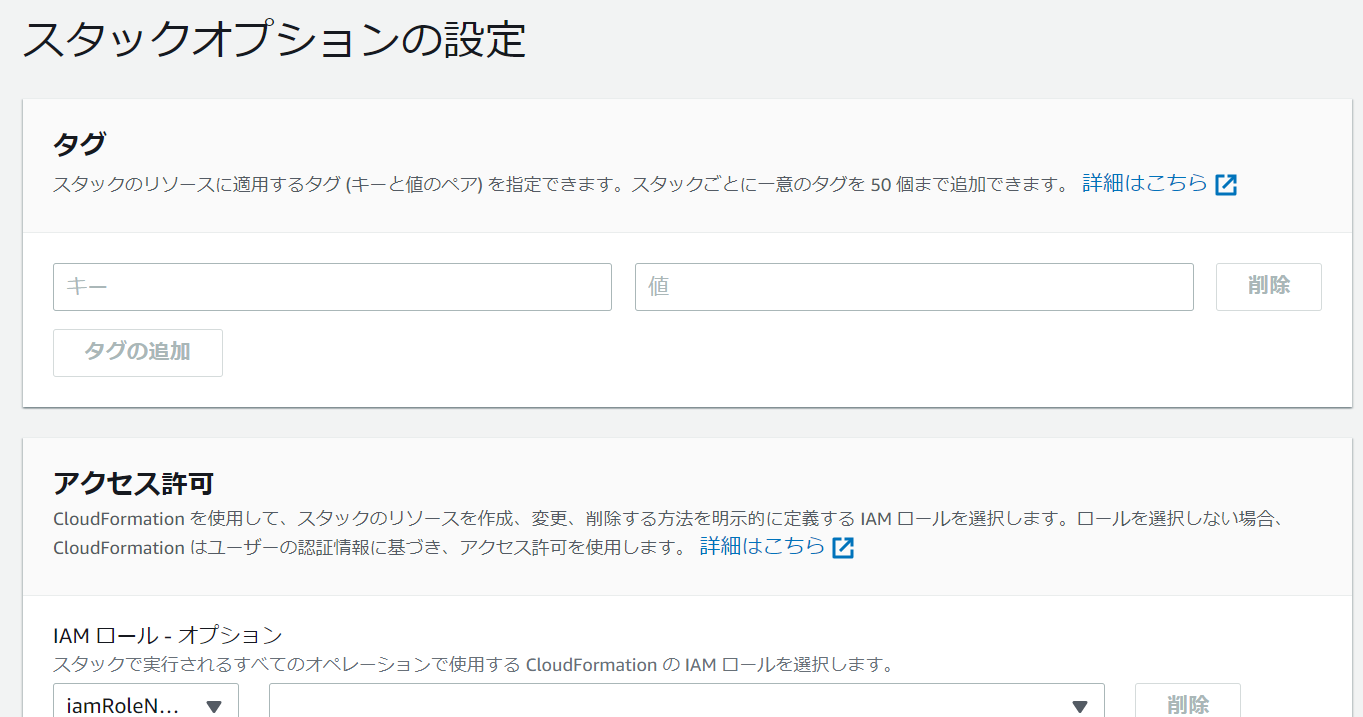
オプションの設定は何もせずにスルーします。
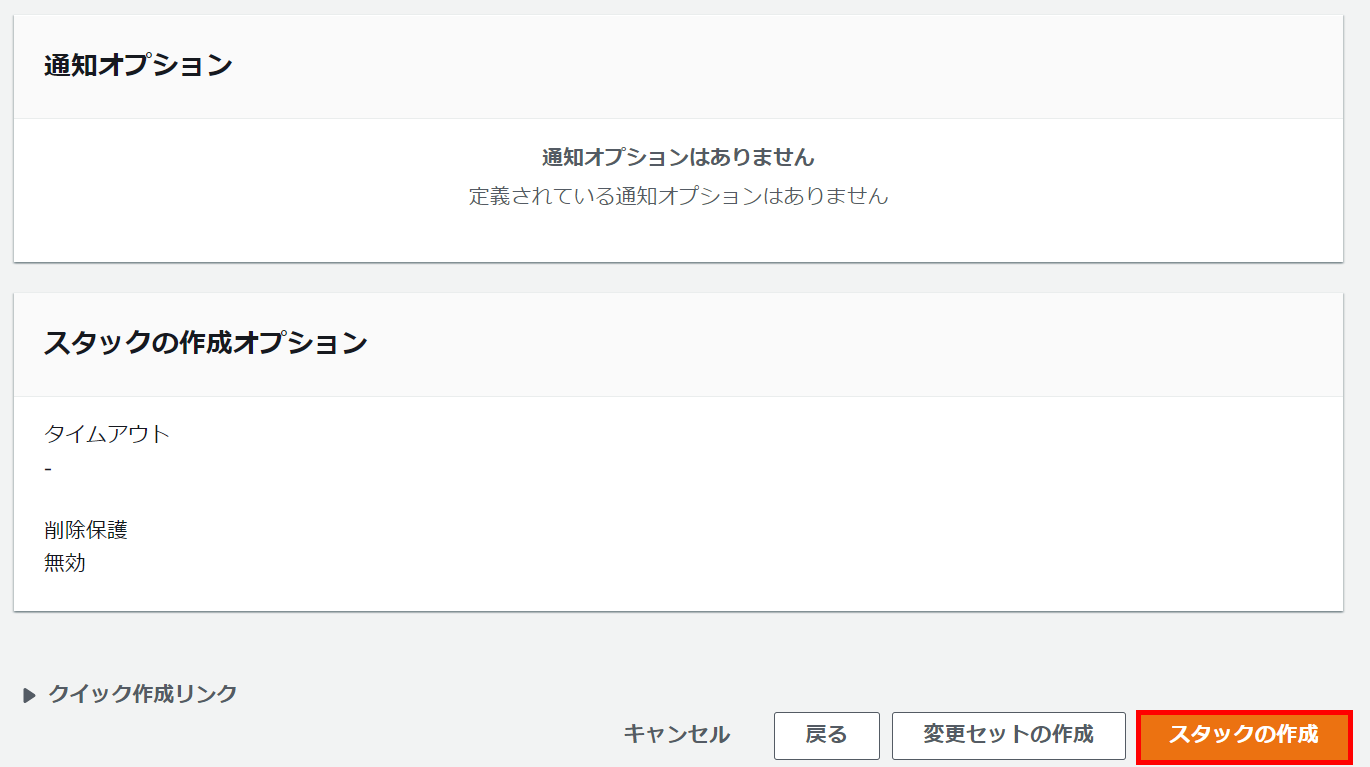
確認画面で設定内容を確認し、「スタックの作成」をクリックします。
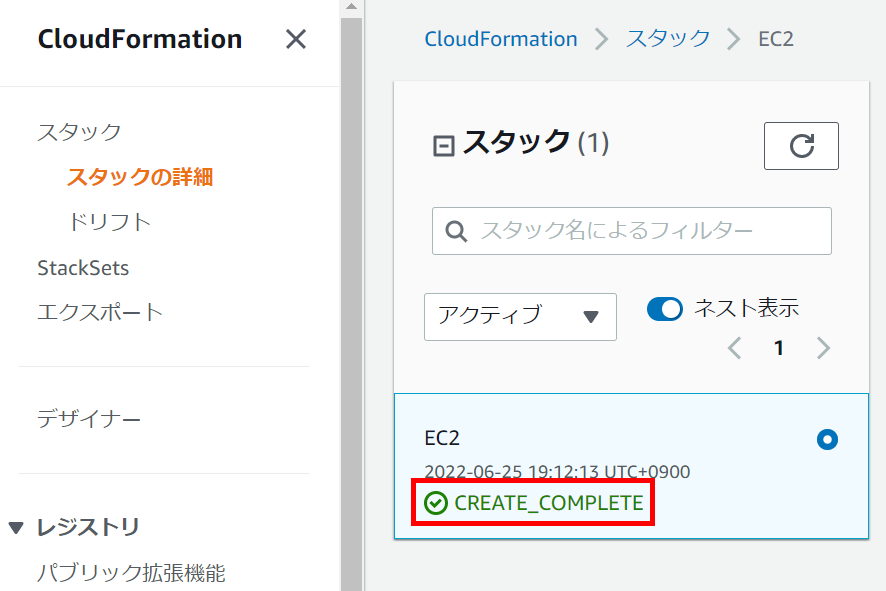
実行後、緑文字で「CREATE_COMPLETE」と表示されれば成功です。
接続確認
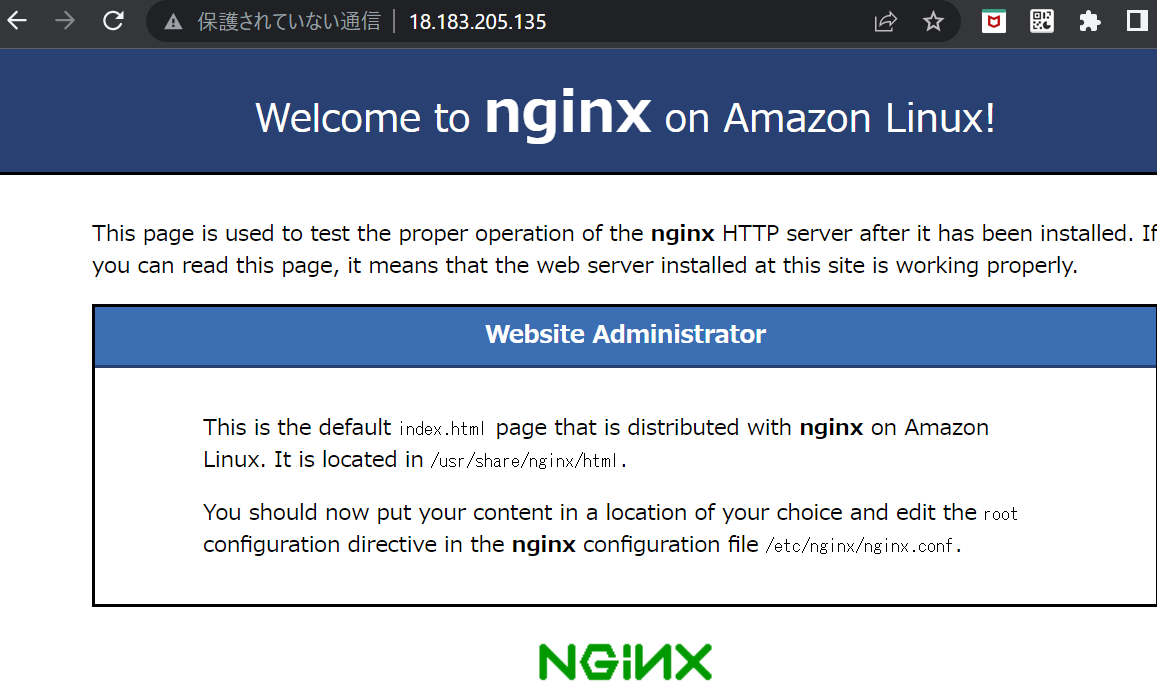
作成したEC2インスタンスにNginxがインストールされ、サービスが起動しているか確認します。
↑のコンソール画面の、出力欄に記載されているパブリックIPをコピーします。
ブラウザに、「http://パブリックIP」と入力します。
以下の画面が表示されればOKです。