このページ / About this page
このページはMini Pupperを動かそうの3/6ページです。
This is page 3 of How to get Mini Pupper walking.
工具 / Tools
キットに同梱されている工具の他に、組み立てには以下の物が必要です。
In addition to the tools included in the kit, the following items are required for assembly
- プラスドライバー / Screwdriver
- 瞬間接着剤※ / Superglue
- ハンダごて※ / Soldering iron
- マスキングテープ※ / Masking tape
- M3ボルトを回す六角レンチ / Hex wrench for M3 bolt
※ 必須ではありません。トラブル時やより強度を求める場合に使用します。
※ These are not essential. Use in case of trouble or when more strength is required.
使用するボルト
(更新情報: Kickstarter版に合わせました)
| ボルト | 本数 | 使用箇所 |
|---|---|---|
| M2x8mm | 4+4=8 | 中央パーツの組み立て, 後部の組み立て |
| M3x8mm | 2+2=4 | 前面パーツの組み立て, 後部の組み立て |
| M2x5mm | 8+4+8=20 | 底のプレートの組み立て, トップのプレートと支柱の組み立て, トッププレートの組み立て |
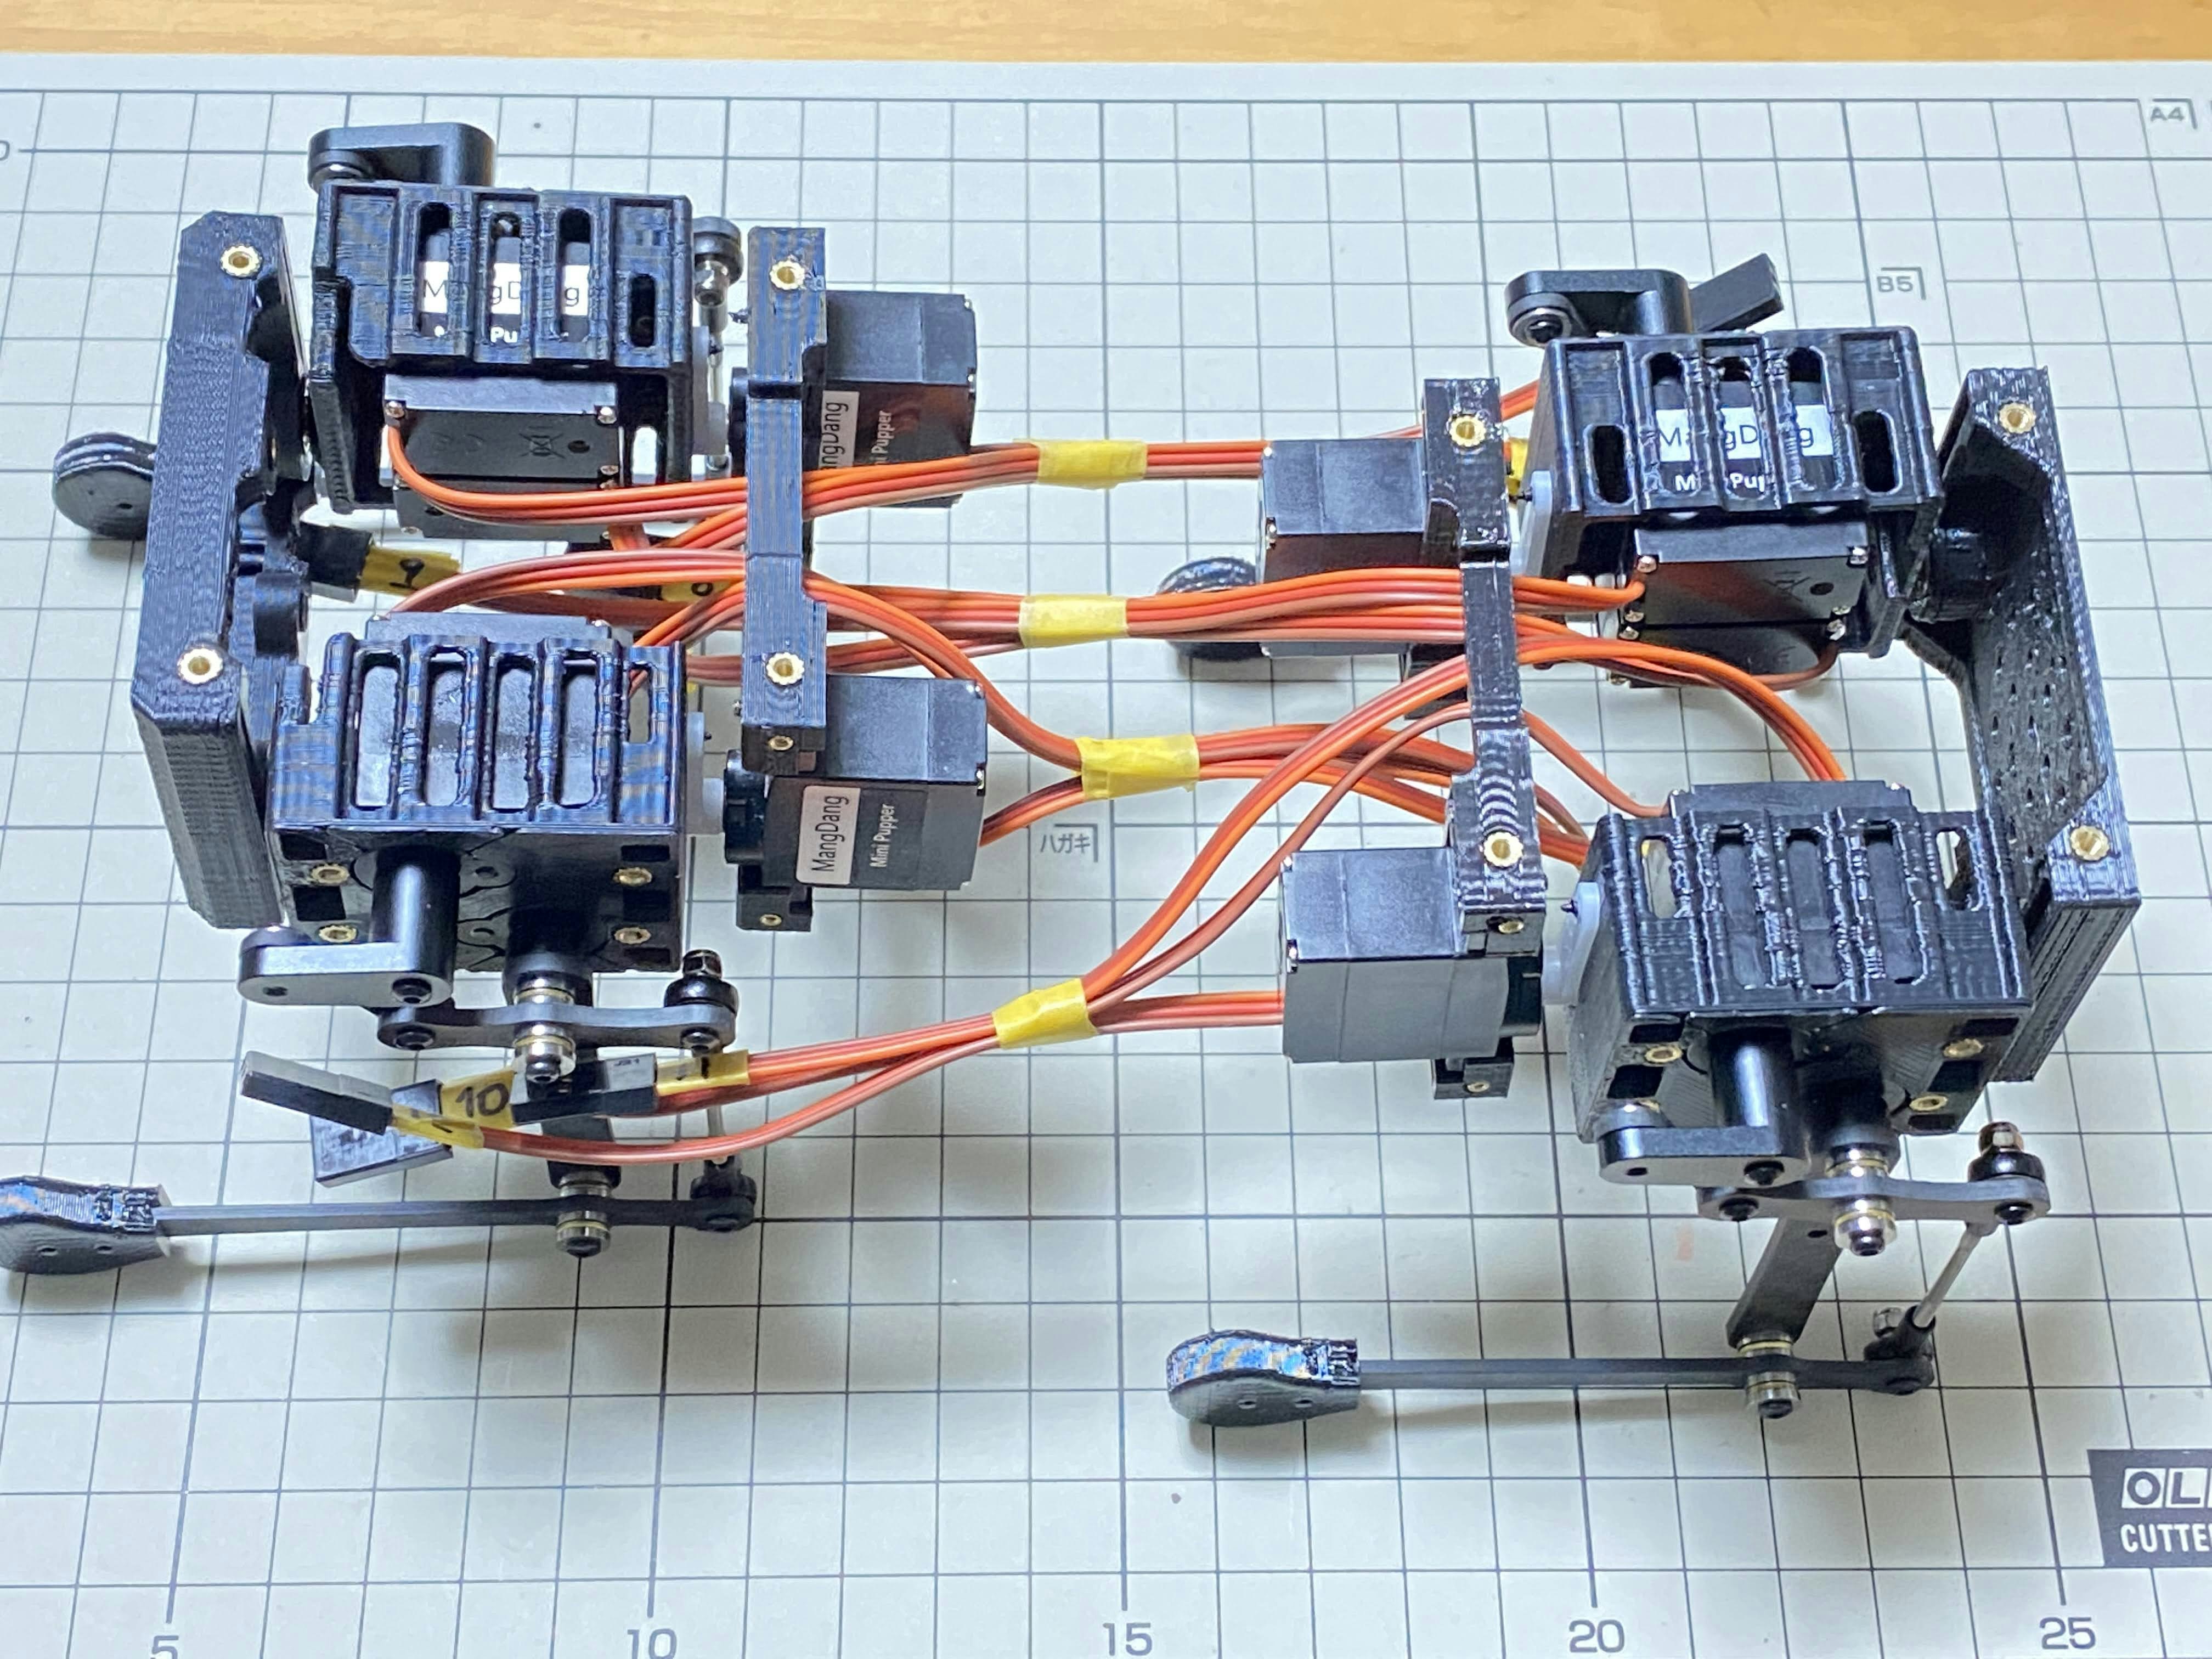
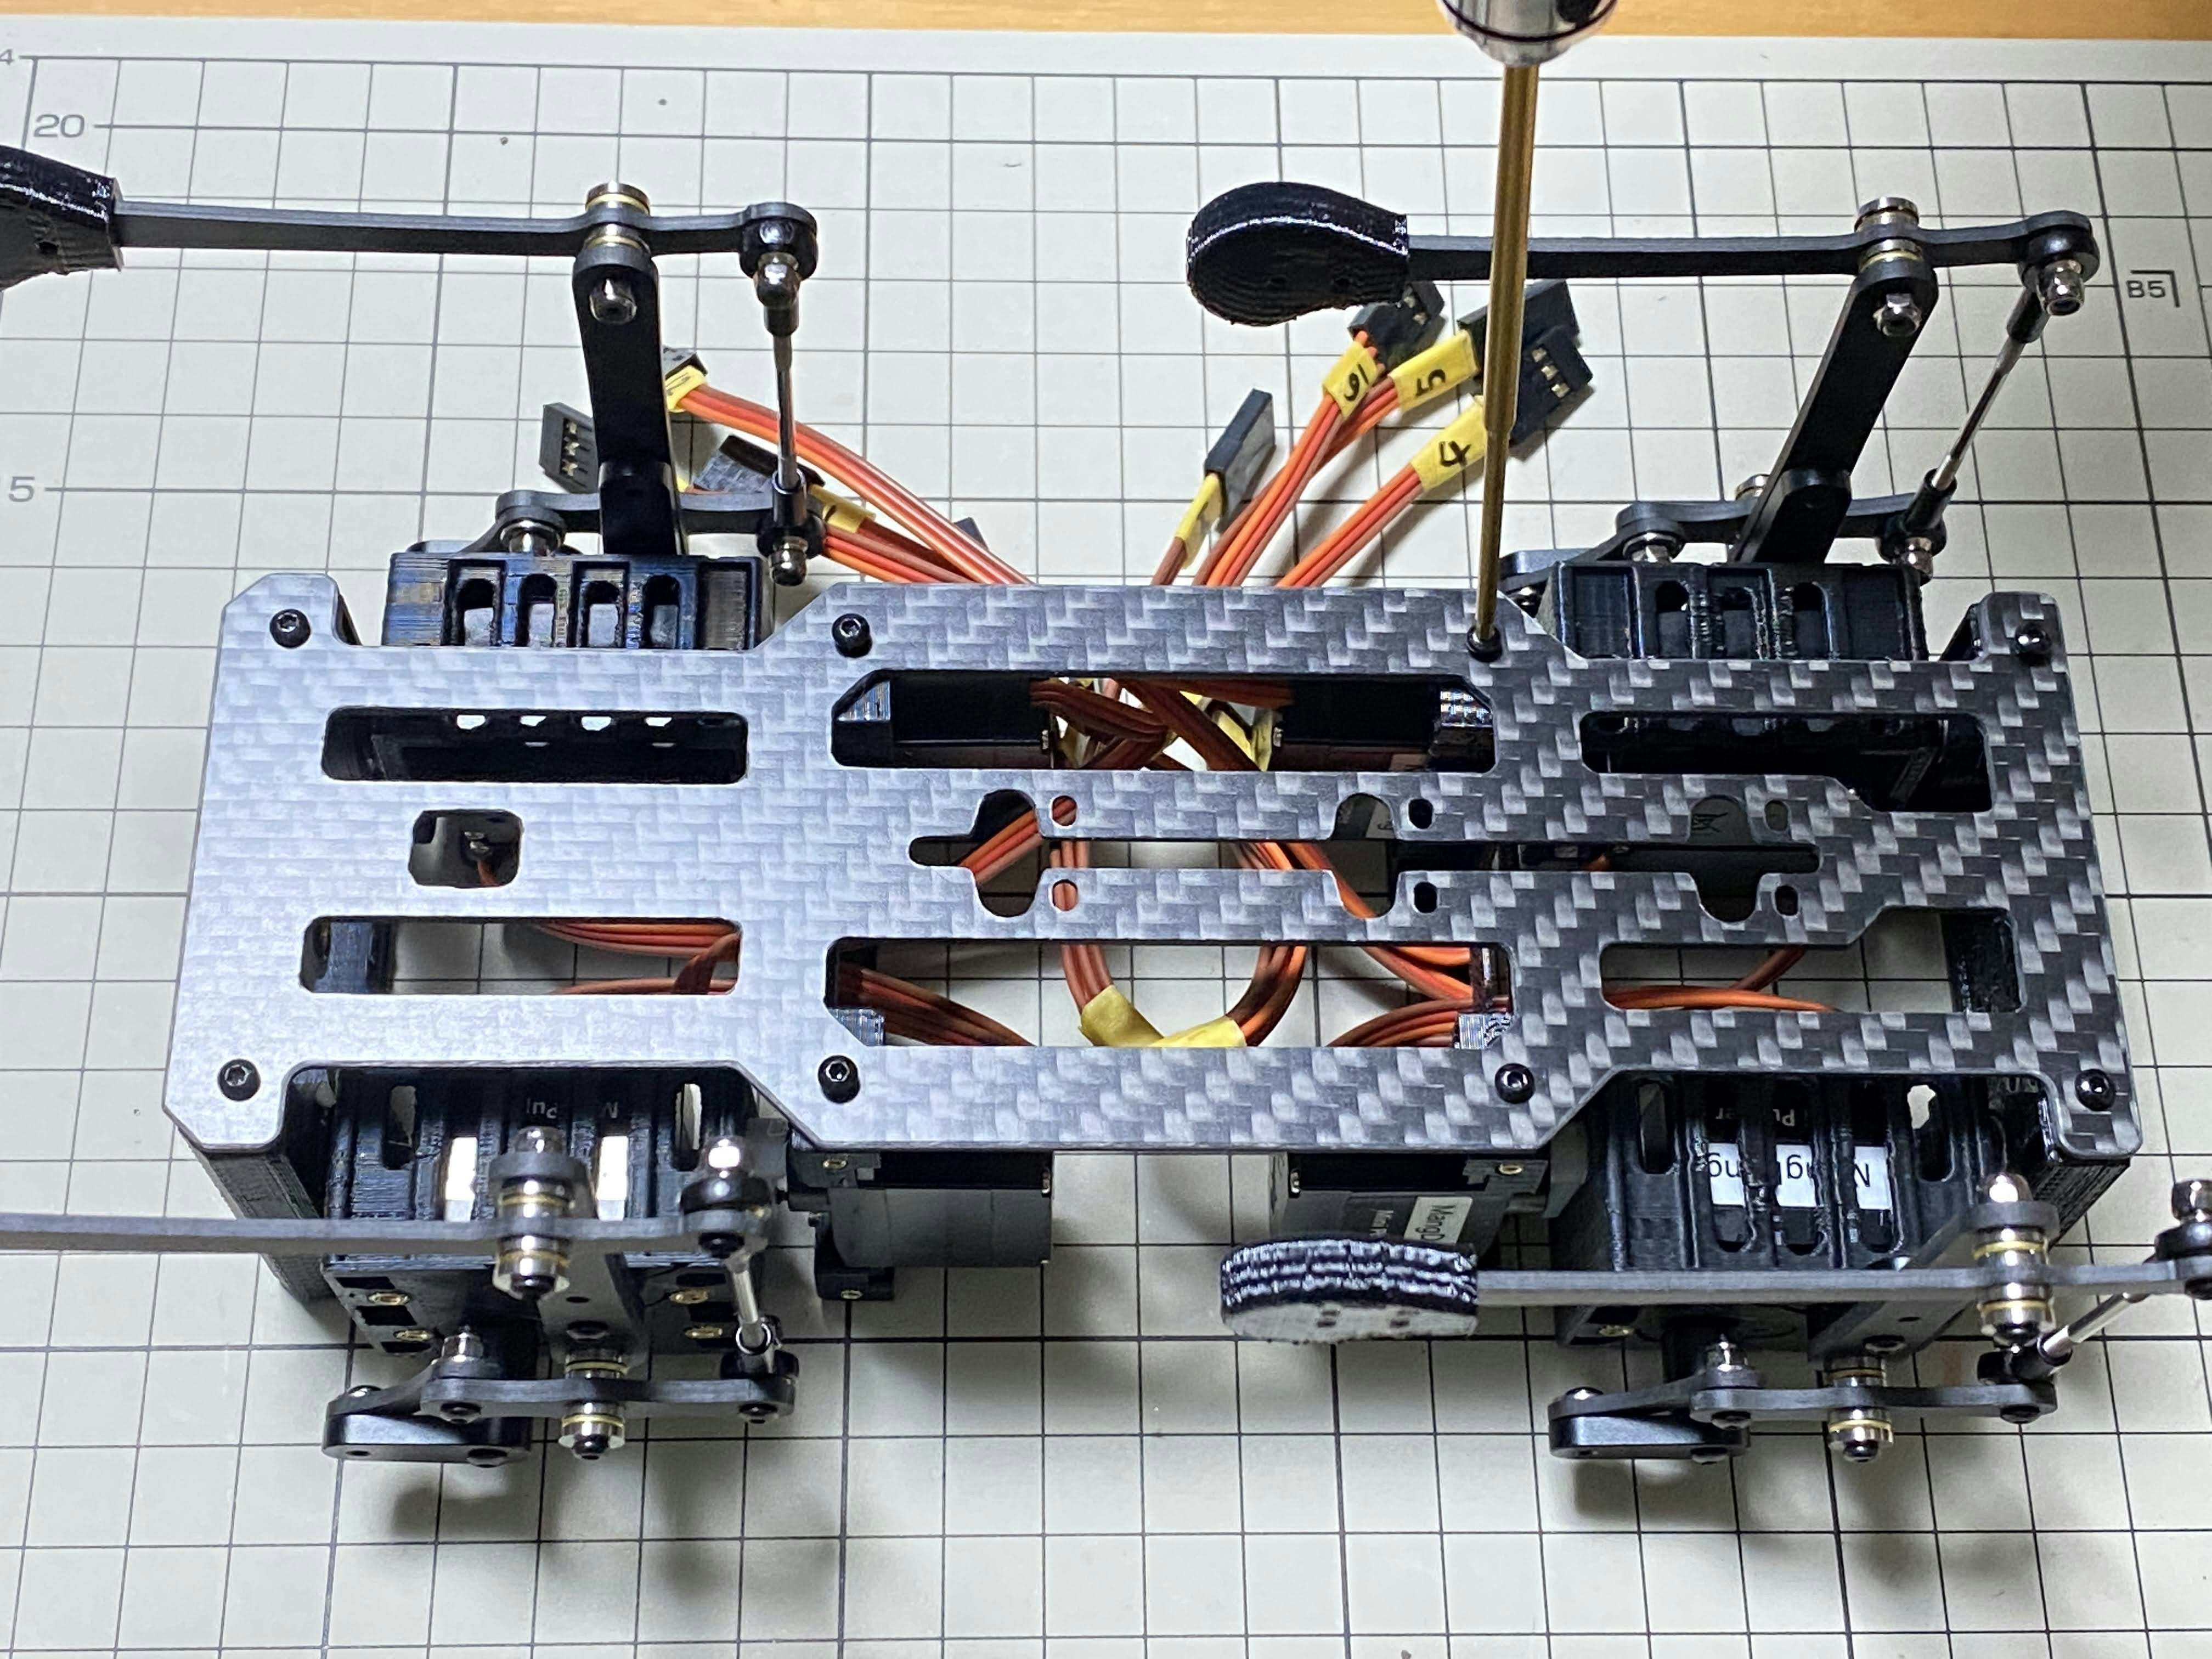
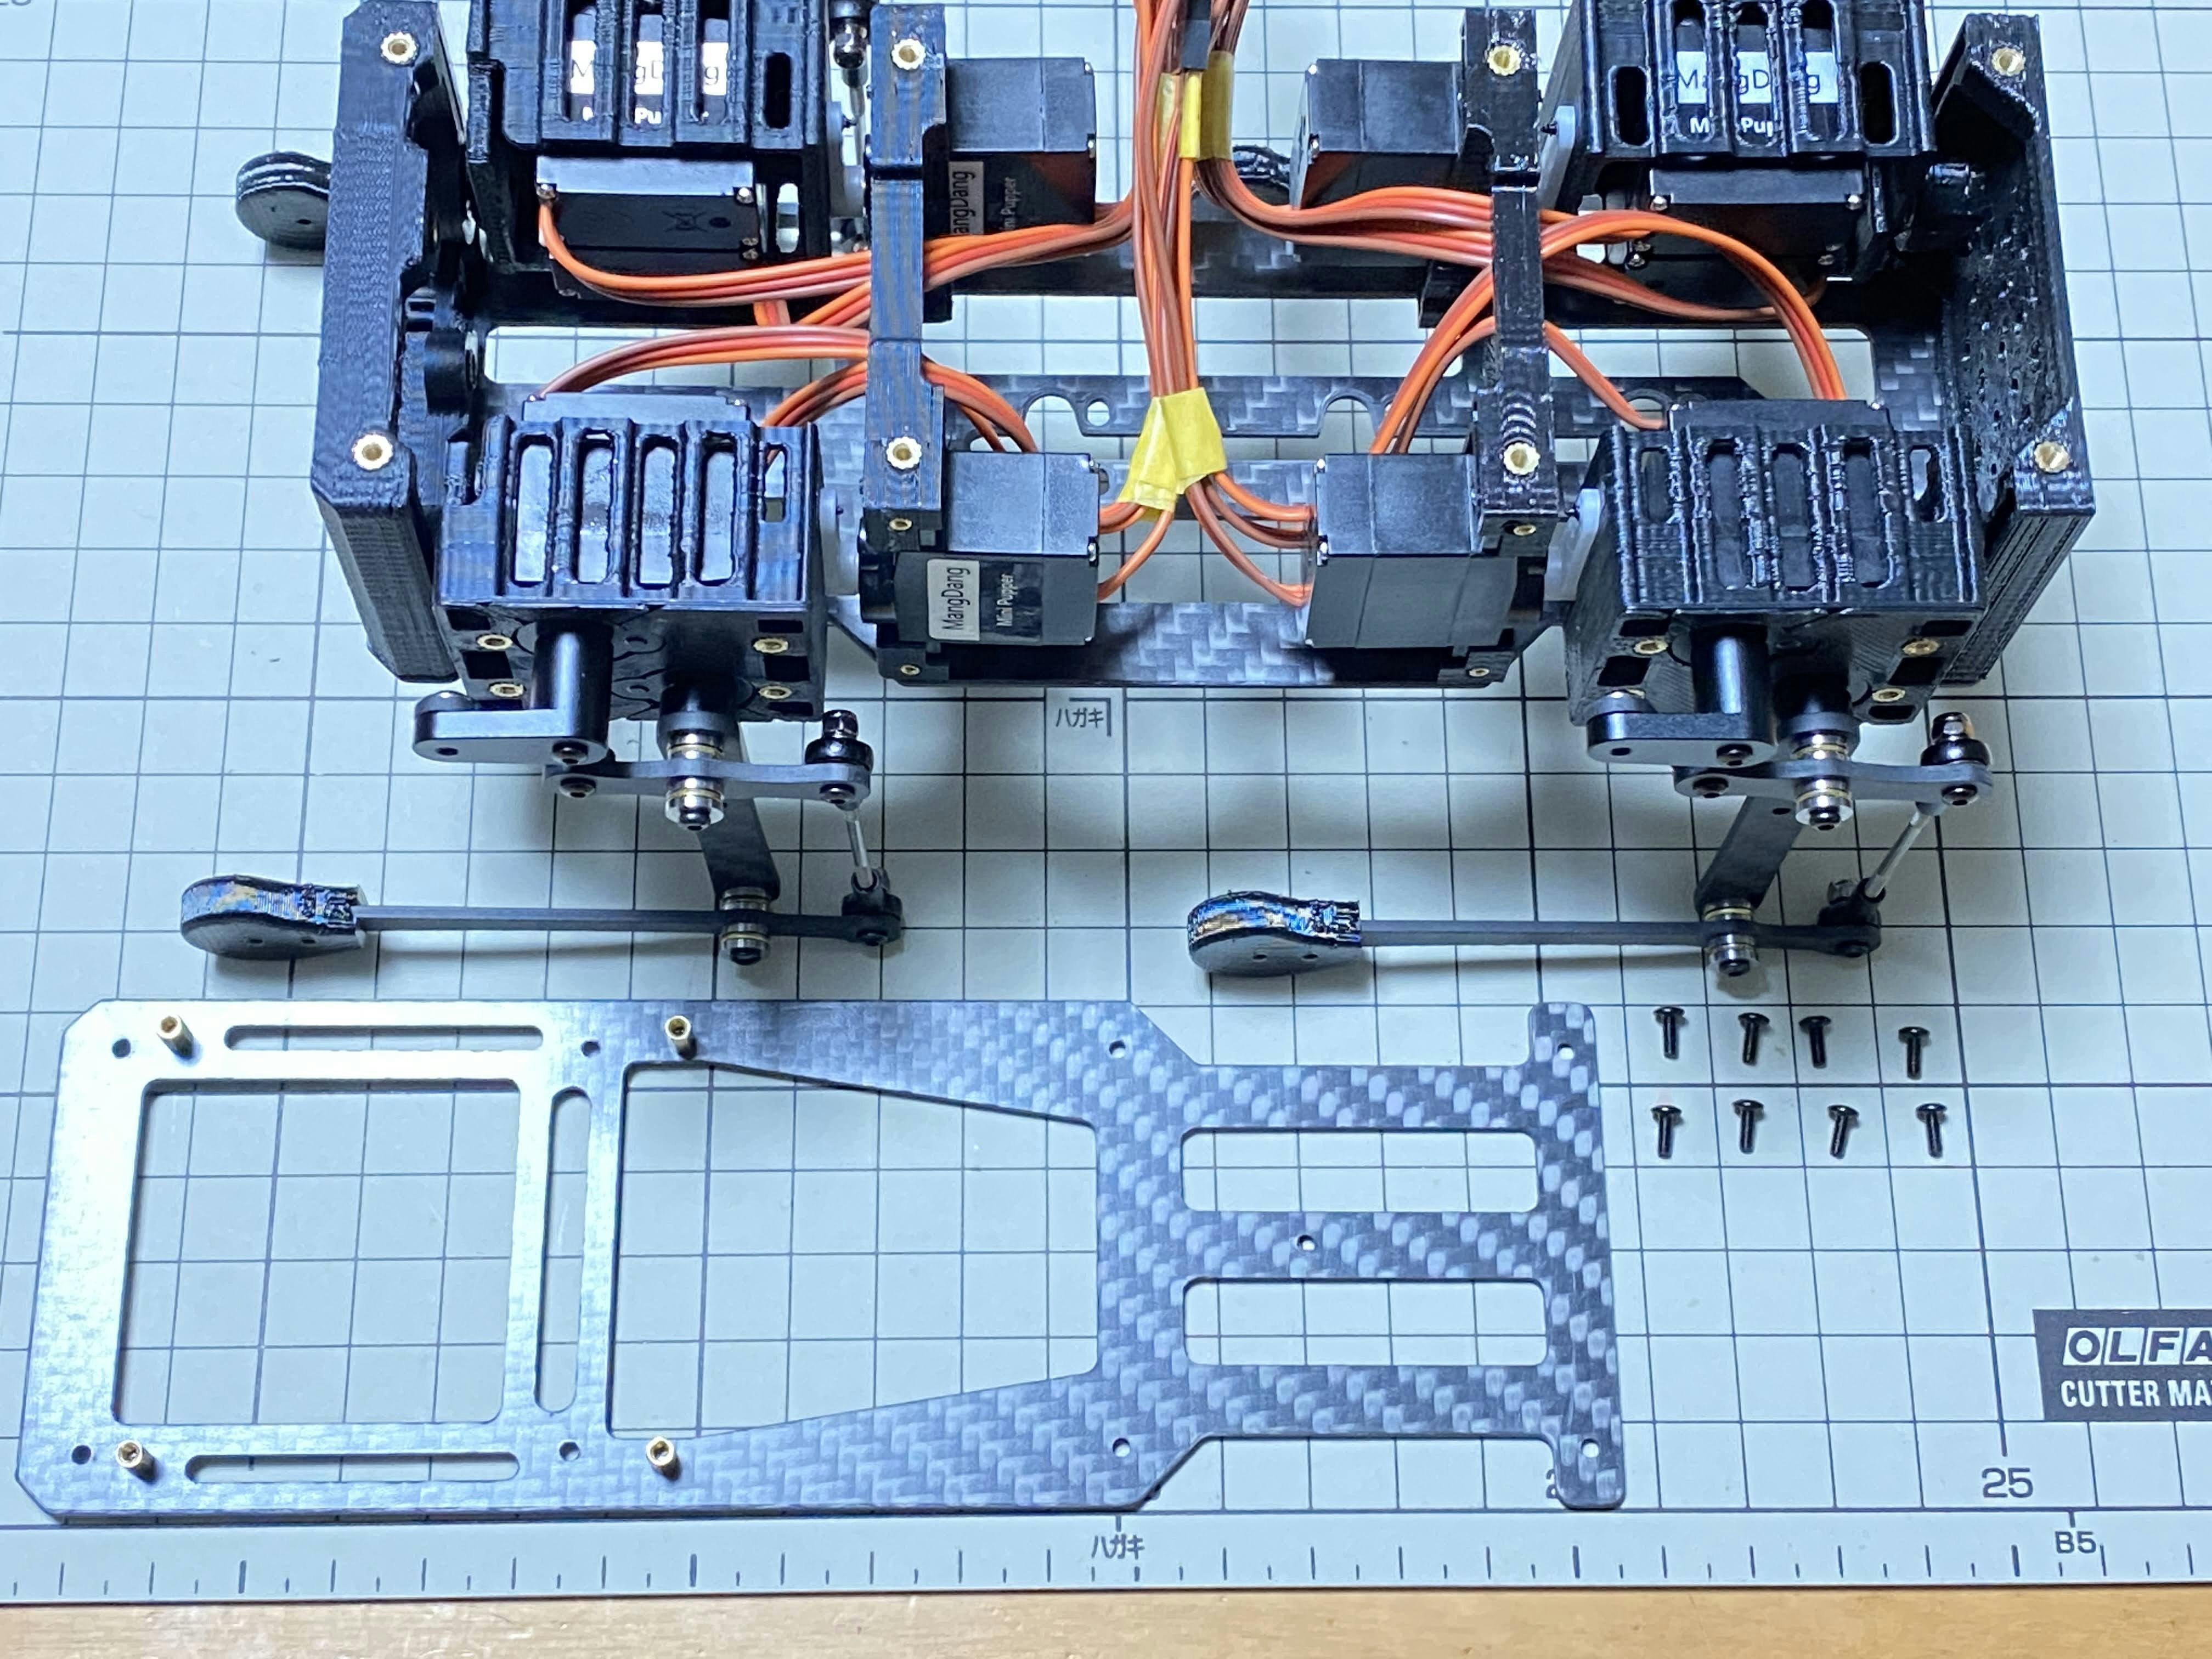
ボディフレームの組み立て / Assemble the body frame
前部の組み立て / Assemble front side
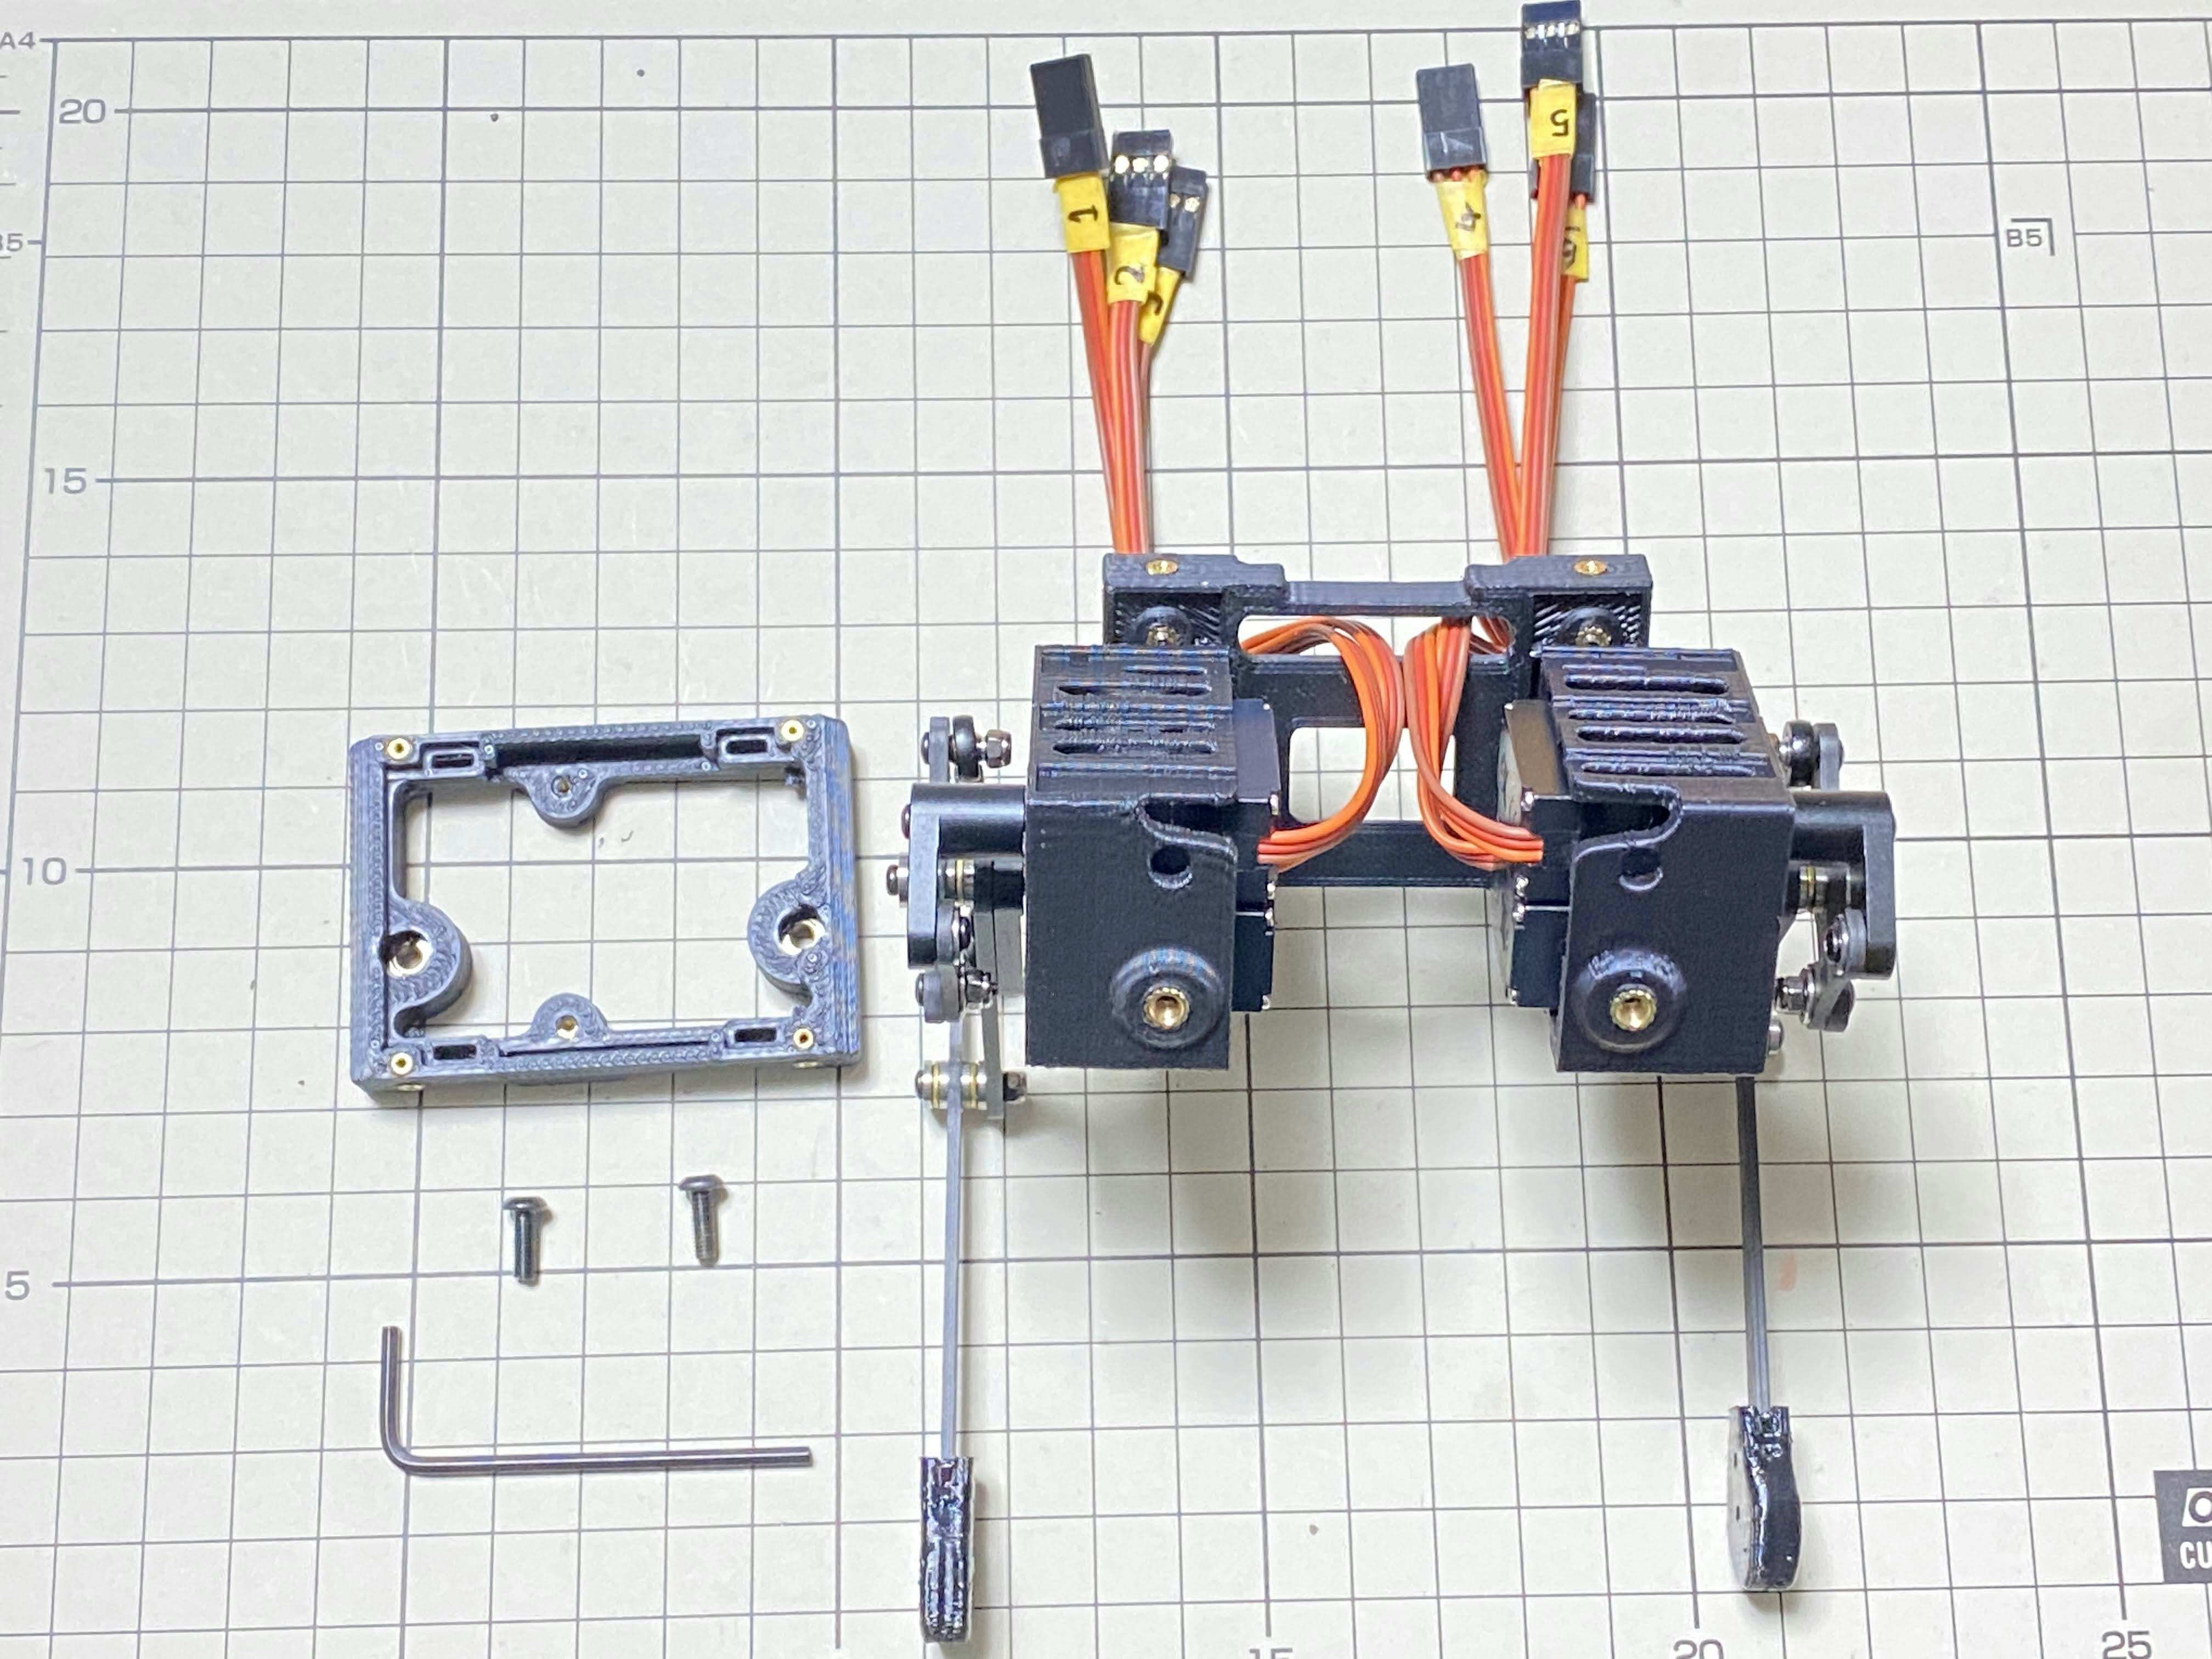
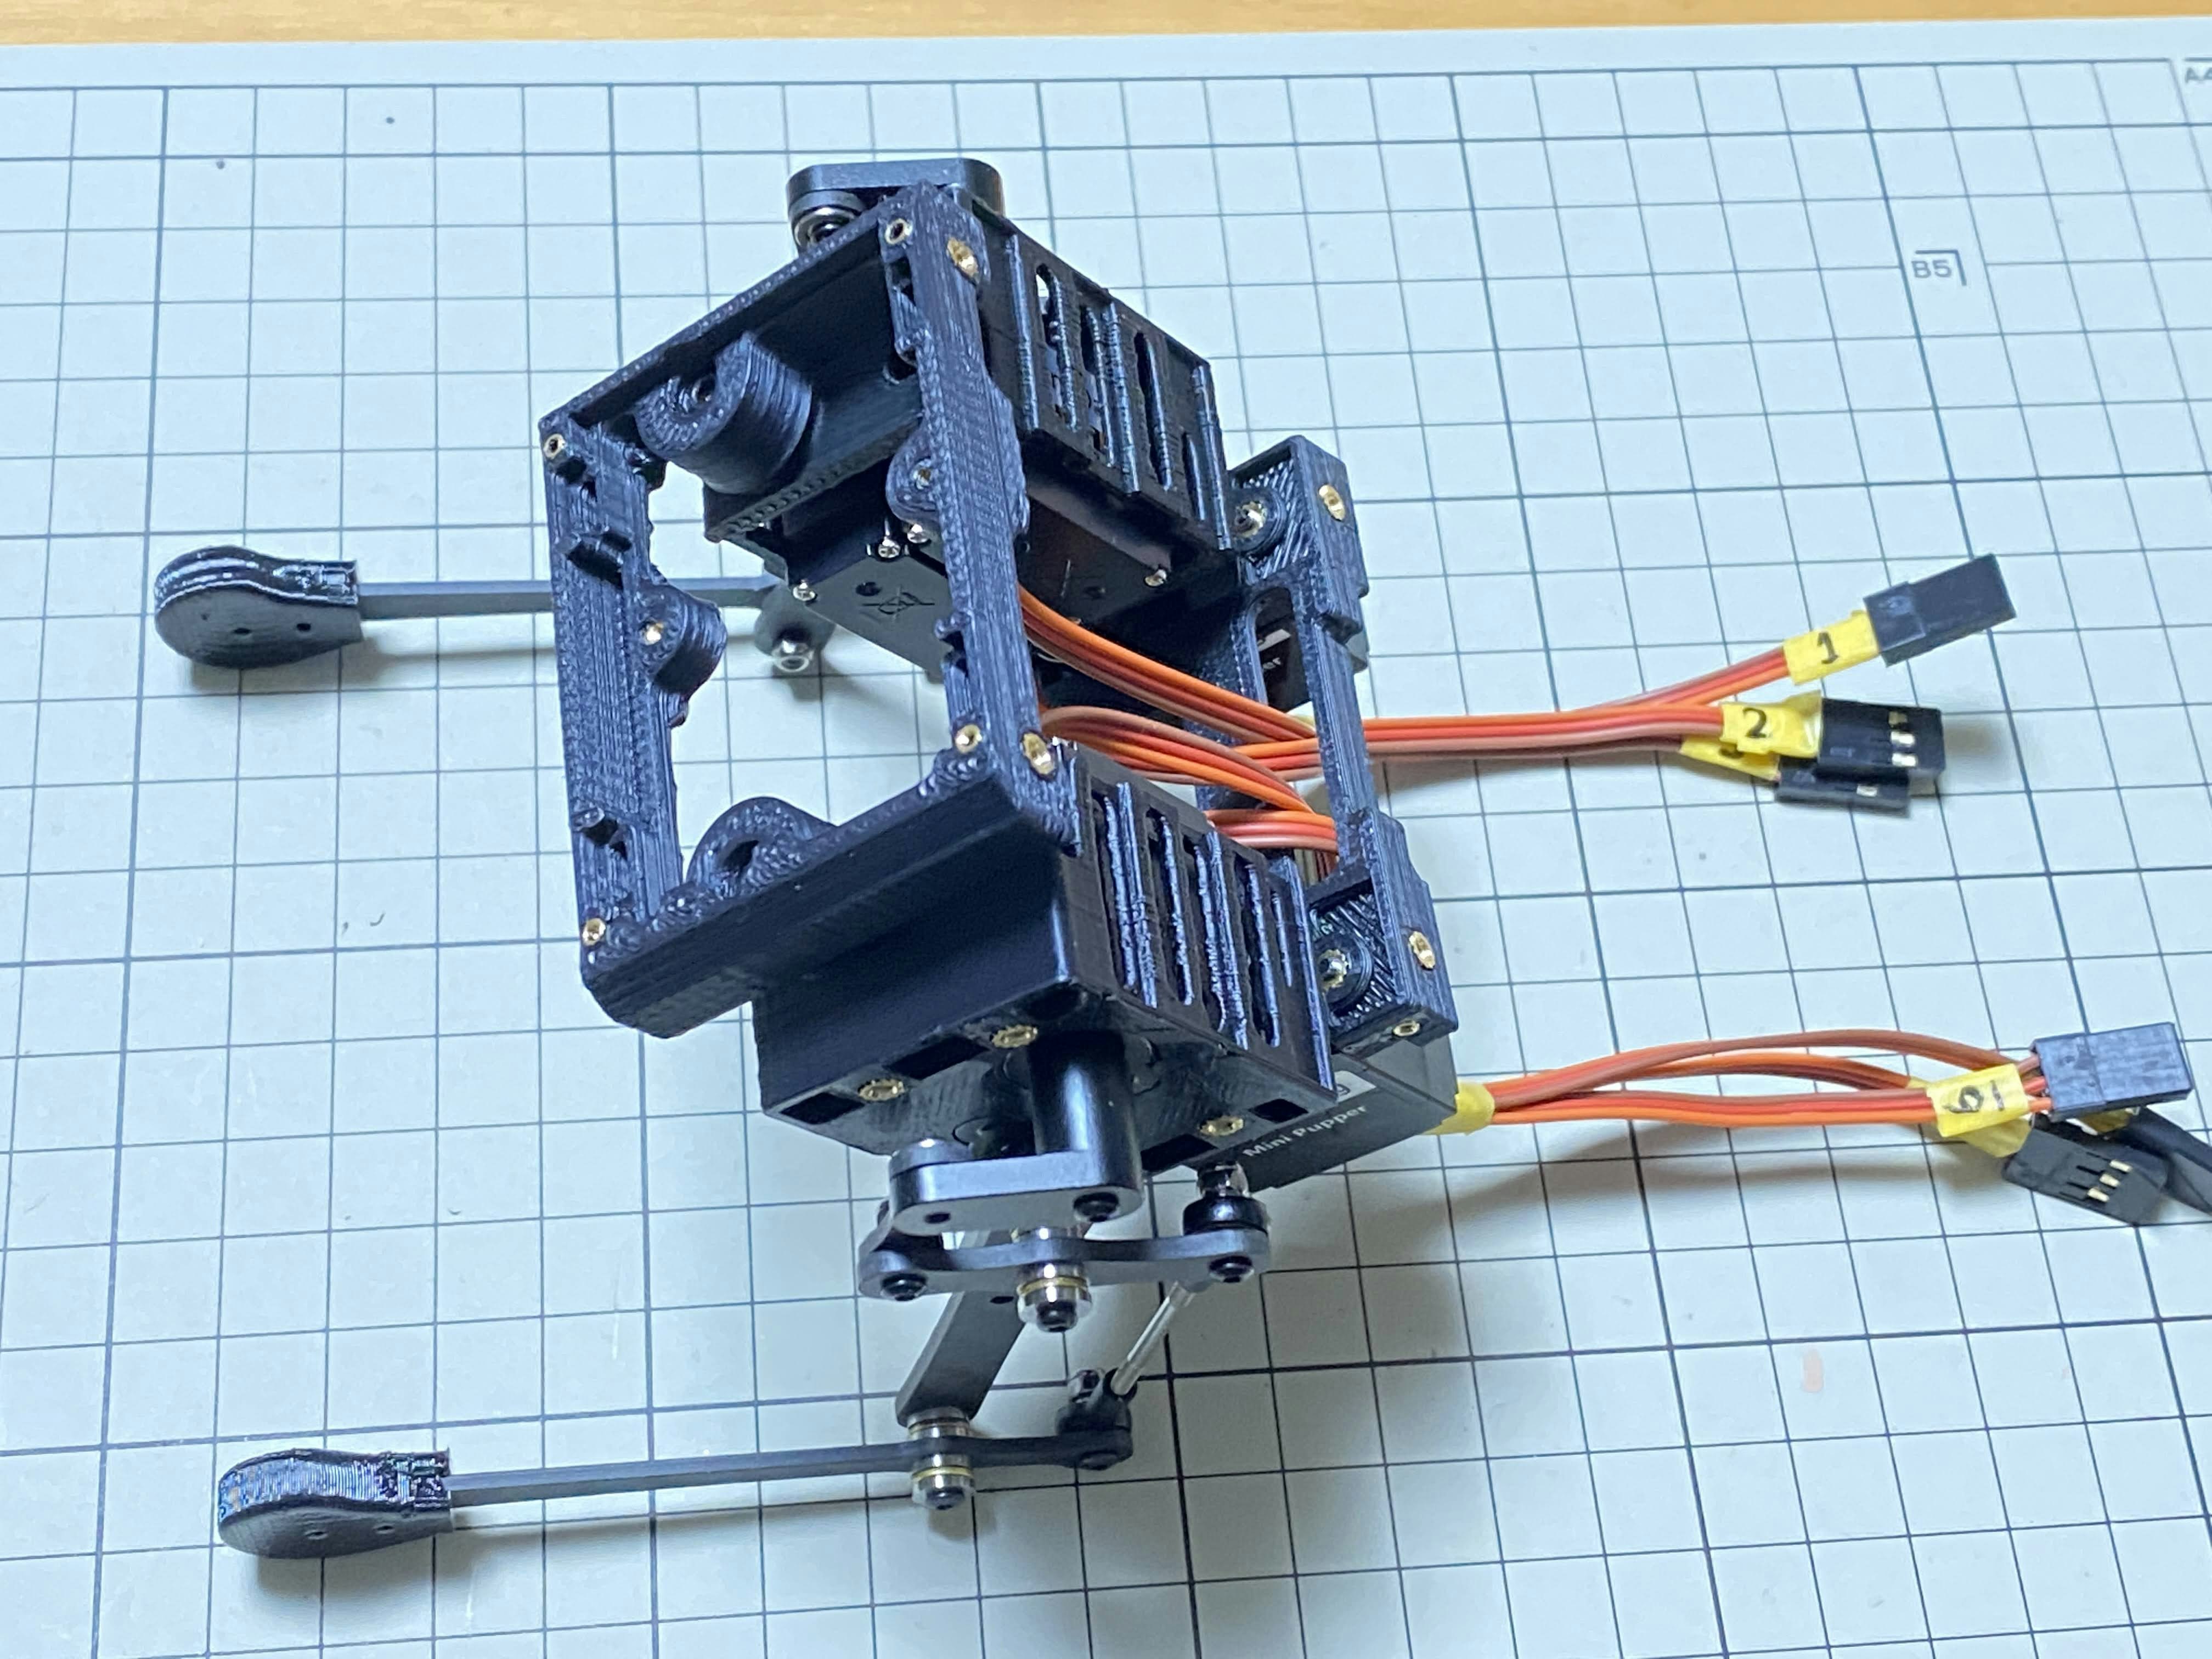
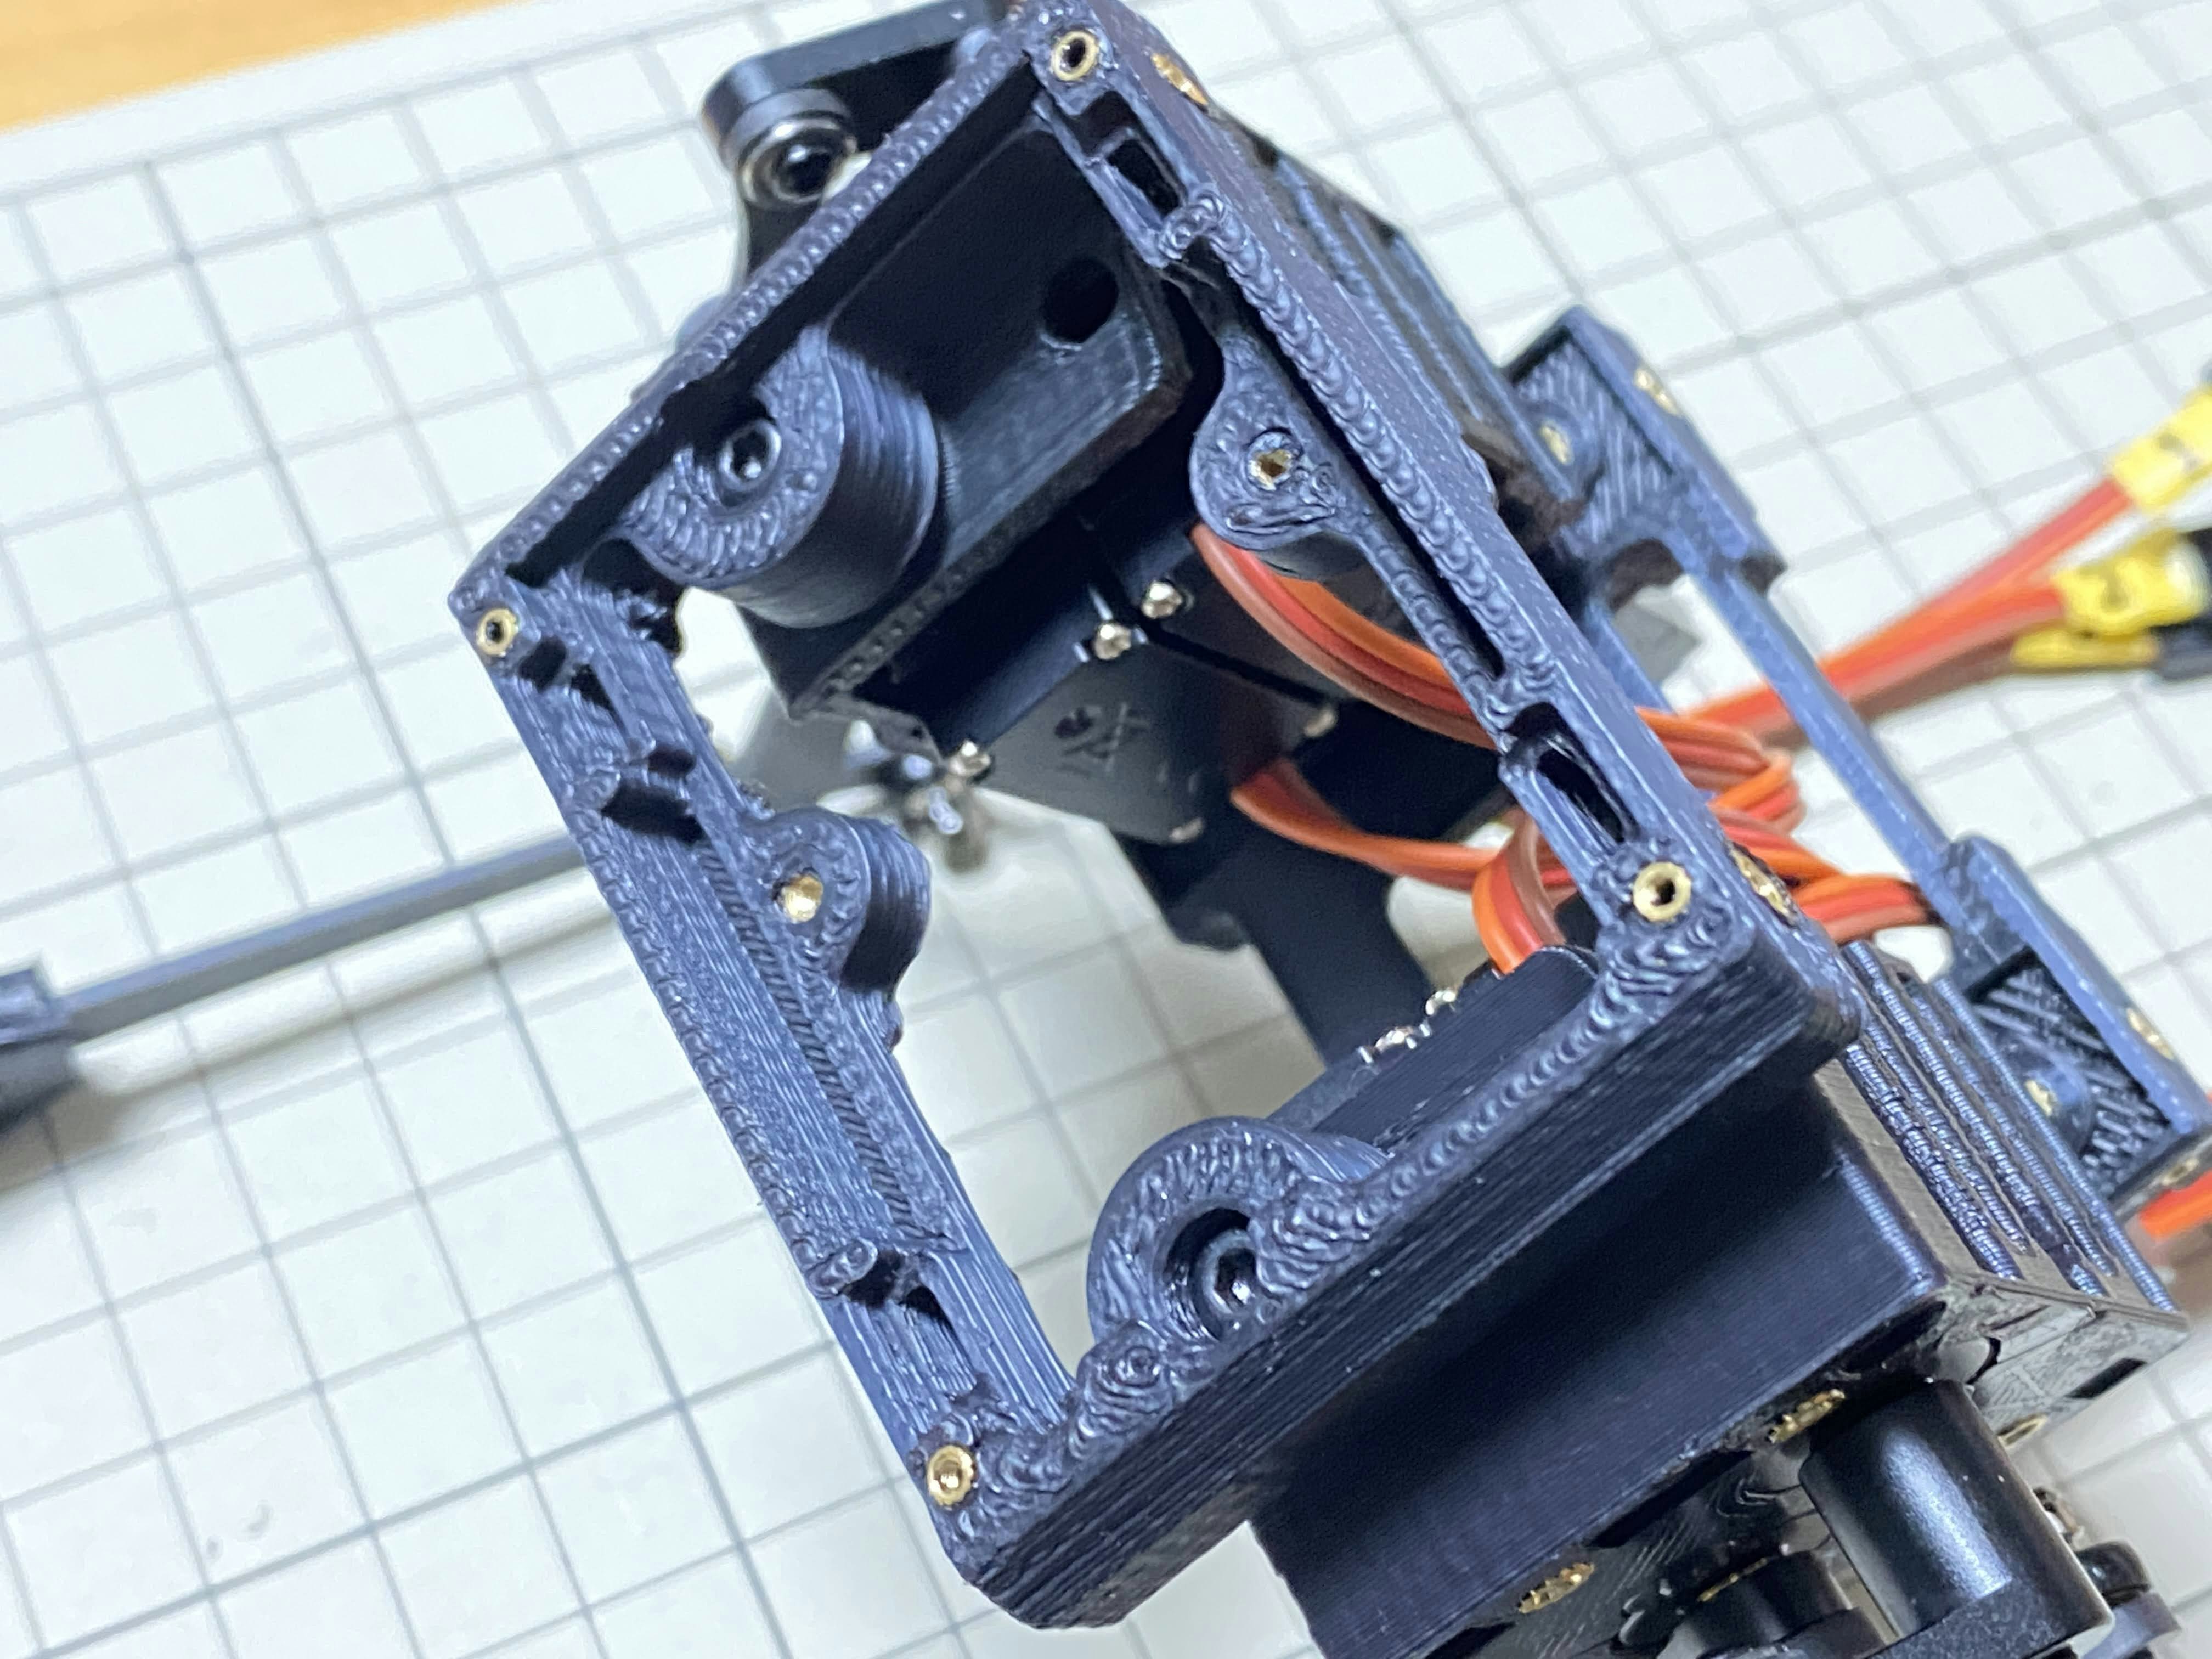
中央パーツの組み立て / Assemble center parts
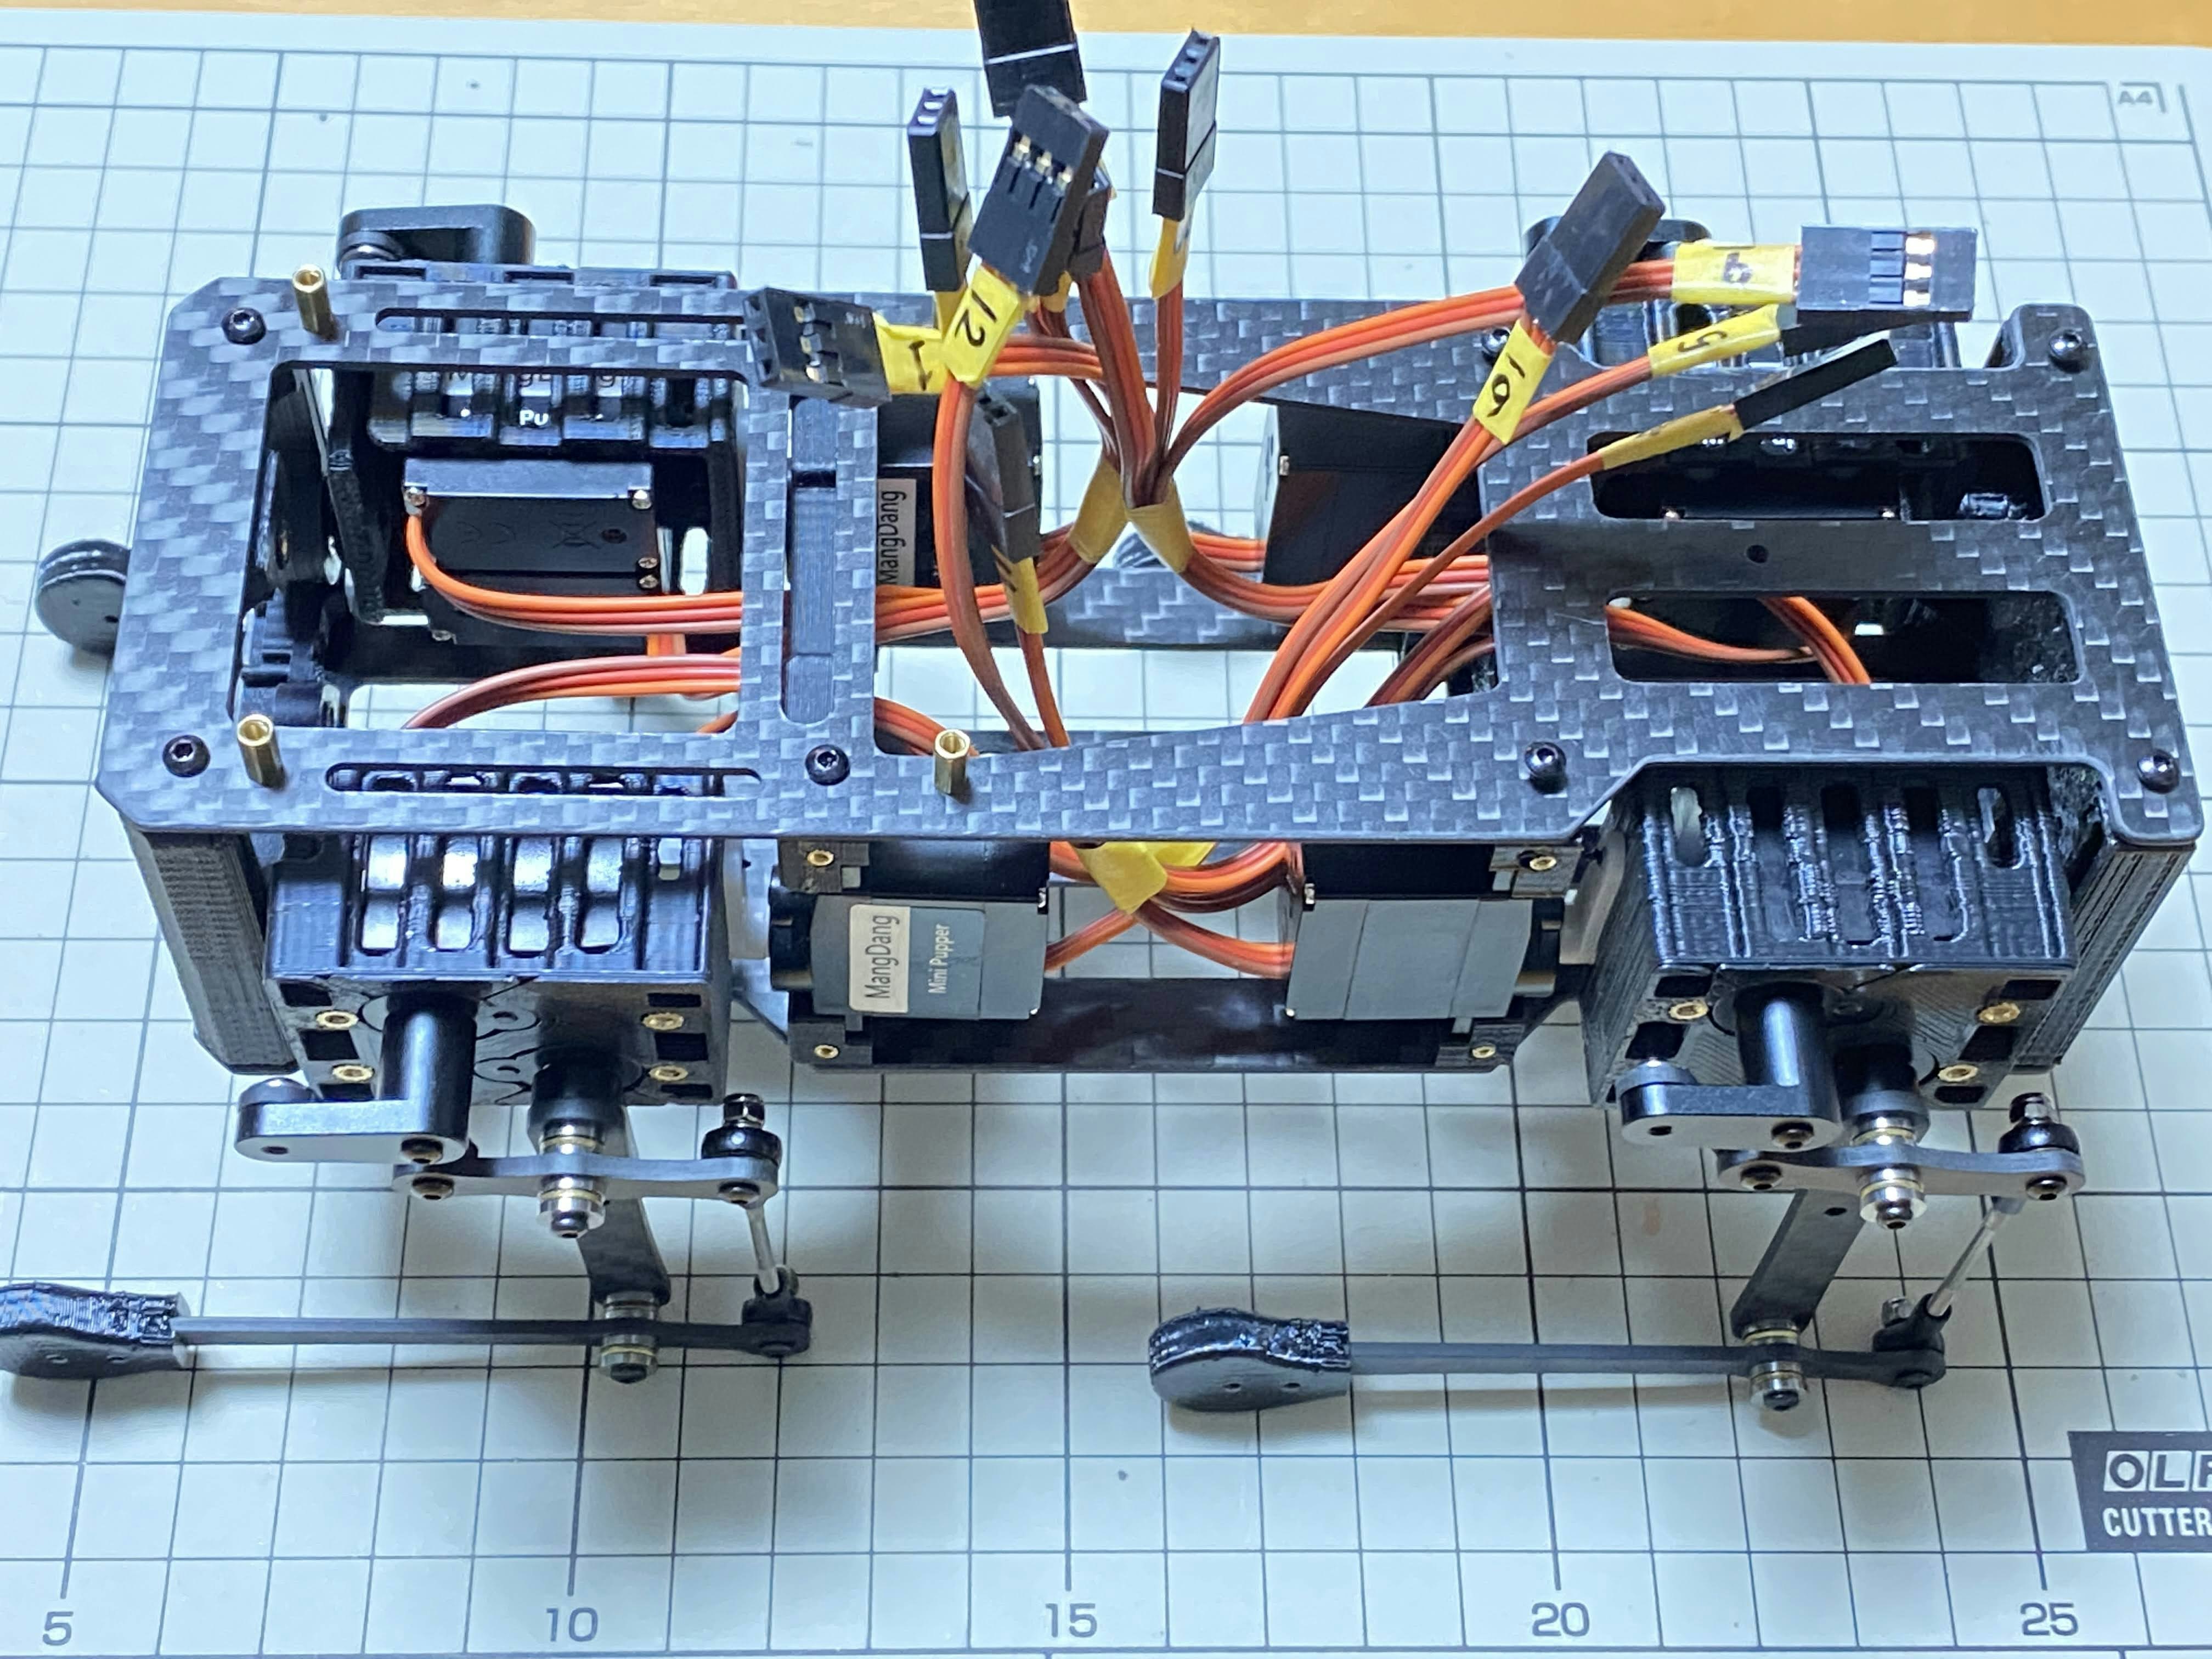
M2x8mmのボルト4本を使って取り付けます。この工程でケーブルにマスキングテープを貼り番号を書くと、後で楽です。
Use four M2x8mm screws. It is useful to put masking tape on the cables during this process to make it easier later.
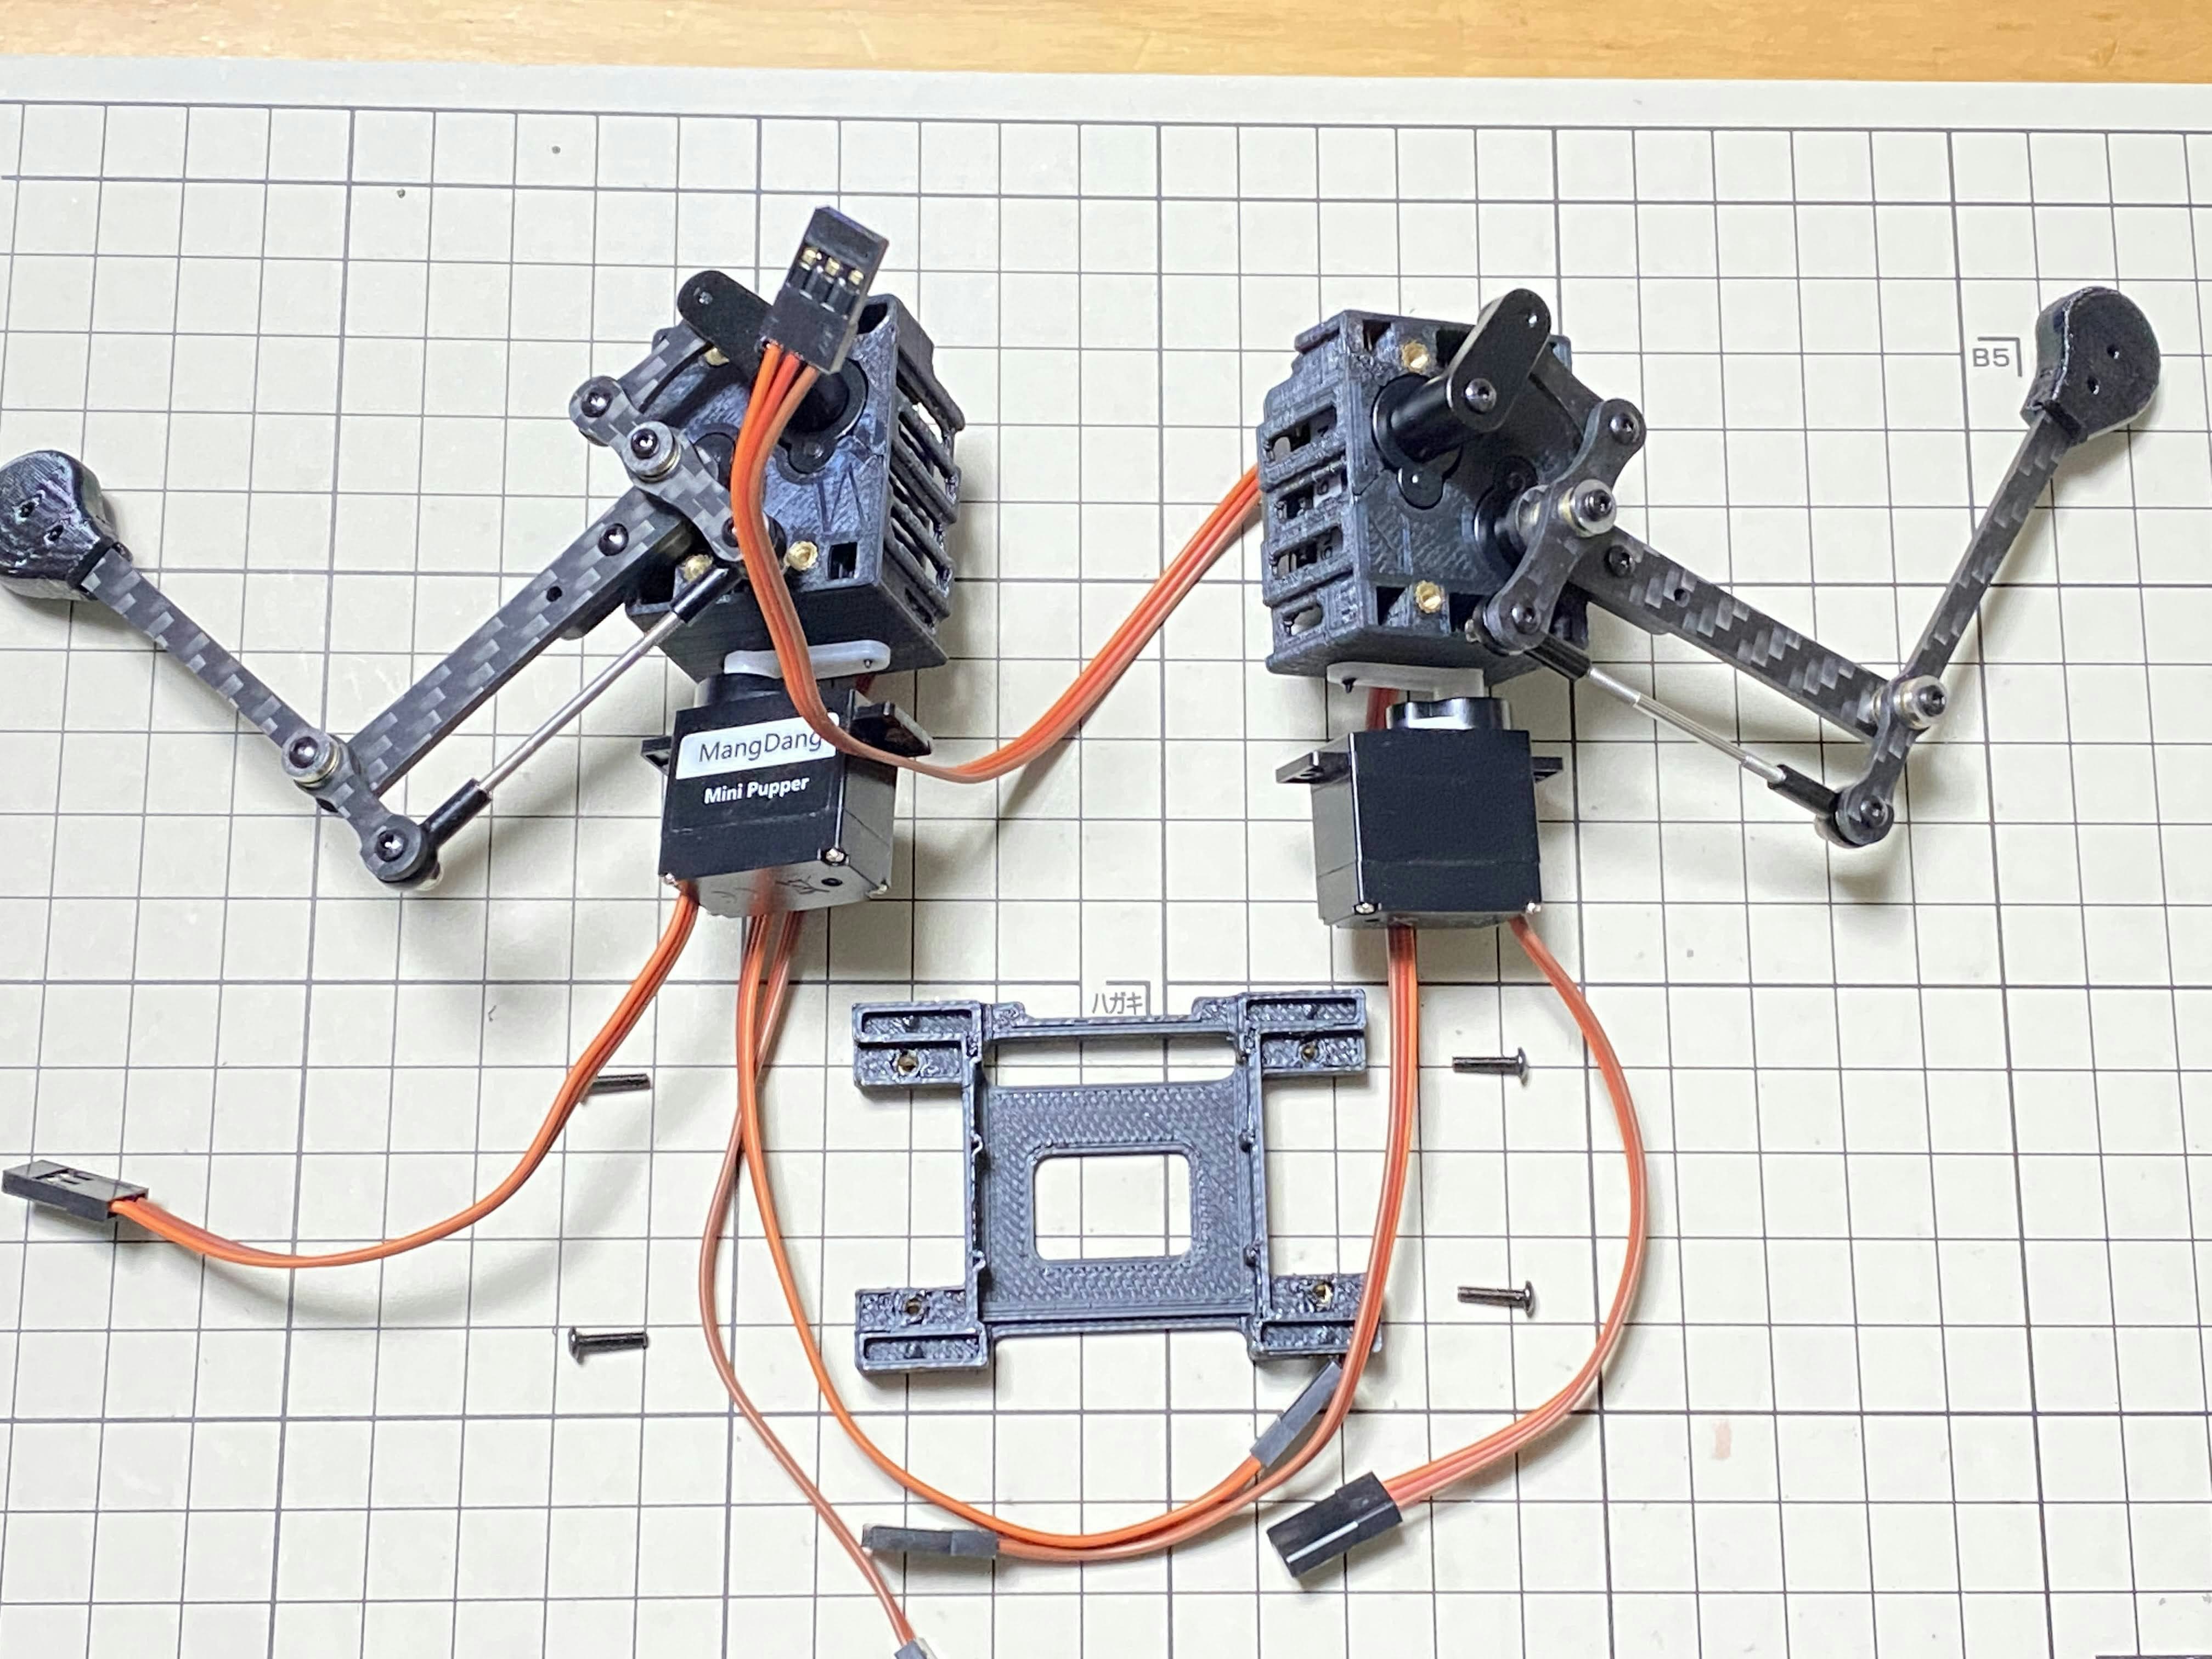
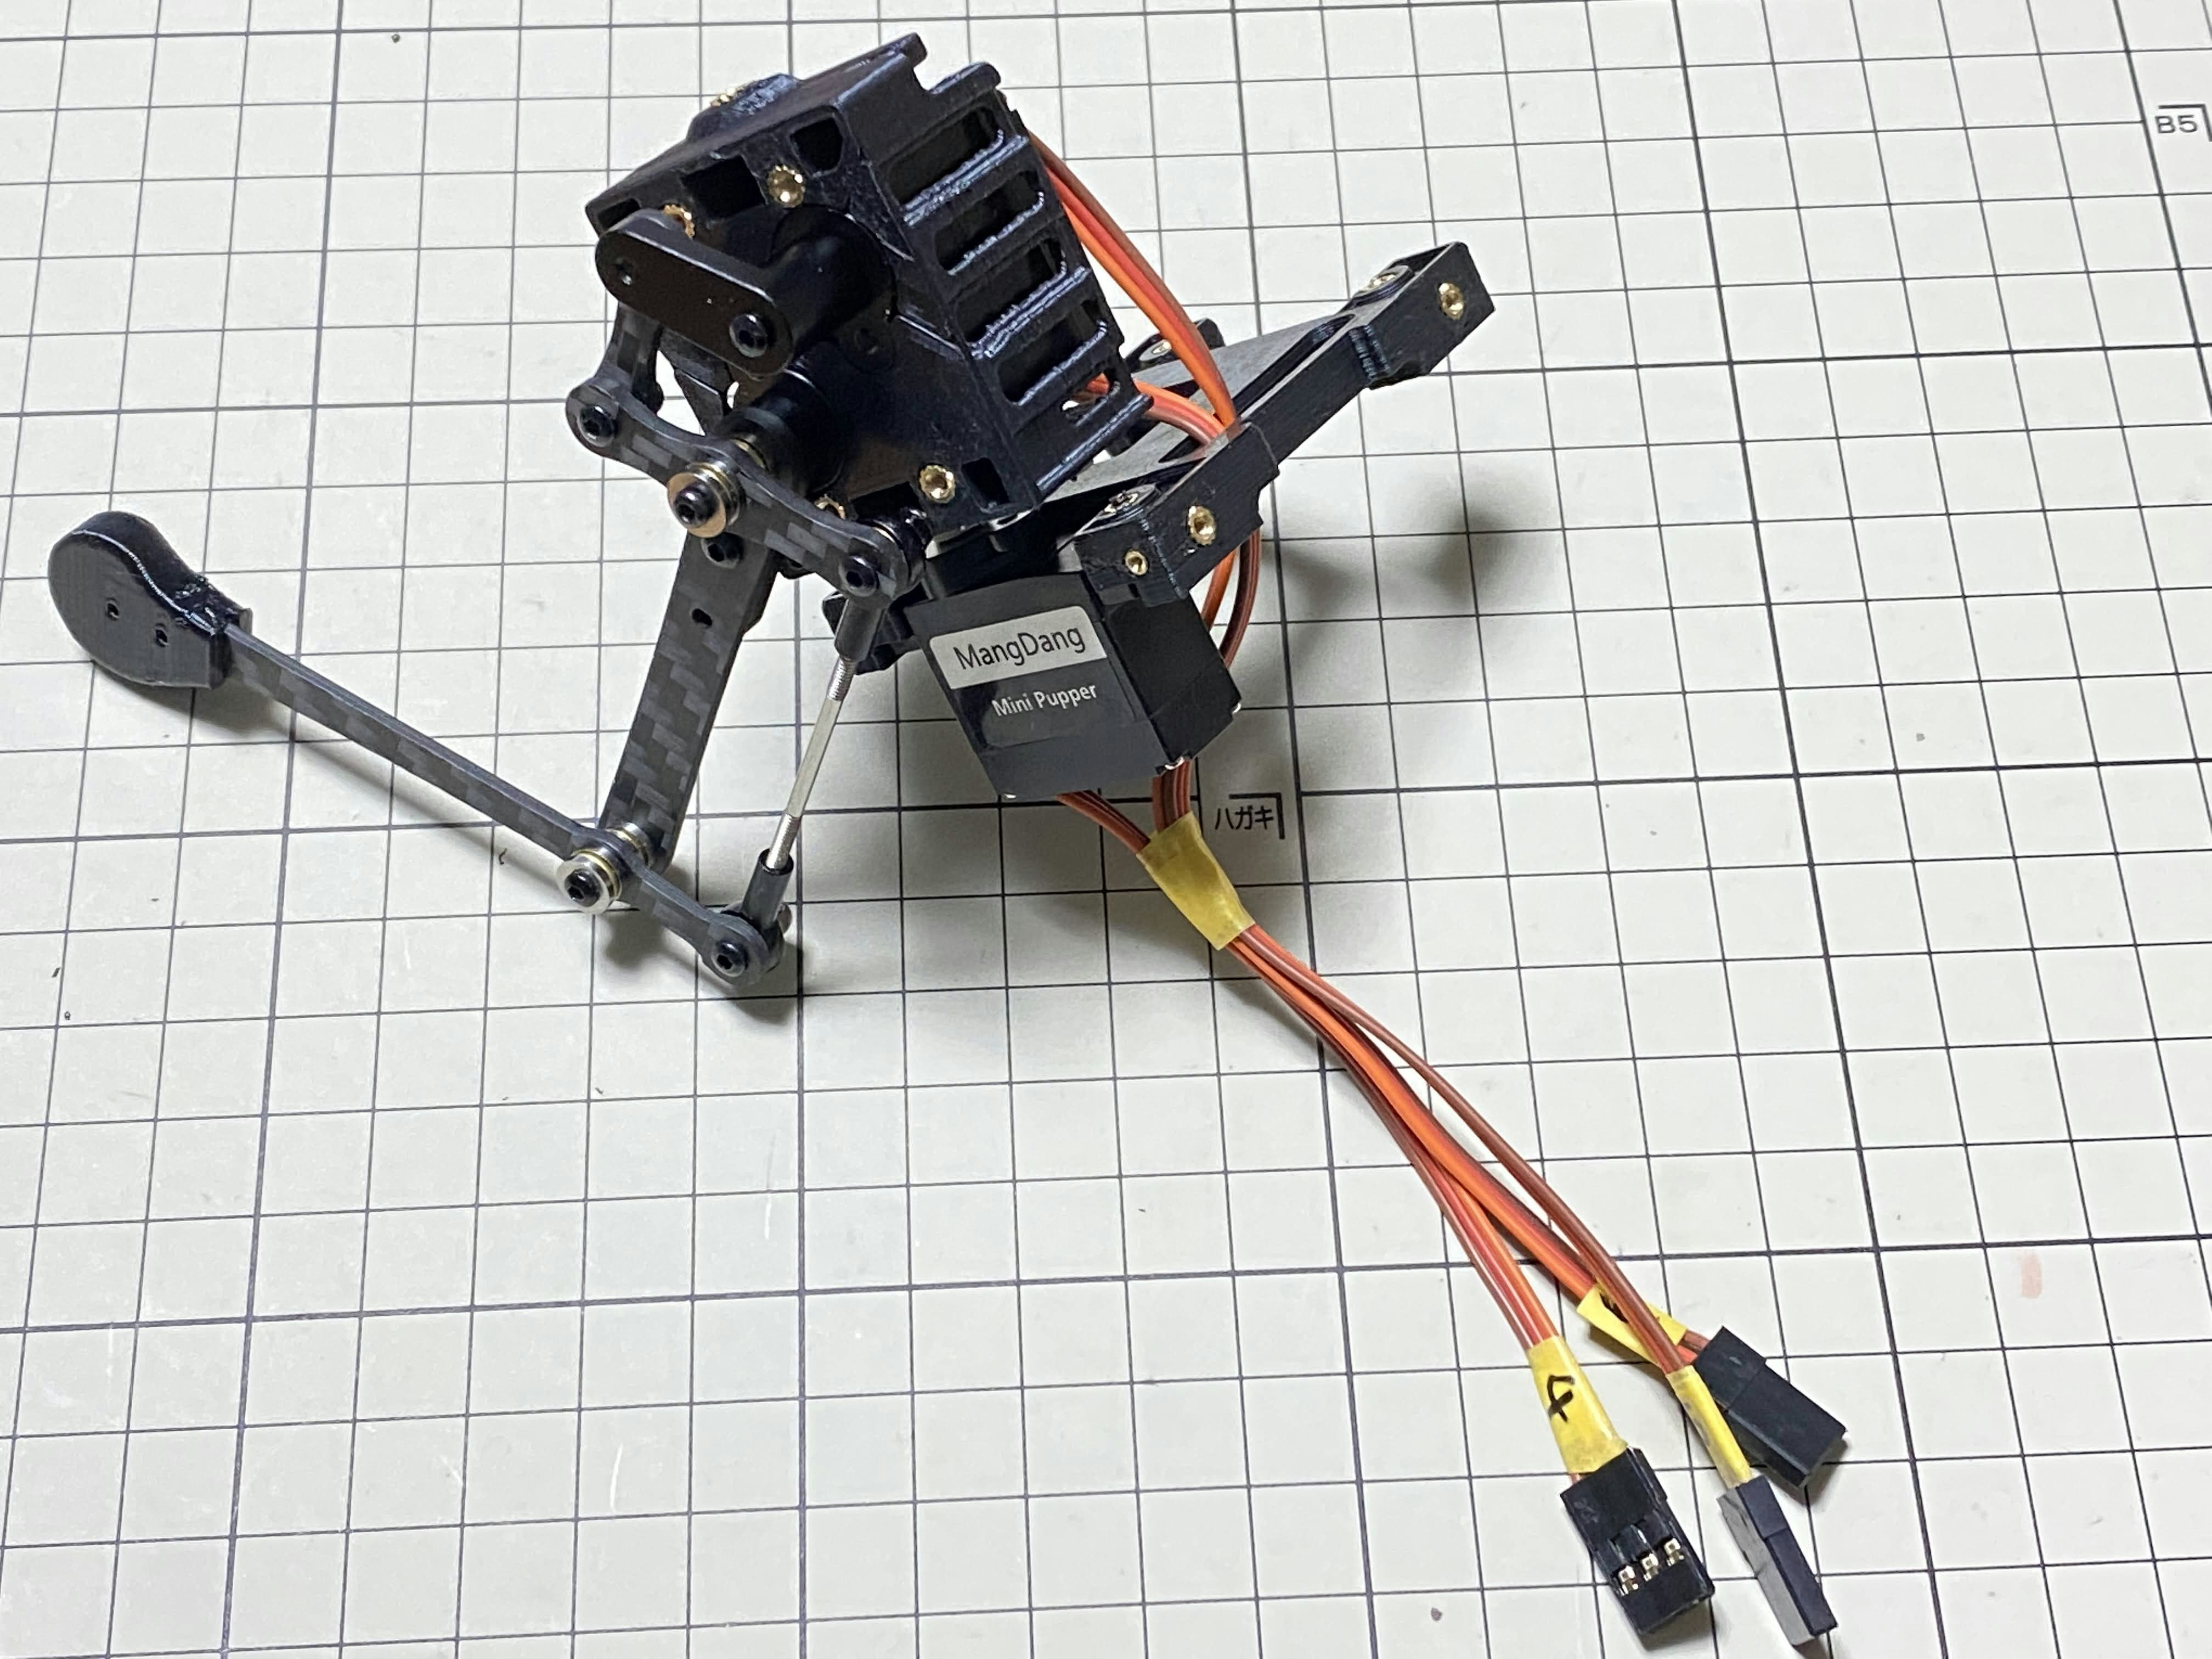
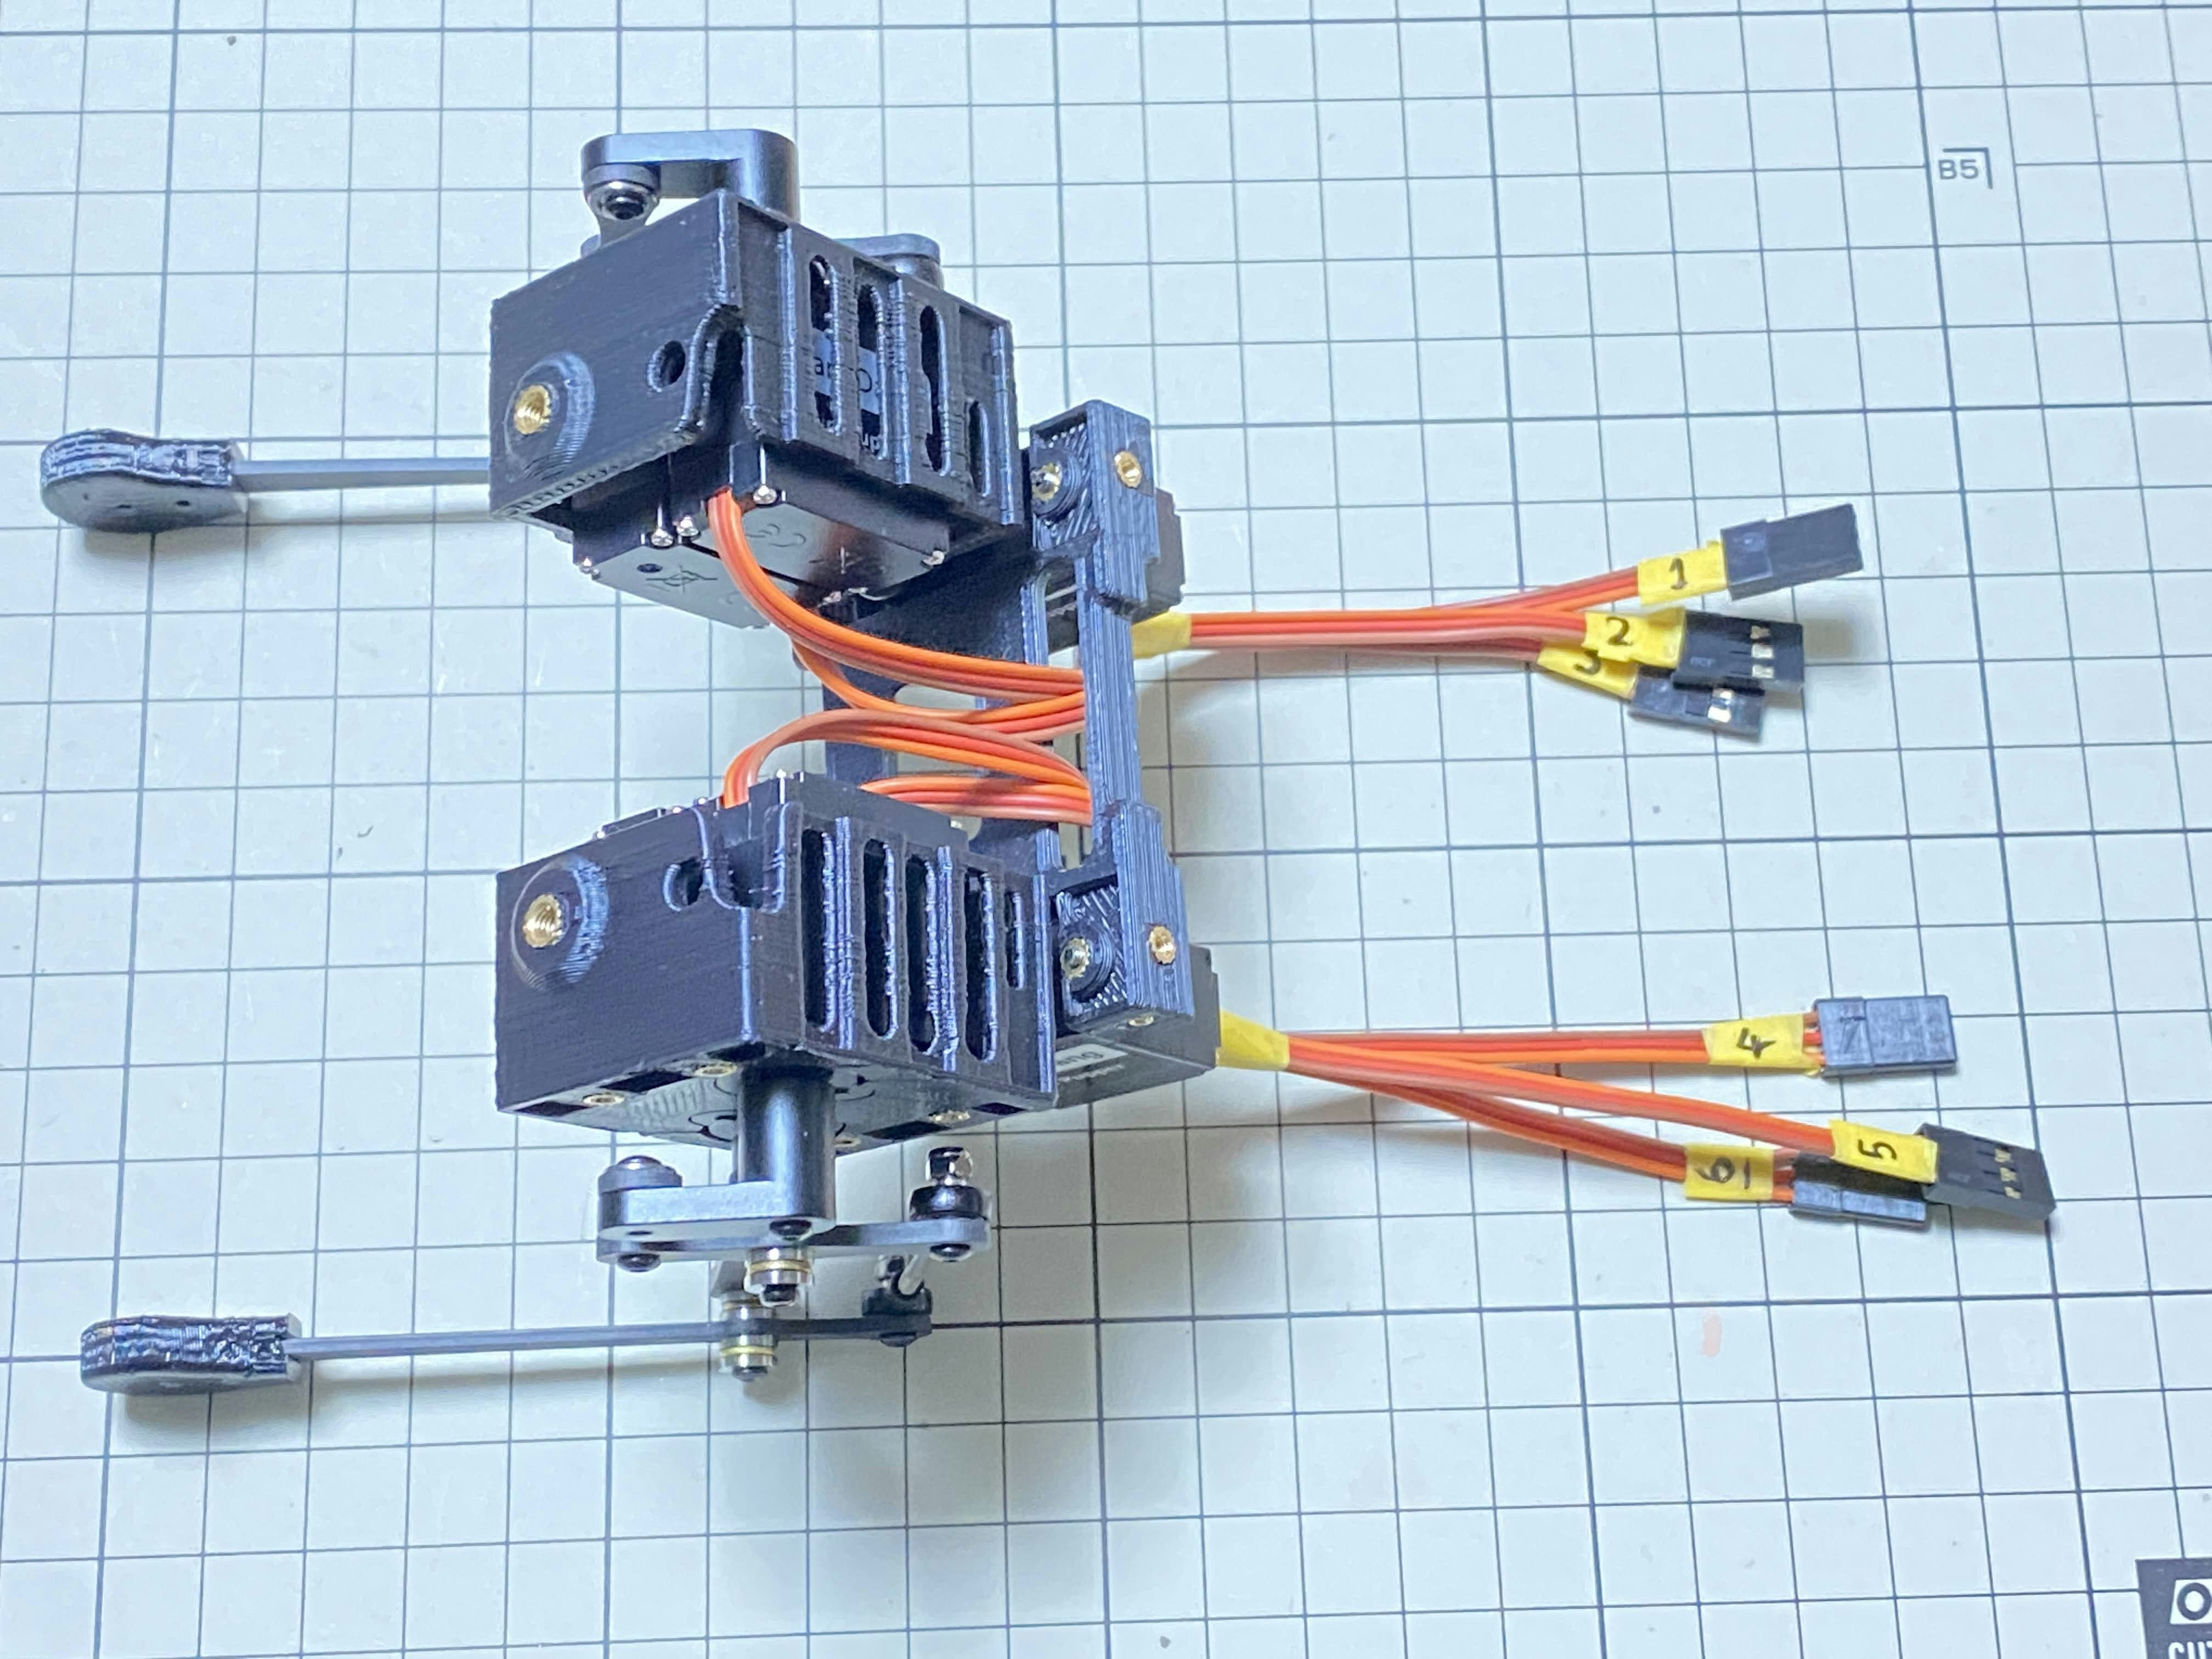
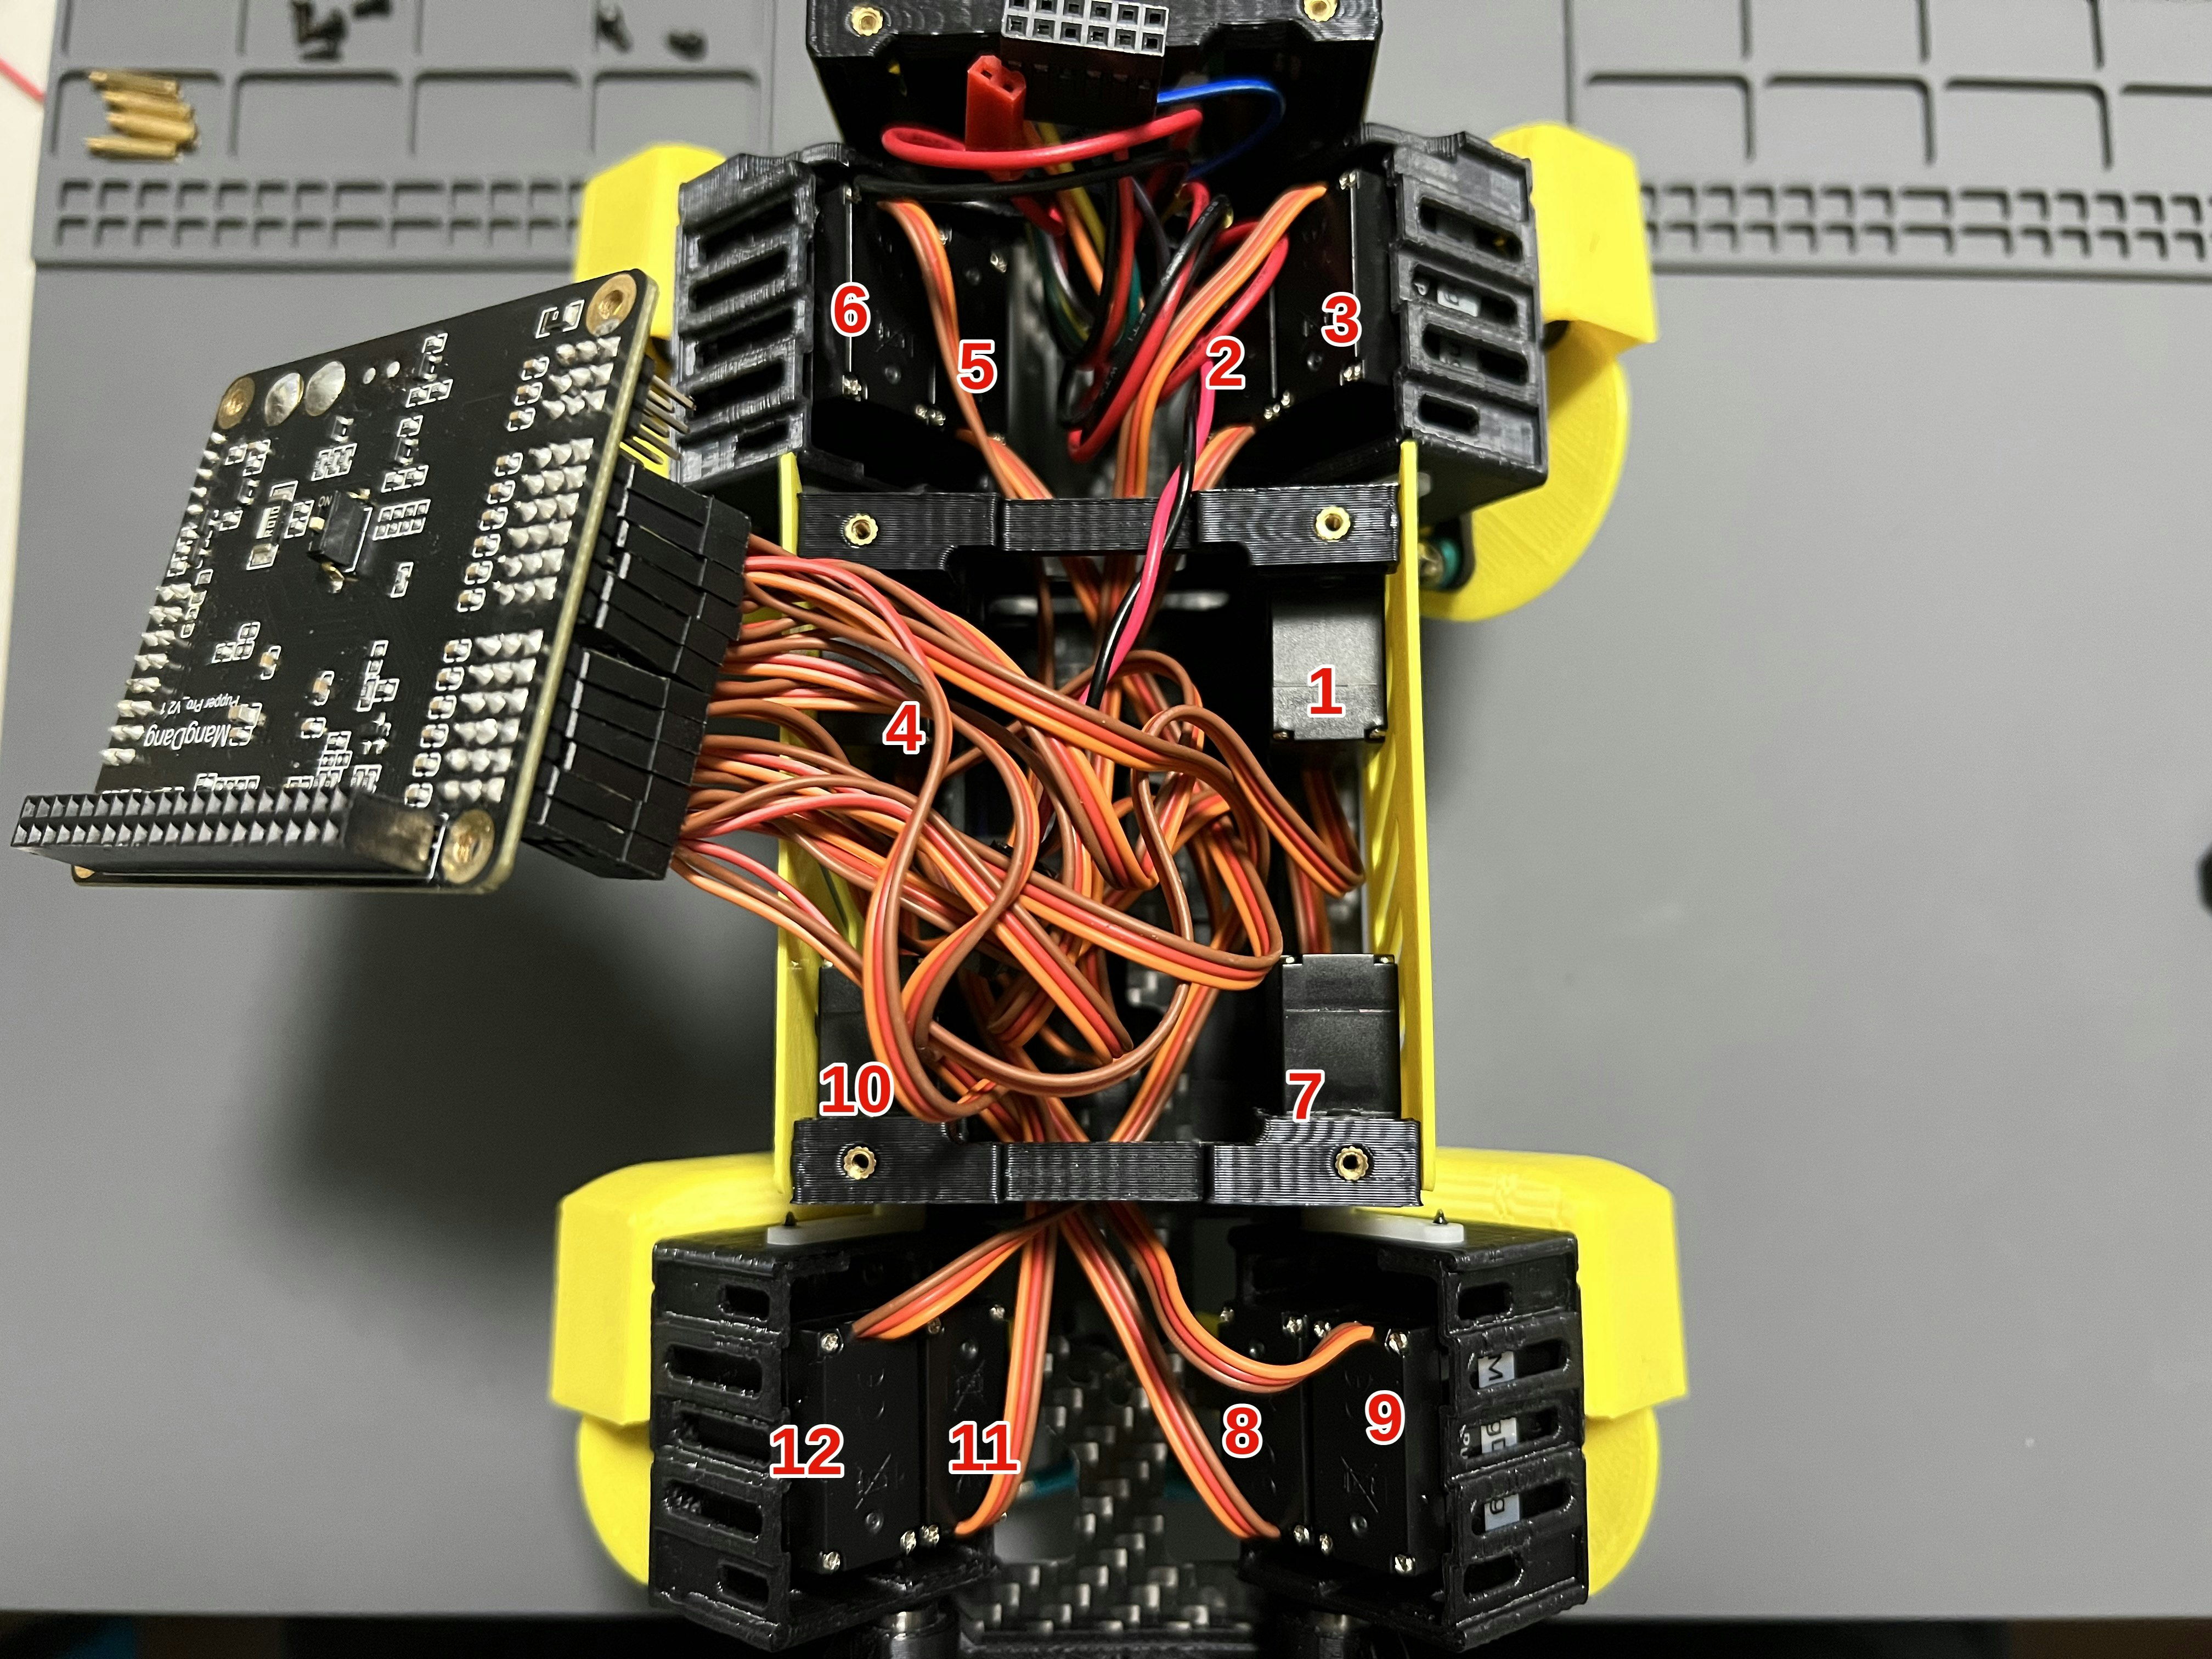
サーボの番号は↓を見ましょう。
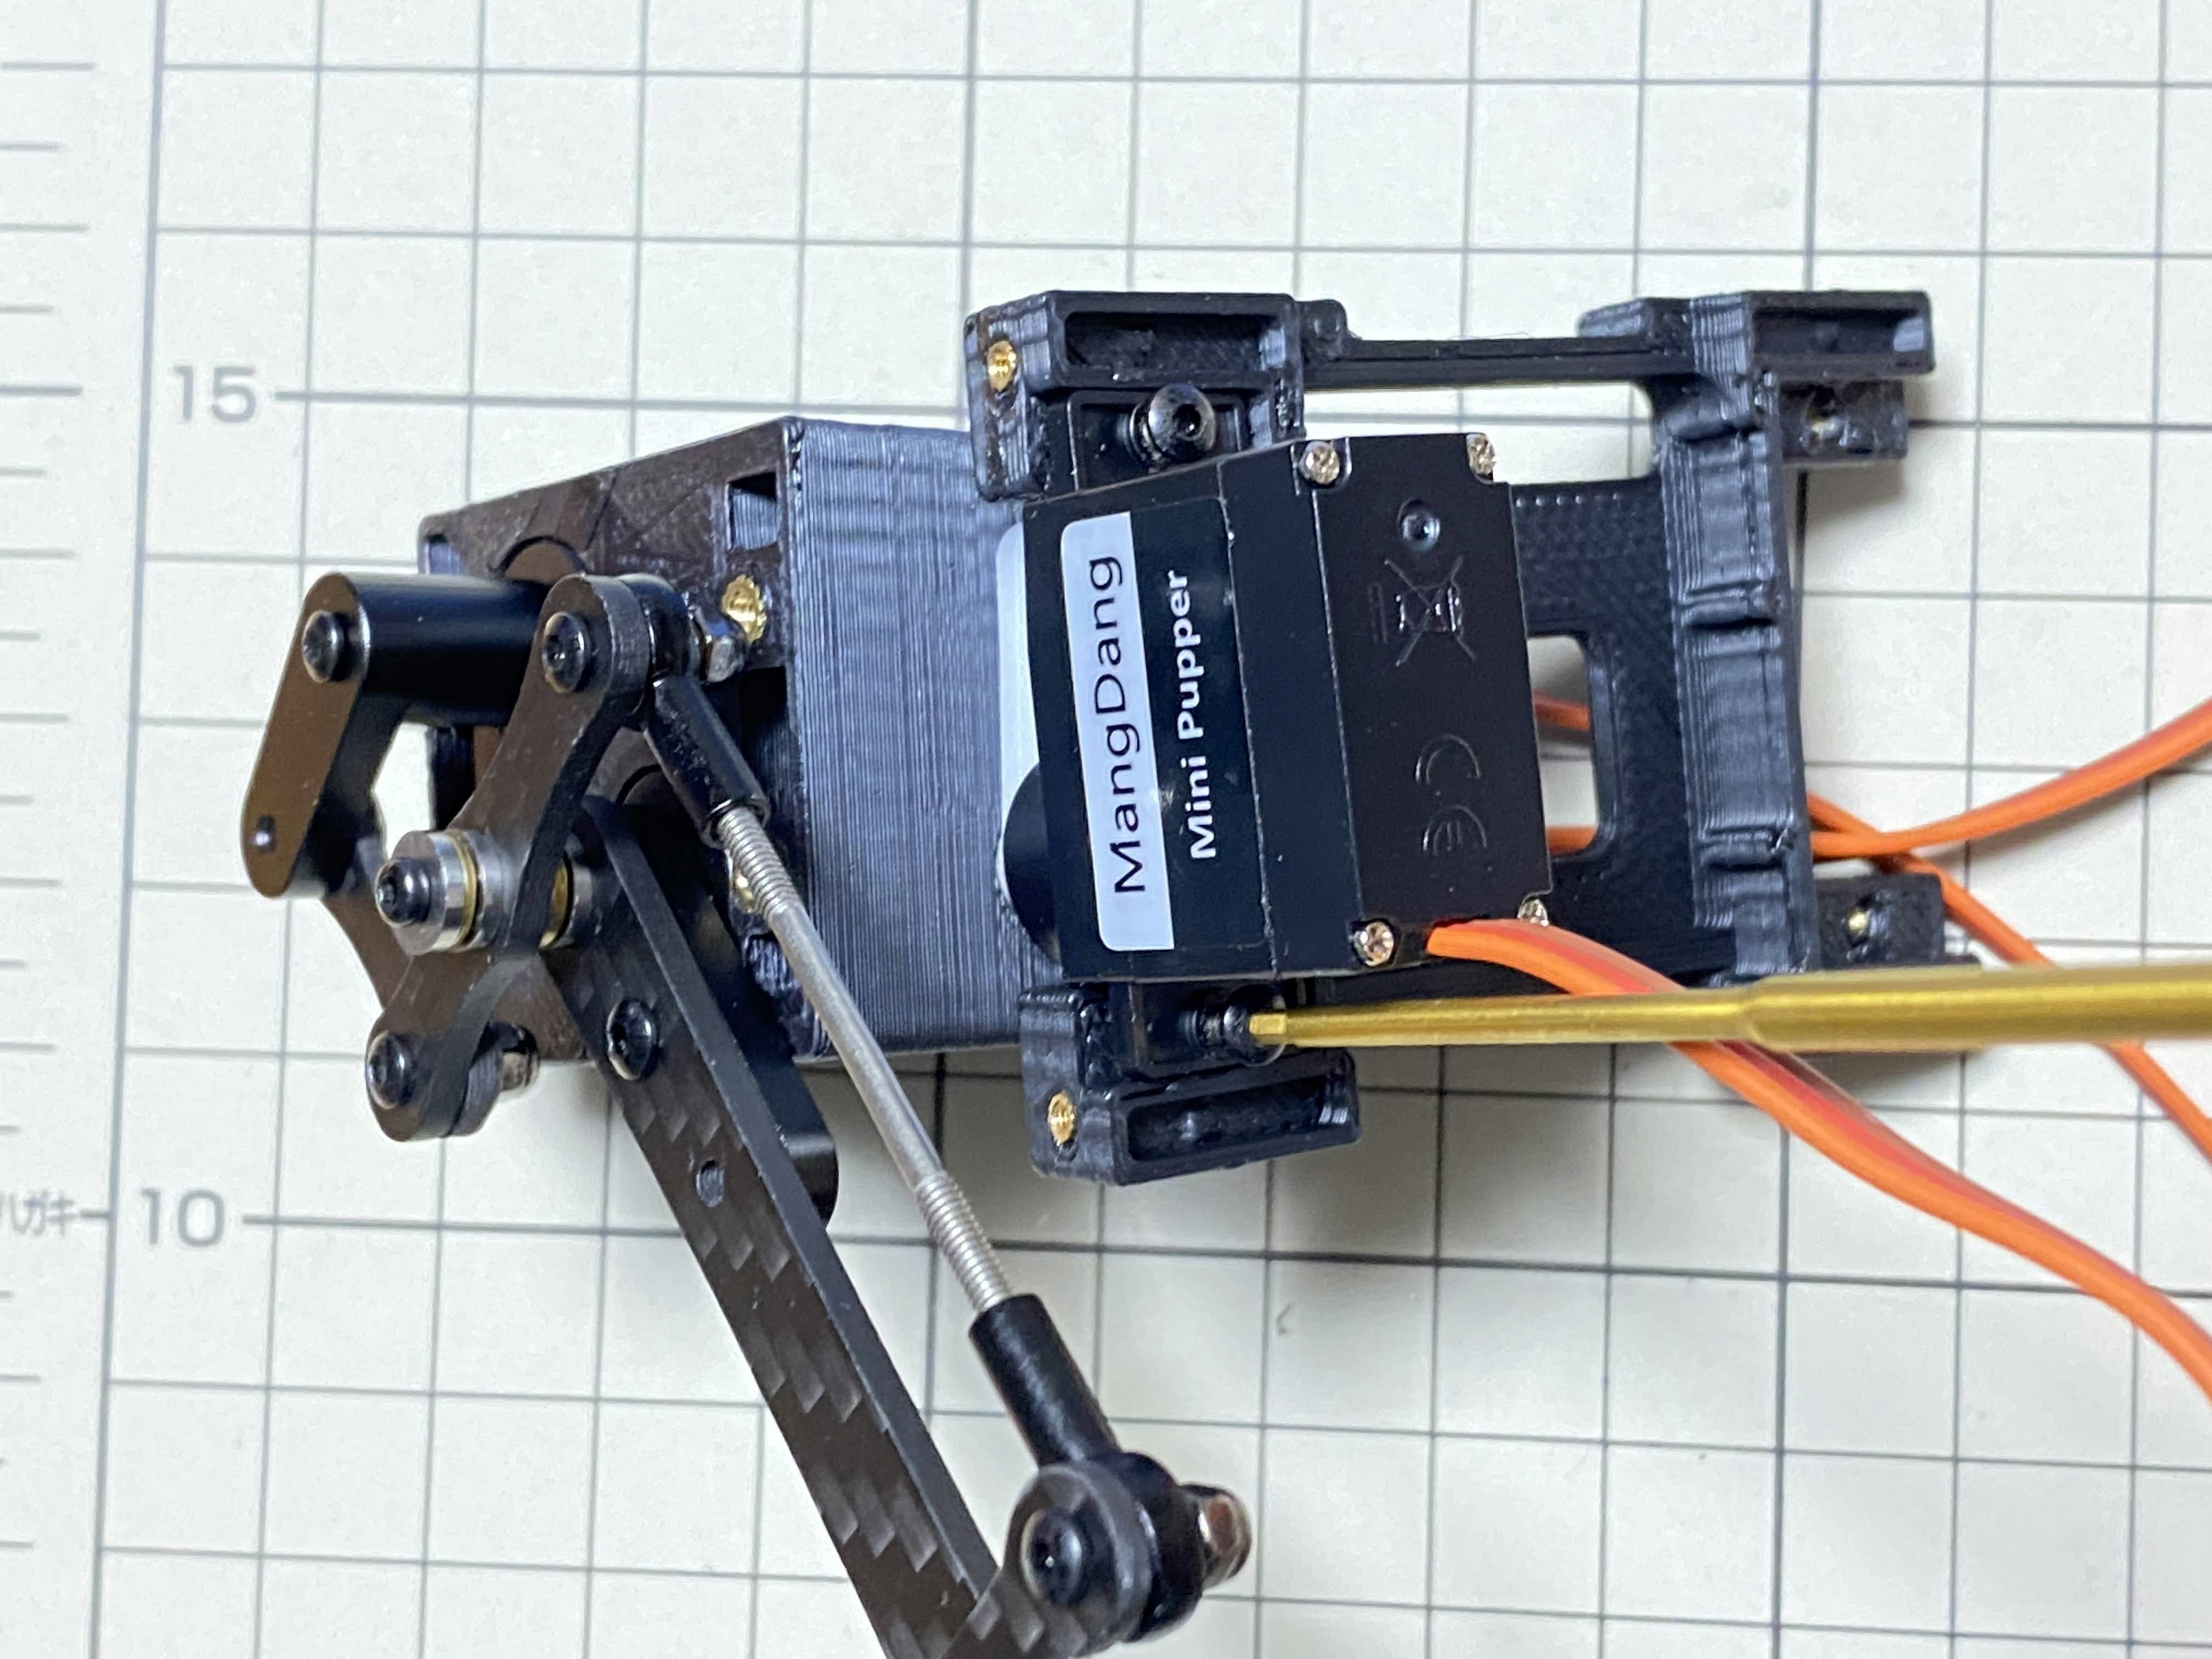
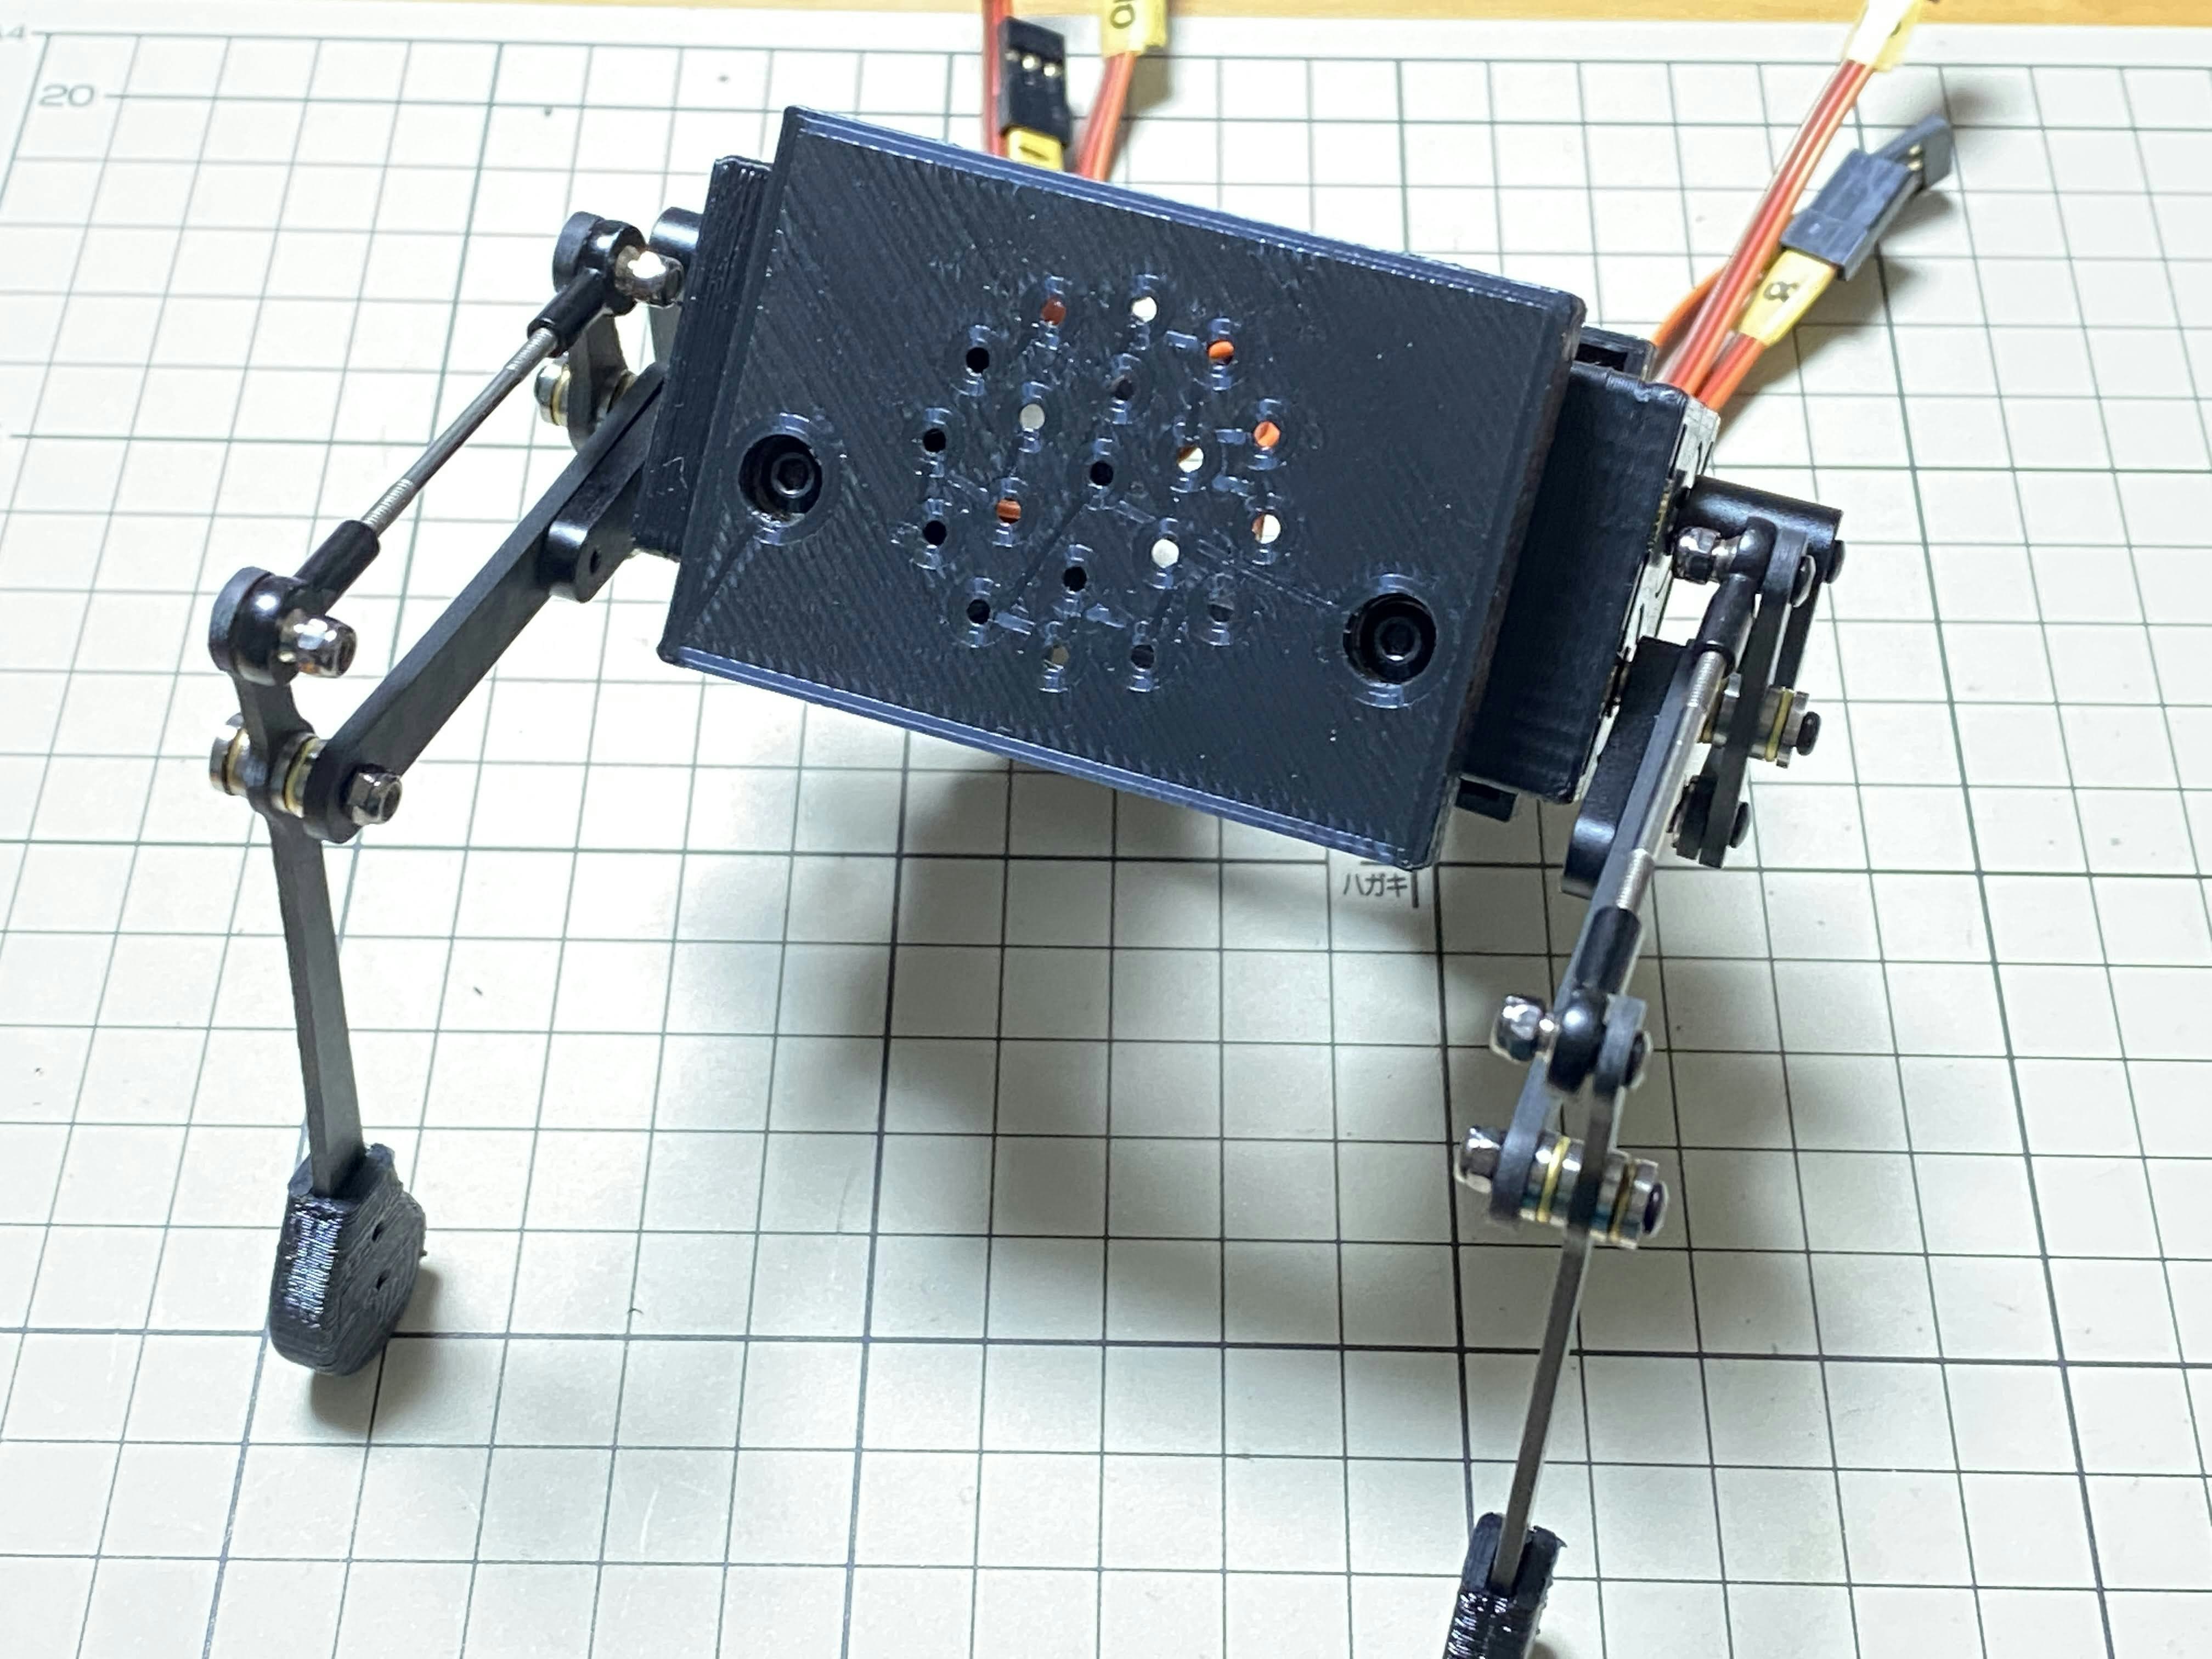
前面パーツの組み立て / Assemble front parts
M3x8mmのボルト2本をプラスドライバーで締めます。前面パーツは液晶画面が入る形になっています。後部パーツと間違えないようにしましょう。
Tighten the two M3x8mm screws with a screwdriver. The front part is designed to hold the LCD screen. Make sure you don't mistake it for the rear part.
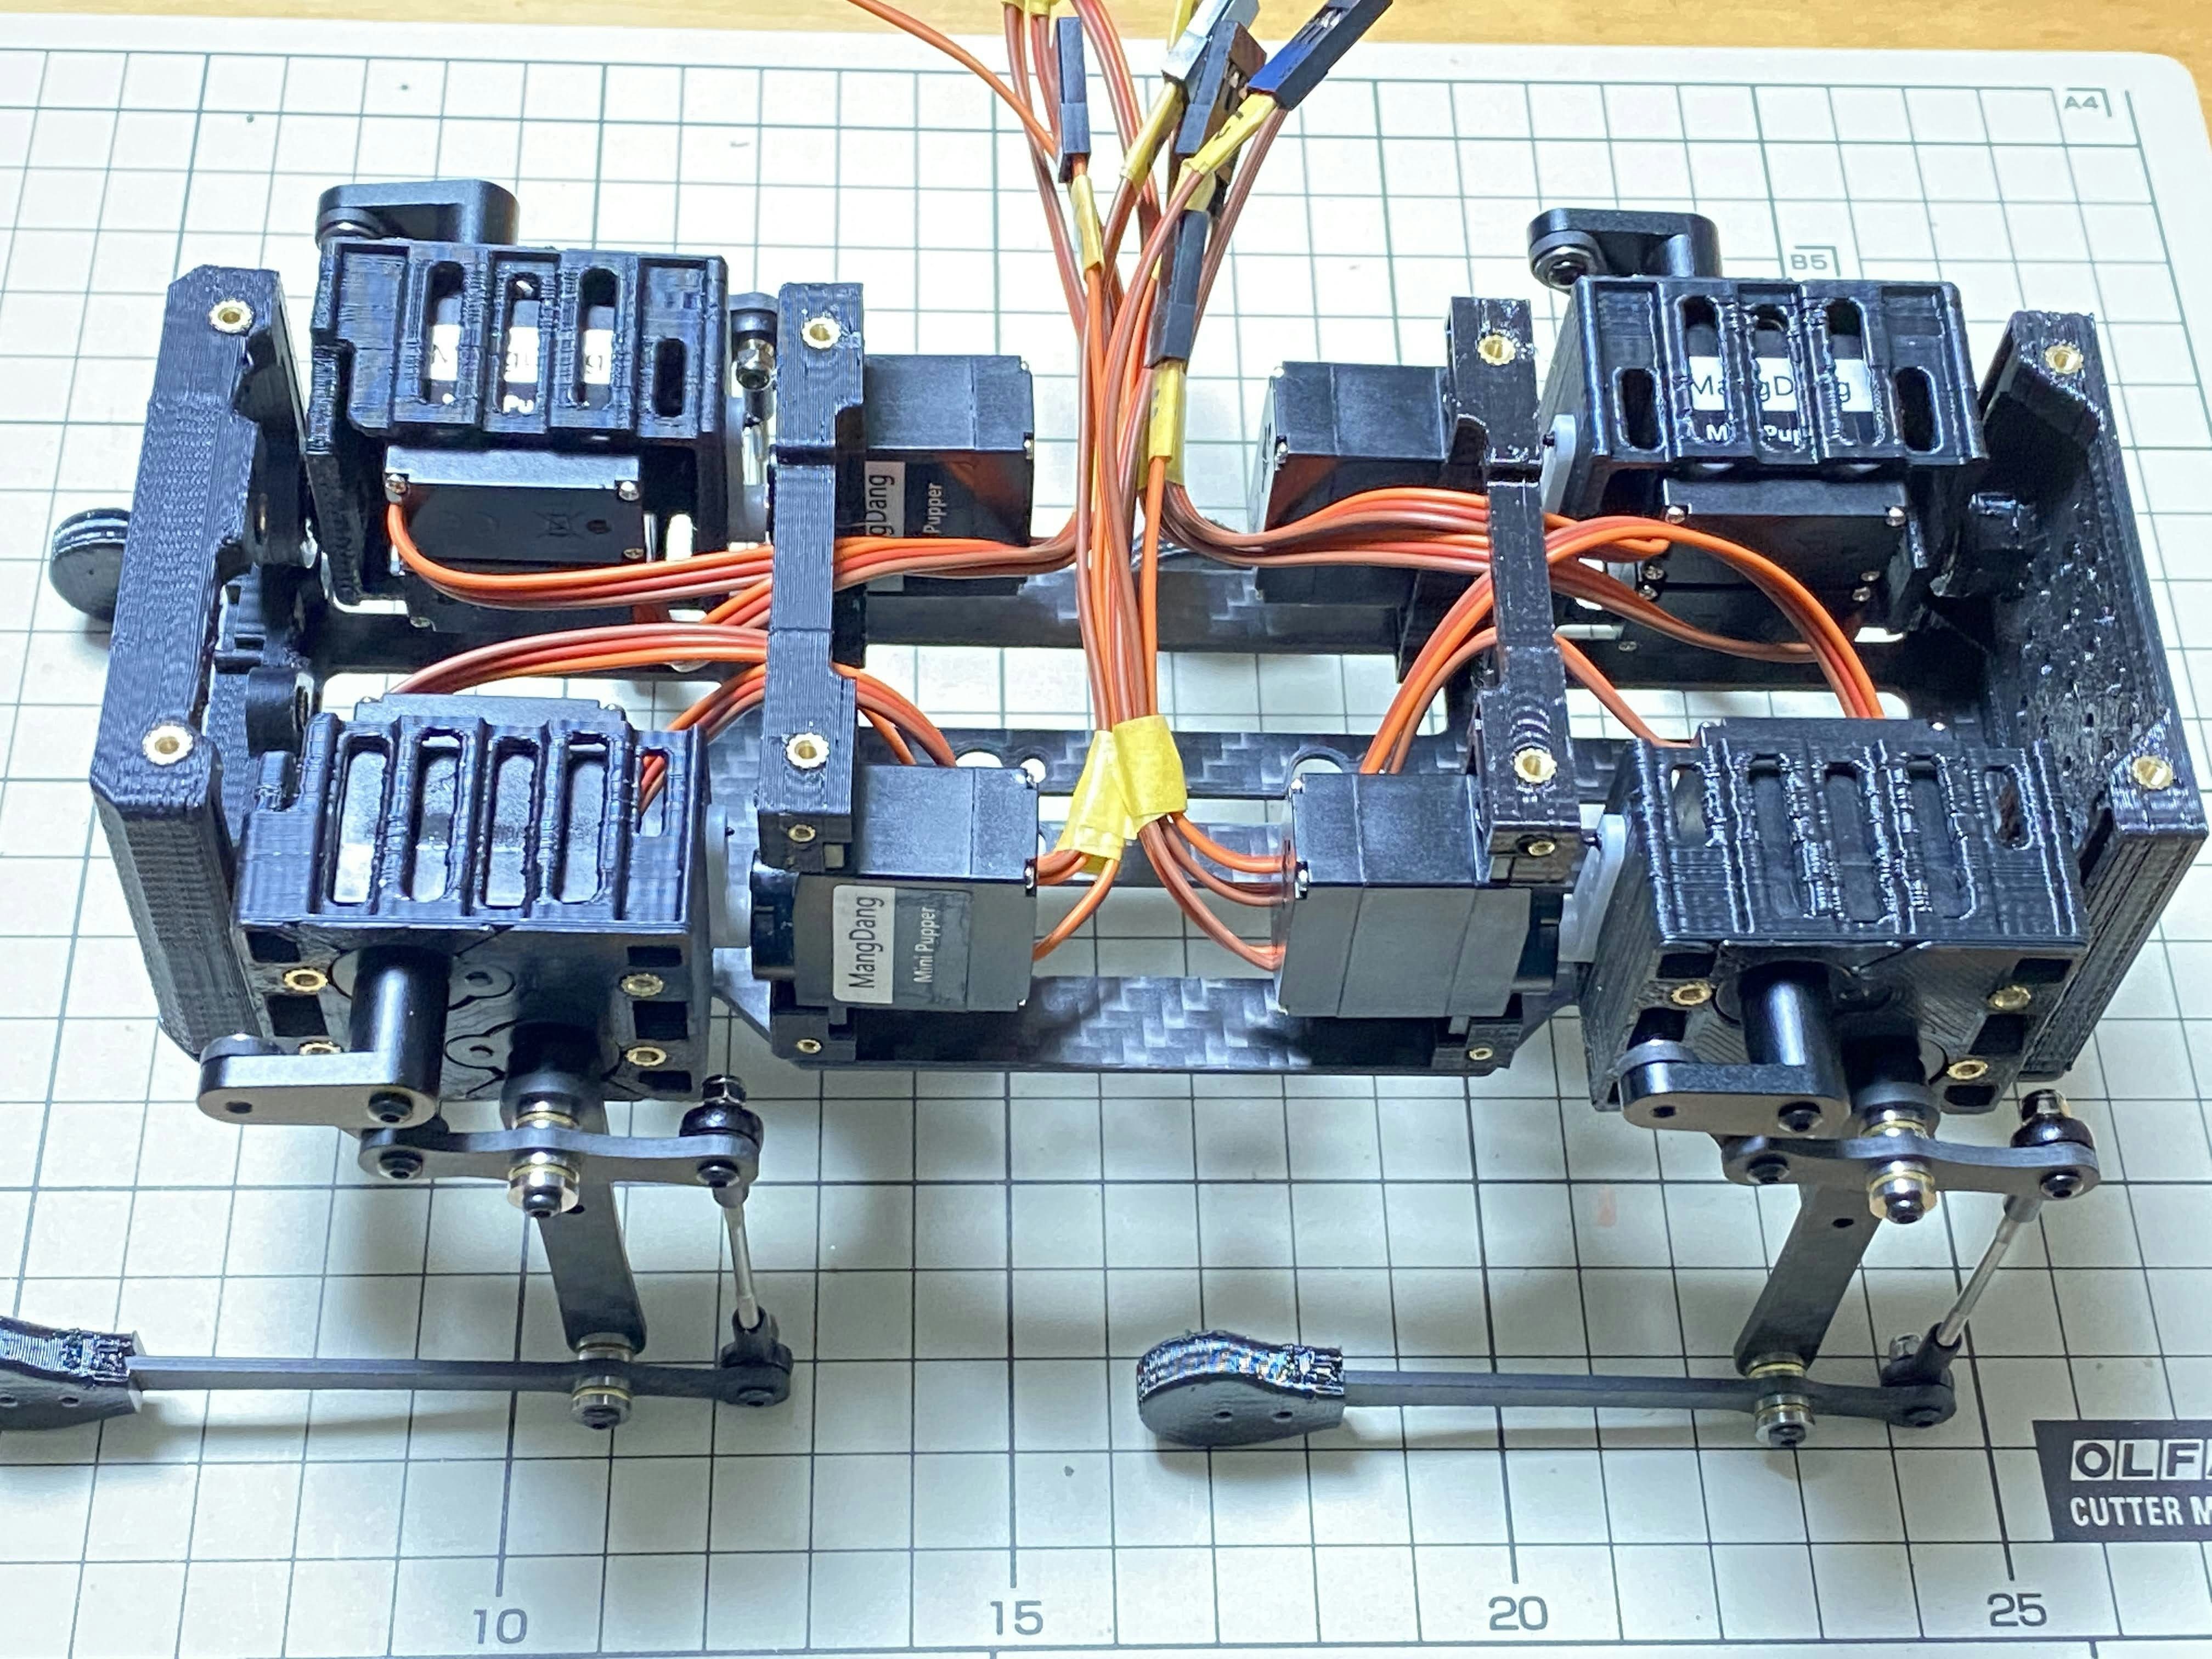
後部の組み立て / Assemble rear side
前部と同じ要領です。
The same procedure as for the front part.
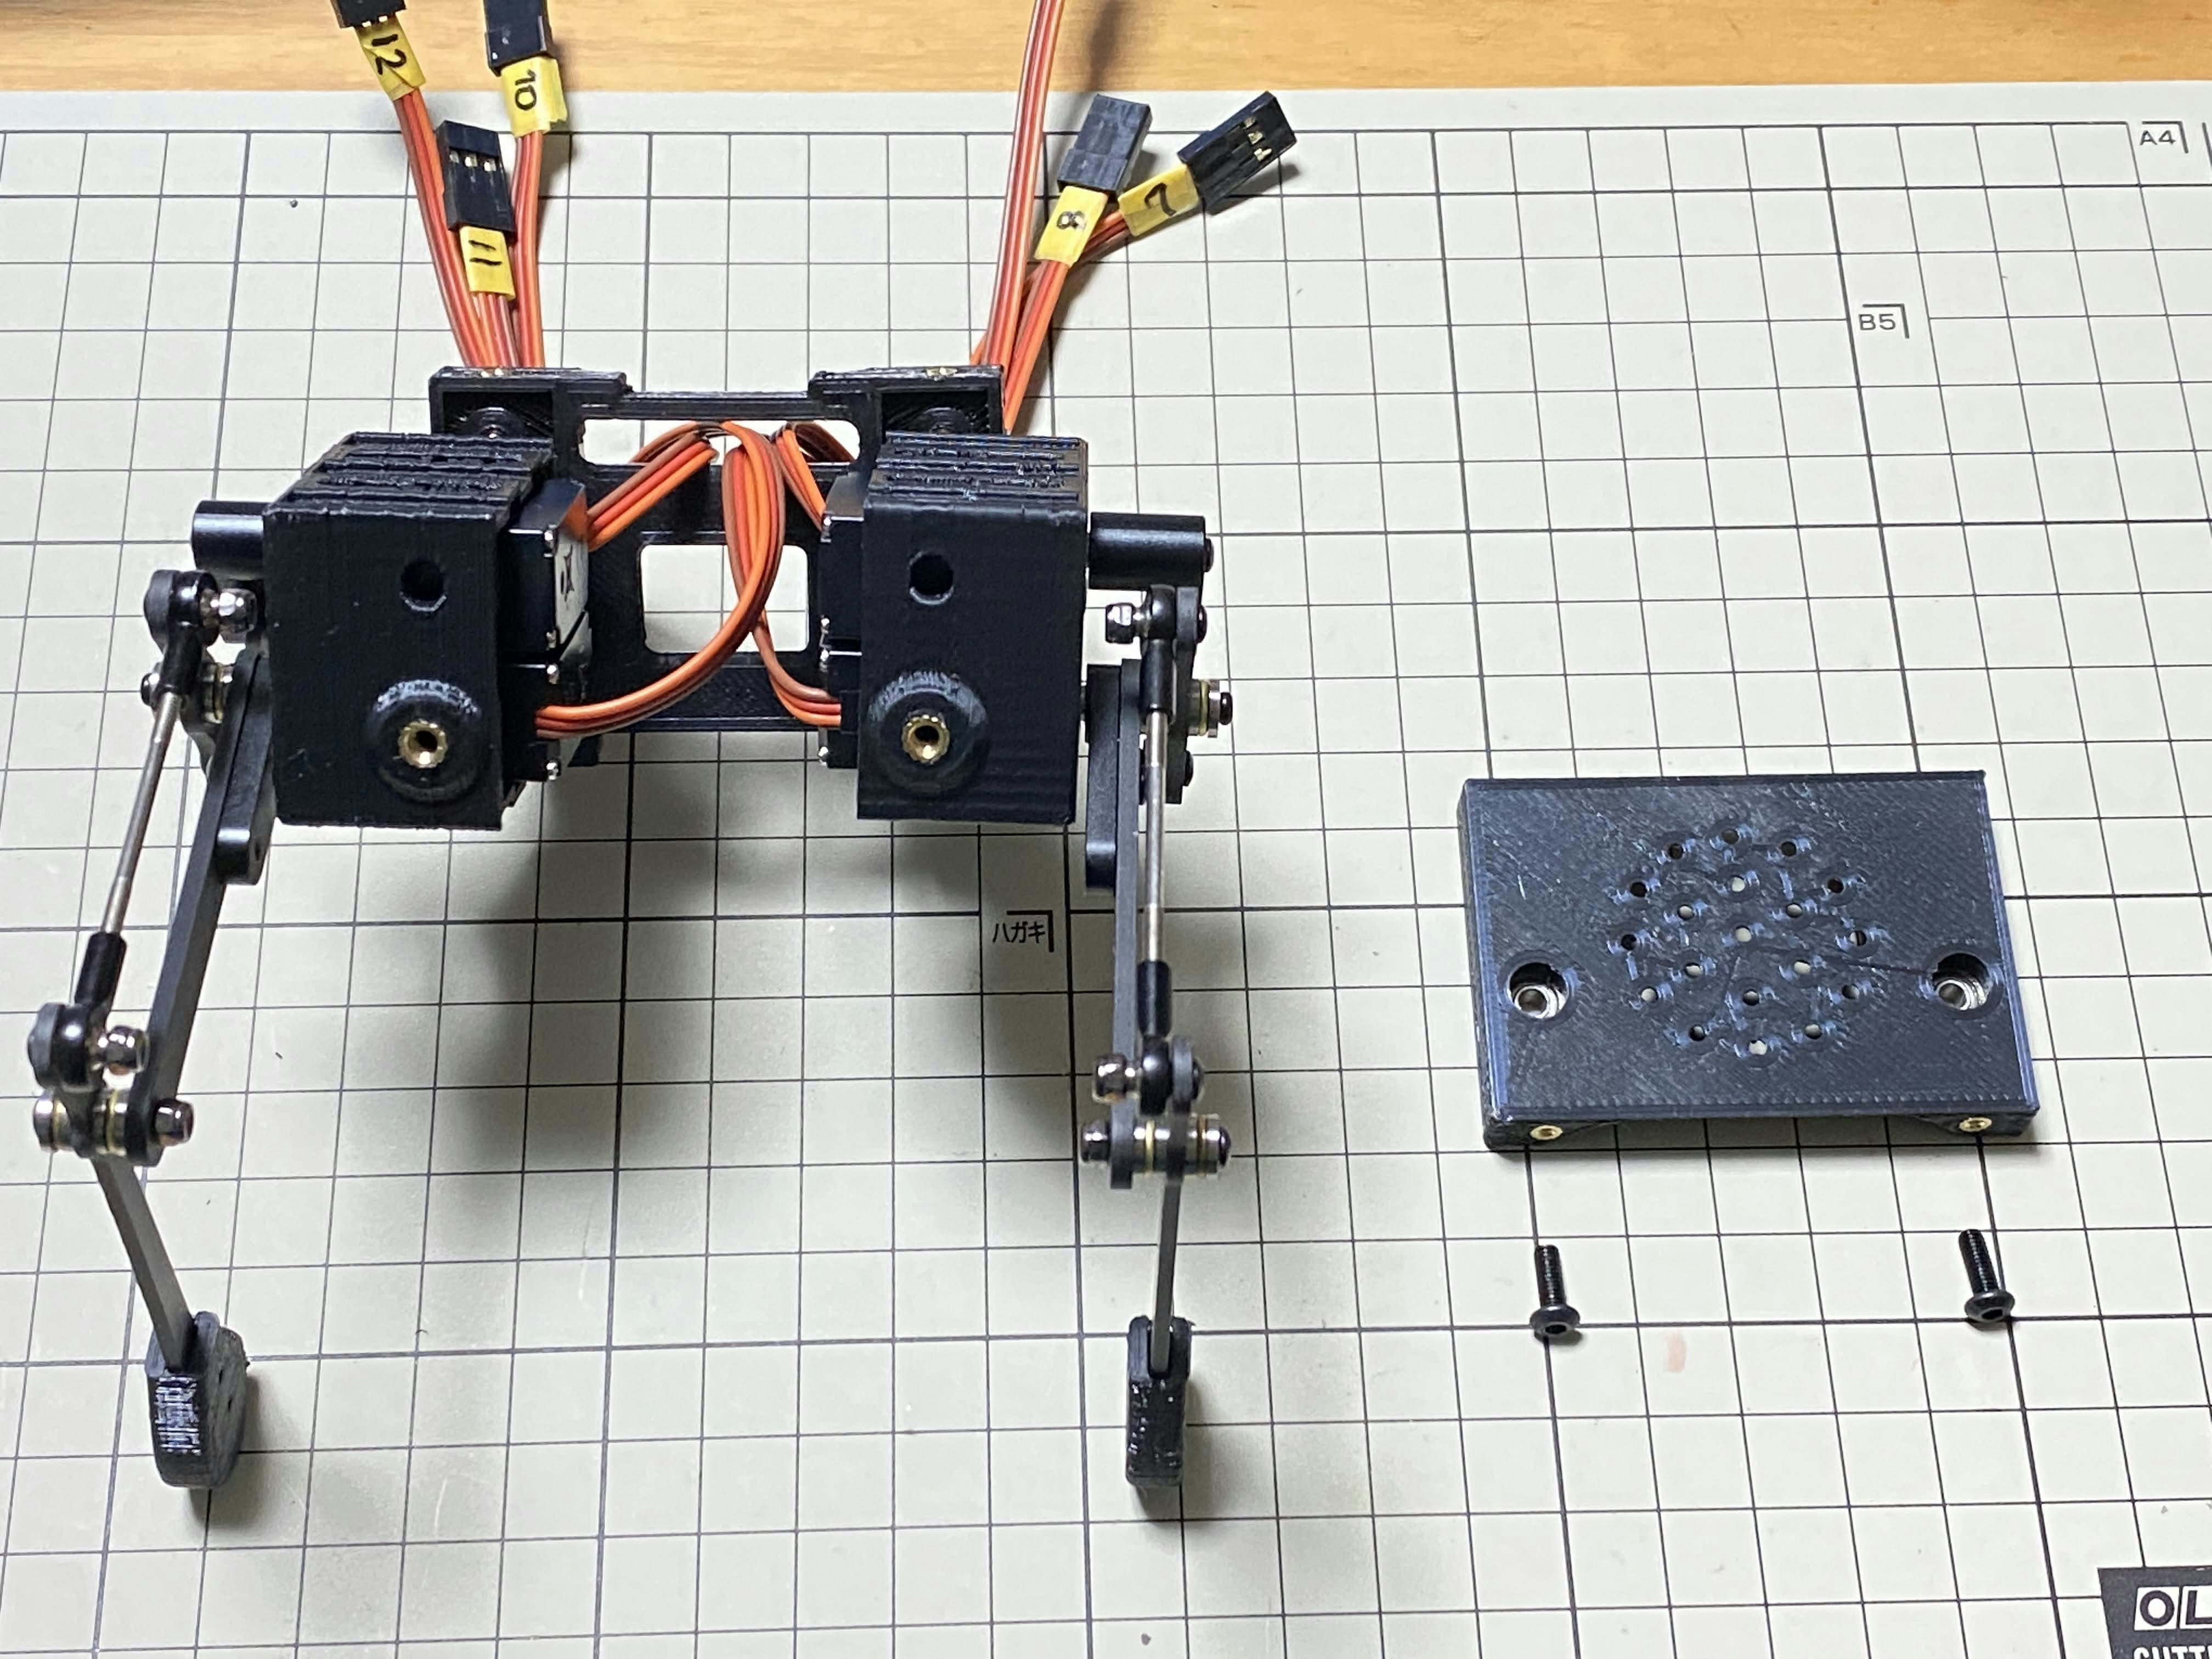
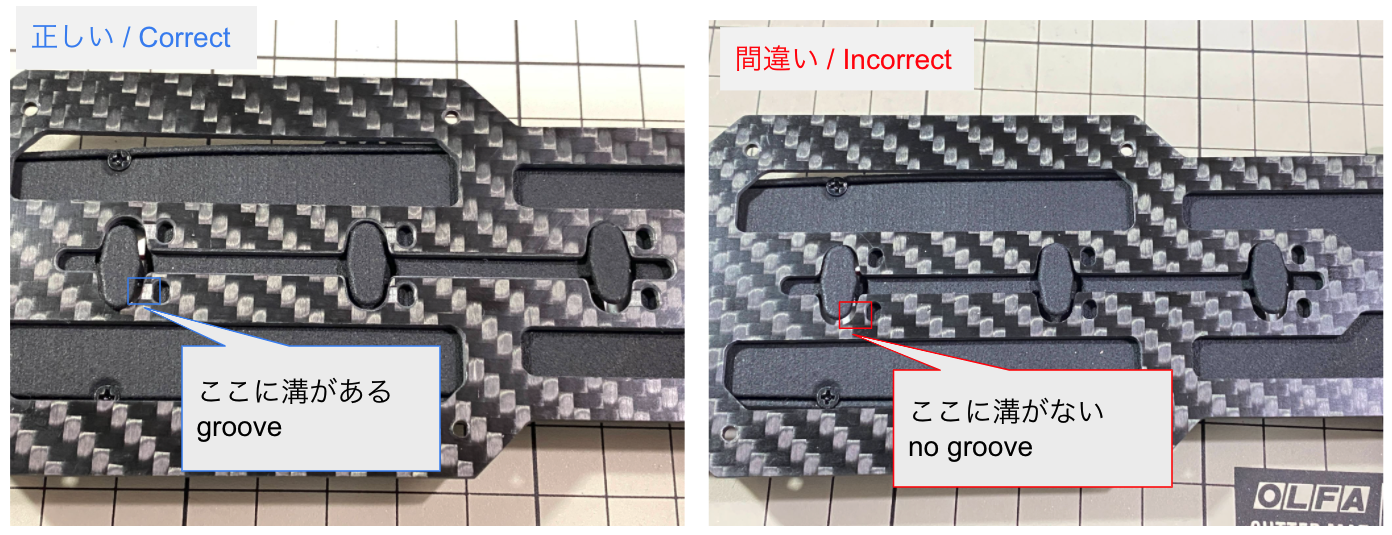
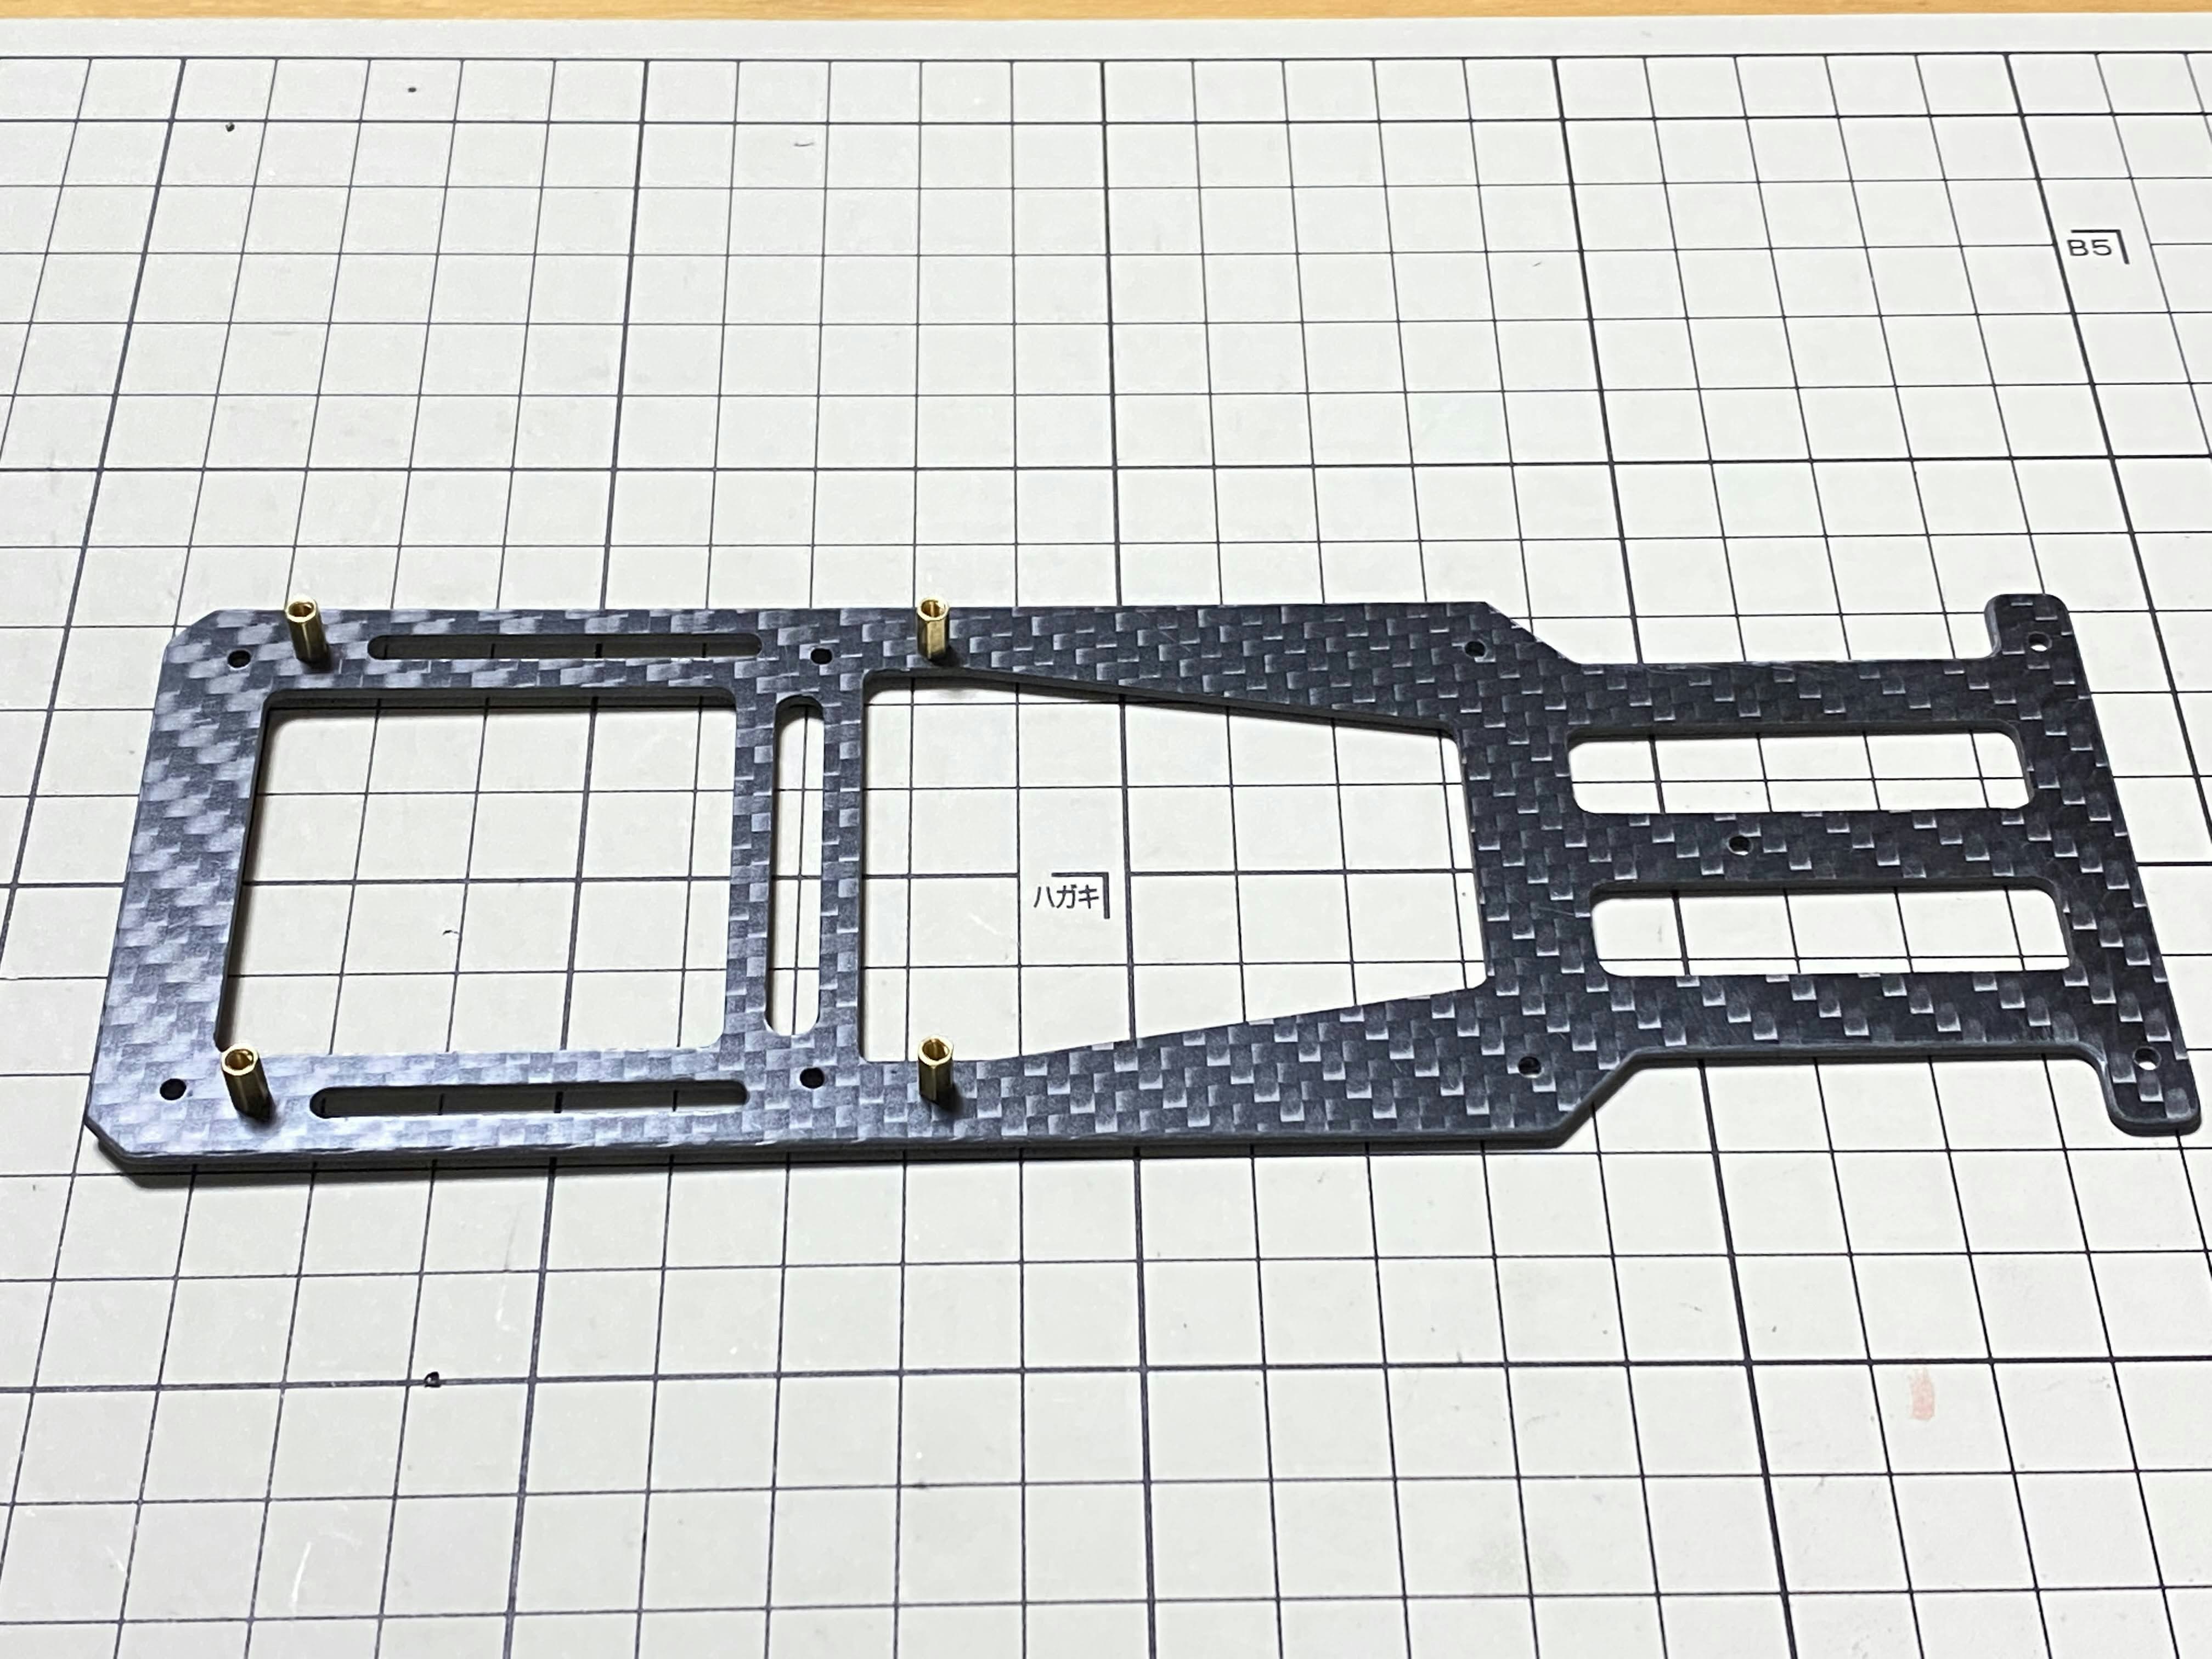
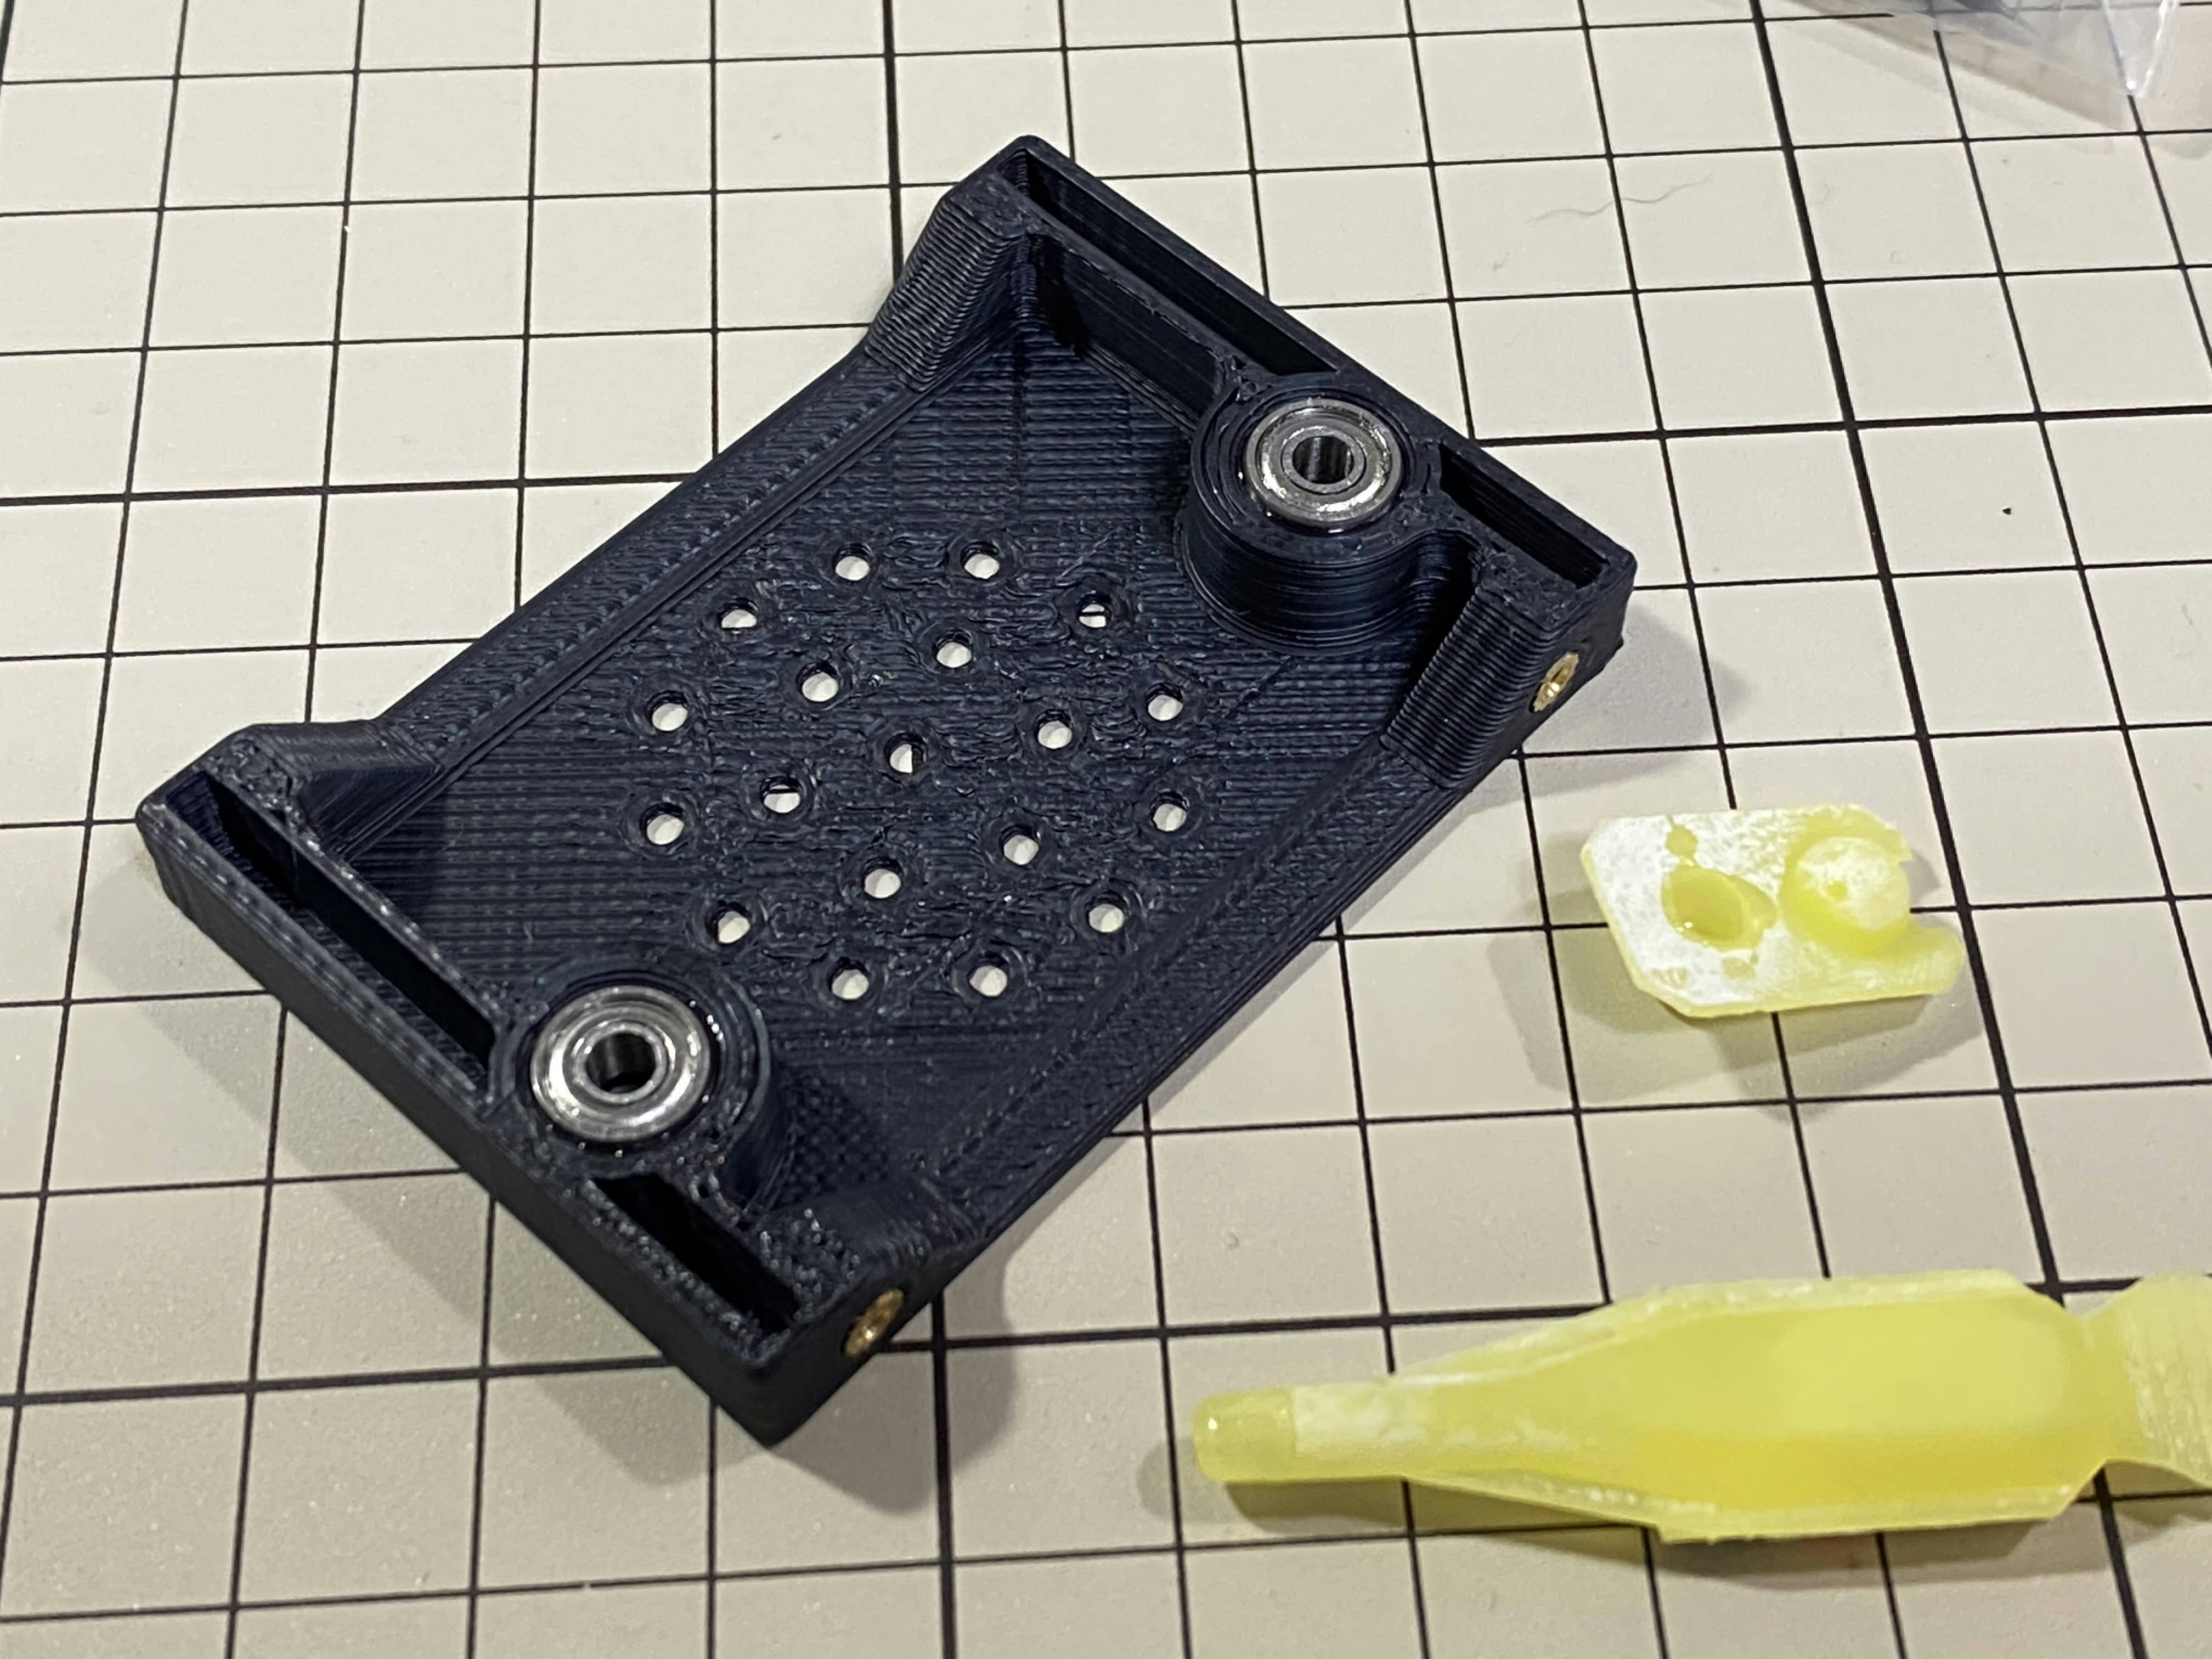
底のプレートの組み立て / Assemble bottom plate
M2x5mmのボルトを8本使用します。プレートの向きは、写真のように、前の方に穴が来る必要があります。また、バッテリーの爪がはまる部分に浅い溝があります。この溝が上を向くように取り付けます。
Use eight M2x5mm screws. The orientation of the plate must be such that the hole is at the front. There is a shallow groove on the plate where the battery claw fits. The plate must be mounted so that this groove faces upwards.
注意 / Caution
先に述べたように、底面プレートには上下の向きがあります。バッテリーをはめたときに、溝が上側になるように向けます。
The bottom plate has a vertical orientation. When you fit the battery, the groove should be facing upwards.
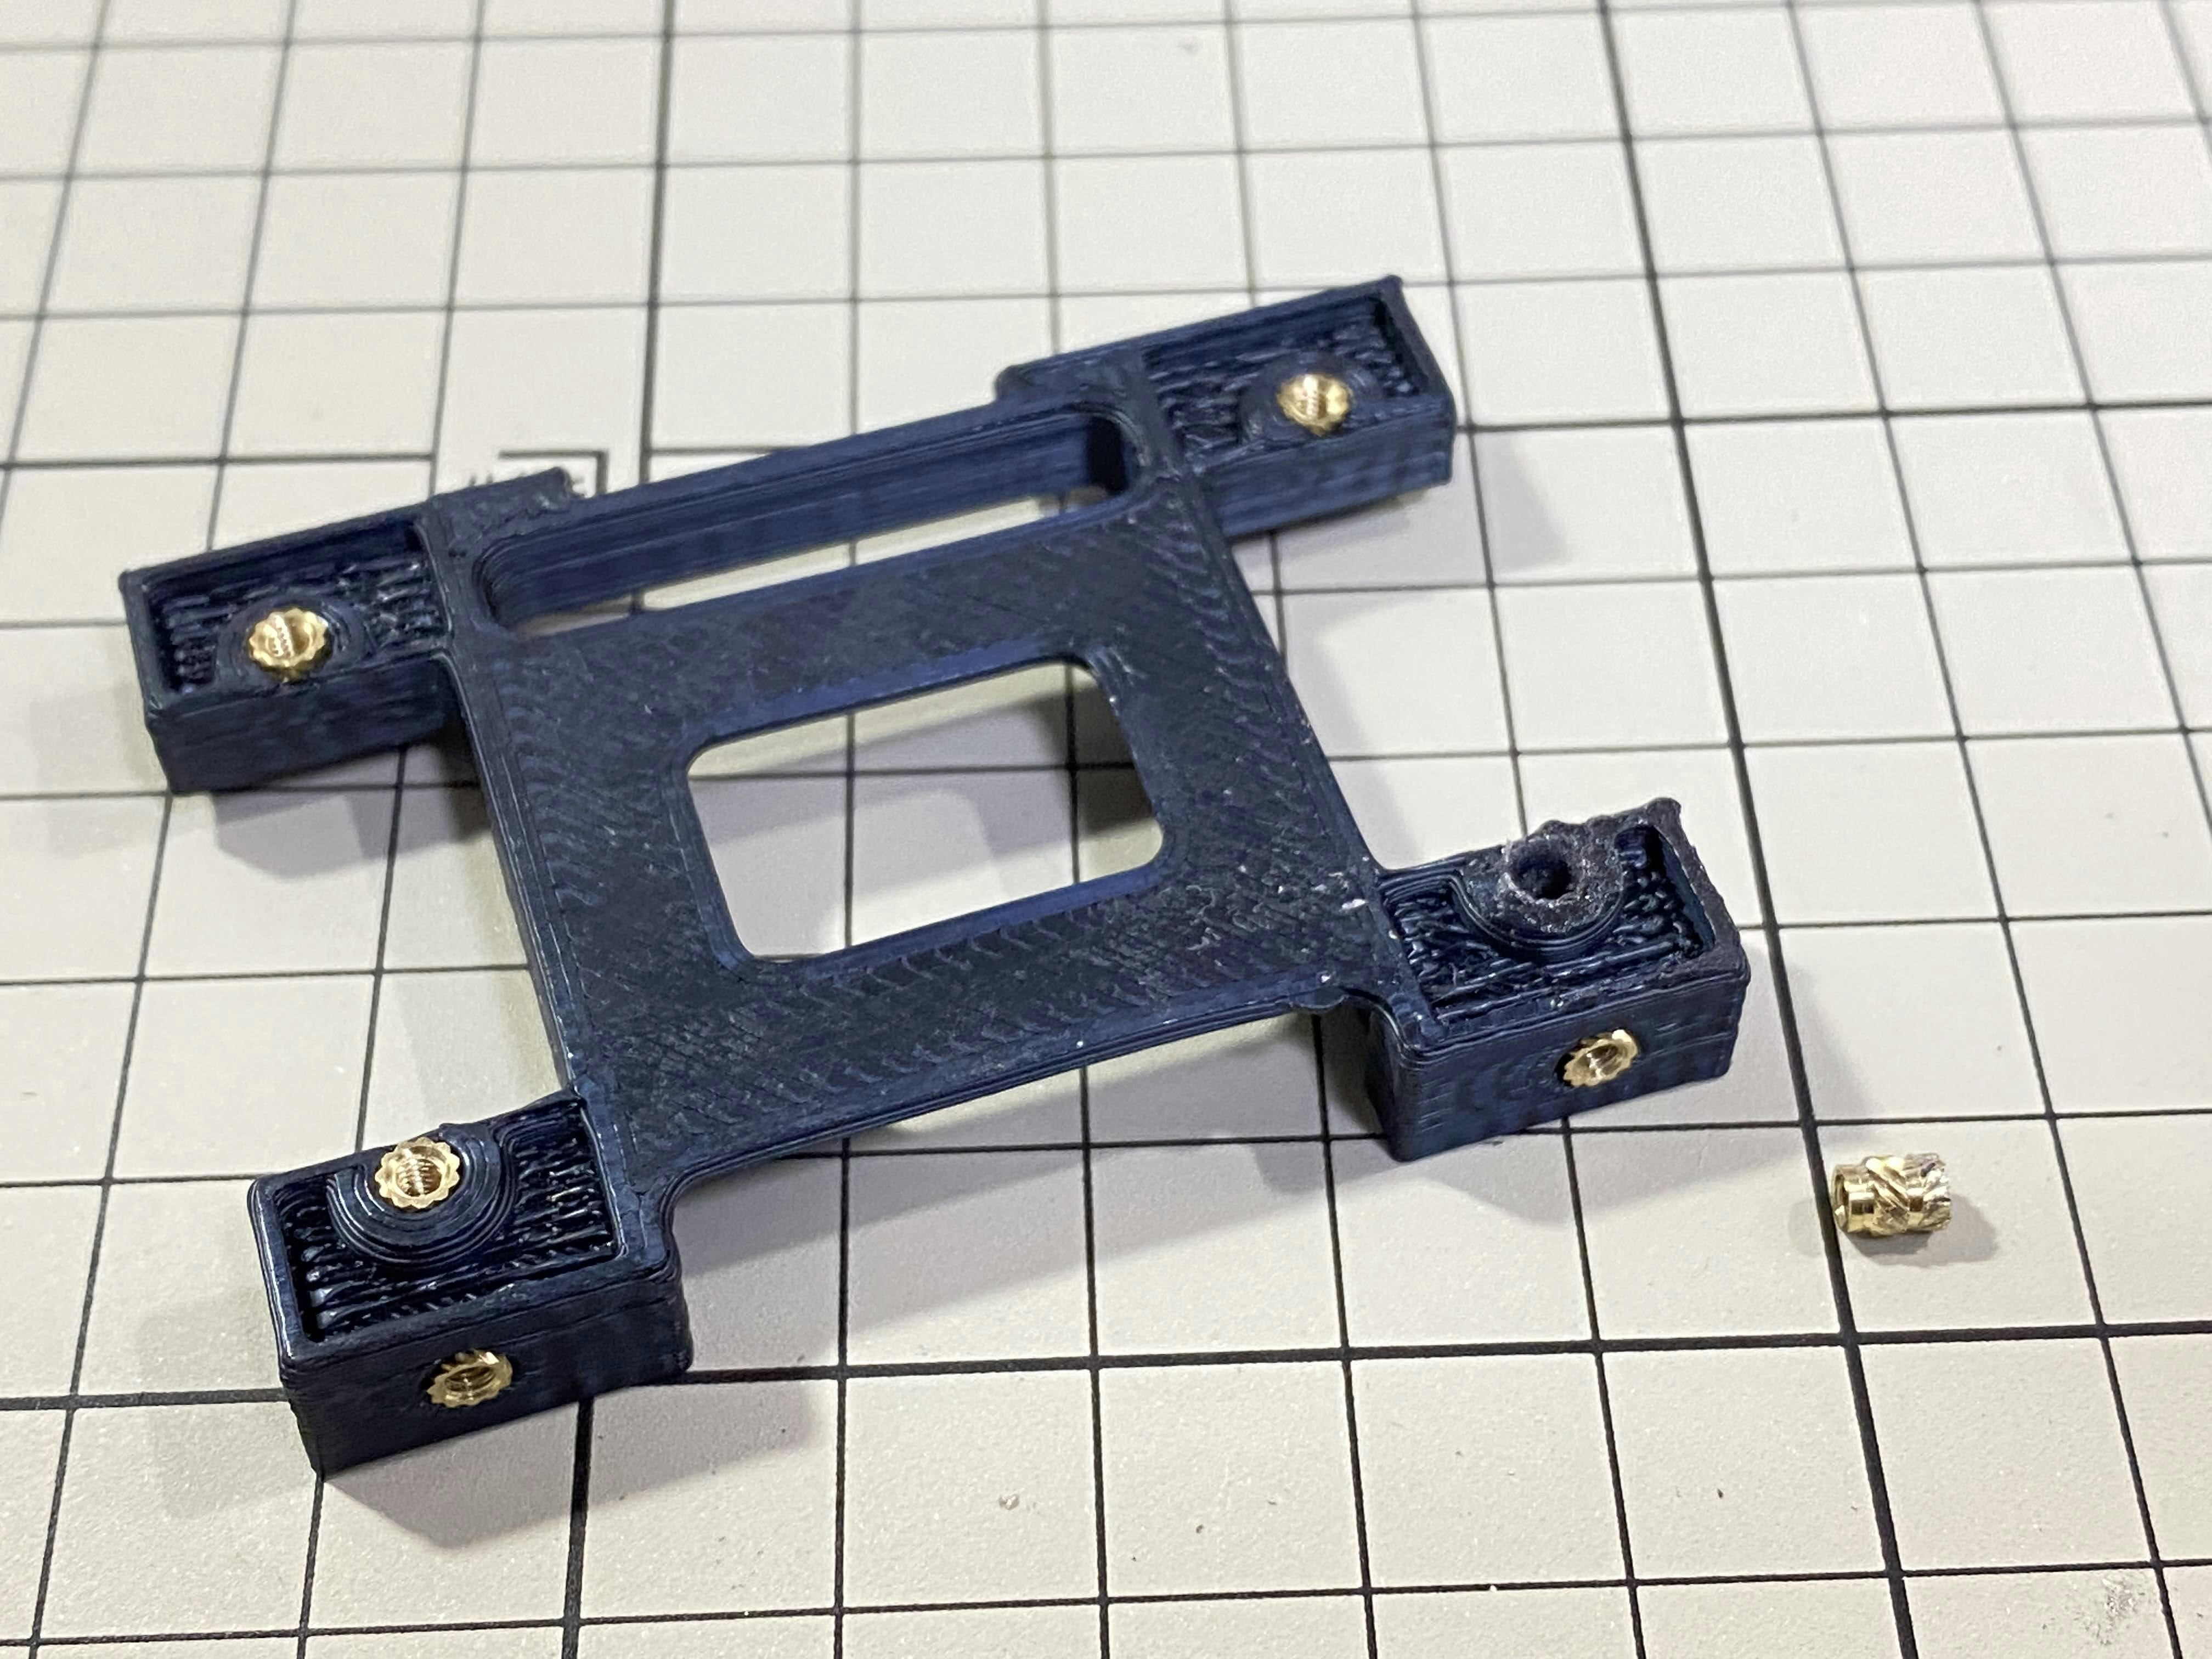
トップのプレートと支柱の組み立て / mount supports on top plate
M2x5mmのボルト4本と短い支柱4本を使用します。
Use four M2x5mm screws and four short supports.
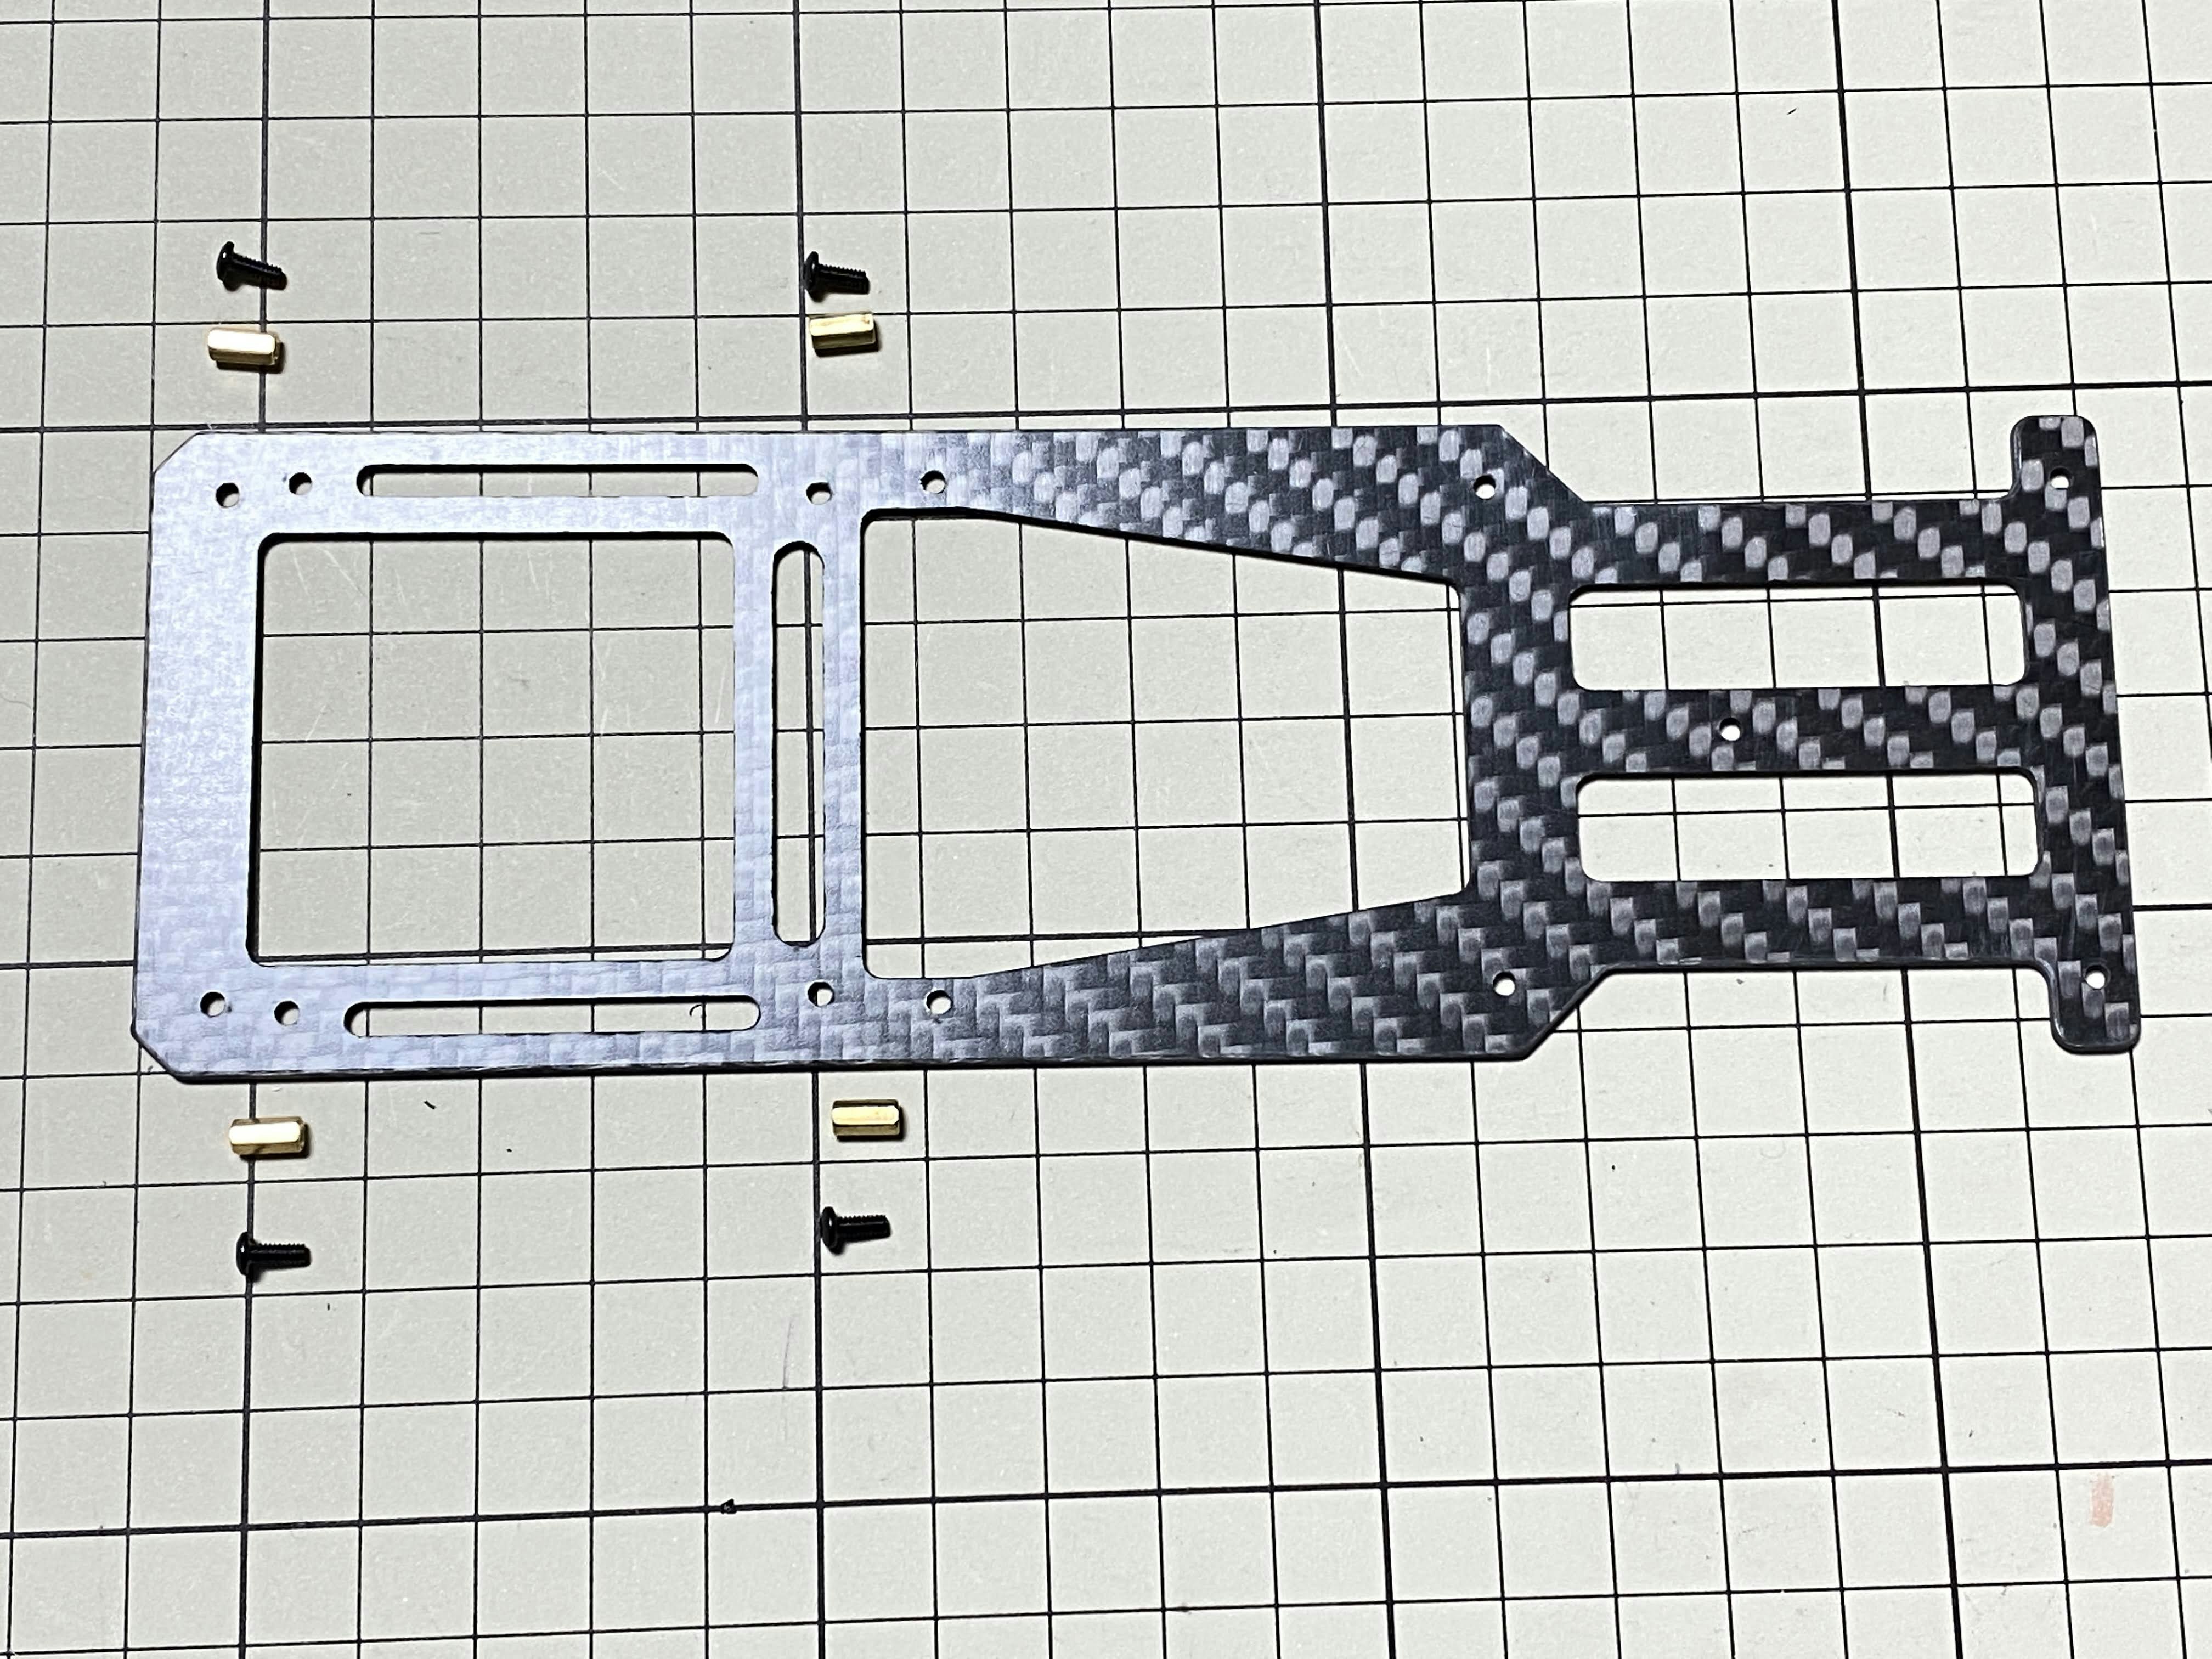
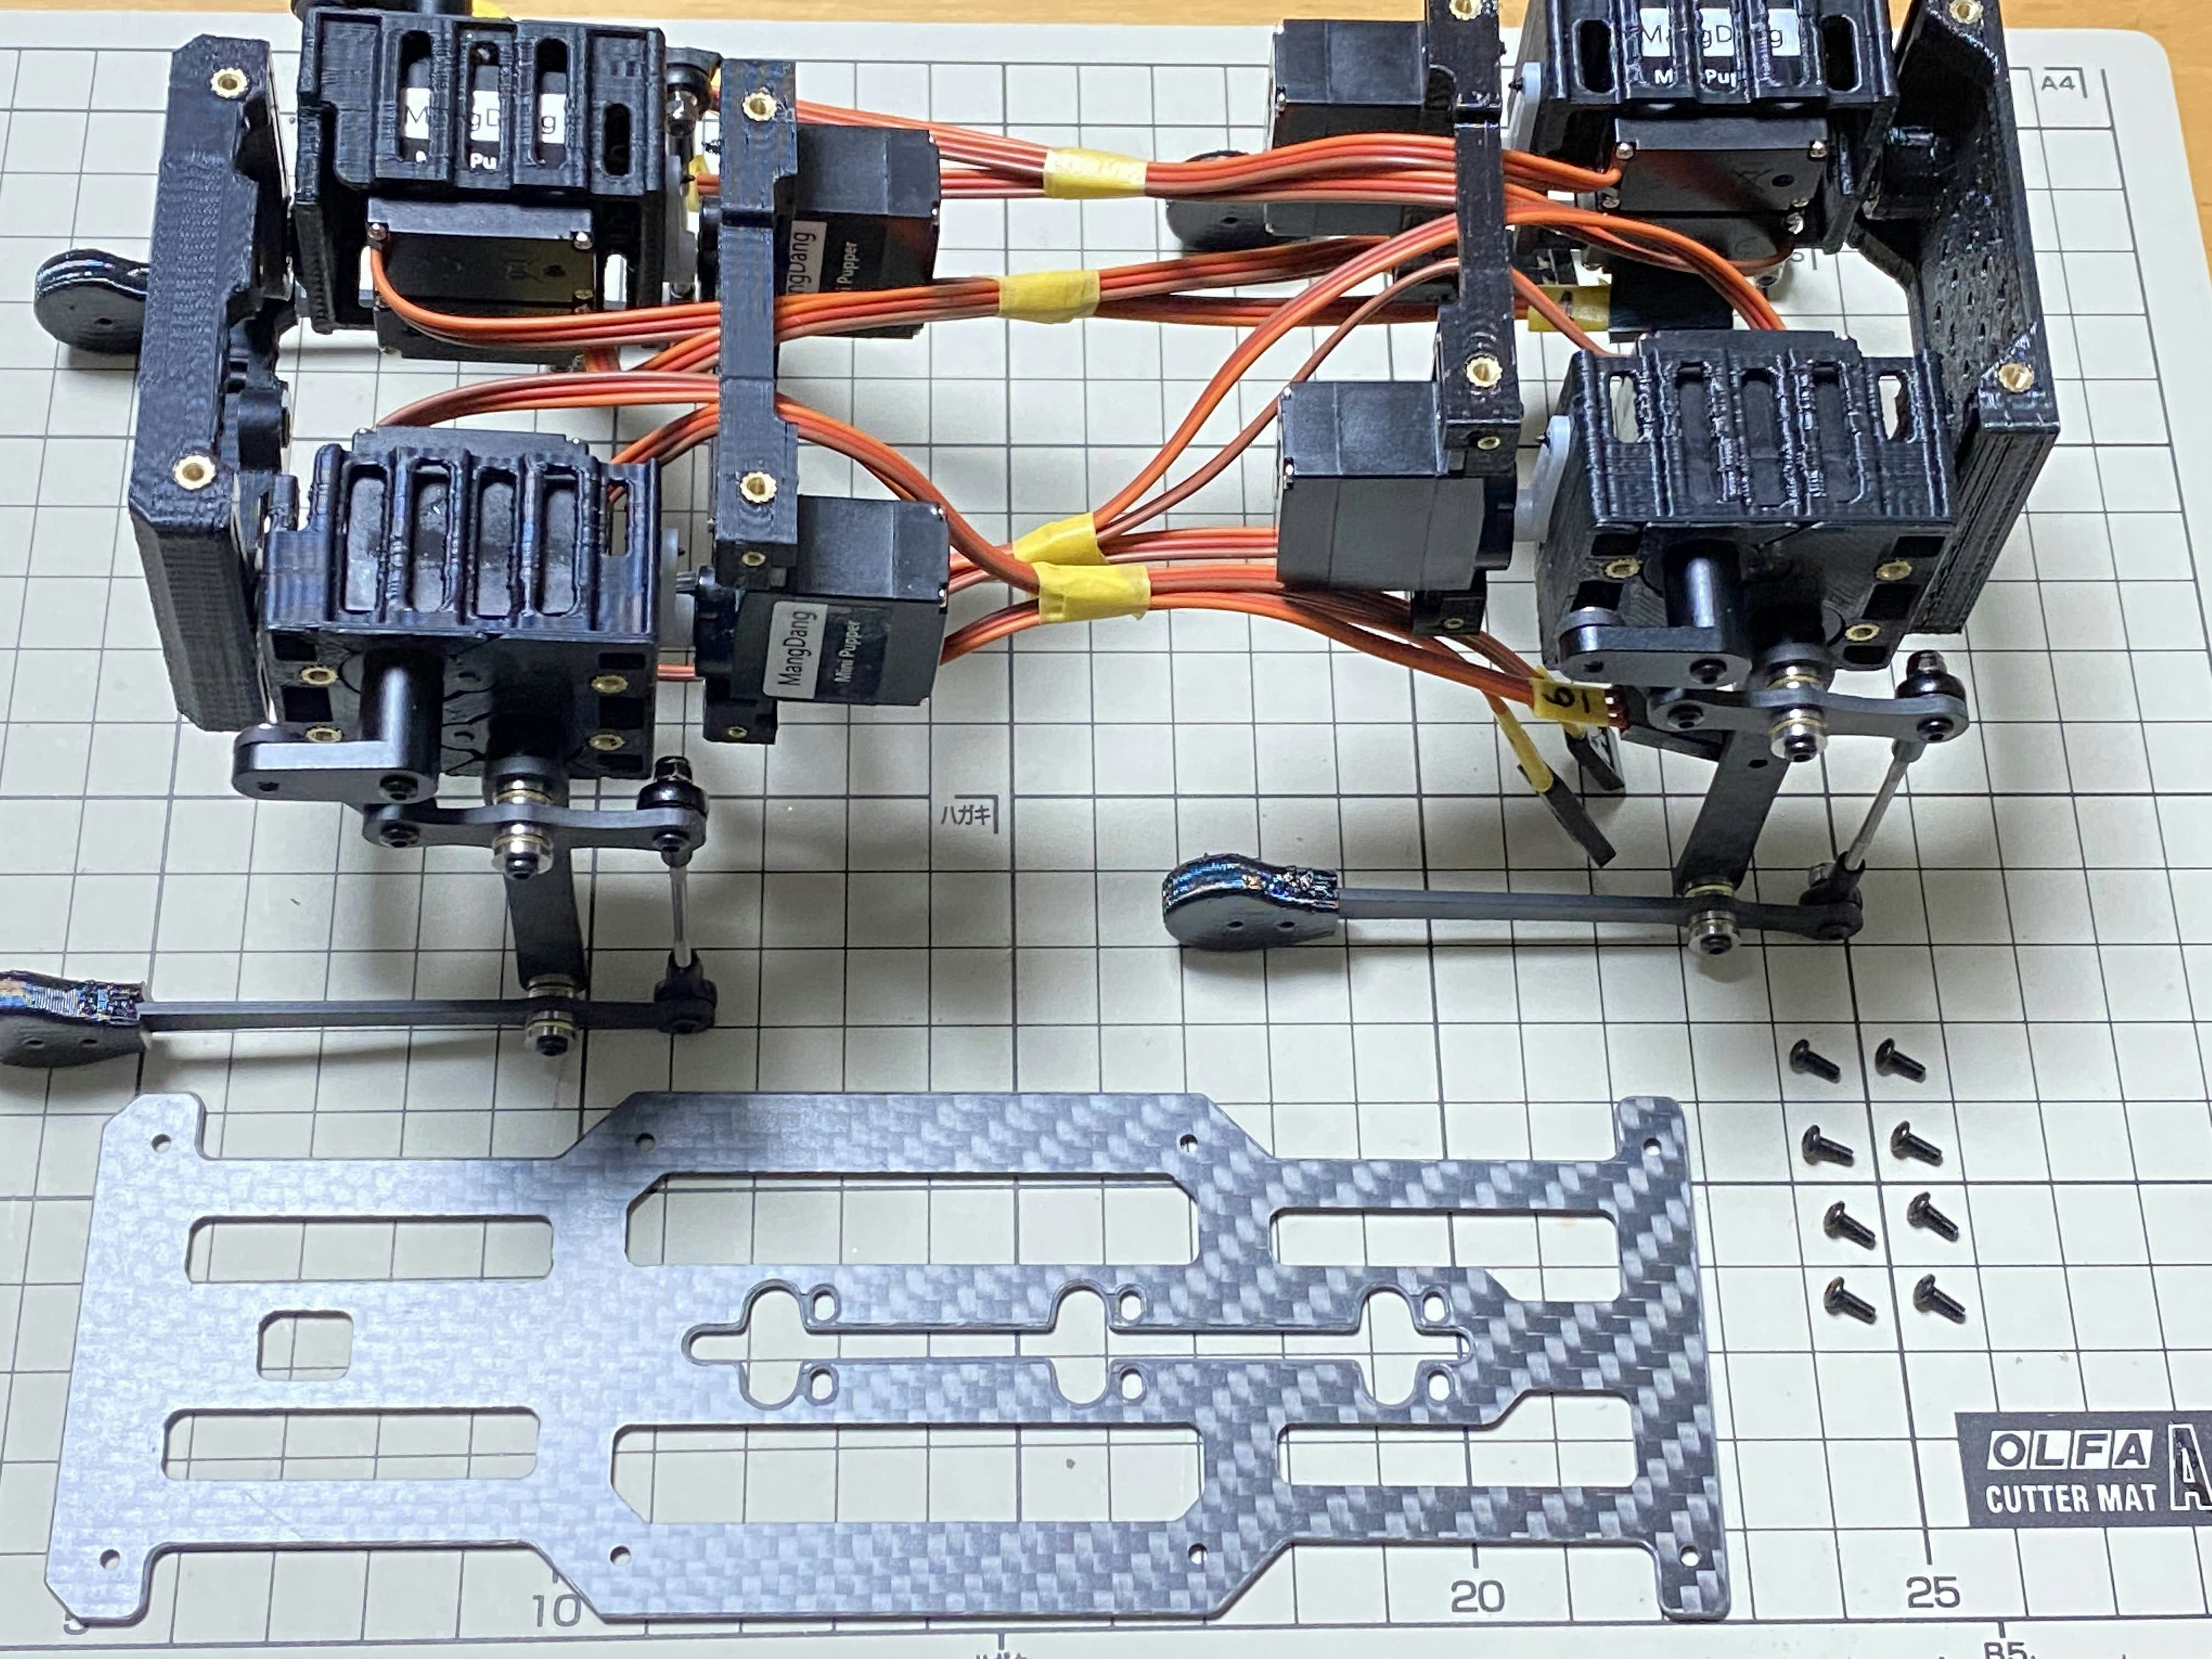
トッププレートの組み立て / Assemble the top plate
M2x5mmのボルトを8本使用します。プレートの向きは、写真のように、前の方に大きな開口部が来る必要があります。
Use eight M2x5mm screws. The orientation of the plate must be such that the large opening is at the front.
トラブル時 / in trouble
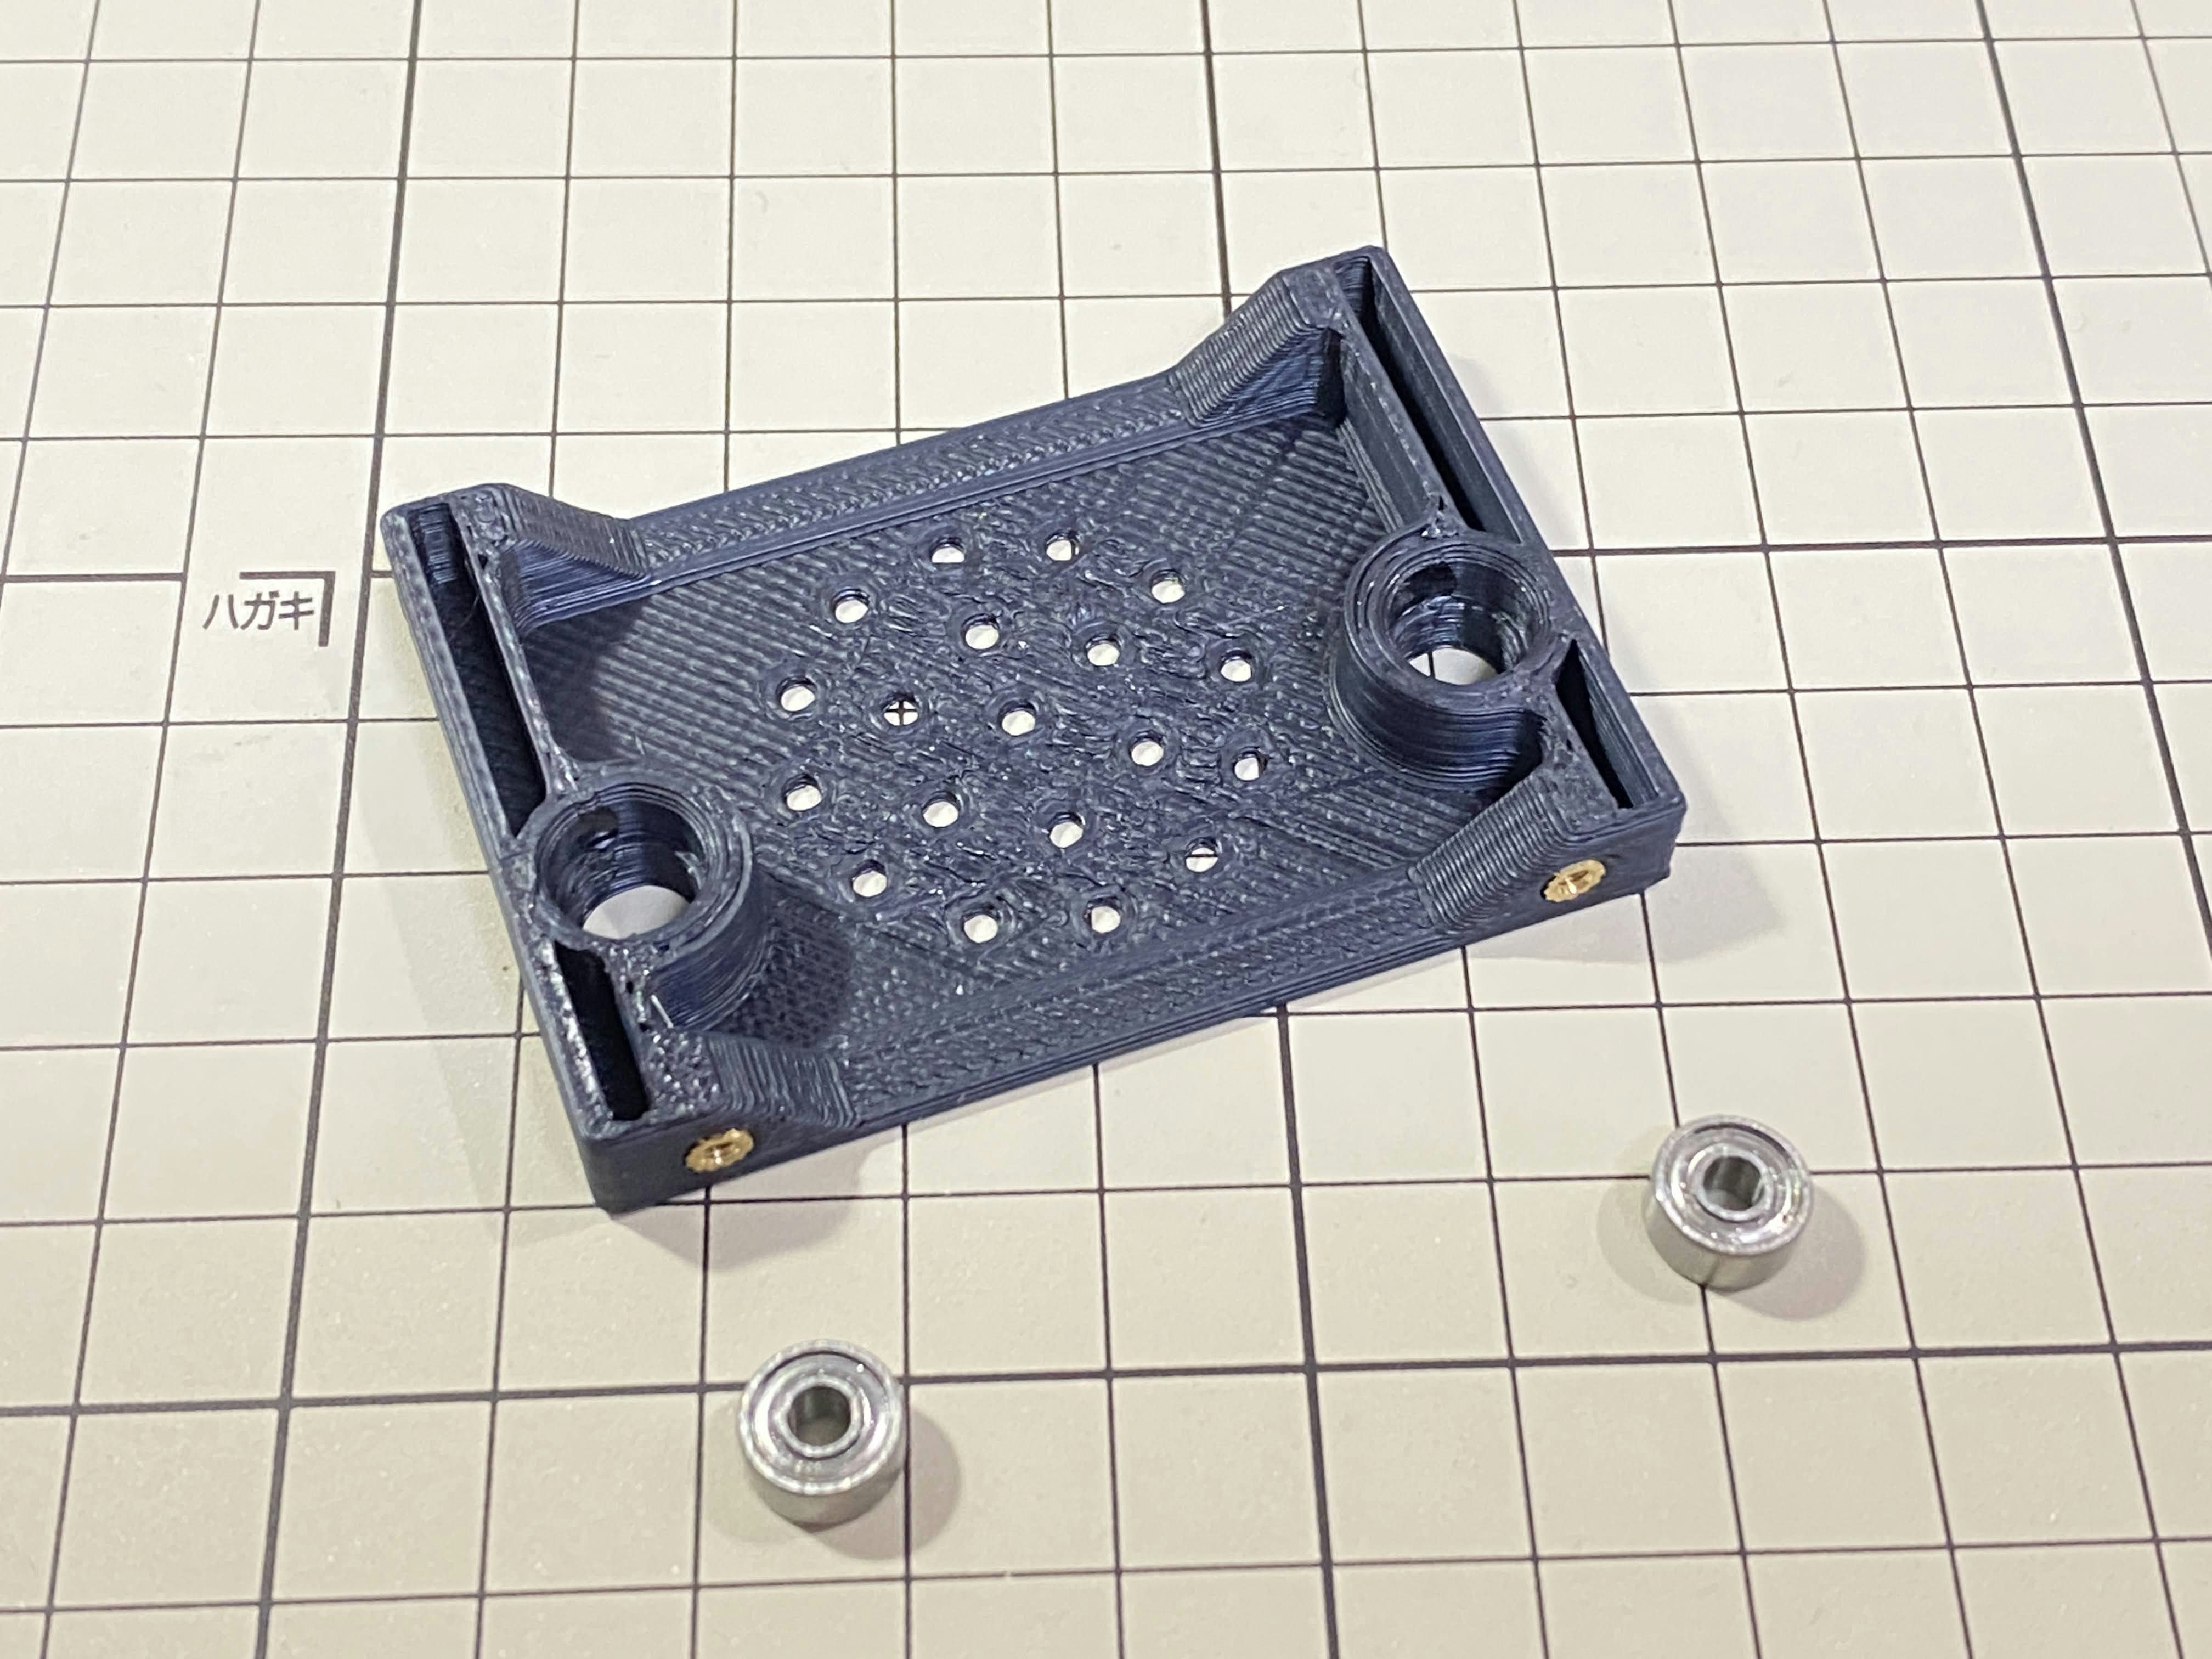
ボールベアリングが抜けてしまう / Ball bearing comes loose
ボールベアリングが抜けてしまうことがありましたので、瞬間接着剤で取り付けました。塗るなら、くれぐれも接着剤は縁だけに塗りましょう。なお、構造上ボールベアリングが抜ける心配はありませんので接着する必要はありません。
The ball bearings could come loose, so I fitted them with instant glue. Make sure you only apply the glue to the rim. There is no need to glue the ball bearings as there is no risk of them falling out due to their structure.
インサートナットがグルグル回る / Insert nut comes loose
ボルトを締めているとインサートナットが一緒にグルグル回り、締めることができませんでした。接着剤では強度がありませんので、ハンダごてで入れ直ししました。ハンダごての先はインサートナットだけに触れるようにして数秒すると、ナットの周りのパーツが溶けて、軽く力を入れるだけで中に入っていきます。慎重にやりましょう。
When I was tightening the screw, the insert nut went round and I couldn't tighten it. The glue to insert nut is not strong enough, so I had to reinsert it with a soldering iron. The soldering iron should only touch the insert nut, and after a few seconds the parts around the nut will melt, and with a light pressure it will go in. Do it carefully.

次工程 / next step
次は【Mini Pupper 4】 機能コンポーネントの組み立て方です。
Next step is on 【Mini Pupper 4】 Function Component Assembly.
分からないことがあったらここにコメントを書くか、 #minipupper #ミニぷぱ を付けてツイートすれば、優しい人が教えてくれますよ。
If you have any questions, write a comment here or tweet it with #minipupper #minipupa and tech friends will be happy to help.
参考 / Reference
- でべさん の 「Mini Pupper」がやってきた!(1: make 編)
- でべさんの 組み立てツイート
- たいりょーくん の サーボレイアウトの写真