概要
Apache MavenでWEB APIのサンプルソースを実行します。
CentOS環境の内で実行と他のPCでも確認します。
事前作業
①vmware環境にCentOSをインストールします。次のリンクから確認してみてください。
https://qiita.com/neomi/items/d1006fc24e5d4cd5aa7d
②CentOS環境にApache Mavenをインストールします。次のリンクから確認してみてください。
https://qiita.com/neomi/items/cf03c5fd9f30c6a4294b
サンプルソースダウンロード及び実行
サンプルソースをダウンロードと一部テスト用のソースを追加してから実行します。
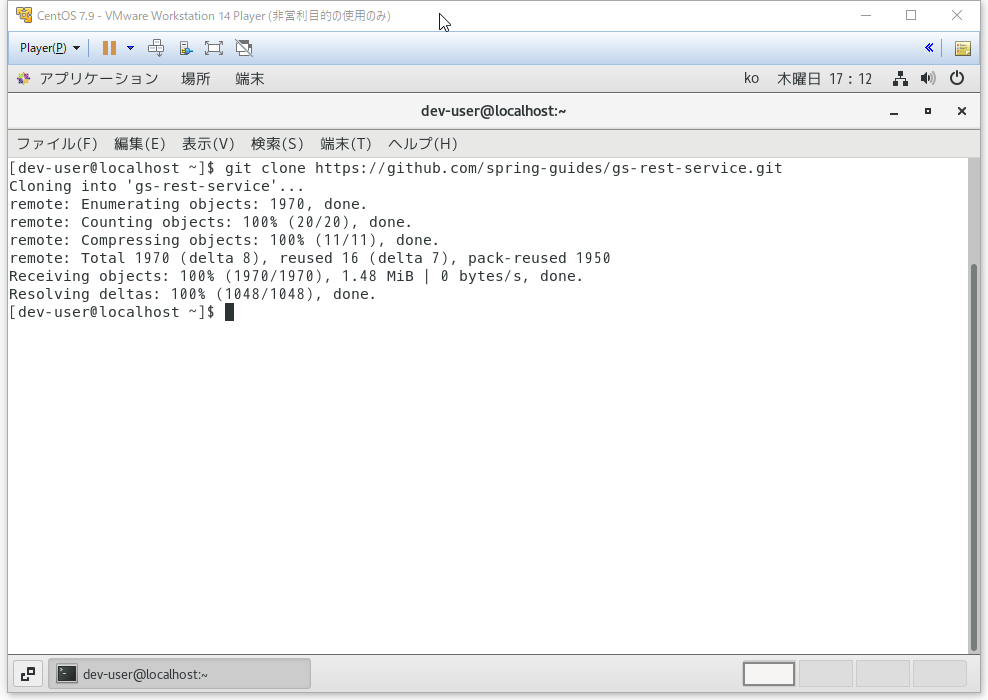
①次のコマンドでサンプルソースをダウンロードします。
git clone https://github.com/spring-guides/gs-rest-service.git
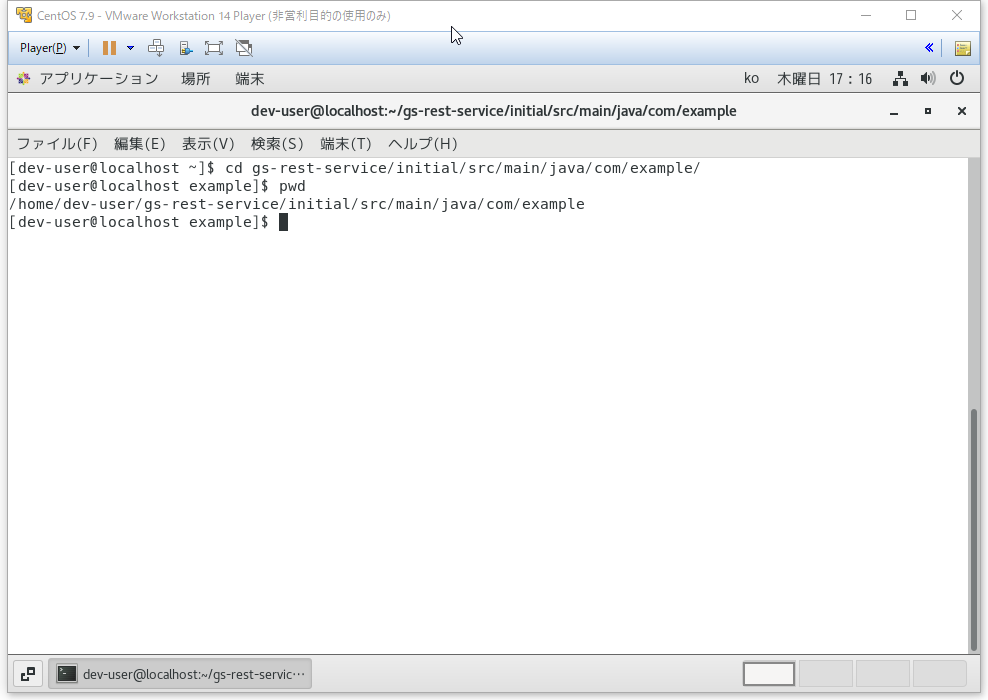
②次のパスに移動します。
cd gs-rest-service/initial/src/main/java/com/example/
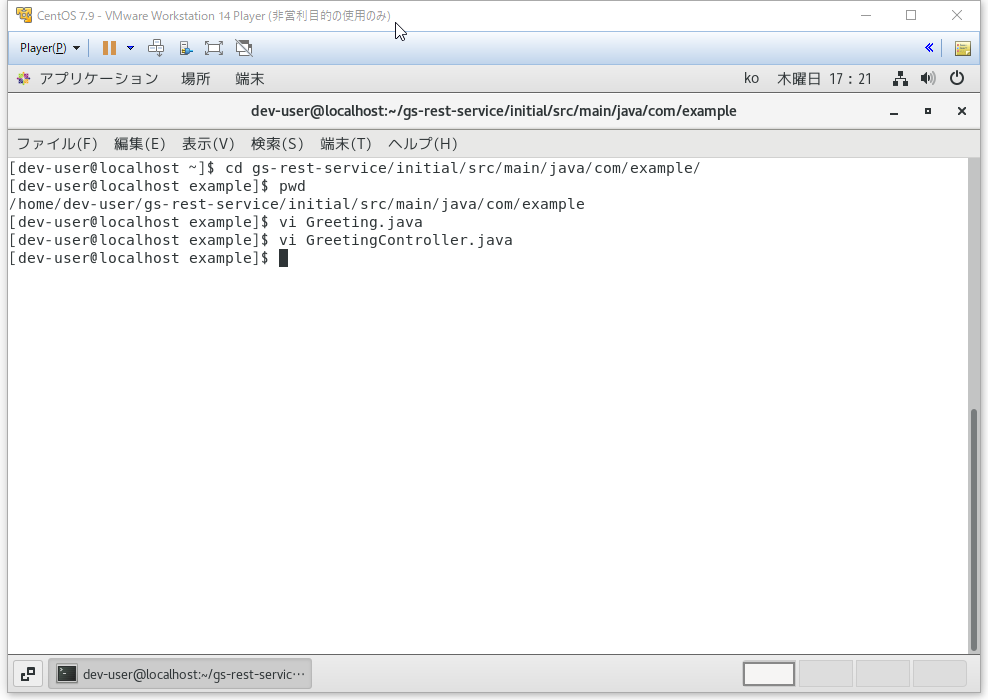
③次の2つのファイルを作成します。
Greeting.java
package com.example.restservice;

public class Greeting {

    private final long id;
    private final String content;

    public Greeting(long id, String content) {
        this.id = id;
        this.content = content;
    }

    public long getId() {
        return id;
    }

    public String getContent() {
        return content;
    }
}
GreetingController.java
package com.example.restservice;

import java.util.concurrent.atomic.AtomicLong;

import org.springframework.web.bind.annotation.GetMapping;
import org.springframework.web.bind.annotation.RequestParam;
import org.springframework.web.bind.annotation.RestController;

@RestController
public class GreetingController {

    private static final String template = "Hello, %s!";
    private final AtomicLong counter = new AtomicLong();

    @GetMapping("/greeting")
    public Greeting greeting(@RequestParam(value = "name", defaultValue = "World") String name) {
        return new Greeting(counter.incrementAndGet(), String.format(template, name));
    }
}
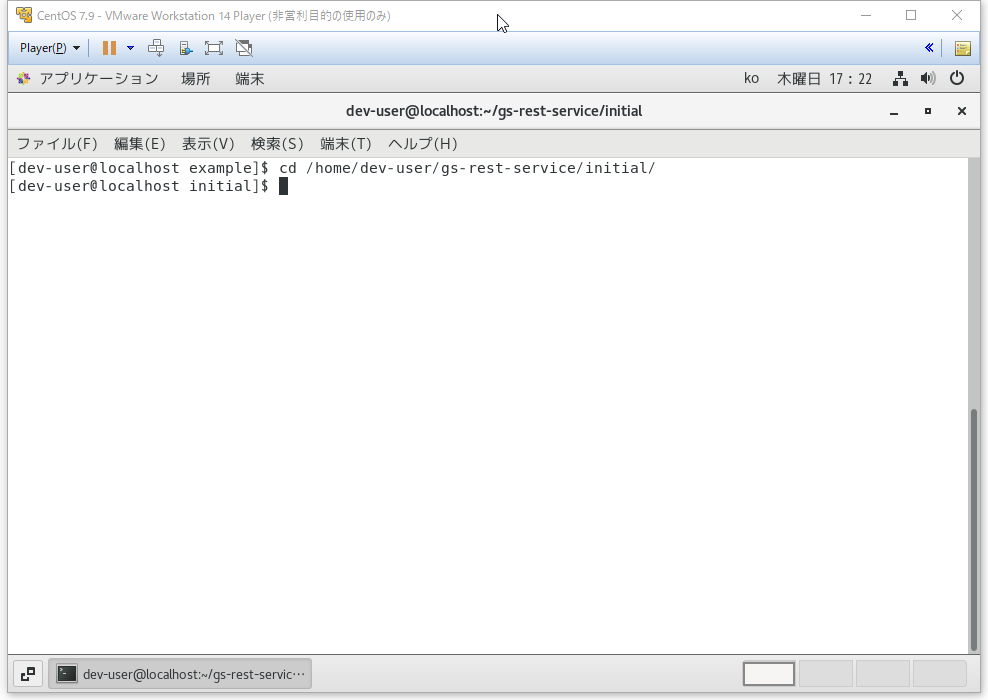
④次のコマンドでパスを移動します。
cd /home/dev-user/gs-rest-service/initial/
⑤次のコマンドでサンプルソースを実行します。
./mvnw spring-boot:run

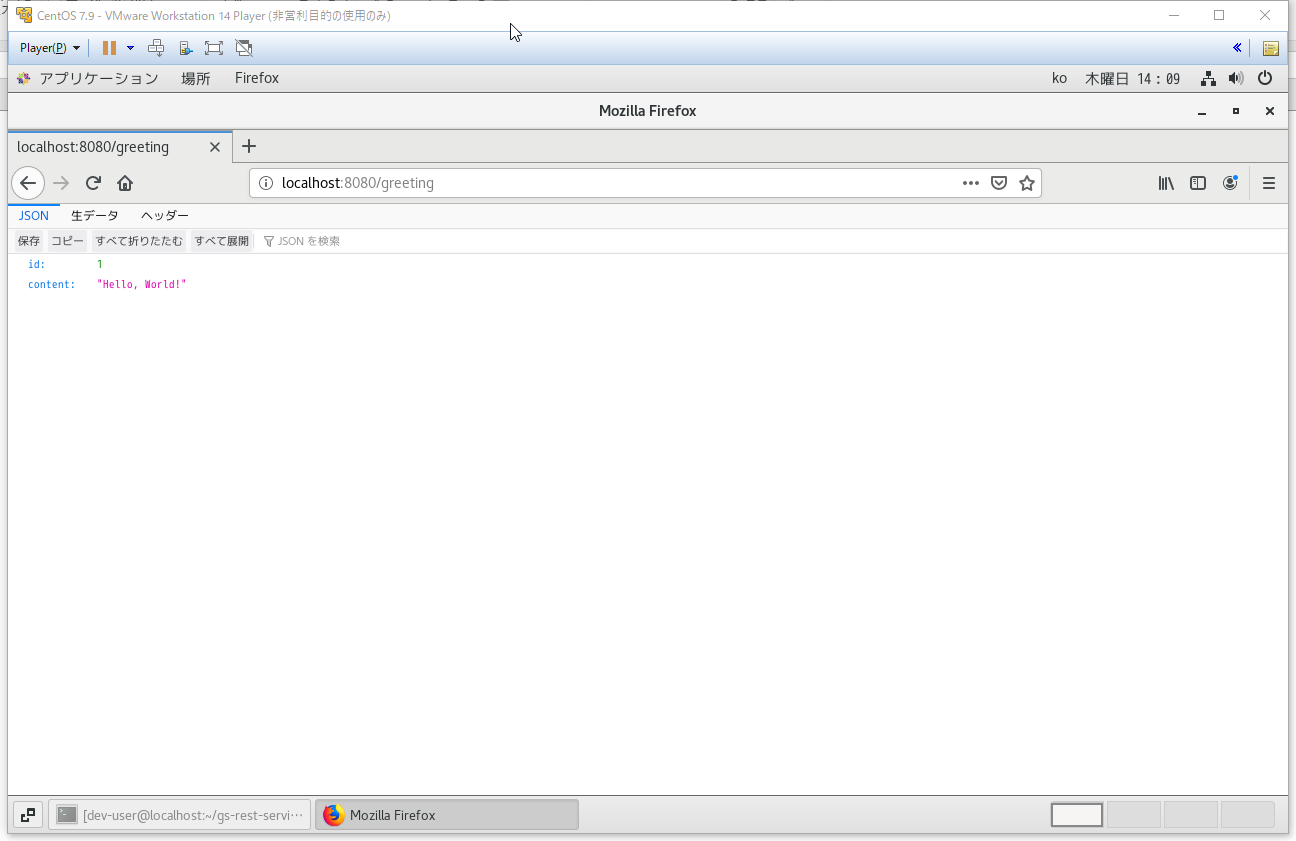
WEB APIテスト(仮想マシン環境)
①ブラウザからテストする場合は、以下のURLにアクセスしてください。
http://localhost:8080/greeting
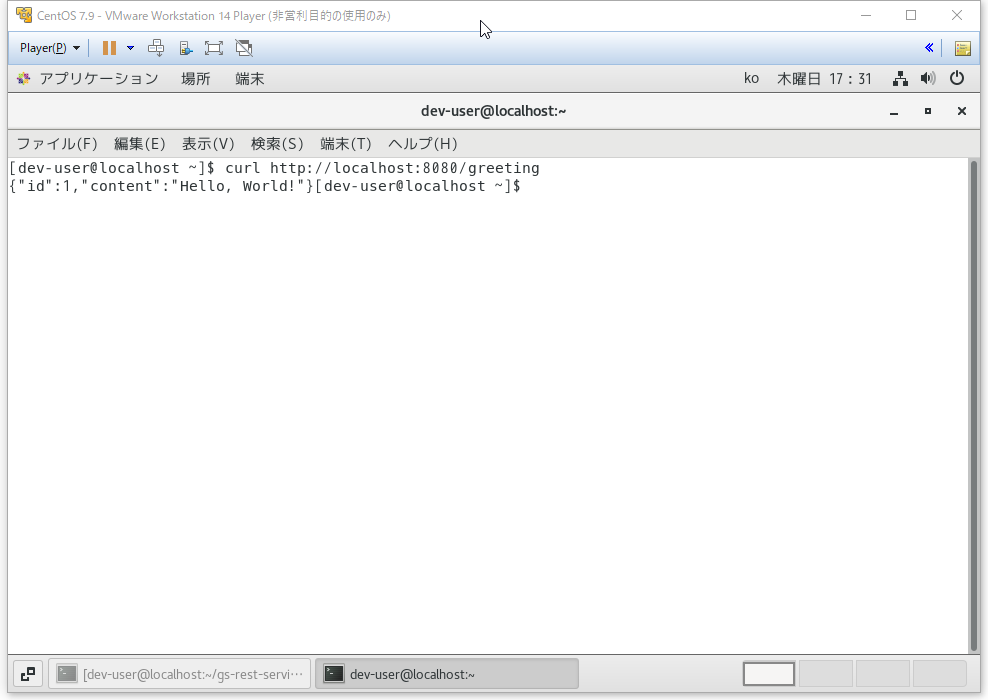
②コンソルプロンプトを起動して次のコマンドを実行して確認します。
curl http://localhost:8080/greeting
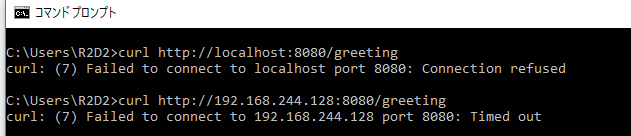
WEB APIテスト(ローカルPC環境)
ローカルPCでは以下の実行で正しく実行されないことが分かります。
次のネットワーク設定を変えてから再度実行します。
①ローカルPCでプロンプトを起動して以下のコマンドを実行します。
# 仮想マシンのlocalhostを指定して実行
curl http://localhost:8080/greeting

# 仮想マシンのIPを指定して実行
curl http://192.168.244.128:8080/greeting
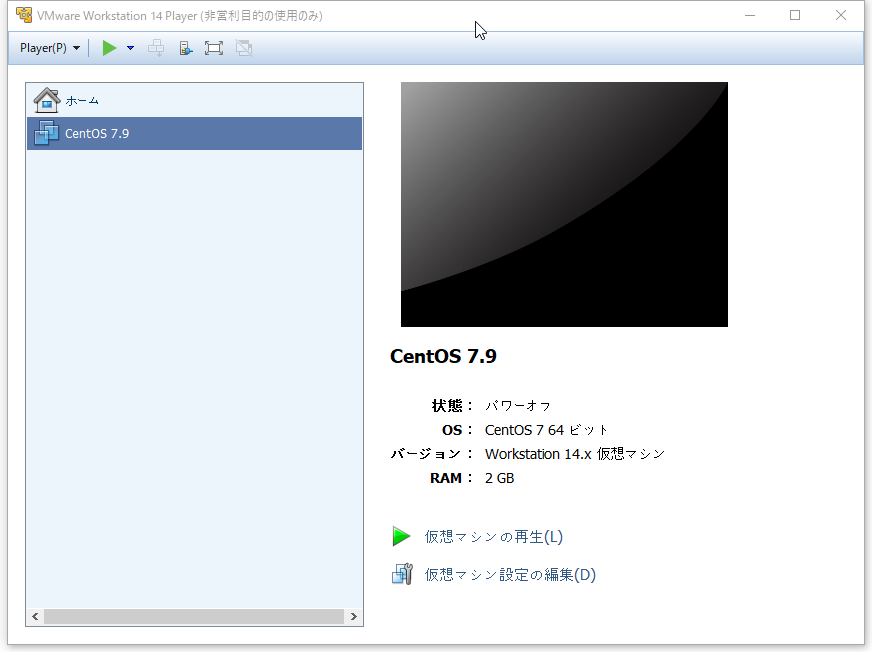
仮想マシンのネットワーク接続変更
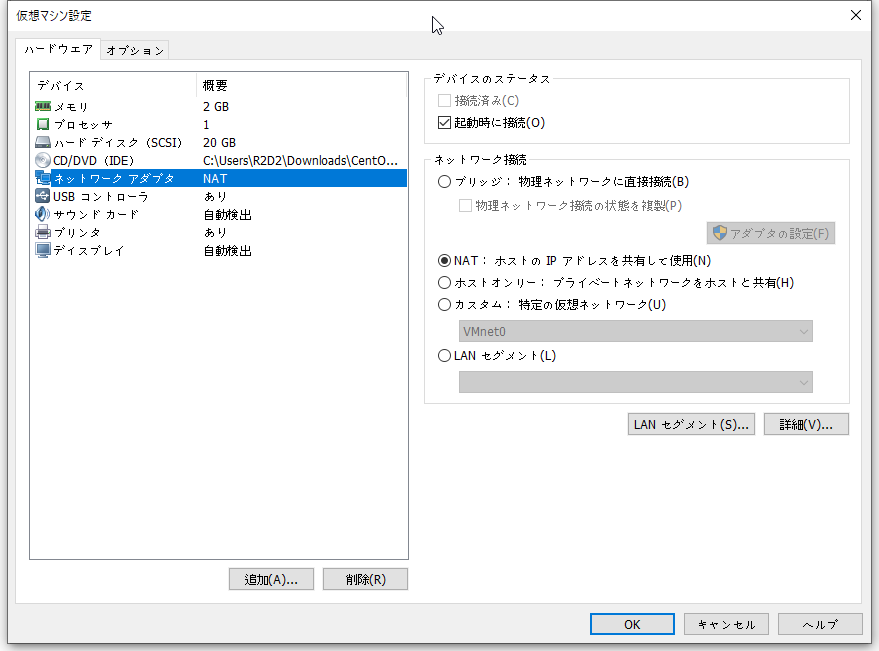
①現在開いているvmwareを閉じてから次の画面で「仮想マシン設定の編集」ボタンをクリックします。
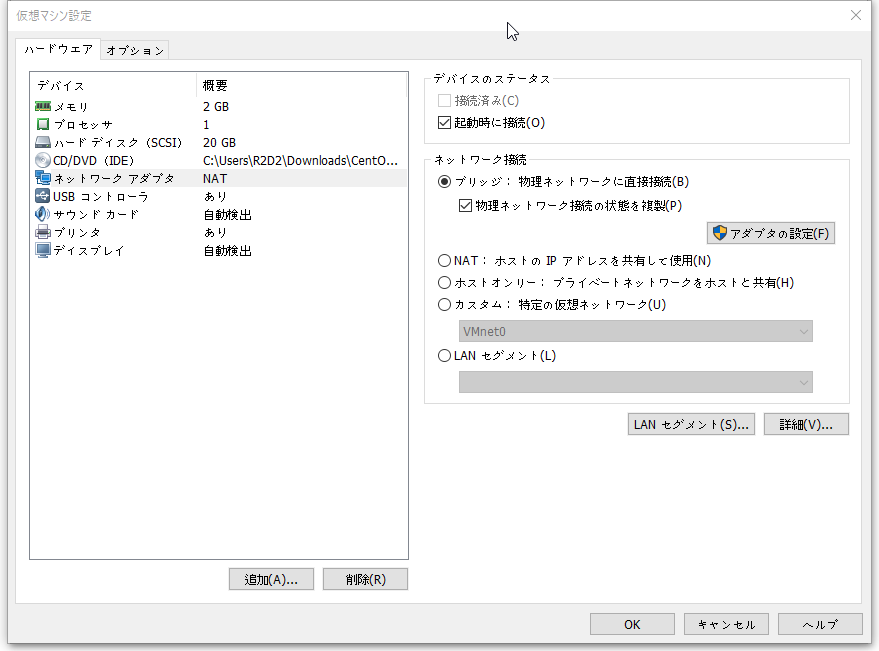
②次の画面通りに設定を変更します。
●変更前
●変更後
ファイアウォールのポート開放
仮想マシンのポートが開放されていない場合、他のPCからアクセスができなくてタイムアウトが発生するので、以下の手順で設定を行ってください。
①既存のポート情報を確認します。
[dev-user@localhost ~]$  firewall-cmd --list-all
public (active)
  target: default
  icmp-block-inversion: no
  interfaces: ens33
  sources:
  services: dhcpv6-client ssh
  ports:
  protocols:
  masquerade: no
  forward-ports:
  source-ports:
  icmp-blocks:
  rich rules:
②8080ポートを開放する方法は以下の2つがあります。
●即時反映
[dev-user@localhost ~]$ firewall-cmd --zone=public --add-port=8080/tcp
success
●恒久的な設定の反映
[dev-user@localhost ~]$ firewall-cmd --zone=public --add-port=8080/tcp --permanent
success
③既存のポート情報を再確認します。
[dev-user@localhost ~]$  firewall-cmd --list-all
public (active)
  target: default
  icmp-block-inversion: no
  interfaces: ens33
  sources:
  services: dhcpv6-client ssh
  ports: 8080/tcp
  protocols:
  masquerade: no
  forward-ports:
  source-ports:
  icmp-blocks:
  rich rules:
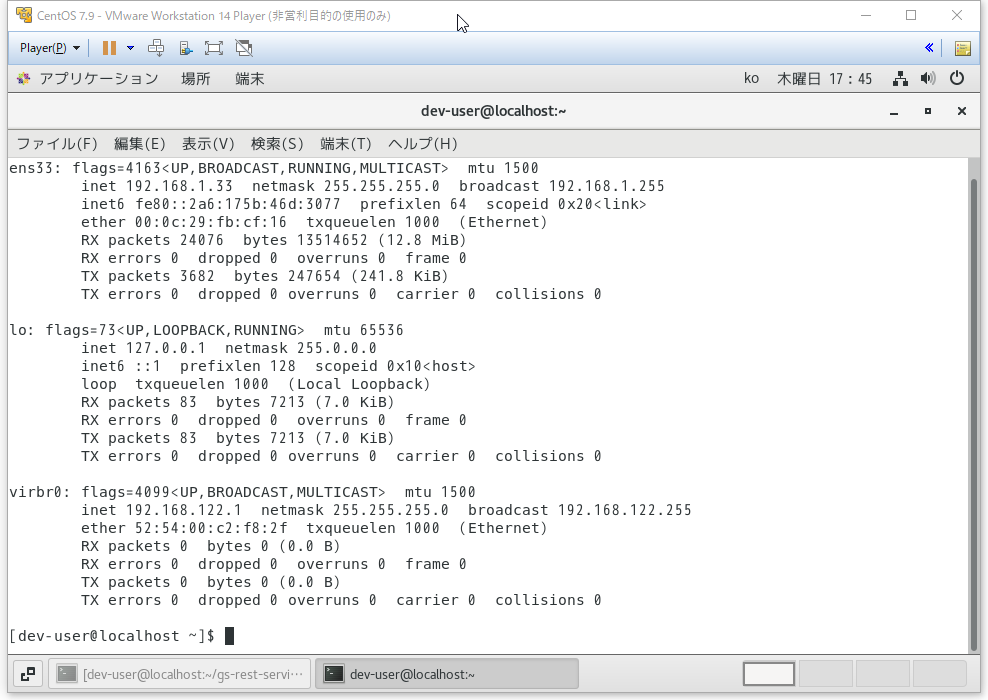
IPアドレスを再確認
ネットワーク接続変更前と変更後のIPが異なっていることが分かります。
●変更前:192.168.244.128
●変更後:192.168.1.33
①次のコマンドでIPアドレスを確認します。
ifconfig
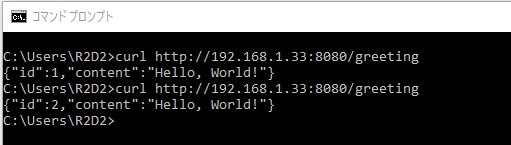
②次のコマンドでWEB APIをテストします。
curl http://192.168.1.33:8080/greeting
●1回目の実行
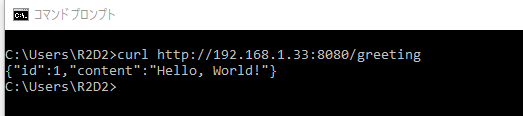
●2回目の実行
その他
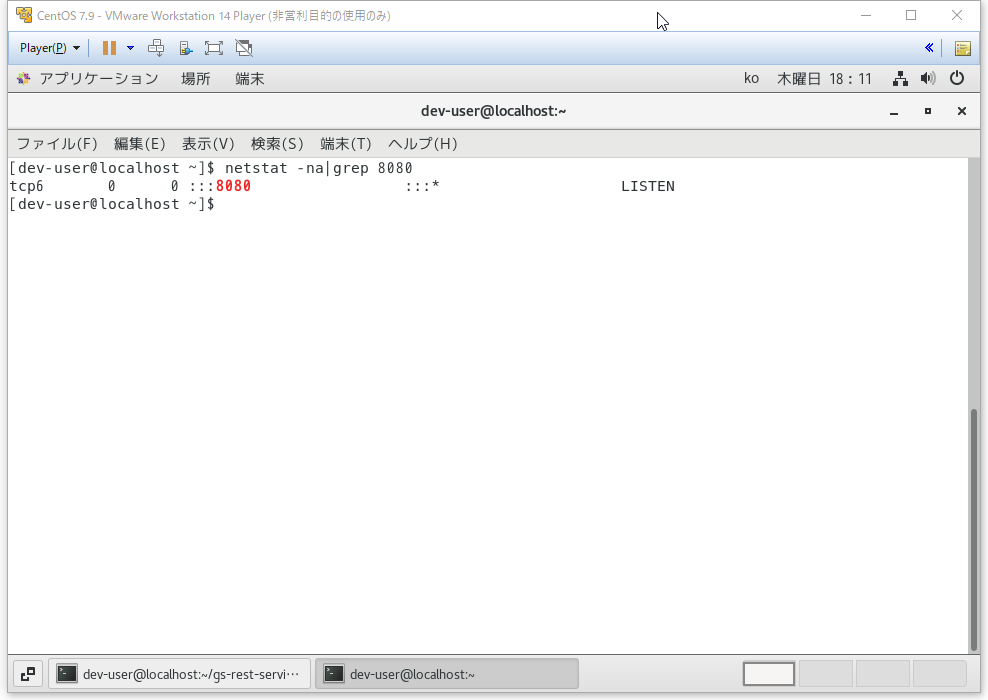
ポートが正しく起動されているか確認するコマンド
netstat -na | grep 8080
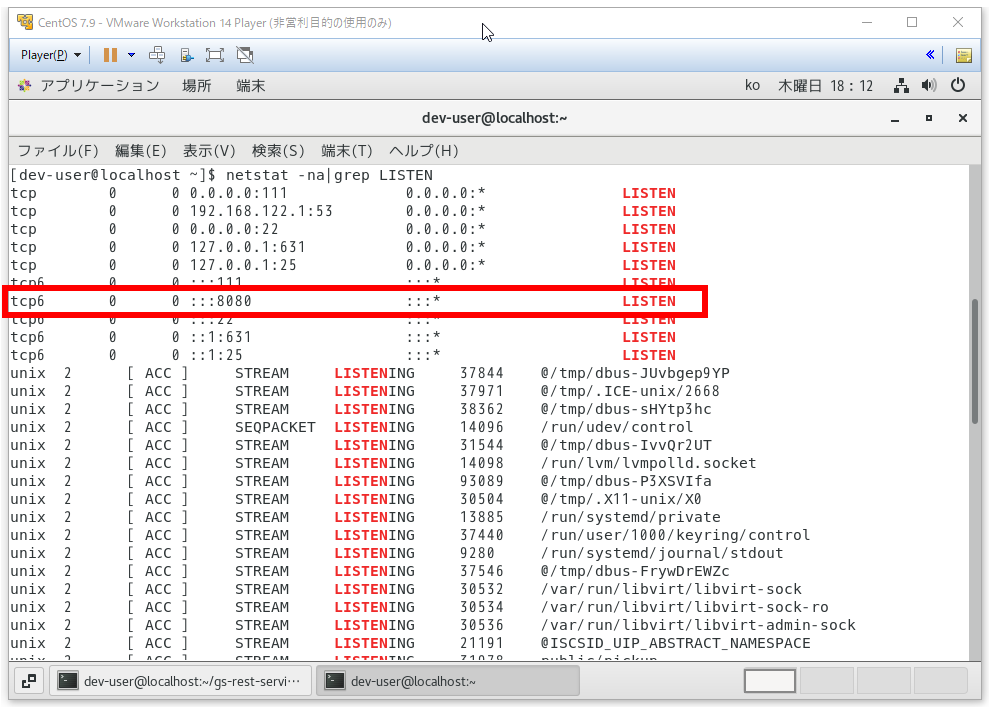
netstat -na | grep LISTEN
参考サイト
・REST API の作成
https://spring.pleiades.io/guides/gs/rest-service/#initial
・VMware のネットワーク設定と格闘した話
https://qiita.com/suzuki-maruchan/items/e5f7c539b04e2778a03b
・【すぐわかる】CentOSのポート開放のやり方
https://eng-entrance.com/linux-centos-port
終わりに
仮想マシンでは実行されましたが、ローカルPCまたは他のPCでは実行ができない問題がありましたので、解決するため、対象サービスポートを開放とvmwareツールの中でネットワーク接続方法の変更が必要でした。
Tomcatも仮想マシンで正しく実行されているのであれば、上記の2つの設定を変更すればタイムアウトの問題が解決できると思います。