はじめに
こんにちは。
ここでは、これまで主に、JavascriptやTypescriptでフロントを開発していたエンジニアが、ローカルのMacにRuby on Railsの開発環境を作ってみましたのでその手順をまとめてみました。
エンジニアスペック(主な開発経験)
Java
Python
Javascript
Typescript
React
ReactNative
Next
Node
Vue
など。
Homebrewのインストール
今回、購入直後の真新しいMacに環境構築を試みたので、まずはHomebrewのインストールから始めます。
https://brew.sh/index_ja
$ /usr/bin/ruby -e "$(curl -fsSL https://raw.githubusercontent.com/Homebrew/install/master/install)"
おっと、、エラーが出た。↓
$ /usr/bin/ruby -e "$(curl -fsSL https://raw.githubusercontent.com/Homebrew/install/master/install)"
==> This script will install:
/usr/local/bin/brew
/usr/local/share/doc/homebrew
/usr/local/share/man/man1/brew.1
/usr/local/share/zsh/site-functions/_brew
/usr/local/etc/bash_completion.d/brew
/usr/local/Homebrew

Press RETURN to continue or any other key to abort
You have not agreed to the Xcode license.
Before running the installer again please agree to the license by opening
Xcode.app or running:
    sudo xcodebuild -license
xcodeのライセンス承認をしろとのこと。
ライセンス承認後、再度上記コマンドを実行します。
成功!
Rubyのインストール
現時点でv2.6.5が使えそうなので、こちらを選択します。
$ brew install rbenv ruby-build
$ rbenv install --list
2.6.3
2.6.4
2.6.5
2.7.0-dev
2.7.0-preview1
2.7.0-preview2
2.7.0-preview3
$ rbenv install 2.6.5
pathを通します。
$ echo 'export PATH="~/.rbenv/shims:/usr/local/bin:$PATH"' >> ~/.bash_profile
$ echo 'eval "$(rbenv init -)"' >> ~/.bash_profile
$ source ~/.bash_profile
global環境を汚さないように、特定のディレクトリ下でv2.6.5を使えるようにします。
$ cd ./特定のディレクトリ
$ rbenv local 2.6.5
bundlerのインストール
次に、bundlerをインストールします。
gem でインストールするのですが、rbenv local したディレクトリで行います。
$ cd rbenv local 2.6.5 を実行したディレクトリ
$ gem install bundler
$ bundler -v
Bundler version 2.0.2
それ以外のディレクトリで bundler -v すると、
rbenv: bundler: command not found

The `bundler' command exists in these Ruby versions:
  2.6.5
のエラーが出ます。
Railsのインストール
まず、workspace 用のディレクトリを作ります。
mkdir workspace
Gemfile を生成します。下記コマンドを実行すると Gemfile が生成されます。
$ bundle init
Gemfile の下記1行のコメントアウトを削除します。
# frozen_string_literal: true

source "https://rubygems.org"

git_source(:github) {|repo_name| "https://github.com/#{repo_name}" }

gem "rails" ← ここ
# railsのインストール
$ bundle install --path=vendor/bundle

# railsのバージョンチェック
$ bundle exec rails -v
Rails 6.0.1

# workspace内にプロジェクトを作成
$ bundle exec rails new .

# 起動
$ bundle exec rails server
=> Booting Puma
=> Rails 6.0.1 application starting in development
=> Run `rails server --help` for more startup options
Puma starting in single mode...
* Version 4.3.1 (ruby 2.6.5-p114), codename: Mysterious Traveller
* Min threads: 5, max threads: 5
* Environment: development
* Listening on tcp://127.0.0.1:3000
* Listening on tcp://[::1]:3000
Use Ctrl-C to stop
Yay! You’re on Rails!
最後に、 http://localhost:3000/ へアクセスしてページが表示されたら完了です!
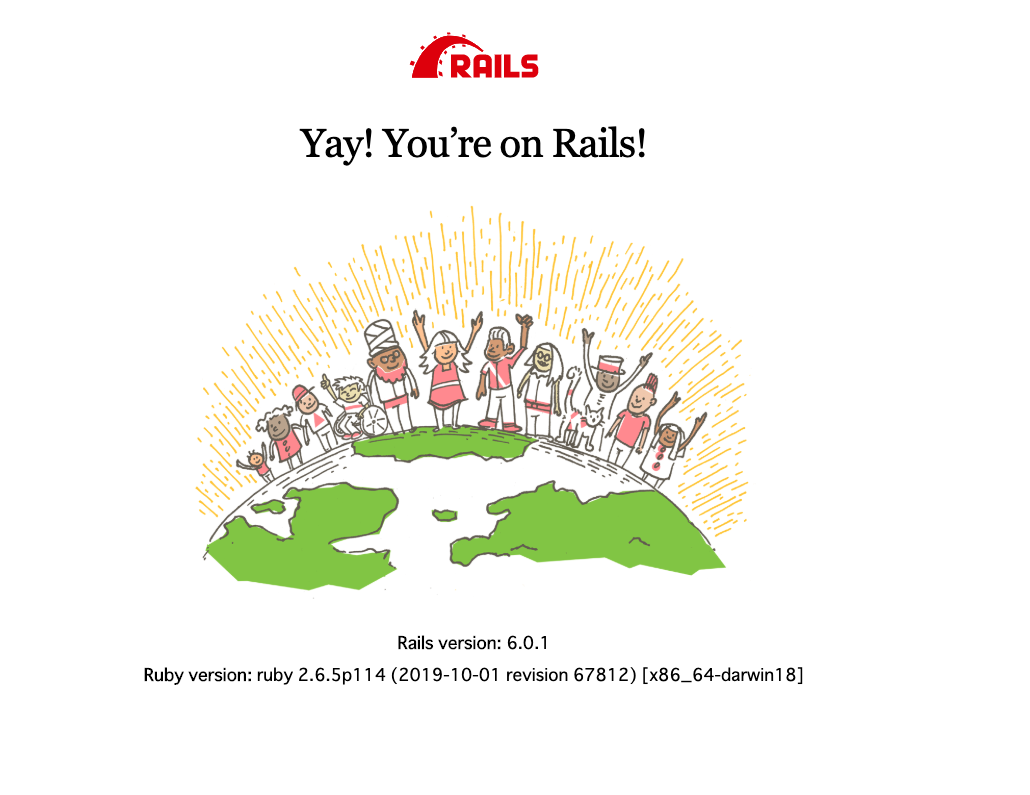
ruby のバージョンが2.6.5になってました!
作業時間としてはおおよそ1h程度で、非常に簡単に環境が構築できました!
以上でRuby on Railsの開発環境ができましたので、いろいろ遊んでみようかと思います!