APIモックをサクッと構築したいなら、ゼロコーディングで30秒でできるという触れ込みのjson-serverがおすすめです。
json-serverはnpmでインストールするのですが、開発マシンを汚したくないときにはdockerを使って構築したいなと思いますよね。ということで、dockerを使ってjson-serverを構築してみました。githubにサンプルコードをのせてあります。
https://github.com/kiyo27/json-server-docker
Dockerfileを準備
ベースイメージにnodeを使用してnpmでjson-serverをインストールしています。コンテナ起動時にjson-serverをオプション付きで起動できるようにしているので、コンテナを立ち上げたらそのままjson-serverが利用できます。
FROM node:latest

RUN npm install -g json-server

WORKDIR /data

EXPOSE 3000

ENTRYPOINT ["json-server"]

CMD ["--watch", "db.json", "--host", "0.0.0.0"]
コンテナ起動
用意したDockerfileを使用してコンテナを起動します。
# ビルド
docker build -t json-server .

# 起動
docker run --name json-server -p 3000:3000 -v `pwd`/db:/data json-server
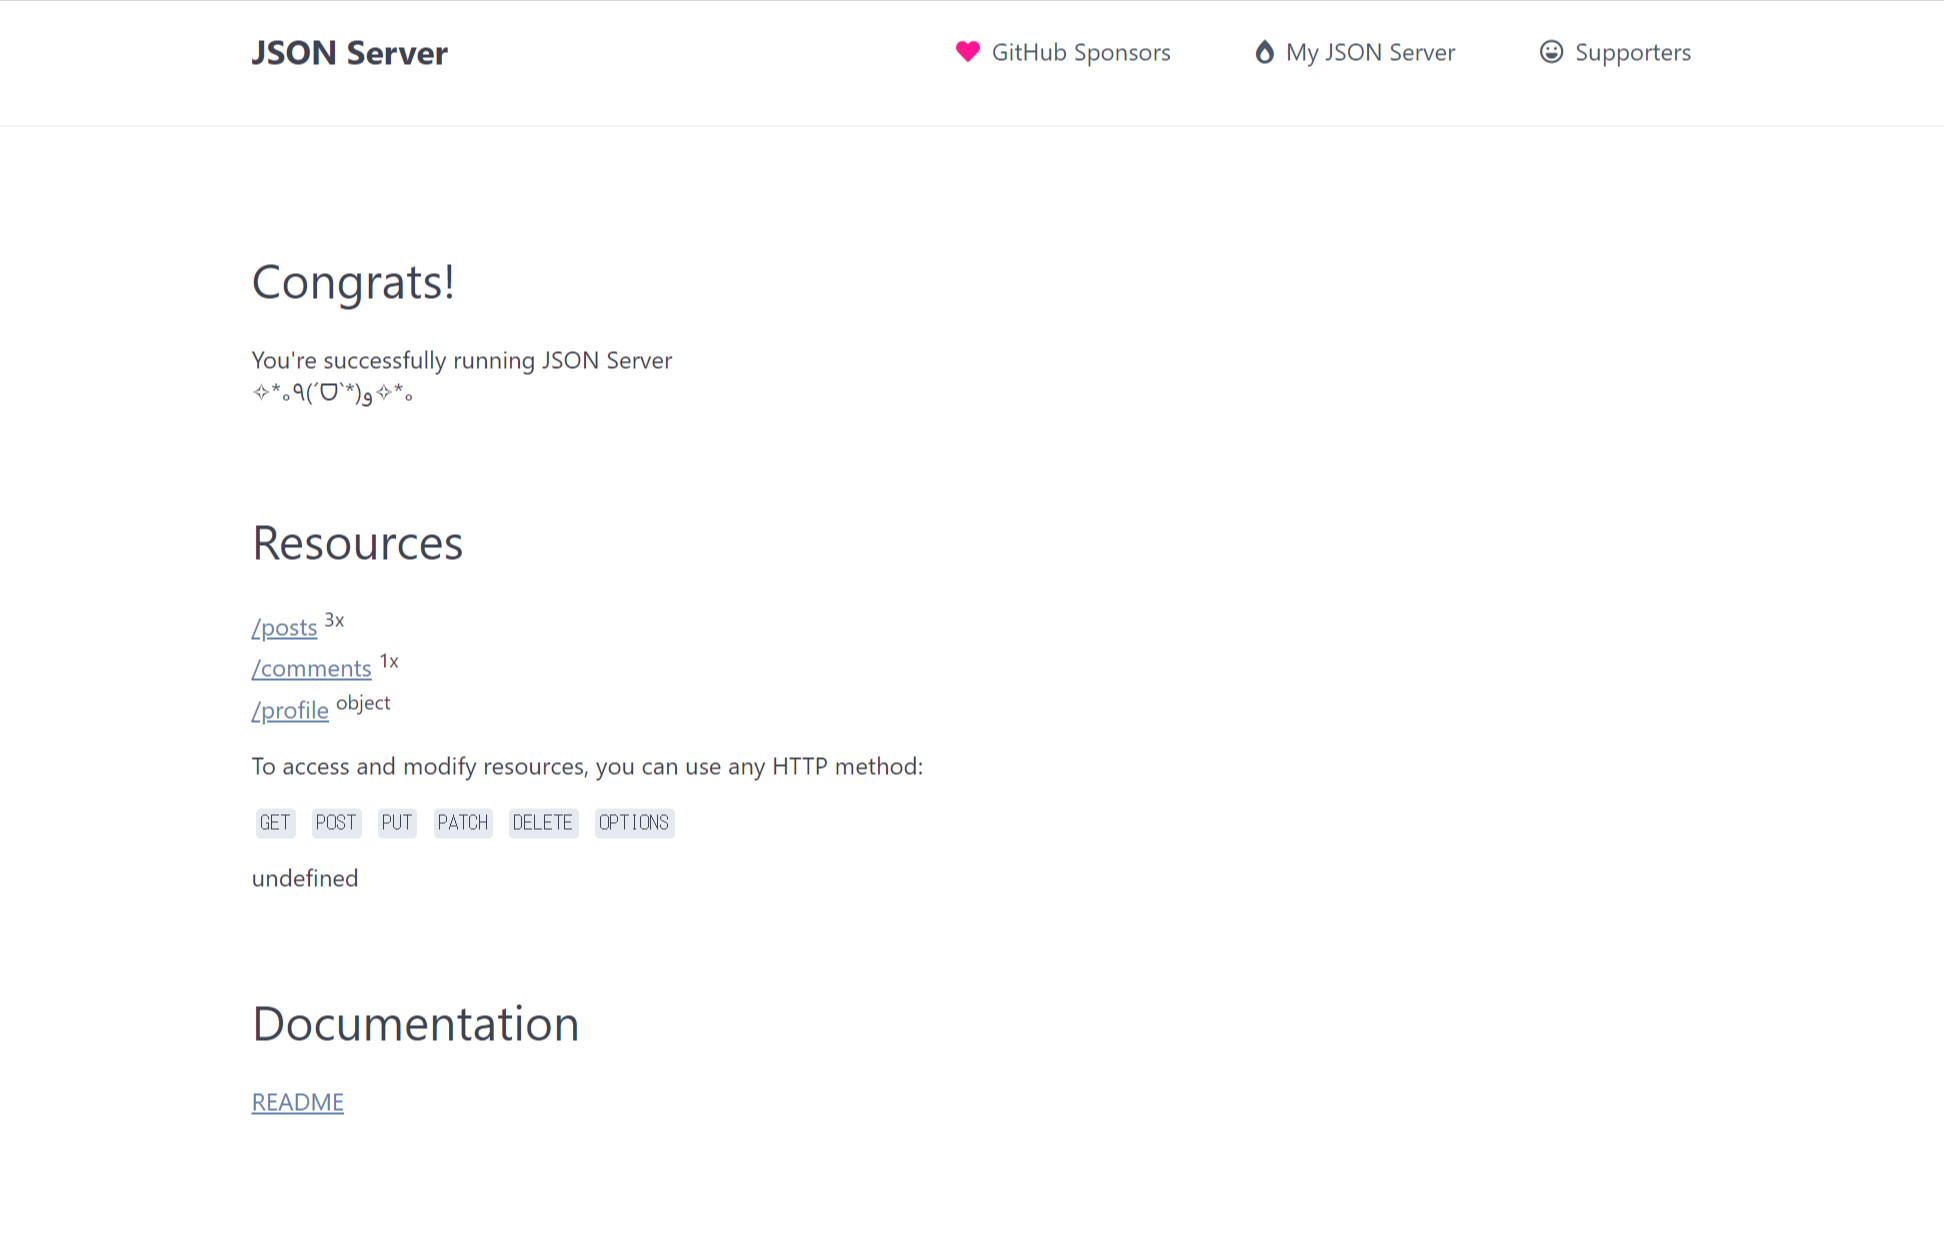
コンテナが起動できたらhttp://localhost:3000を開いてトップページが表示されたら成功です。
使い方
json-serverはGET, POST, DELETE, PUT, PATCHに対応しています。
GET
$ curl -X GET http://localhost:3000/posts
[
  {
    "id": 1,
    "title": "json-server",
    "author": "typicode"
  },
  {
    "id": 2,
    "title": "new post",
    "author": "user"
  }
]
idを指定して取得もできます。パスパラメータを使用すると、配列ではなくオブジェクトで返却されます。
# クエリパラメータを使用
$ curl -X GET http://localhost:3000/posts?id=1
[
  {
    "id": 1,
    "title": "json-server",
    "author": "typicode"
  }
]

# パスパラメータを使用
$ curl -X GET http://localhost:3000/posts/1
{
  "id": 1,
  "title": "json-server",
  "author": "typicode"
}
_embedを使用すると子要素も指定して取得できます。
$ curl -X GET 'http://localhost:3000/posts?_embed=comments&id=1'
[
  {
    "id": 1,
    "title": "json-server",
    "author": "typicode",
    "comments": [
      {
        "id": 1,
        "body": "some comment",
        "postId": 1
      }
    ]
  }
]
POST
POSTを使用して要素の追加もできます。
$ curl -X POST -H "Content-Type: application/json" -d '{"title":"third post","author":"user"}' http://localhost:3000/posts
{
  "title": "third post",
  "author": "user",
  "id": 3
}
追加されたデータはdb.jsonに保存されます。
db.json
{
  "posts": [
    {
      "id": 1,
      "title": "json-server",
      "author": "typicode"
    },
    {
      "id": 2,
      "title": "new post",
      "author": "user"
    },
    {
      "title": "third post",
      "author": "user",
      "id": 3
    }
  ],
  "comments": [
    {
      "id": 1,
      "body": "some comment",
      "postId": 1
    }
  ],
  "profile": {
    "name": "typicode"
  }
}
PUT, PATCH
json-serverではデータの更新も可能です。
$ curl -X PUT -H "Content-Type: application/json" -d '{"title":"mod post","author":"user"}' http://localhost:3000/posts/3
{
  "title": "mod post",
  "author": "user",
  "id": 3
}
$ curl -X GET http://localhost:3000/posts?id=3
[
  {
    "title": "mod post",
    "author": "user",
    "id": 3
  }
]
$ curl -X PATCH -H "Content-Type: application/json" -d '{"title":"patch post","author"":"user"}' http://localhost:3000/posts/3
{
  "title": "patch post",
  "author": "user",
  "id": 3
}
$ curl -X  GET http://localhost:3000/posts?id=3
[
  {
    "title": "patch post",
    "author": "user",
    "id": 3
  }
]
DELETE
DELETEメソッドを使用すれば要素の削除ができます。
$ curl -X DELETE http://localhost:3000/posts/3
$ curl -X GET http://localhost:3000/posts
[
  {
    "id": 1,
    "title": "json-server",
    "author": "typicode"
  },
  {
    "id": 2,
    "title": "new post",
    "author": "user"
  }
]
JavaScriptを使用すればいろいろカスタマイズできますが、それはまた今度。