Graph API のドキュメント見てたら、クライアントだけでもカスタムリストやライブラリなどの簡易な変更通知を受け取ることができ、それをトリガーとした処理が実現できそうだったので試してみました。
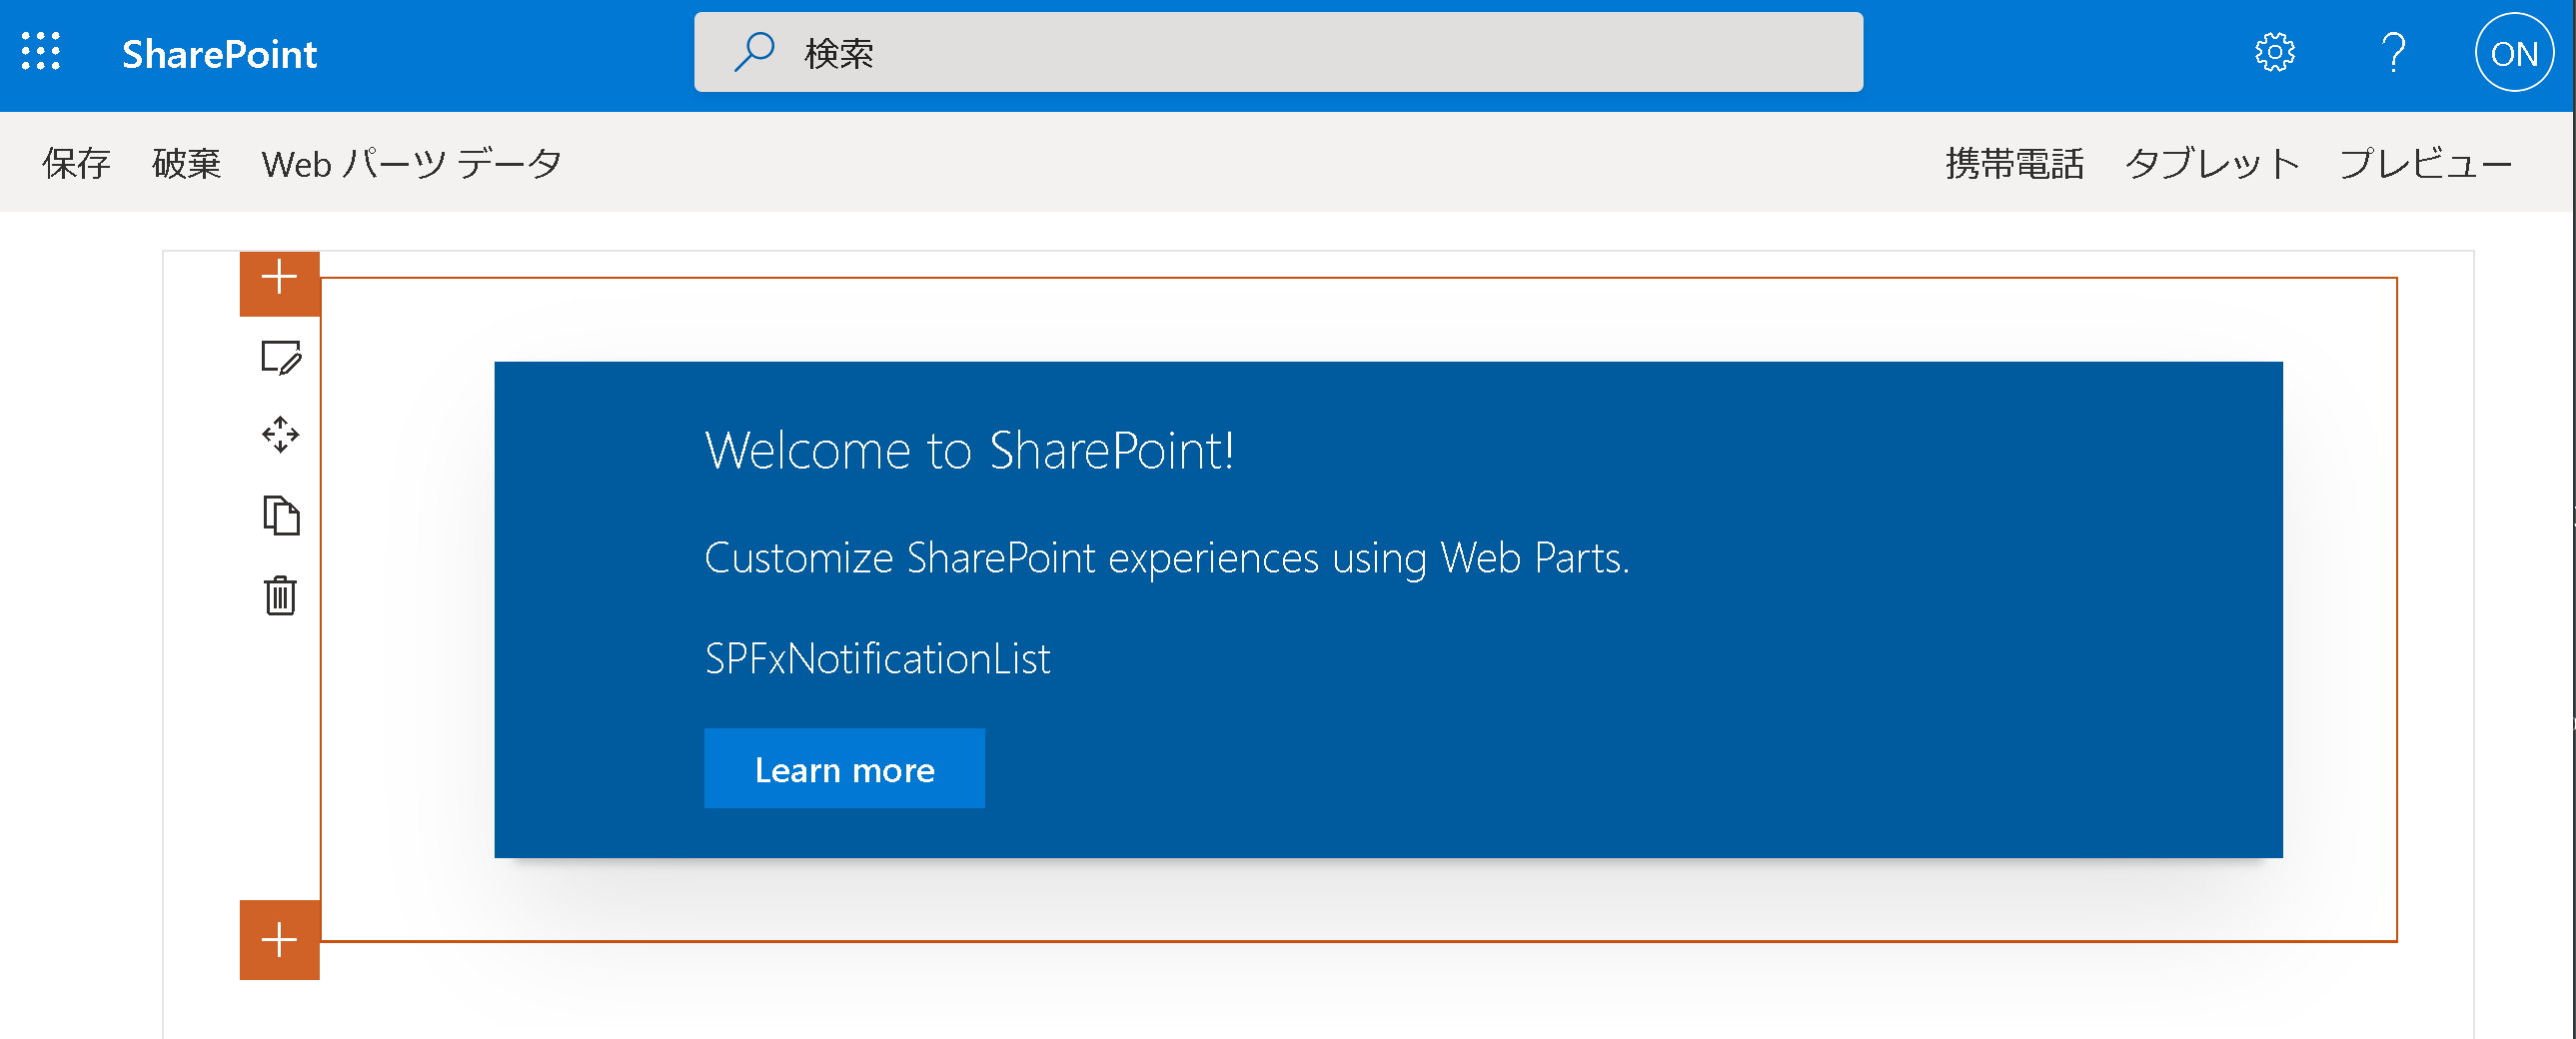
出来上がりイメージ
指定したカスタムリストの変更を通知するような Web パーツを作ります。

公式ドキュメント
Websocket エンドポイントを取得する
https://docs.microsoft.com/ja-jp/graph/api/subscriptions-socketio?view=graph-rest-1.0&tabs=http
Socket.IO
https://socket.io/
手順
- SPFxの開発環境の準備(別記事の案内)
- yo sharepoint の実行とSocket.io の利用準備
- 変更通知を取得したいものの準備
- Webパーツの開発(Webパーツじゃなくても可)
1. SPFxの開発環境の準備(別記事の案内)
環境構築に関しては、以下のサイトが非常に詳しいです。(毎度お世話になっています。ありがとうございます!)
以下のサイトの"Docker を使った SharePoint Framework 開発環境の構築 その1"から"その3"を参考に環境構築と初期設定を行います。
必ずしも Docker を使う必要はないので、ご自身の環境に合わせてご準備ください。
[参考]SharePoint Developer SharePoint Framework 開発入門 まとめ
https://sharepoint.orivers.jp/sharepoint-framework-dev
2. yo @microsoft/sharepoint の実行とSocket.io の利用準備
まずお決まりの、yo @microsoft/sharepoint に関して今回は以下のパラメータとしました。
The npm package manager will be used.
Let's create a new SharePoint solution.
? What is your solution name? SPFxNotification
? Which baseline packages do you want to target for your component(s)? SharePoint Online only (latest)
? Where do you want to place the files? Use the current folder
? Do you want to allow the tenant admin the choice of being able to deploy the solution to all sites immediately without running any feature deployment or adding apps in sites? No
? Will the components in the solution require permissions to access web APIs that are unique and not shared with other components in the tenant? No
? Which type of client-side component to create? WebPart
Add new Web part to solution sp-fx-notification.
? What is your Web part name? SPFxNotificationList
? What is your Web part description? SPFxNotificationList description
? Which framework would you like to use? React
次に、Socket.io の利用準備なのですが、2.xx のバージョンをインストールしてください。
エンドポイントを提供してくれているサーバ側の socket.io バージョンのためか最新版(2020/01時点)では接続ができません。
(私はここで最新の socket.io-client をインストールしたがためにうまく動作せず、上記事実に気が付くのに2,3時間費やしました。。。)
npm install socket.io-client@2.4.0
npm install @types/socket.io-client
gulp serve で以下が表示できれば、環境準備は完了です。
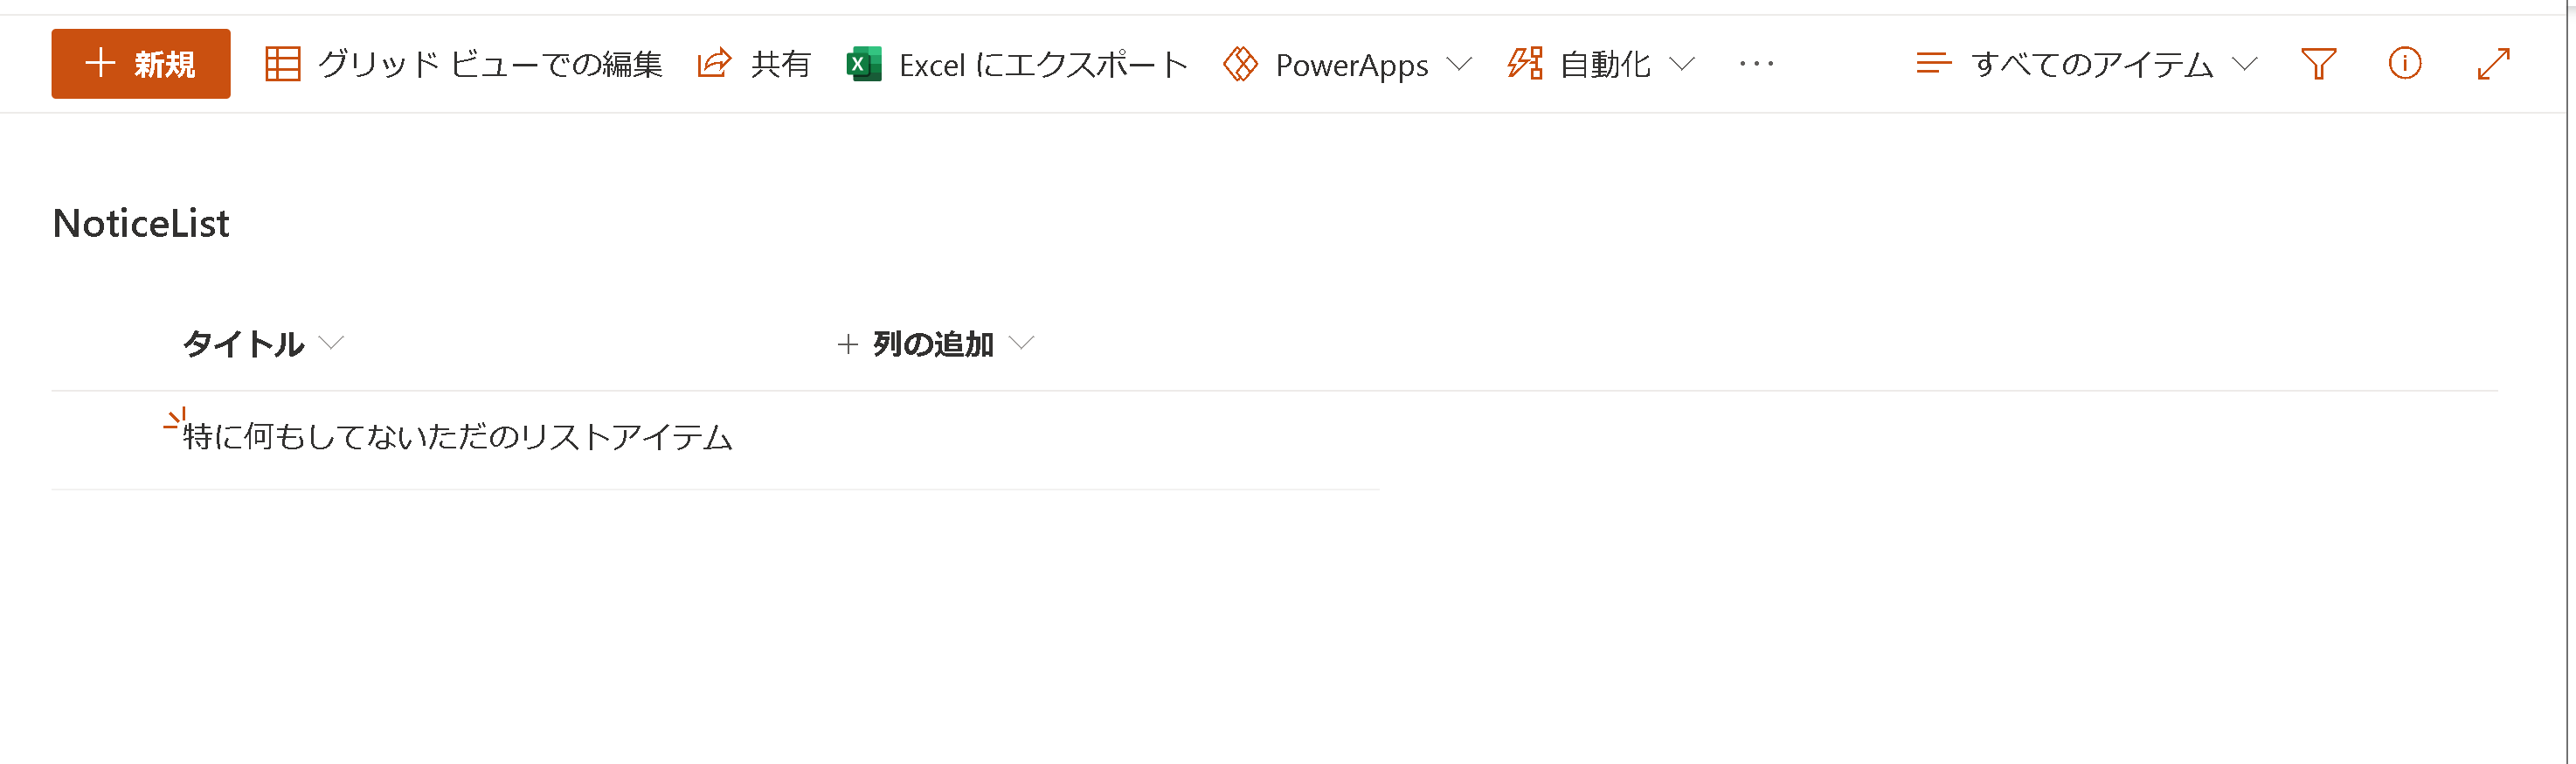
3. 変更通知を取得したいものの準備
今回は以下のようなカスタムリストを対象としたいと思います。
カスタムリスト
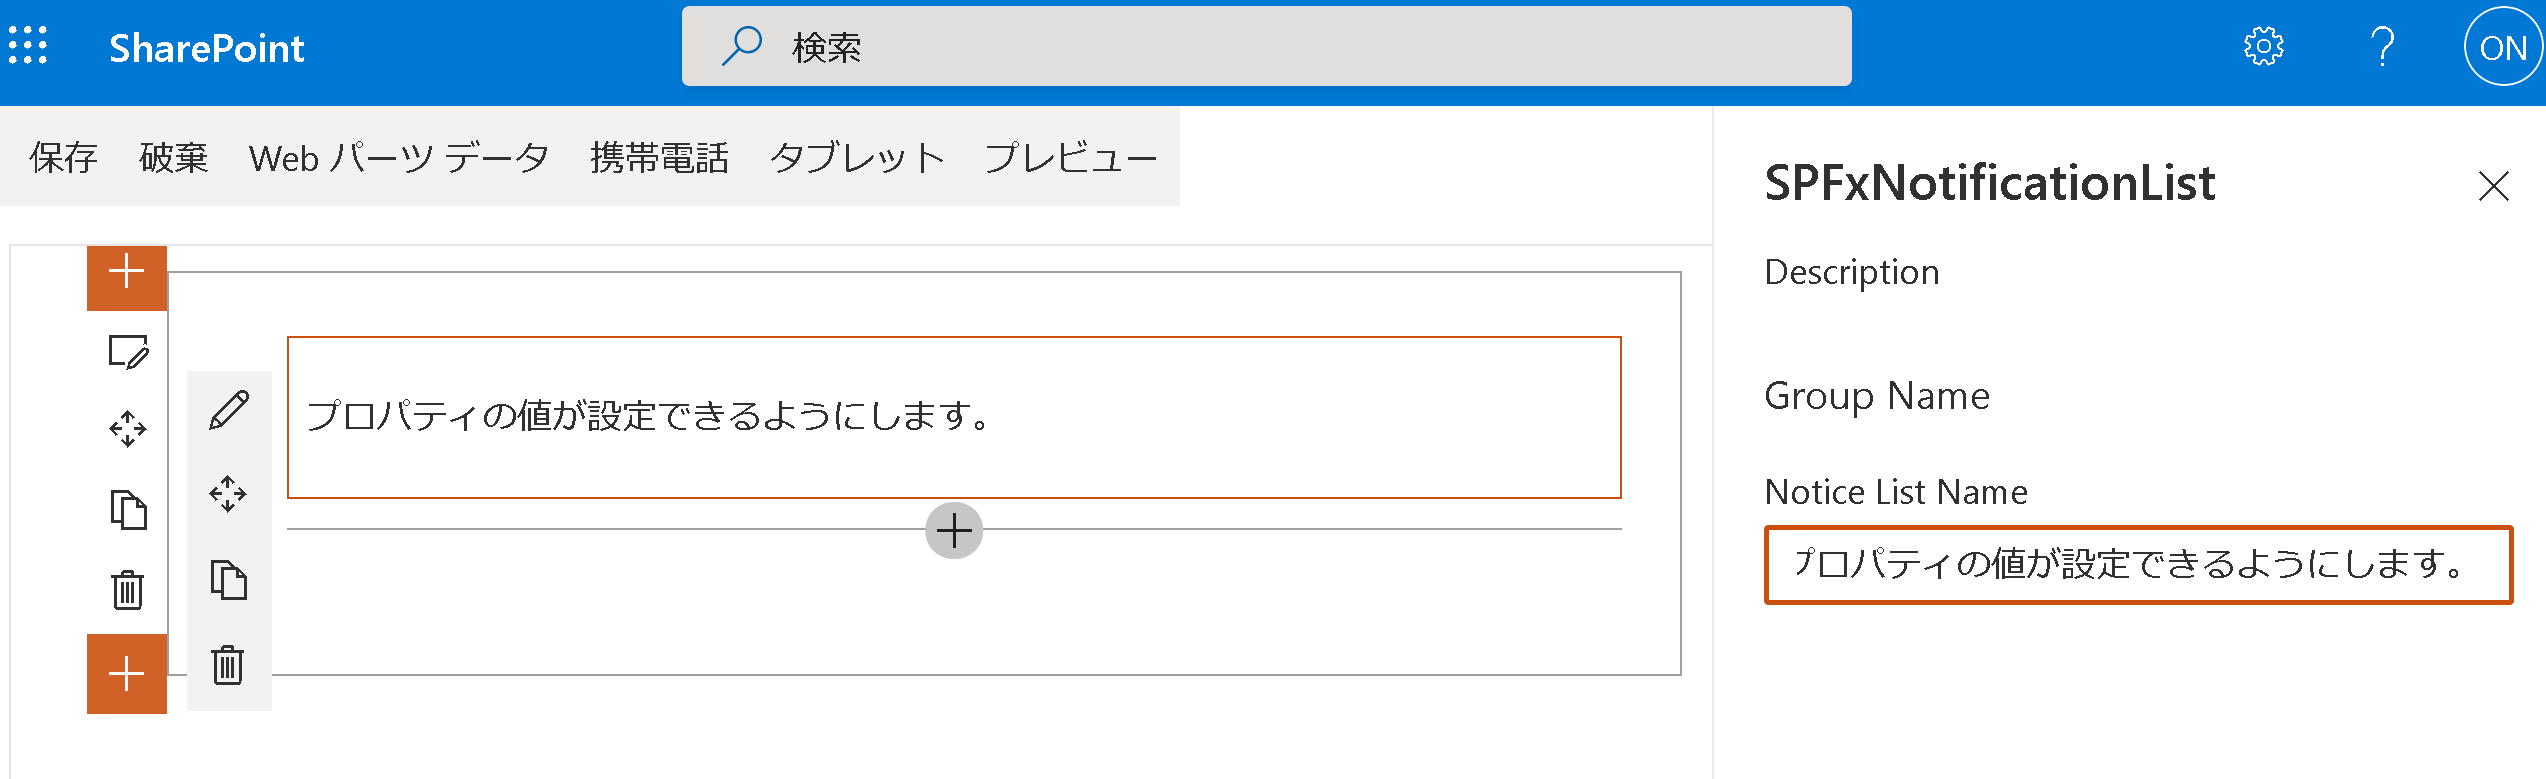
4. Webパーツの開発(Webパーツじゃなくても可)
まず、プロパティに通知を取得するカスタムリストの名前を入力できるようにすることと、WebPartContext をコード中で利用できるようにします。
方法については、以下の記事の下のほうに記載してあります。
SharePoint Framework で TODO管理アプリを作る (1/4) Webパーツの初期設定編
https://qiita.com/nanoka/items/834ee5216a5437dc04bc
こんな感じになります。
次に SpFxNotificationList.tsx を以下のように編集します。
import * as React from 'react';
import styles from './SpFxNotificationList.module.scss';
import { ISpFxNotificationListProps } from './ISpFxNotificationListProps';
import { escape } from '@microsoft/sp-lodash-subset';

import { SPHttpClient, SPHttpClientResponse } from '@microsoft/sp-http';
import * as IO from 'socket.io-client';
import { Spinner, MessageBar, AnimationStyles, IMessageBarStyles } from 'office-ui-fabric-react';

interface State {
  loading: boolean;
  notificationMsg: string;
  isMsgDisp: boolean;
  iMessageBarStyles: IMessageBarStyles;
}

//メッセージバーのアニメーション設定
const tmpIMessageBarStyles: IMessageBarStyles = {};

const openIMessageBarStyles: IMessageBarStyles = {};
openIMessageBarStyles.root = AnimationStyles.fadeIn200;

const closeIMessageBarStyles: IMessageBarStyles = {};
closeIMessageBarStyles.root = AnimationStyles.fadeOut200;


export default class SpFxNotificationList extends React.Component<ISpFxNotificationListProps, State> {

  //初期値の設定
  constructor(props: ISpFxNotificationListProps) {
    super(props);
    this.state = {
      loading: true, notificationMsg: 'No Message',
      isMsgDisp: false, iMessageBarStyles: tmpIMessageBarStyles
    };
  }

  //パーツ表示時の処理
  public async componentDidMount() {

    //socketioのエンドポイント取得
    const endpointUriSocketIO =
    `${location.protocol}//${location.hostname}/_api/v2.0` +
    `/sites/${location.hostname}:${this.props.webPartContext.pageContext.web.serverRelativeUrl}:` +
    `/lists/${this.props.noticeListName}/subscriptions/socketIo`;

    const res: SPHttpClientResponse =
      await this.props.webPartContext.spHttpClient.get(endpointUriSocketIO, SPHttpClient.configurations.v1);
    const resJson: any = await res.json();

    //socketioを使って変更通知の購読開始
    const socket = IO(resJson.notificationUrl, {
      transports: ['websocket']
    });

    //変更通知購読開始時の処理
    socket.on('connect', () => {
      console.log('Connect!', socket.id);
      this.setState({
        loading: false,
        notificationMsg: this.props.noticeListName + ' の更新を通知します ', isMsgDisp: true,
        iMessageBarStyles: openIMessageBarStyles
      });
    });

    socket.on('connect_error', (error: any) => console.log('Error!', error));
    socket.on('connect_timeout', (data: any) => console.log('Timeout!', data));

    //変更通知受信時の処理
    socket.on('notification', async (data: any) => {
      console.log('Notification!', data);

      if (this.state.isMsgDisp) {
        this.setState({ isMsgDisp: false, iMessageBarStyles: closeIMessageBarStyles });
      }
      const dataJson = JSON.parse(data);

      setTimeout(() => {
        const nowDatetime: Date = new Date();
        this.setState({
          notificationMsg: this.props.noticeListName + ' が更新されました ' + nowDatetime.toLocaleString('ja'),
          isMsgDisp: true, iMessageBarStyles: openIMessageBarStyles
        });
      }
        , 200);
    });
  }

  //描画処理
  public render(): React.ReactElement<ISpFxNotificationListProps> {
    return (
      <div>
        {this.state.loading ? (
          <Spinner label='loading...' />
        ) : (
            <MessageBar
              styles={this.state.iMessageBarStyles}
              dismissButtonAriaLabel='Close'
              onDismiss={(e) => { this.setState({ isMsgDisp: false, iMessageBarStyles: closeIMessageBarStyles }); }}
            >
              {this.state.notificationMsg}
            </MessageBar>
          )}
      </div>
    );
  }
}
完成イメージのように表示できれば完成です。必要に応じて展開してご利用ください。
以下に実際のソースコードを置いておきます。
まとめ
変更通知を受け取ることができましたが、受け取った変更通知の中身は、リストやライブラリを特定できるものまでとなっており、どのアイテムが更新されたかまでは受け取れませんでした。
そのため、細かい変更内容を確認したい場合は、変更通知を受け取った後、変更通知元のリストやライブラリを再検索するなど工夫をするか、別途アプリケーションを用意して、細かい変更通知を受け取るようにするのがよいと思います。
SharePoint Online におけるカスタムリストの書式設定も充実してきていますし、いろいろ組み合わせていい感じのSharePoint Online 活用をお楽しみください!