「Debian Live Making エラー & トライ」https://qiita.com/nanbuwks/items/274305f724f57c5fa659
にで最低限のビルドができましたが、ここから自分の希望するものを作っていきます。
環境
- 母艦 Debian 12 Stable → Testing に upgrade 済
- 作業アカウント root
後述しますが Stable だとエラーが出たので Testing としています。
また、今回も安直に root で作業します。
旧ビルドをクリーンアップ
# lb clean
または
# lb clean --binary
とします。
--binary の方が、キャッシュなどが残るので早いです。
カスタマイズの練習として Debian 12 に変更してみる
前回作成したものは Debian 11 でした。
Debian 12 にするには、ディストリビューションの指定に bookworm と記述します。
lb config コマンドを使うときは
$ lb config --distribution bookworm
を指定します。
今回は auto/config を使っているので auto/config に 以下を追加する方法にしました。
--distribution bookworm \
変更後、クリーンアップして
# lb build
とすると、Debian12 の live image が完成します。
以降は同様に auto/config に追加し、クリーンアップ、ビルドを行っていくやりかたで説明していきます。
カスタマイズ
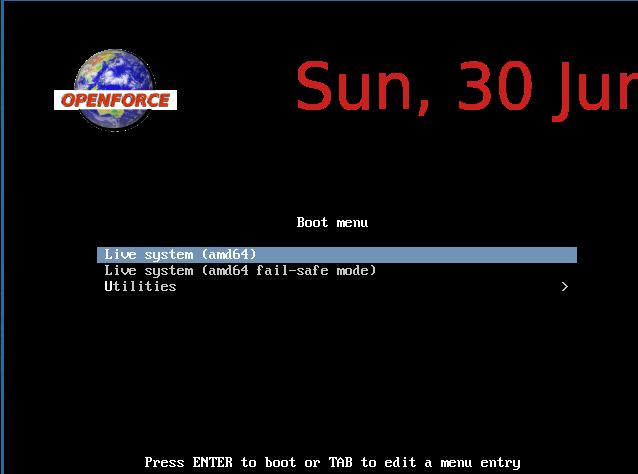
起動時のスプラッシュの変更
./config/bootloaders/syslinux_common/splash.svg
または
./config/bootloaders/syslinux_common/splash.png
を配置し、ビルドします。
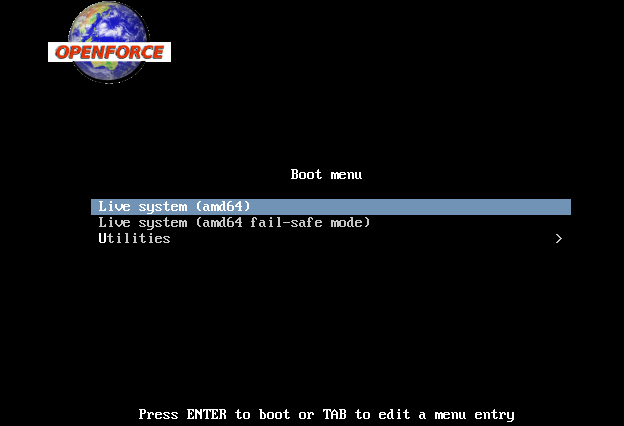
ビルドした iso イメージからブートしたところ。

円形の svg だったのですが、3:4 の縦横比にするのが良さそうですね。また、輝度の高いものは見づらくなるので工夫が必要です。
LibreOffice でpng ファイルを作って、横幅640 px で保存しました。
それがこのように反映されました。

エラー
 Processing triggers for libc-bin (2.36-9+deb12u7) ...
cp: cannot stat 'config/bootloaders/syslinux_common/*': No such file or directory
./config/bootloaders/syslinux_common/ はあるのに中身が無かった場合
Debian 12 Stable の問題
このスプラッシュの変更や、デスクトップテーマを指定しようとすると、Debian 12 Stable だと、以下のようなエラーが出ました。
The following packages have unmet dependencies:
 libcairo-gobject2 : Depends: libcairo2 (= 1.16.0-5) but 1.16.0-7 is to be installed
色々調べましたが、Debian 12 Stable を使だとダメな感じです。
「Debian testing インストール」
https://qiita.com/nanbuwks/items/e92000d28a7ddc3890a2
のようにして、 Debian testing にすると解消します。
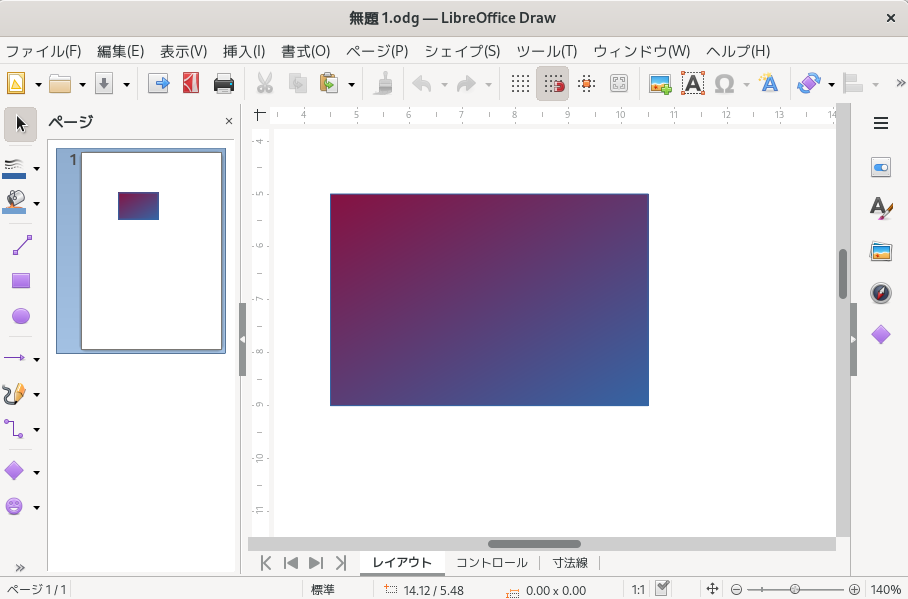
凝ったスプラッシュを作る
Libreoffice Draw で 6.4x4.8cmの矩形を描きます。

アイコンと文字列を入れて範囲指定して svg にエクスポートします。
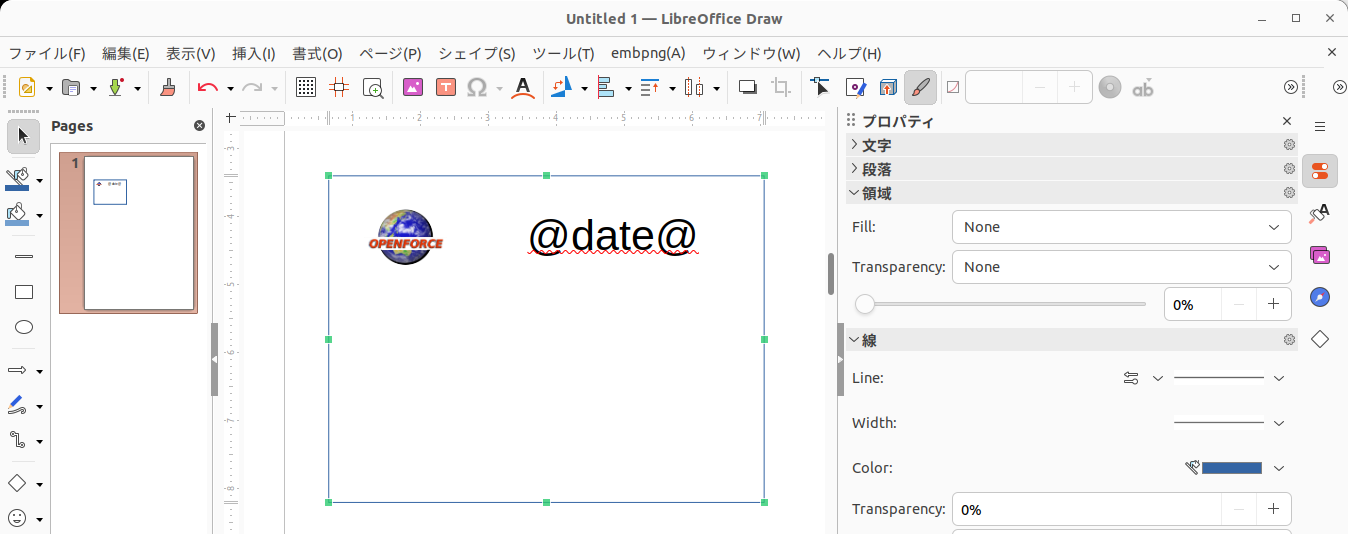
このようになりました。
こちらを参照すると、@date@ ではなく @DATE@ であることが必要でした。
https://salsa.debian.org/live-team/live-build/-/blob/516e8ded70b96ef637644b1401df7a76f44c4eff/scripts/build/binary_syslinux#L239-270
直します。ソースから文字色が黒だとダメだということがわかるので、色も変えます。
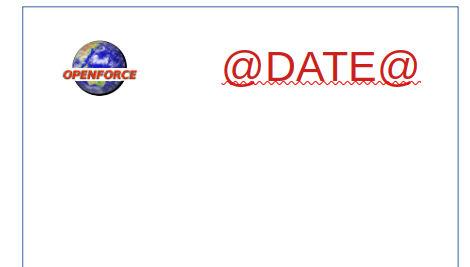
置き換えはうまくいきました。フォントサイズを変更する必要がありますね。
メタパッケージを使って gnome を設定、デスクトップ環境を作る
今までは CUI のディストリビューションでしたが、gnome を一気に入れることで GUI 環境も一緒に入れてしまいます。
config/package-lists/live.list.chroot
を編集します。
デフォルトでは以下のようになっています。
live-boot
live-config
live-config-systemd
systemd-sysv
以下を追加します。
task-gnome-desktoplive-boot
この箇所の変更の際にはlb clean が必要です。
GUIが動きました。
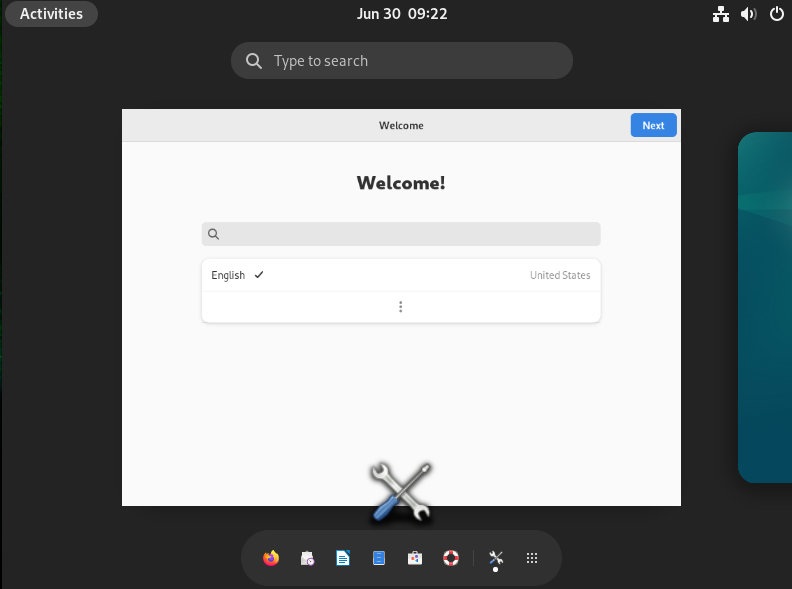
まだ英語しか使えません。
日本語環境デスクトップ環境を追加する
メタファイルなので、同様に
config/package-lists# vim live.list.chroot
に
task-japanese
を追加します。
パッケージを追加
Debian ディストリビューションパッケージを追加する
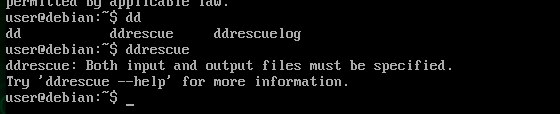
ddrescue をインストールしてみます。
Debian で用意されているパッケージを検索します。
$ apt-cache search ddrescue
ddrescueview - GNU ddrescue マップファイルのグラフィカルビューア
ddrutility - set of data recovery utilities for use with GNU ddrescue
forensics-extra - Forensics Environment - extra console components (metapackage)
gddrescue - GNU data recovery tool
myrescue - rescue data from damaged disks
safecopy - data recovery tool for problematic or damaged media
パッケージ名は gddrescue となっています。
以下のファイルを作ります。ddrescue.list.chroot の ddrescue はわかりやすい名前でOKです。
config/package-lists/ddrescue.list.chroot
中身はパッケージ名を記述します。
gddrescue
lb clean してからビルドすると、使えるようになります。
Python モジュールを追加する
Debian ディストリビューションで提供されているものは、config/package-lists/ 内にインストール司令ファイルを配置する。
pip でインストールする場合は、以下のようにする。
config/package-lists/python3-pip.list.chroot 内に python3-pip を書く。
config/hooks/live/0090-install-python-modules
内に、
#!/bin/sh

set -e
pip install --break-system-package TkEasyGUI
などと書いた場合は、以下のようにエラーが出る。
.
.
.
WARNING: Retrying (Retry(total=0, connect=None, read=None, redirect=None, status=None)) after connection broken by 'NewConnectionError('<pip._vendor.urllib3.connection.HTTPSConnection object at 0x7f139a4fd490>: Failed to establish a new connection: [Errno -3] Temporary failure in name resolution')': /simple/tkeasygui/
ERROR: Could not find a version that satisfies the requirement TkEasyGUI (from versions: none)
ERROR: No matching distribution found for TkEasyGUI
以下のようにしてもエラーが解消しなかったので、
pip config set global.trusted-host "pypi.org files.pythonhosted.org pypi.python.org"
wheel ファイルを pipy からダウンロードして、インストールしました。
# pip install --no-deps --break-system-package TkEasyGUI-0.2.72-py3-none-any.whl
Linux インストーラ
「Debian Live Buildの使い方 | VCborn Blog」
https://blog.vcborn.com/2022/02/debian-live-build/
によると、Linux インストーラとして calamares を含むことができるそうです。
calamares のパッケージはどんなものがあるのかな?
$ apt-cache search calamares
calamares - distribution-independent installer framework
calamares-extensions - Mobile module for Calamares installer framework
calamares-extensions-data - Mobile module for Calamares installer framework - data files
calamares-settings-debian - Debian theme and settings for the Calamares Installer
calamares-settings-mobian - Calamares branding and configuration for Mobian
libkpmcore-dev - KDE Partition Manager Core development files
libkpmcore12 - KDE Partition Manager Core
上記から、以下のように作業をしました。
package-lists ファイルを作り、
config/package-lists/calamares.list.chroot
中身を以下のようにします。
calamares
calamares-settings-debian
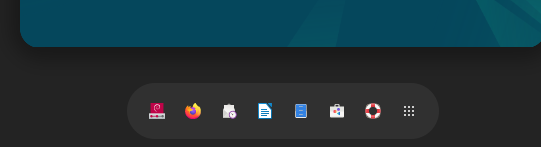
Live 起動すると、メニューにインストーラーが現れています。
パスワードは live と入力します。
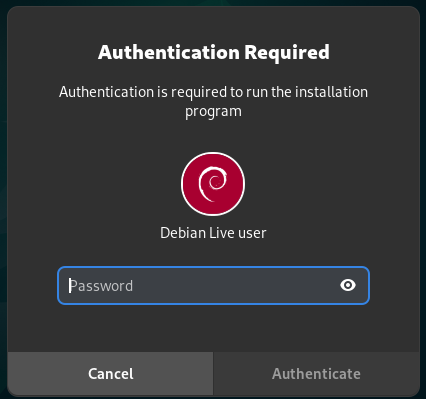
インストーラを起動したところ
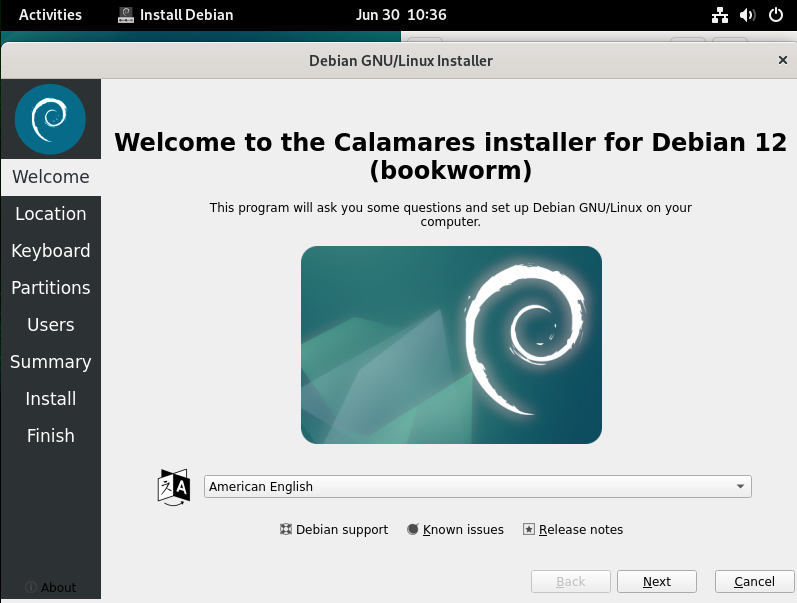
日本語が選択できます。

インストールが終わって、再起動してインストールされた Debian を起動したところです。
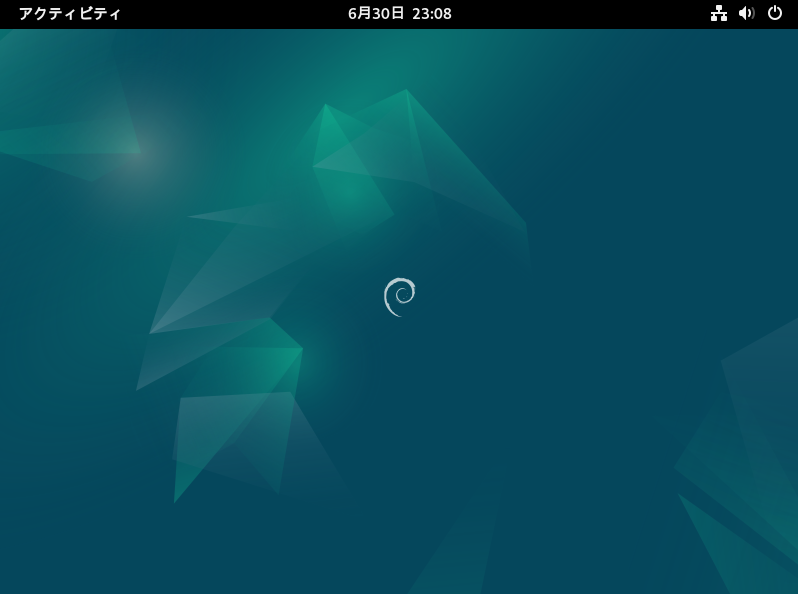
calamares でインストールされる環境は、Live 環境のカスタマイズが反映されます。
ファイルを配置する
config/includes.chroot または
config/includes.chroot_after_packages
に配置します。
これは1つだけでないといけないようです。
例えば、起動時に /var/www に 独自 index.html を配置したい場合は、
config/includes.chroot/var/www ディレクトリを作成し、そこに index.html を配置します。
includes.chroot_before_packages と includes.chroot_after_packages
パッケージをインストールする前にファイルを配置するか、後にファイルを配置するかですが、
例えば /etc/skel/.face を includes.chroot_before_packages に配置するとビルド時にバッティングして以下のようになりました。
Configuration file '/etc/skel/.face'
 ==> File on system created by you or by a script.
 ==> File also in package provided by package maintainer.
   What would you like to do about it ?  Your options are:
    Y or I  : install the package maintainer's version
    N or O  : keep your currently-installed version
      D     : show the differences between the versions
      Z     : start a shell to examine the situation
 The default action is to keep your current version.
*** .face (Y/I/N/O/D/Z) [default=N] ?
パッケージ設定を上書きするようなものは、 includes.chroot_after_packages に置いたほうがいいでしょう。
includes.chroot と includes.chroot_after_packages の関係
この2つは同じ動作をするものぽいです。両方にファイルを配置するとエラーとなるので、どちらかのみ使います。
includes.chroot_before_packages と includes.chroot とでは競合は起きないようです。
スクリプトを実行する
Debian Live でスクリプトを実行する方法はいくつかあるみたいです
- config/hooks にスクリプトを配置
- includes.chroot*/lib/live/config にスクリプトを配置
当然ながら配置するスクリプトは適切なパーミッション、実行権を付けておく必要があります。
config/hooks
以下の2つがあります
- live
- normal
ここについては以下を参照
https://live-team.pages.debian.net/live-manual/html/live-manual/customizing-contents.ja.html
スクリプトファイル名は、末尾を .hook.chroot ないし .hook.binaly とする必要があります。
hook.chroot は chroot している最中に実行されます。
hook.binaly は chroot 段階が終った後に母艦のファイルシステム中で実行されます。
includes.chroot*
以下の3つがあります。
- includes.chroot
- includes.chroot_before_packages
- includes.chroot_after_packages
この中の lib/live/config にスクリプトを配置すると、live環境でブートする時にスクリプトが実行されます。
なお、このスクリプト中で apt remove コマンドを実行しようとしたら起動しなくなってしまいうまくいきませんでした。
ロック画面を変更する
デフォルト顔画像は、 /etc/skel/.face を変更する。 .face は svg 形式の画像。
chfn -f "Tempolary User" user とかうまくいかなかった。
成果した chroot を見ると user は /etc/passwd に登録されていないので、起動時にスクリプトで作っているようだ。
そのスクリプトはどれかな?
/bin/live-config-update で、/etc/os-releaase の ID 部分の判定結果で作成されると思ったのだけれど、そうではないみたい。
結局以下のようにして、
# apt install live-config
# mkdir -p config/includes.chroot/lib/live
# cd config/includes.chroot/lib/live
# cp /lib/live/init-config.sh .
/lib/live/init-config.sh の LIVE_USER_FULLNAME を書き換えた。
デフォルト壁紙の変更
./chroot/usr/share/images/desktop-base/login-background.svg
を入れ替えかな? ・・・と思ったが、ここらへんの壁紙は gnome 環境だとテーマで決められているようで、デスクトップテーマをカスタマイズしないといけないらしい。
デスクトップテーマをカスタマイズ
実行環境では、/usr/share/desktop-base/ の中にテーマが格納されています。オリジナルのテーマ(ex, 「original-theme」)をそれを参考にして作成し、 config/includes.chroot_after_package/usr/share/desktop-base 中に配置します。
その後、「作業ルートディレクトリ」から以下のように作業します。
# cd config/includes.chroot_after_packages
# mkdir -p etc/alternatives
# cd etc/alternatives
# ln -s /usr/share/desktop-base/original-theme desktop-theme
デスクトップテーマの壁紙変更はこちらも参照。
「gnome のデフォルトデスクトップ壁紙を変更する」
https://qiita.com/nanbuwks/items/2ee5b1dab1955d2d7535
grub テーマを設定(?)
例えば、コレを設定してみます。
# cd chroot/boot
# mkdir theme
# cd theme
# cp -a ../rog-grub-2024-05-14/ .
パッケージの削除
task パッケージでインストールするのは楽だけれども、いらないパッケージもある。
config/hooks/live または config/hooks/normal に、以下のようなスクリプトを配置
#!/bin/sh
apt -y remove libreoffice-calc
起動パラメータ
デフォルトは以下のようになっています。
.linux /live/vmlinuz boot=live components quiet splash initrd=/live/initrd.img
起動時のアニメーションを無効化したかったので、 auto/config の --bootappend-live を
'plymouth.enable=0 disablehooks=plymouth'
としたら起動しなくなりました。調べてみたら
が足りないので、
initrd=/live/initrd.img
は自動的に追加されるらしいですが、
`boot=live components quiet splash
は指定しないといけないらしく、以下のようにして起動時のアニメーションを無効化しました。
--bootappend-live 'boot=live components quiet splash plymouth.enable=0 disablehooks=plymouth' \
アイコン、ロゴの変更
アイコン、ロゴは以下のように /etc/alternatives からリンクが貼られています。
それぞれリンク元のファイルをオリジナルのアイコン、ロゴに置き換えます。
The alternative has the following structure:
- Main alternative
    /usr/share/images/vendor-logos -> /etc/alternatives/vendor-logos
- Secondary alternatives
    /usr/share/icons/vendor/128x128/emblems:
        emblem-vendor.png -> /etc/alternatives/emblem-vendor-128
        emblem-vendor-symbolic.png -> /etc/alternatives/emblem-vendor-symbolic-128
        emblem-vendor-white.png -> /etc/alternatives/emblem-vendor-white-128
    /usr/share/icons/vendor/256x256/emblems:
        emblem-vendor.png -> /etc/alternatives/emblem-vendor-256
        emblem-vendor-symbolic.png -> /etc/alternatives/emblem-vendor-symbolic-256
        emblem-vendor-white.png -> /etc/alternatives/emblem-vendor-white-256
    /usr/share/icons/vendor/64x64/emblems:
        emblem-vendor.png -> /etc/alternatives/emblem-vendor-64
        emblem-vendor-symbolic.png -> /etc/alternatives/emblem-vendor-symbolic-64
        emblem-vendor-white.png -> /etc/alternatives/emblem-vendor-white-64
    /usr/share/icons/vendor/scalable/emblems:
        emblem-vendor.svg -> /etc/alternatives/emblem-vendor-scalable
        emblem-vendor-symbolic.svg -> /etc/alternatives/emblem-vendor-symbolic-scalable
        emblem-vendor-white.svg -> /etc/alternatives/emblem-vendor-white-scalable
cf., https://github.com/Pardus-Kurumsal/desktop-base/tree/master/debian
言語環境を設定する
以下のように設定すると、Live 環境を起動して最初の選択が日本語となる。日本語以外は選択できないようだ。
--bootappend-live "boot=live components locales=ja_JP.UTF-8 utc=no keyboard-model=jp106 keyboard-layouts=jp Timezone=Asia/Tokyo"
キーボード設定も日本語。
しかしながら日本語変換ができないので、fcitx5 をインストールする。
以下のようにファイルをつくる。
config/package-lists/fcitx5-mozc.list.chroot
fcitx5-mosc
更に fcitx5 を起動しておかないと日本語変換がONにならないらしい。ユーザーのデスクトップセッションごとの起動でいいのかな? 以下のようにして自動起動する。
config/includes.chroot_after_packages/etc/xdg/autostart/fcitx5.desktop
[Desktop Entry]
Type=Application
Name=imput method fcitx5
Exec=/usr/bin/fcitx5
X-GNOME-Autostart-enabled=true
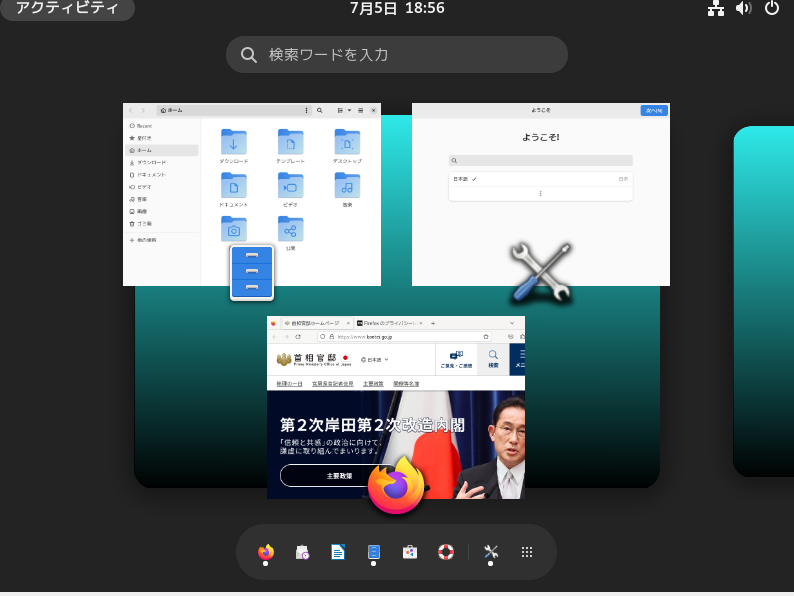
アプリを自動起動
config/includes.chroot_after_packages/etc/xdg/autostart/firefox.desktop
[Desktop Entry]
Type=Application
Name=Welcome URL show
Exec=/usr/bin/firefox https://www.kantei.go.jp
X-GNOME-Autostart-enabled=true
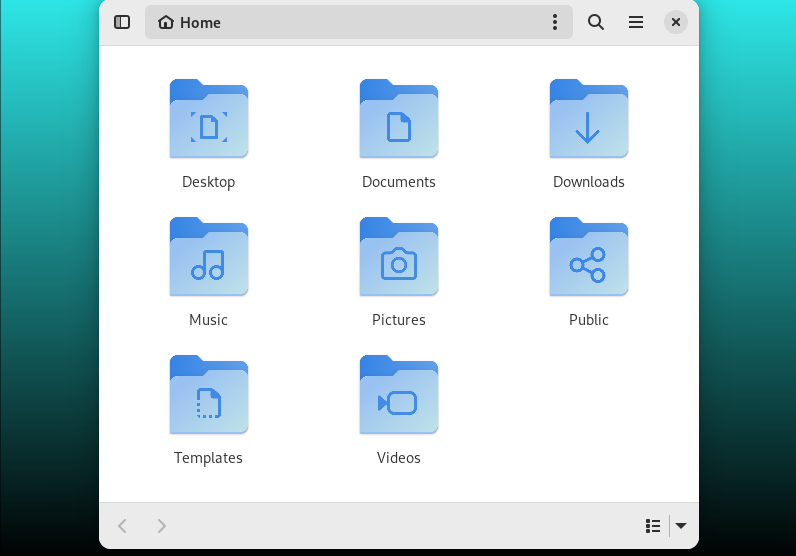
同様にして Nautilus も起動するよう設定したところ、Live 起動時に以下のようになった。
言語設定
config/package-lists/locales.list.chroot
を
locales-all
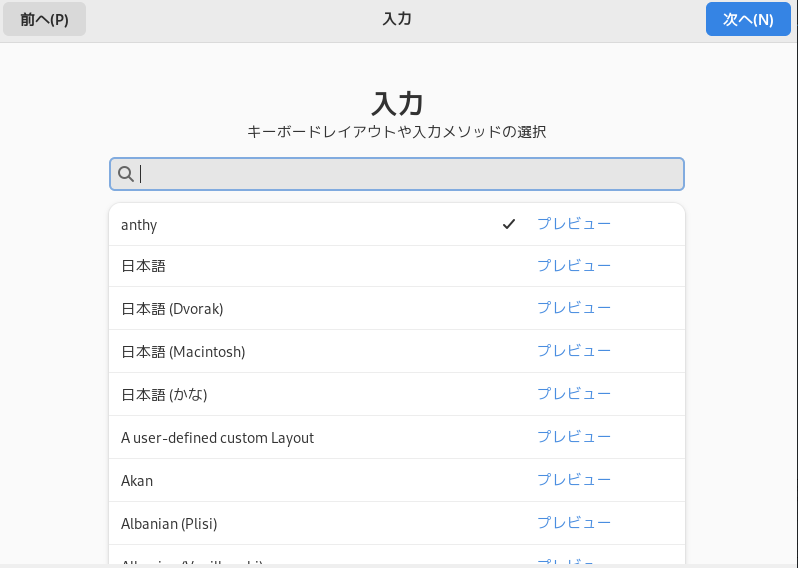
と設定しておくと、起動直後の gnome-initial-setup で言語が設定できるようになる。
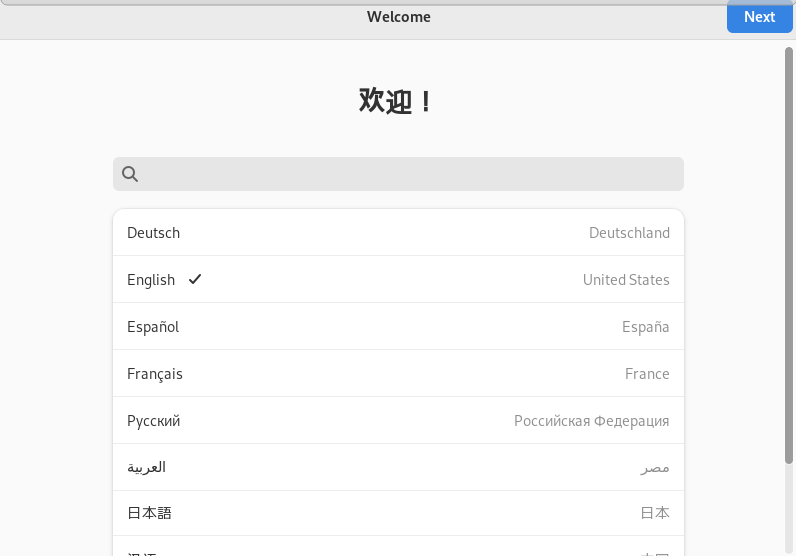
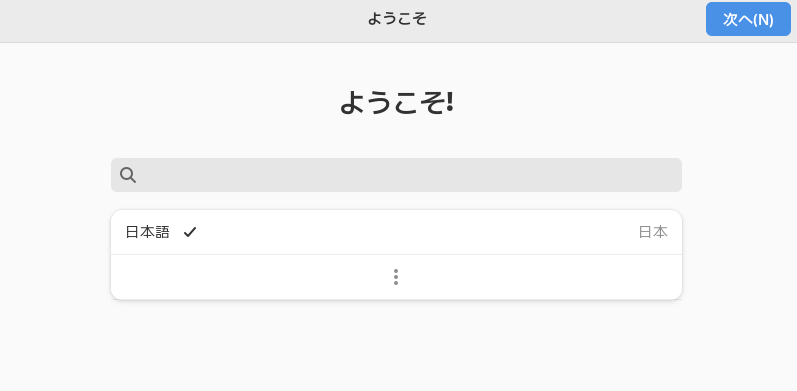
ここで日本語を選ぶと、
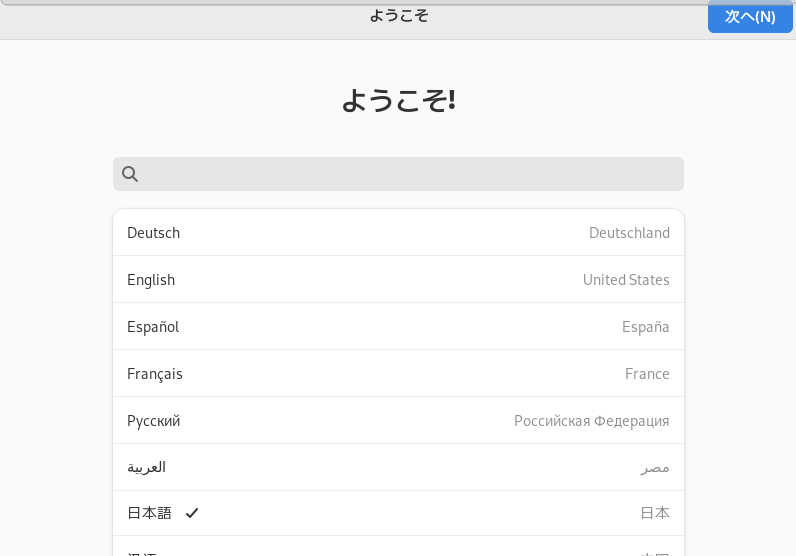
次の画面ではこのようになる。日本語106・109キーボードの場合はここで「日本語」を選ぶ必要がある。
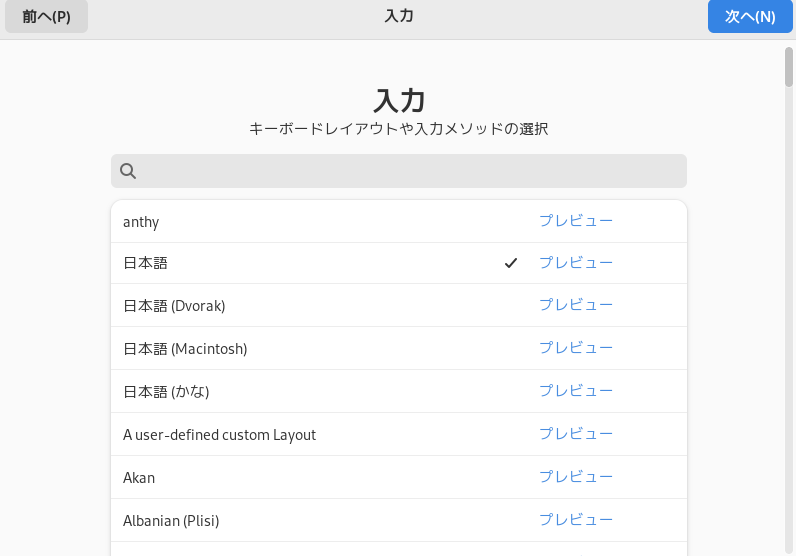
しかしながら gnome-initial-setup が終わっても、キーボードの設定は反映しているが、セレクトした言語は反映しない。この時点での言語環境は起動パラメータに依存する。
ログアウト・ログインすると言語設定は反映されるようになるが、 fcitx5 は動かないようだ。

トラブルシュート
# chroot chroot
して、作成した環境のディレクトリを確認できる。