より詳しくは
「栽培ロボットを作ろう .bis」
https://qiita.com/nanbuwks/items/e667d432a697669dcc93
をごらんください
植物栽培ロボット Ver.210231022 を元に説明します。
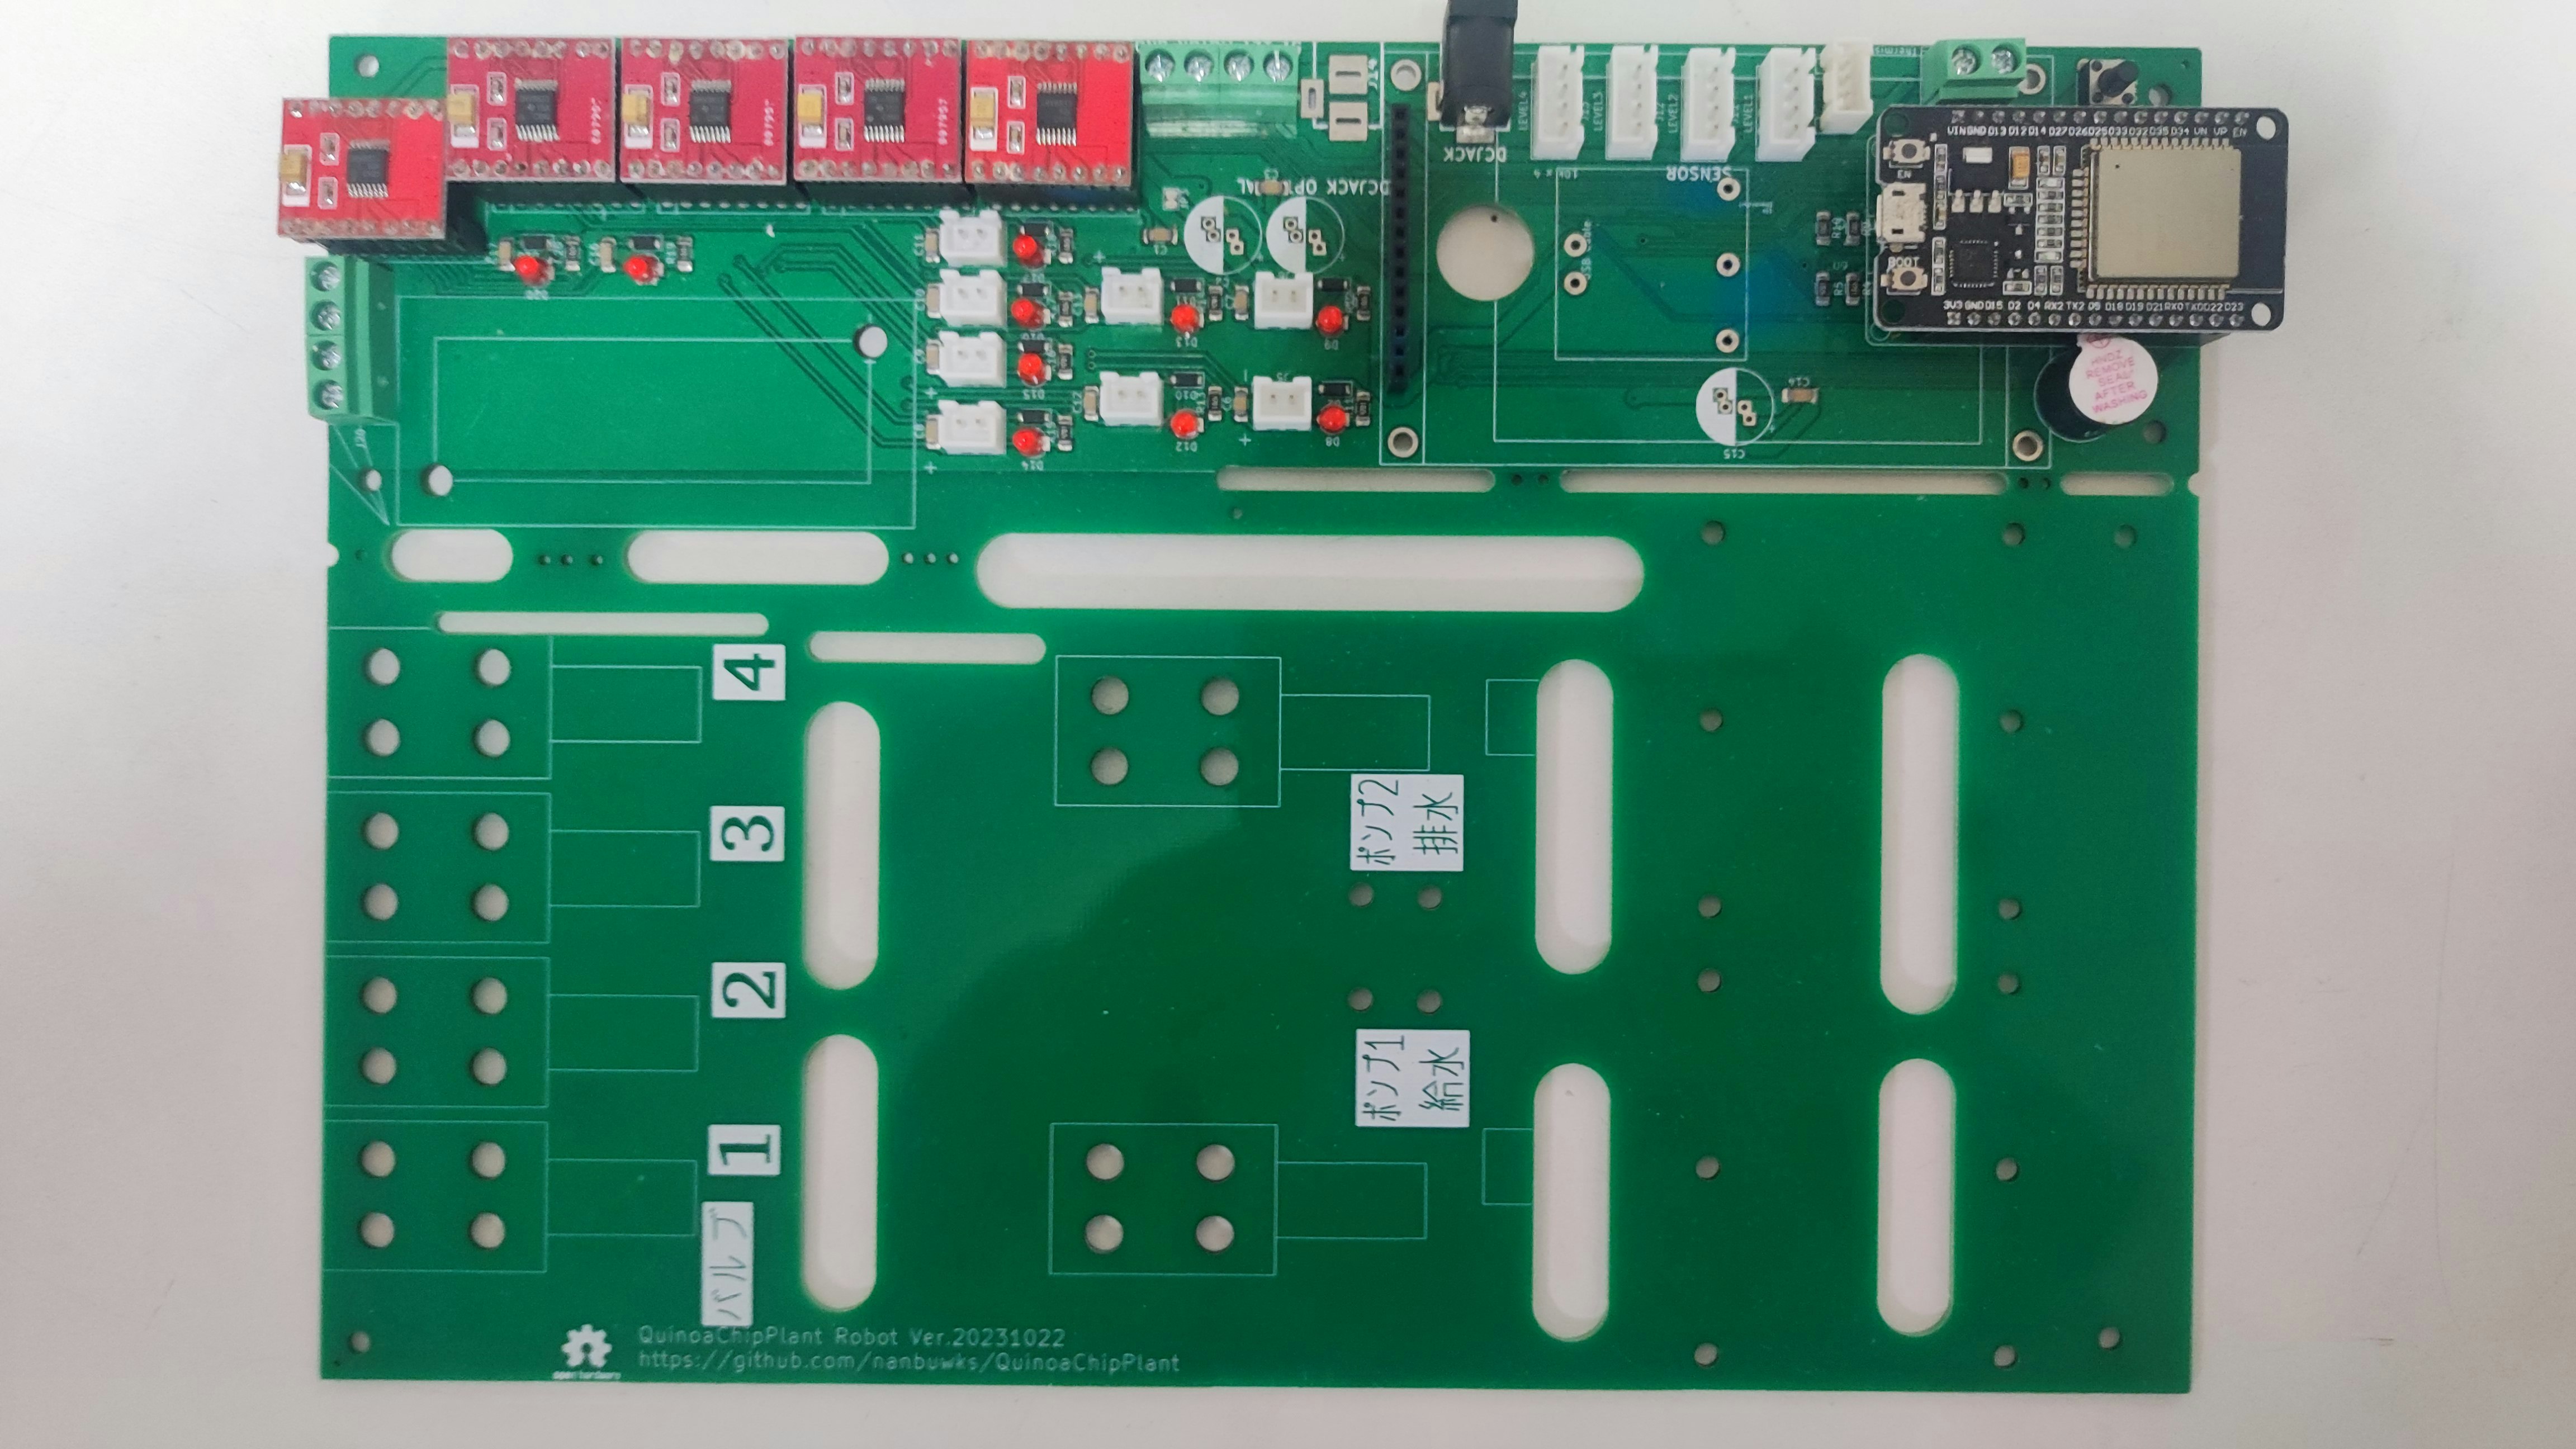
バージョンはここに

モータードライバーを向きに注意してインストールします。

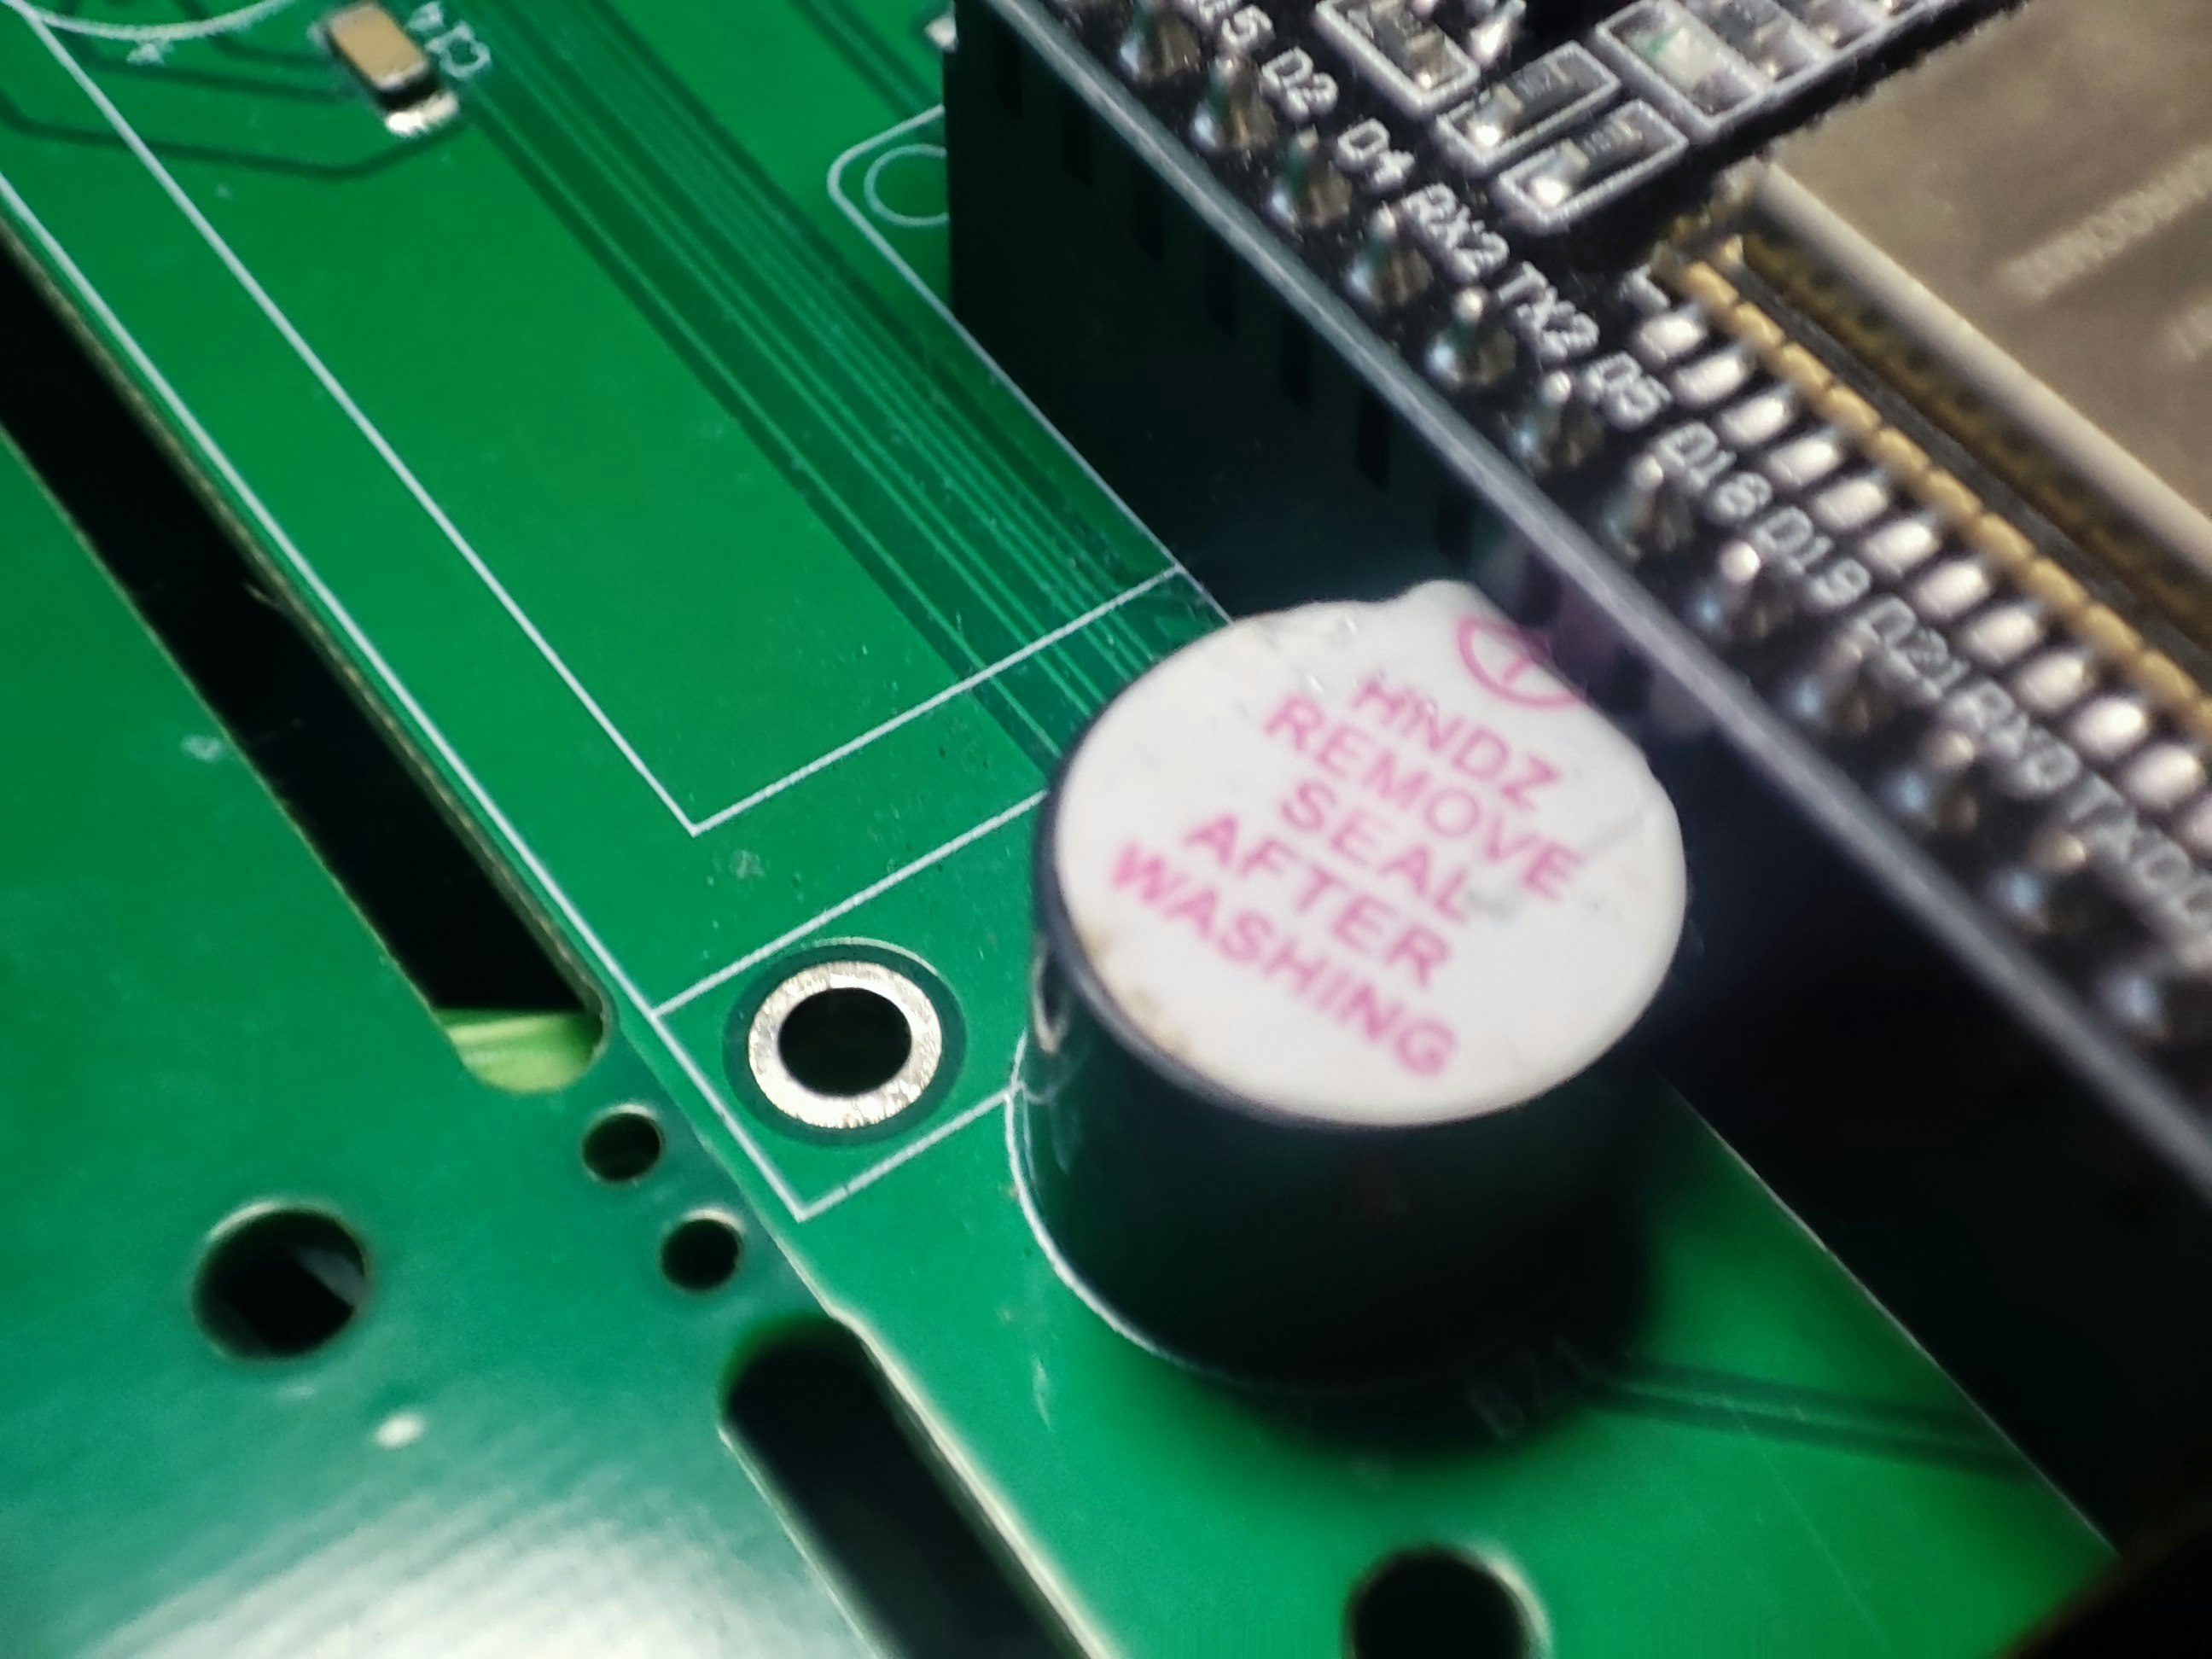
ESP32 DekKitを装着します。
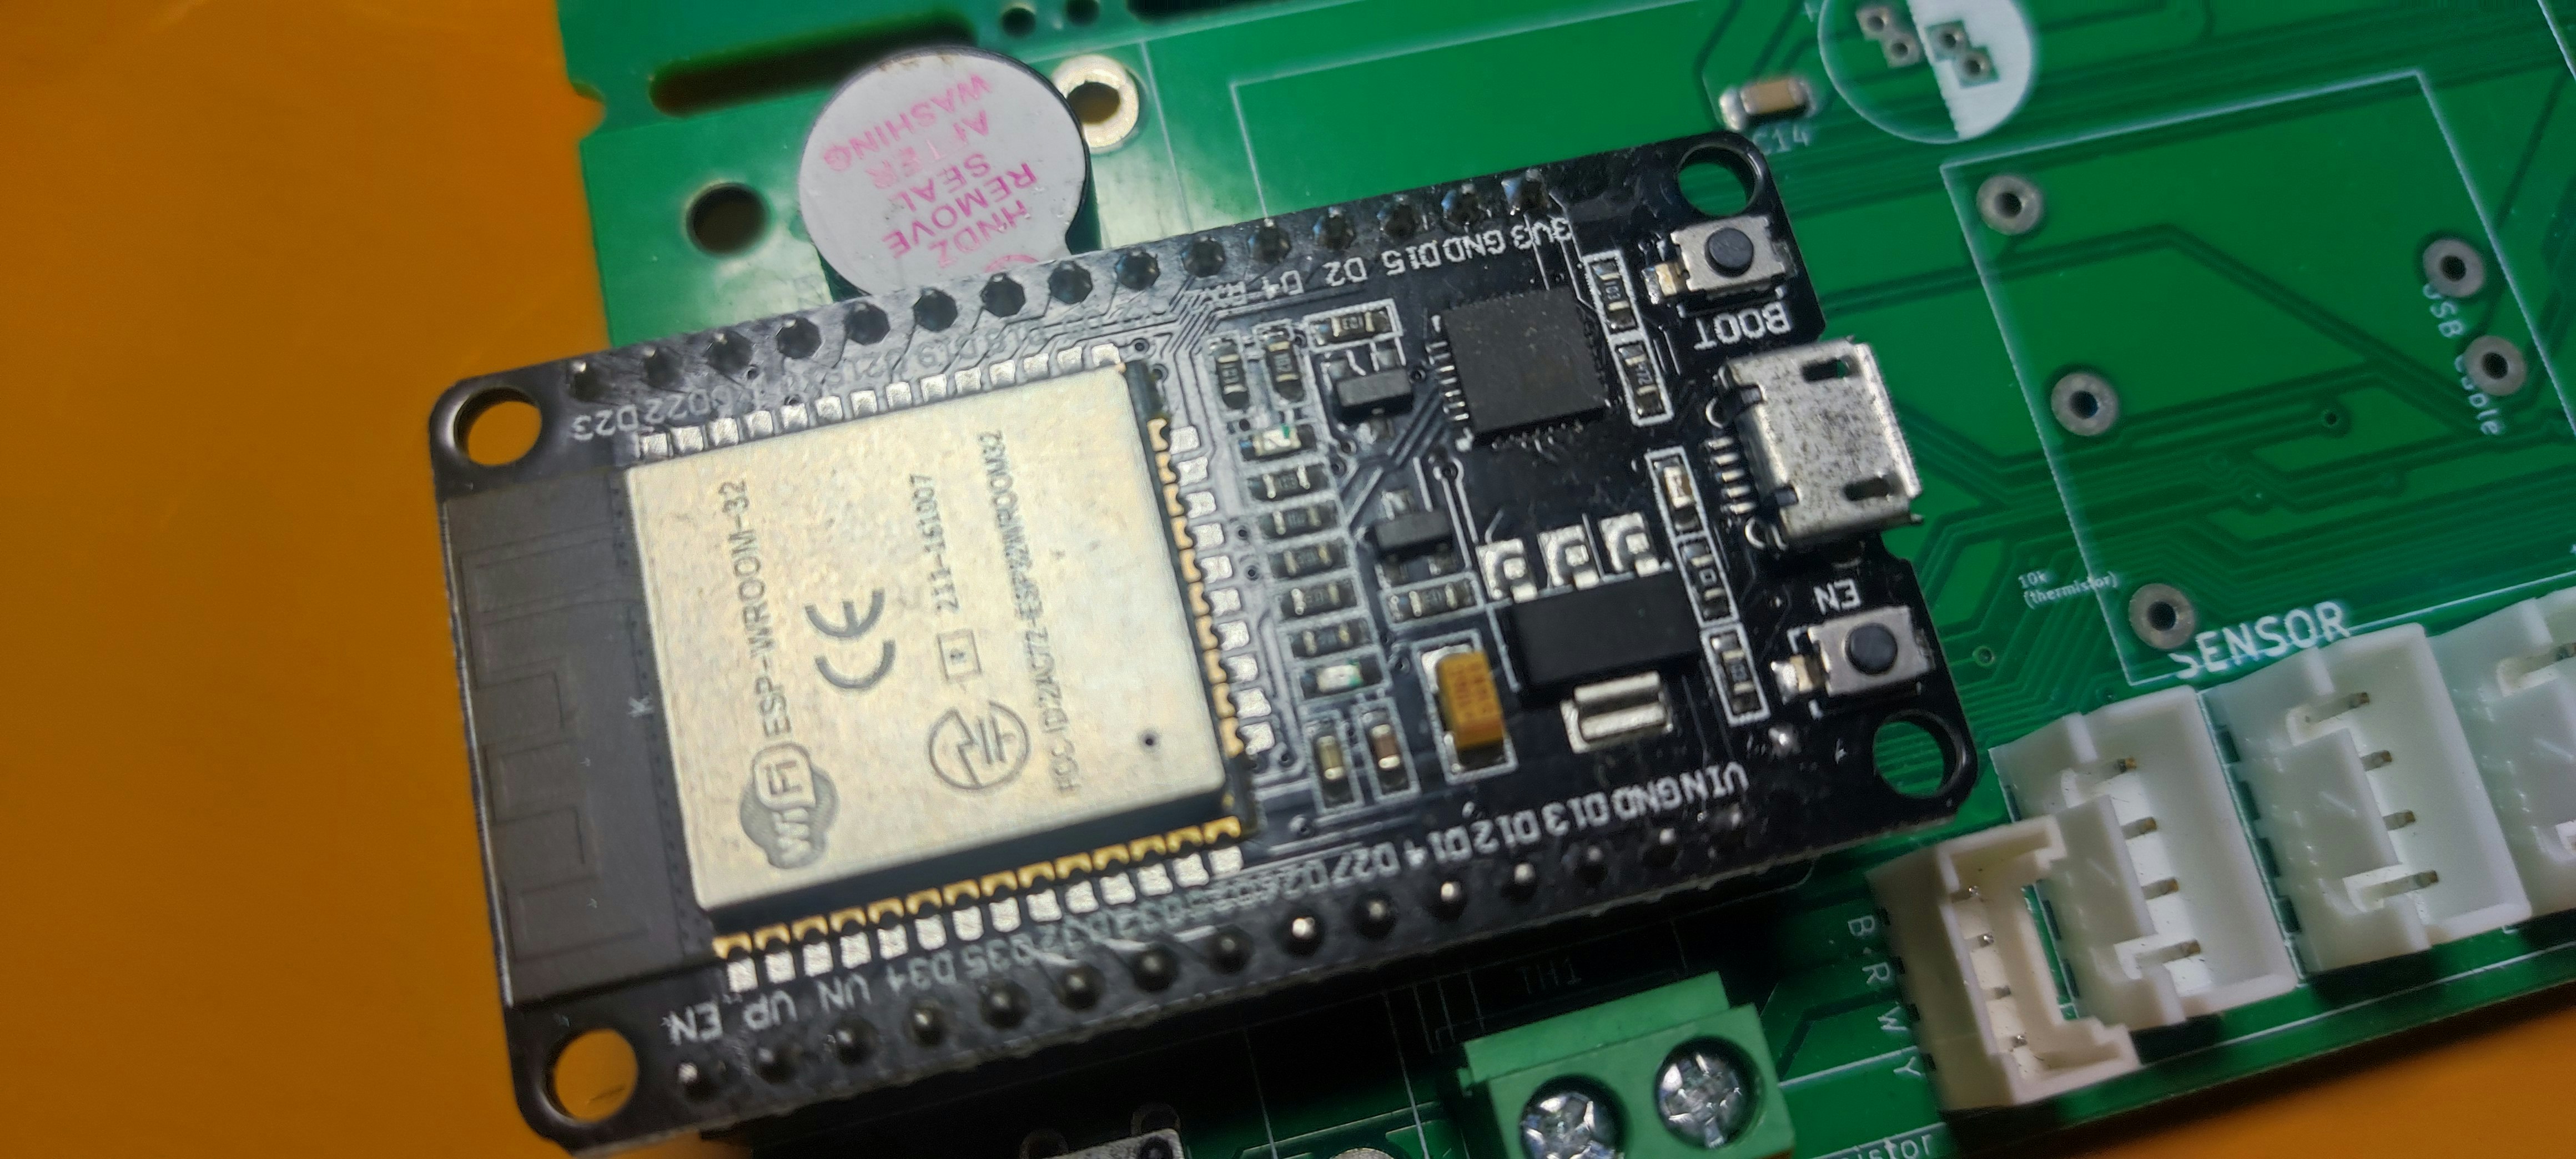
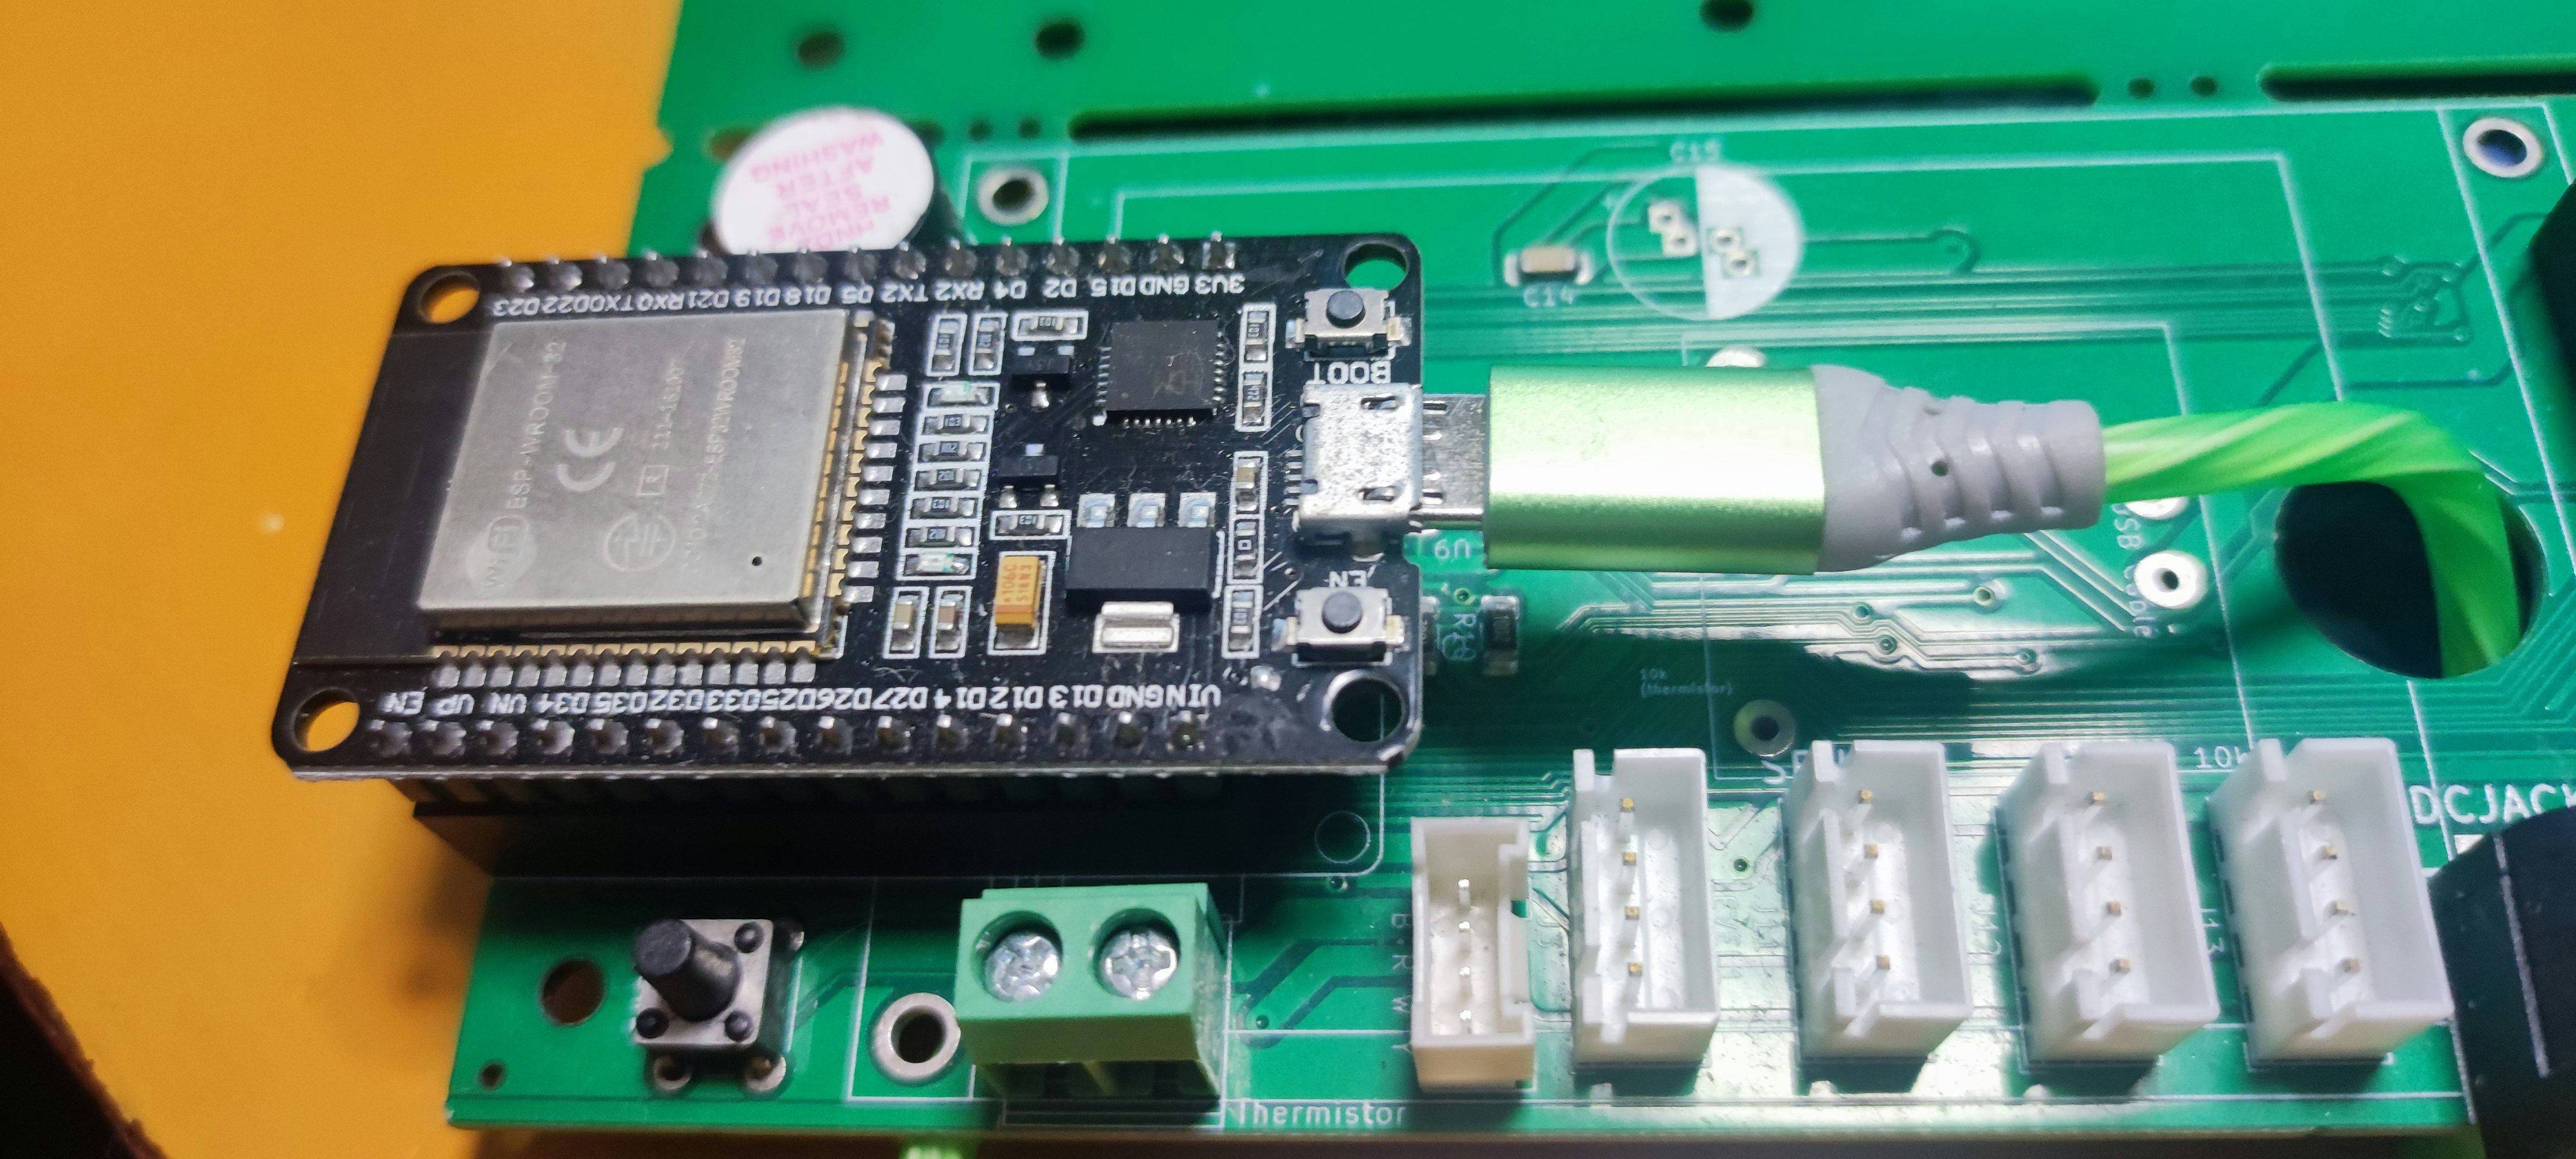
ESP32 DekKitを配線します。
動作テスト
まずは、ESP32のプログラム環境を整えます。
cf.,
「ESP32 Arduino を設定」
https://qiita.com/nanbuwks/items/d5332d068c9c597d6e00
Lチカプログラムのポートを GPIO2 にすると、圧電ブザーから音がなります。
ポンプ、バルブの動作
12V をつなぎ、GPIOを操作するとモータードライバーにつながったバルブやポンプが動作します。モニターLEDでも動作を確認できます。
GPIO割当
| 機能 | GPIO | |
|---|---|---|
| ポンプ1 | 25 | |
| ポンプ2 | 26 | |
| バルブ1 | 27 | |
| バルブ2 | 14 | |
| バルブ3 | 13 | |
| バルブ4 | 21 | |
| 水位センサー1 | 34 | |
| 水位センサー2 | 35 | |
| 水位センサー3 | 32 | |
| ブザー | 2 | |
| 温度センサ | VP | |
| タクトスイッチ | 36 | |
| GROVE1 | 22 | |
| GROVE2 | VN | |
| リレー | 12 |
パイピング
パイピング。右上に延びるのが水タンクへ。左側の4つが各プランターへ。

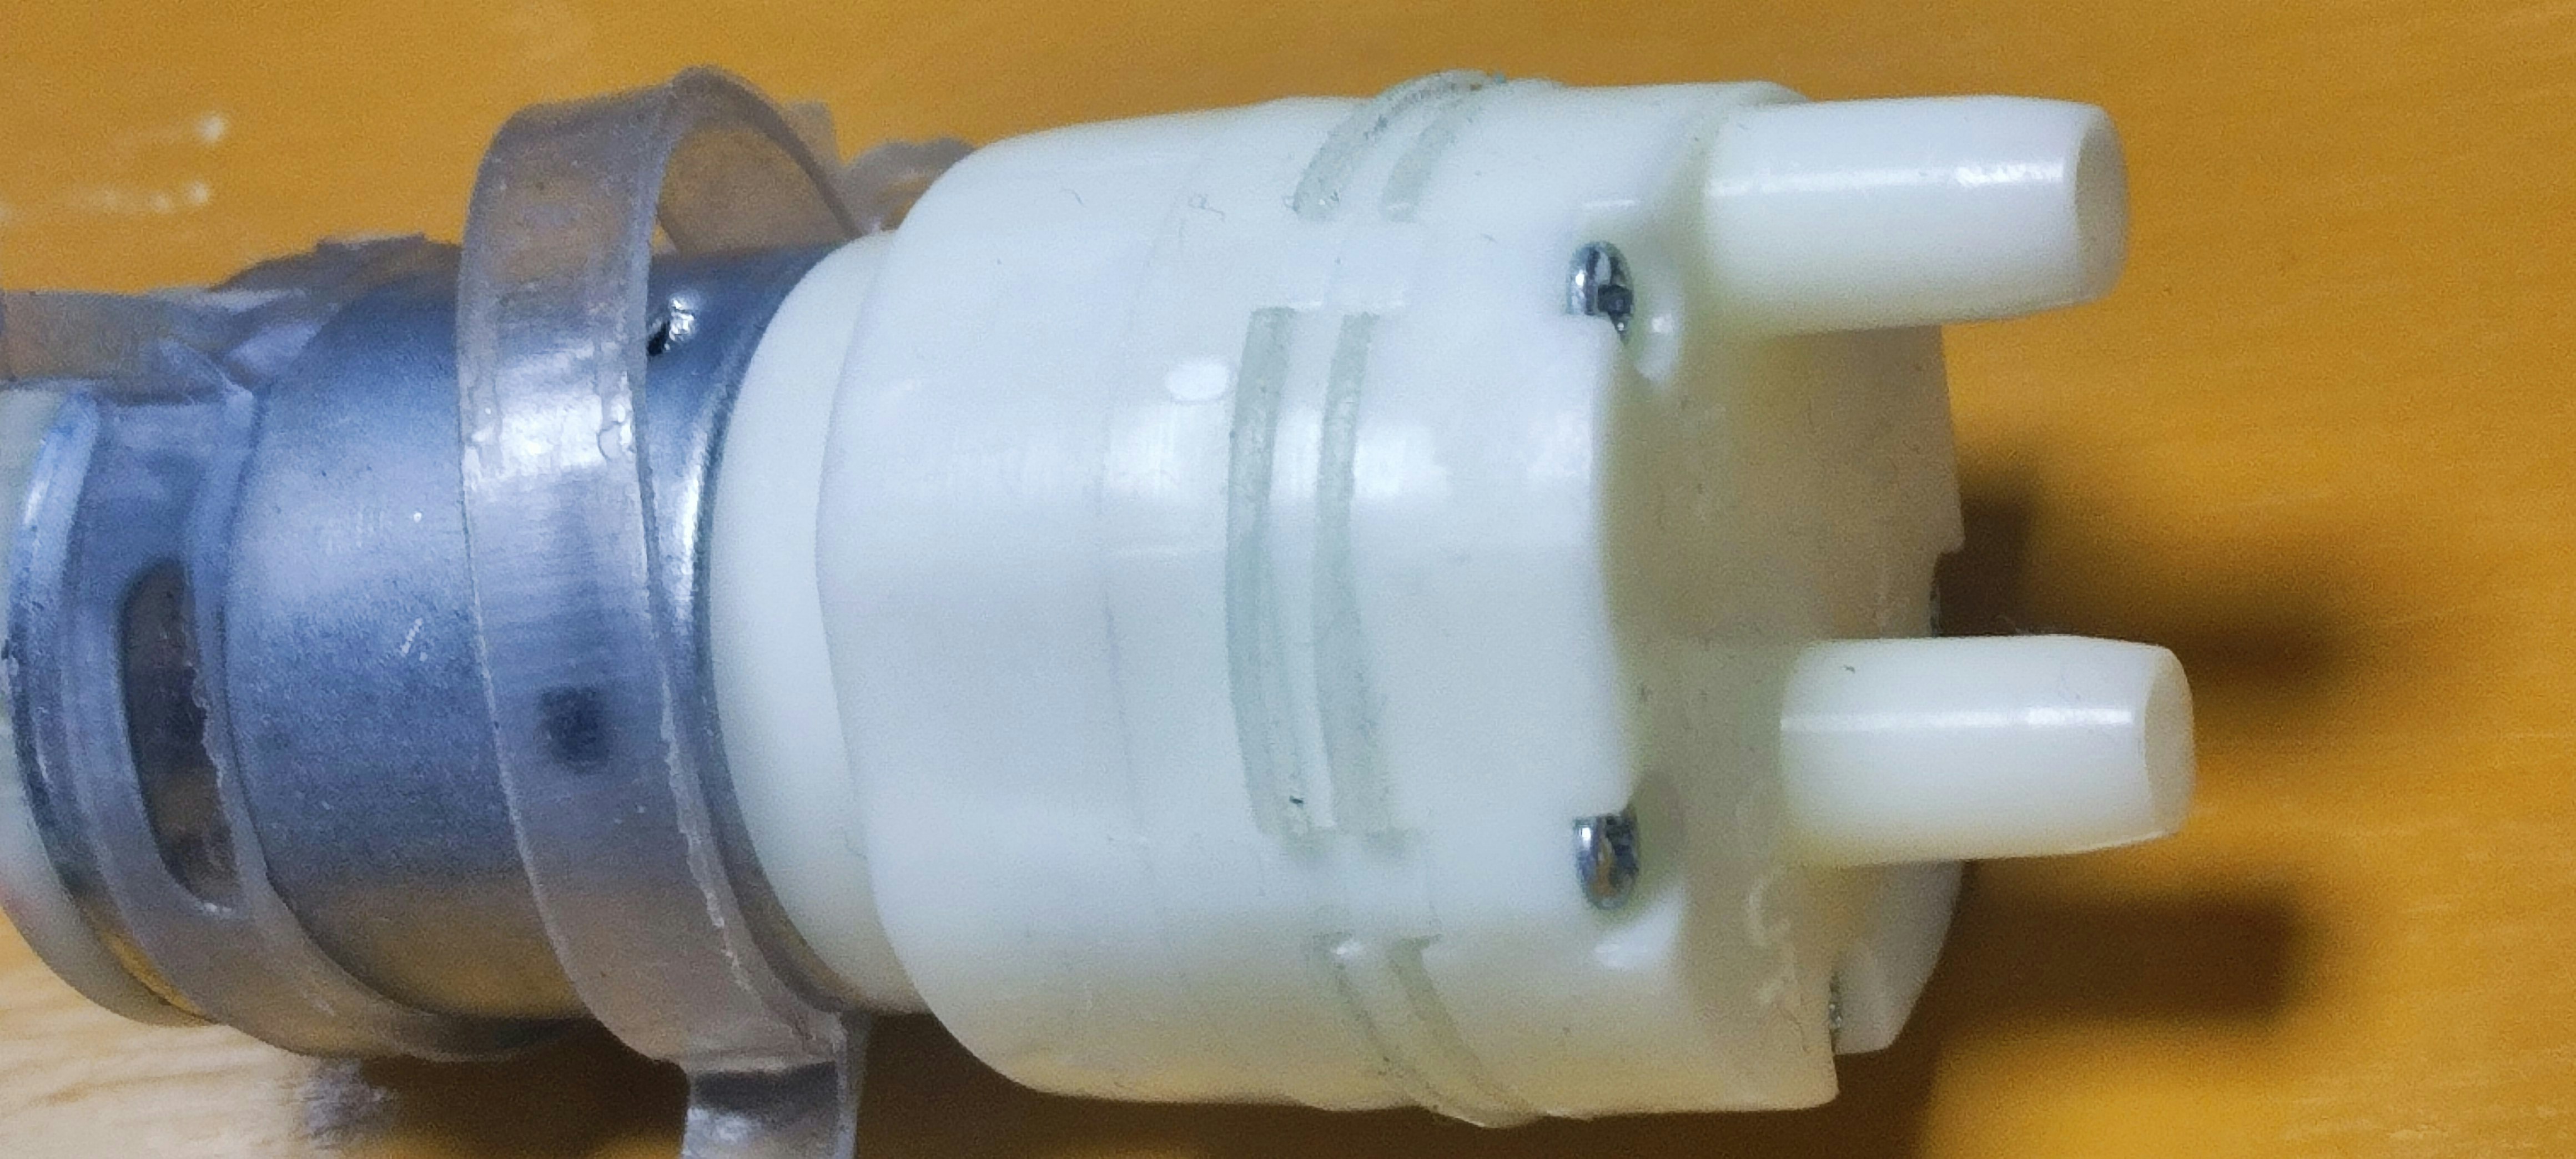
ポンプは給水ポンプと排水ポンプで上下が逆になります。

ポンプは入口と出口があります。外に近いほうが吸入、中心に近いほうが吐出です。