追記
- 「USB3.0以上のポート」 に 「USB3.0以上対応のケーブル」 で刺さないと動かない/不安定になるので注意!
環境
- python3
- RealSenseD435
皆さん迷走してません?
- 長いしわかりにくい
- とどのつまり、
cmake&makeとかadd-apt-repositoryとか要らない気がします
↓に書いてありました
「python wrapperならpipで入れれるよ」
pip install pyrealsense2
だけ
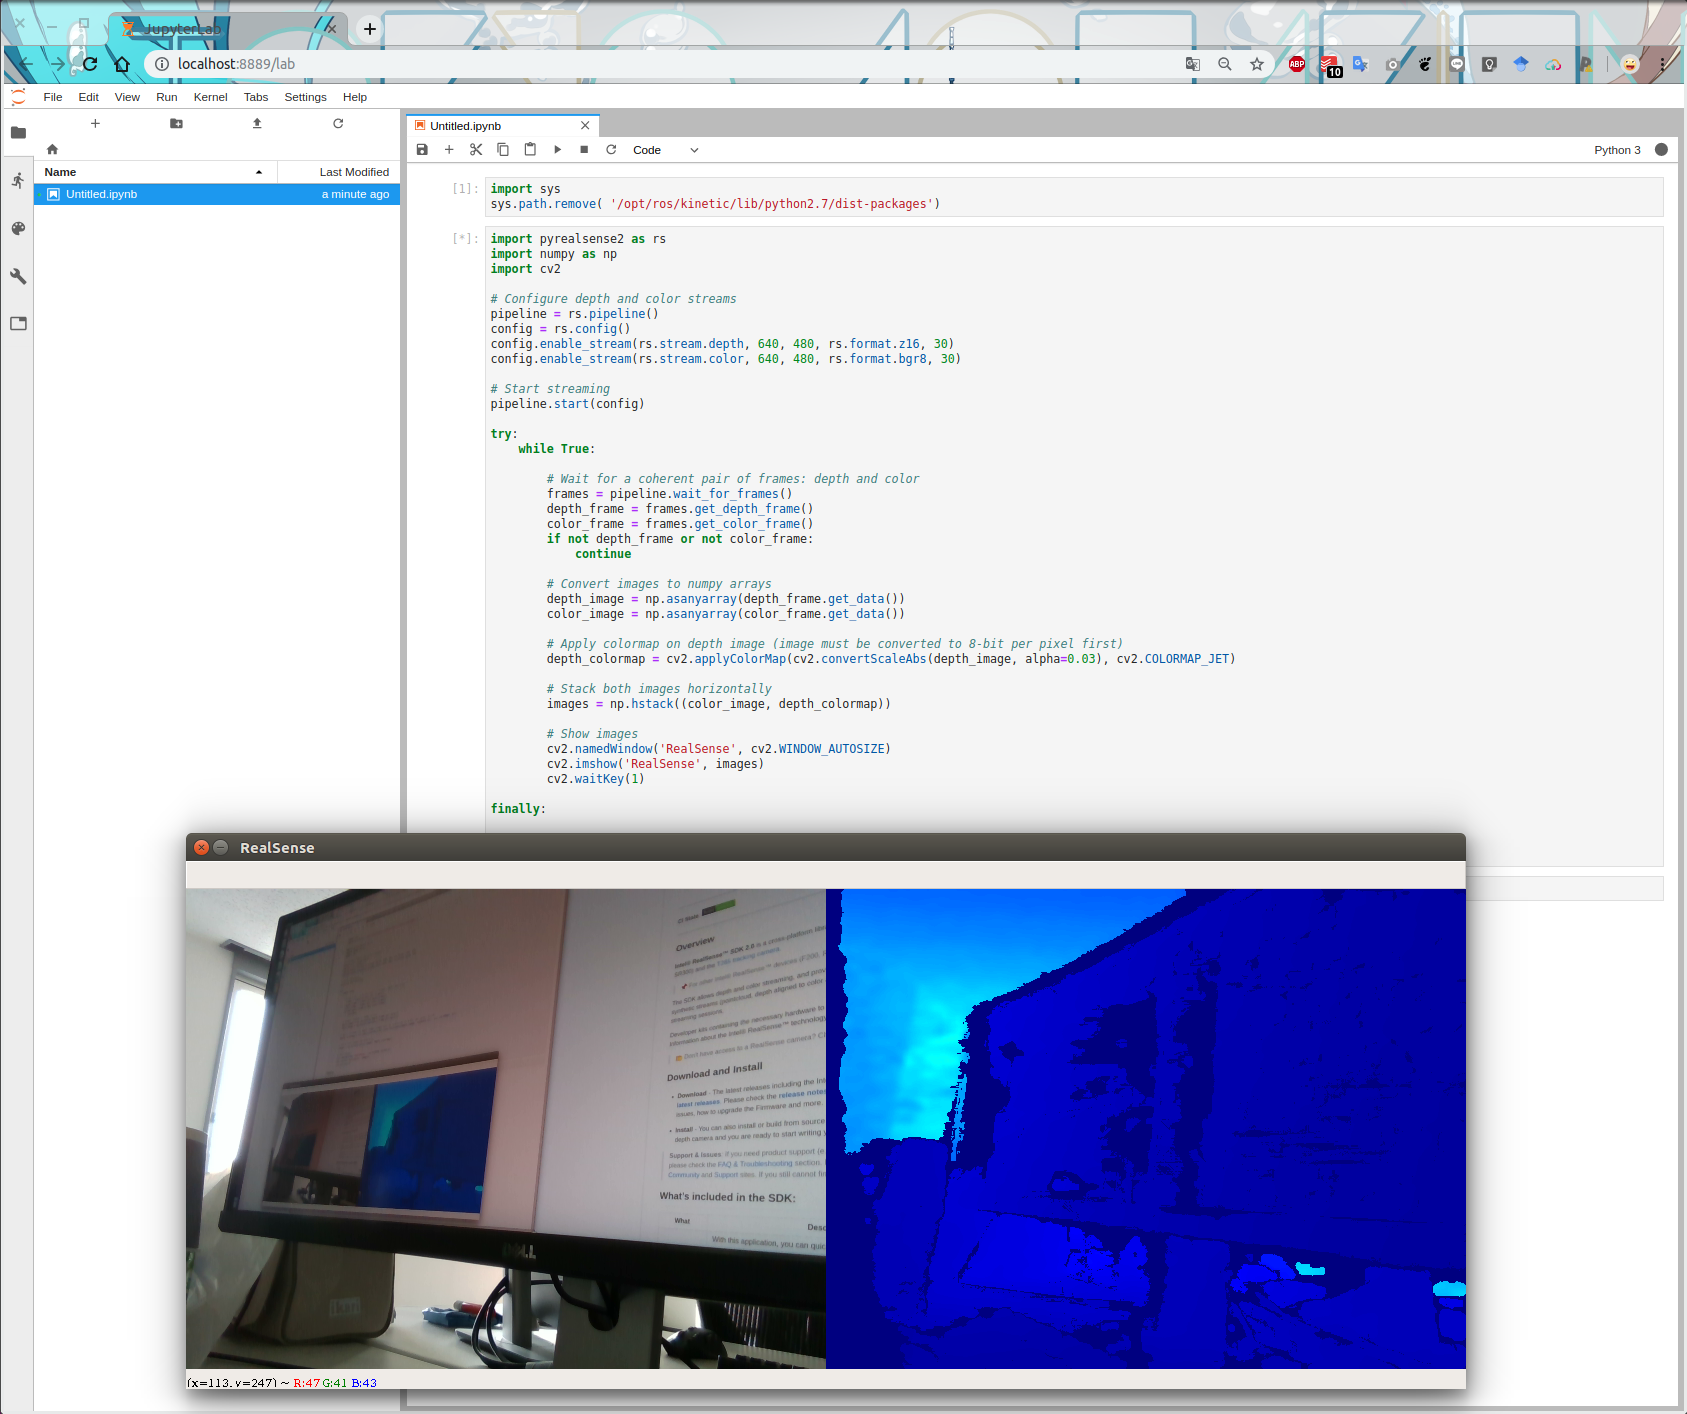
動作チェック!
-
PCにD435挿して、じっこう!
-
以下(公式)から拝借
## License: Apache 2.0. See LICENSE file in root directory.
## Copyright(c) 2015-2017 Intel Corporation. All Rights Reserved.

###############################################
##      Open CV and Numpy integration        ##
###############################################

import pyrealsense2 as rs
import numpy as np
import cv2

# Configure depth and color streams
pipeline = rs.pipeline()
config = rs.config()
config.enable_stream(rs.stream.depth, 640, 480, rs.format.z16, 30)
config.enable_stream(rs.stream.color, 640, 480, rs.format.bgr8, 30)

# Start streaming
pipeline.start(config)

try:
    while True:

        # Wait for a coherent pair of frames: depth and color
        frames = pipeline.wait_for_frames()
        depth_frame = frames.get_depth_frame()
        color_frame = frames.get_color_frame()
        if not depth_frame or not color_frame:
            continue

        # Convert images to numpy arrays
        depth_image = np.asanyarray(depth_frame.get_data())
        color_image = np.asanyarray(color_frame.get_data())

        # Apply colormap on depth image (image must be converted to 8-bit per pixel first)
        depth_colormap = cv2.applyColorMap(cv2.convertScaleAbs(depth_image, alpha=0.03), cv2.COLORMAP_JET)

        # Stack both images horizontally
        images = np.hstack((color_image, depth_colormap))

        # Show images
        cv2.namedWindow('RealSense', cv2.WINDOW_AUTOSIZE)
        cv2.imshow('RealSense', images)
        cv2.waitKey(1)

finally:

    # Stop streaming
    pipeline.stop()

