0
0

Delete article

Deleted articles cannot be recovered.

Draft of this article would be also deleted.

Are you sure you want to delete this article?

More than 3 years have passed since last update.

SlackのIncoming Webhooksを試してみた

Last updated at Posted at 2021-07-30

やりたいこと

SlackのIncoming Webhooks経由でメッセージを送る。

作業ログ

SlackのIncoming Webhooksを設定

Slackのドキュメントを参考に設定する。

Slack appの作成

ドキュメントのCreate your Slack appボタンを押下

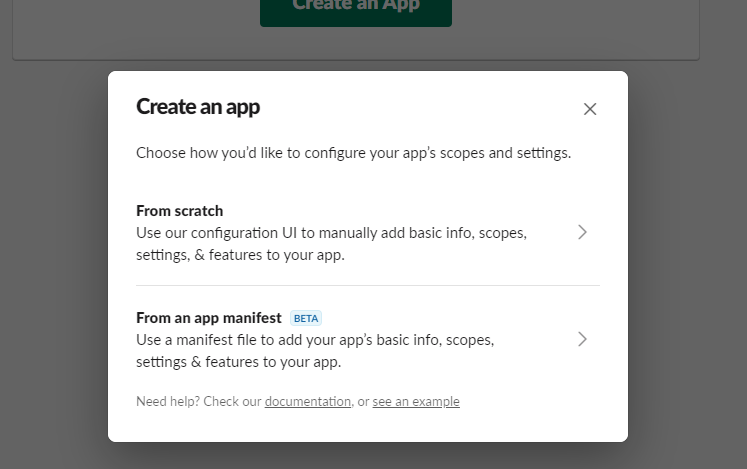
Create a app

今回は、From scratchの方を試す。
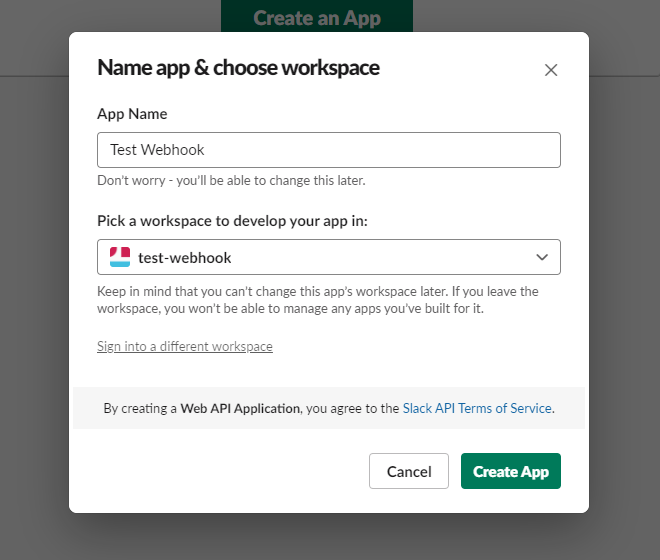
appの名前と、紐付けるworkspaceを指定し、Create Appを押下する。

App metadata

Incoming Webhooksの設定

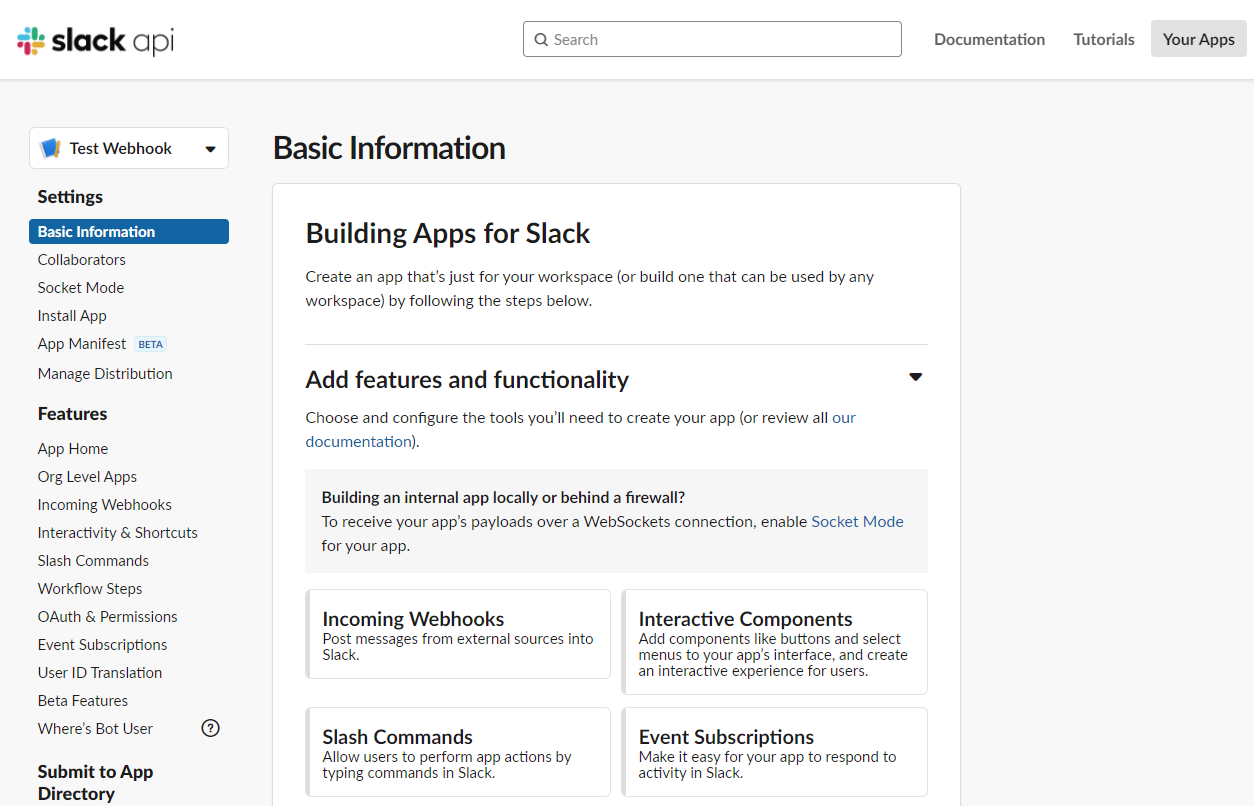
以下Webページにリダイレクトされるので、Incoming Webhooksを押下する。

Basic Information

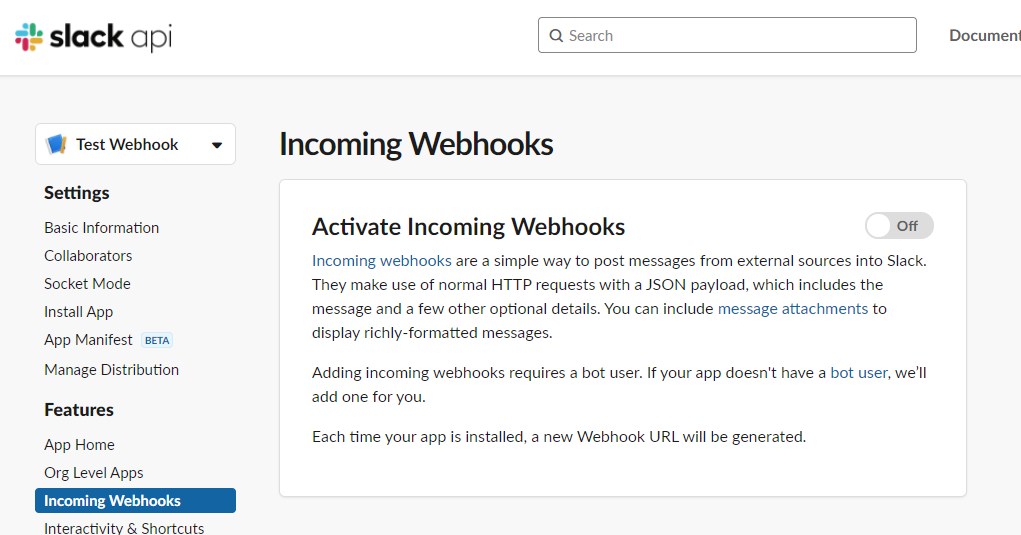
以下ページでActivate Incoming WebhooksのトグルをOnにする。

Incoming Webhooks

Webhook URLs for Your Workspace設定が表示されるので、Add New Webhook to Workspaceボタンを押下する。

以下ページに遷移するので、通知を送るチャンネルを指定して、許可するを押下する。
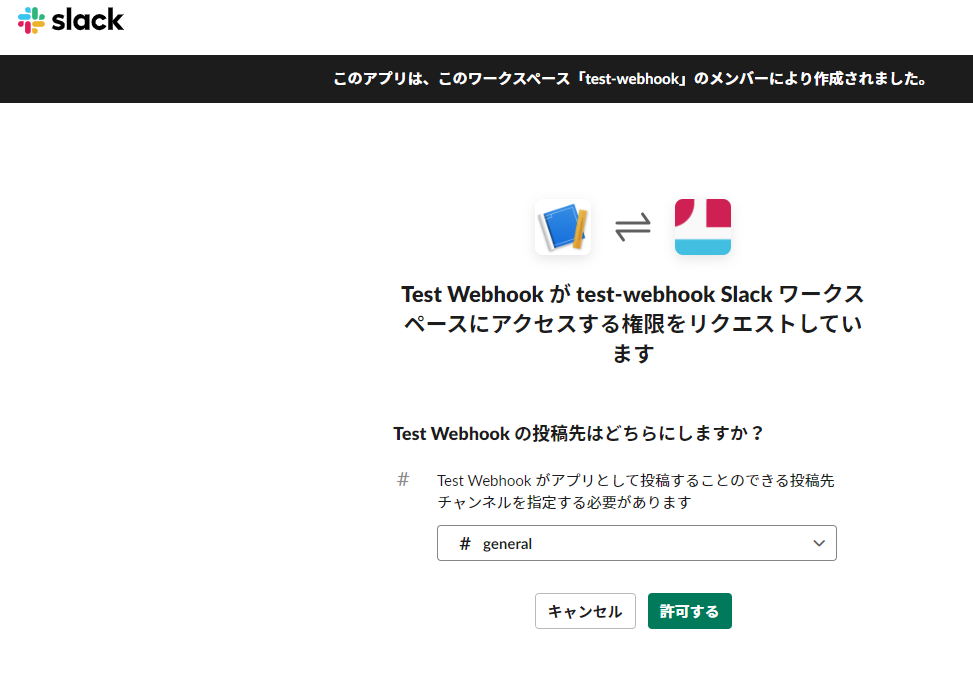
Permission

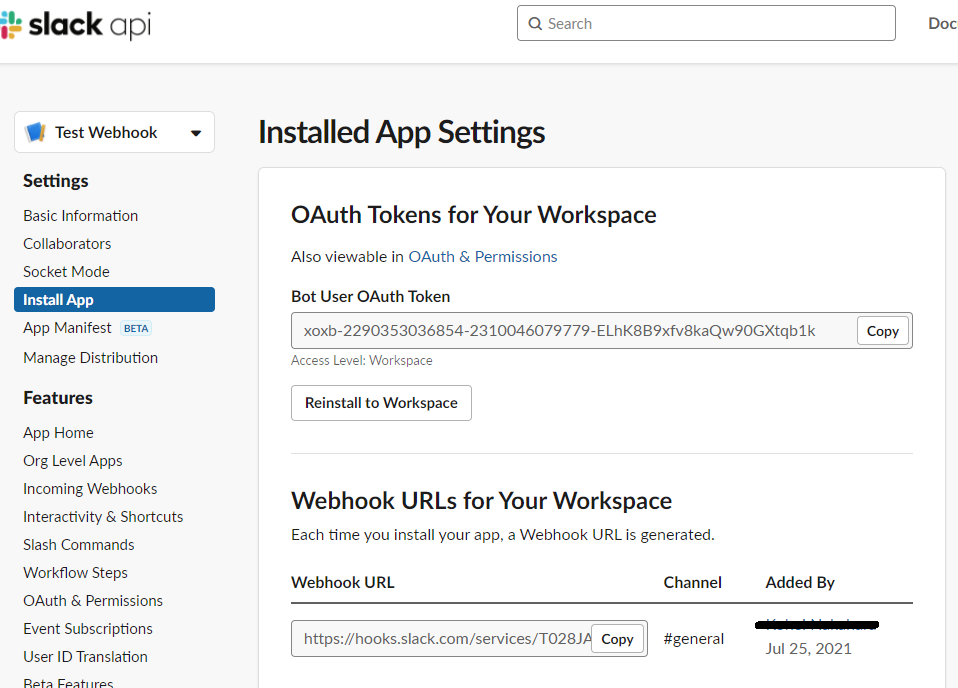
以下画像のように、Webhook URLが作成された。

Token and Webhook URL

curlでメッセージをPOSTしてみる

$ export SLACK_WEBHOOK_URL=<Webhook URL>
$ curl -X POST -H "Content-type: application/json" --data "{'text':'Hello, World!'}" $SLACK_WEBHOOK_URL
ok

Slackのチャンネルを確認

Slack Channel

メッセージの送信ができた!

0
0
0

Register as a new user and use Qiita more conveniently

  1. You get articles that match your needs
  2. You can efficiently read back useful information
  3. You can use dark theme
What you can do with signing up
0
0

Delete article

Deleted articles cannot be recovered.

Draft of this article would be also deleted.

Are you sure you want to delete this article?