各ツールのバージョン
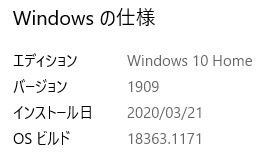
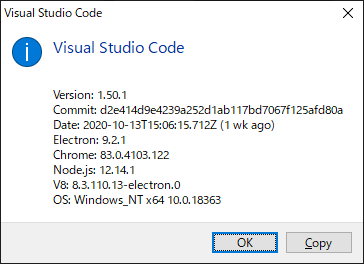
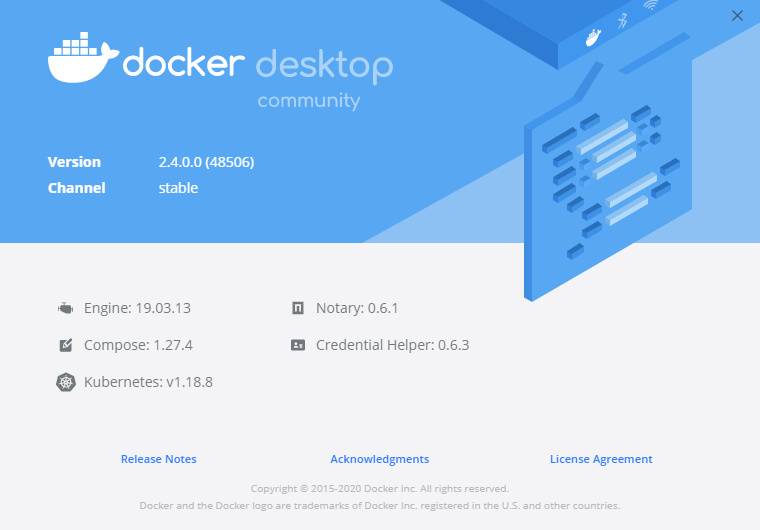
Visual Studio Code, Docker を使用します。各バージョンは以下の通りです。
今回はWindows10を使用していますが、MacOSでも同様に操作できます。
- Windows
- Visual Studio Code
- Docker
※以前Windowsのバージョンが1909だとDockerが入らなかったのですが、現在はインストール可能となったようです。
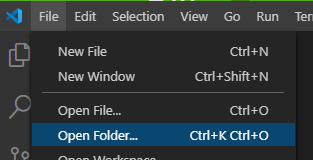
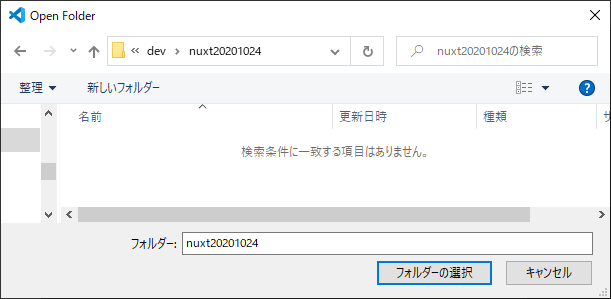
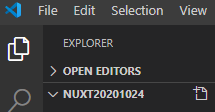
開発環境作成
Nuxt プロジェクトを作成し、GitHub で main ブランチに push したら自動で GitHub Pages に公開するよう準備します。
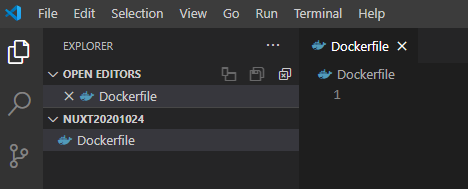
- Dockerfile に Node.js 環境を作る内容を記載します。
FROM node:lts-alpine
ENV CHOKIDAR_USEPOLLING=true NUXT_TELEMETRY_DISABLED=1
RUN apk update && apk add git
1行目:alpine OS の Node.js 入りイメージをベースにします。node:alpineだと Nuxt プロジェクトを作るときエラーとなったのでltsにしています。
2行目:開発時の自動更新を有効にし、Nuxt 実行時の統計確認を無効にします。
3行目:パッケージを更新し、gitをインストールします。
-
Visual Studio Code の Remote Development を使って Dockerコンテナを起動します。

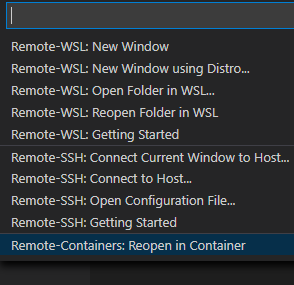
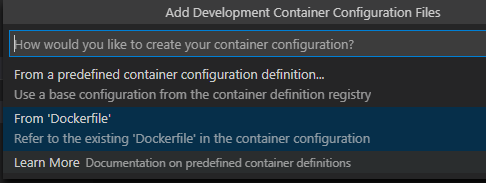
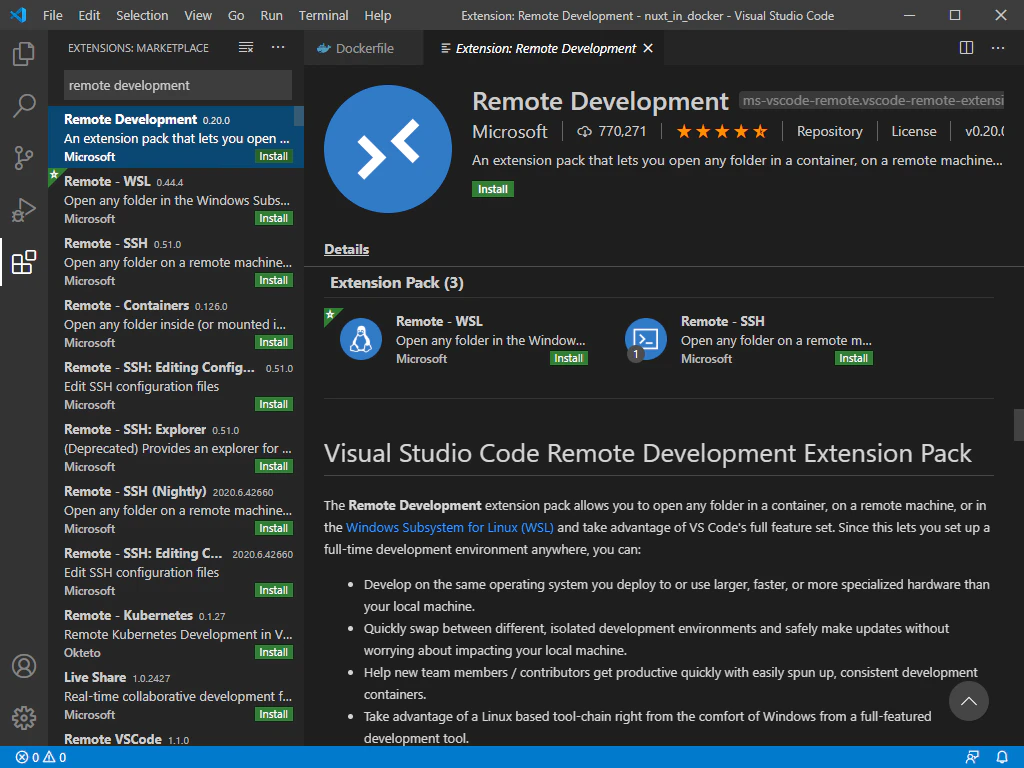
※Remote Development 拡張機能が入っていない場合はインストールしてください。
-
Vuter 拡張機能をインストールする設定("octref.vetur")を追加し、Docker環境をリビルドします。
{
(...省略)
	// Add the IDs of extensions you want installed when the container is created.
	"extensions": ["octref.vetur"]
(...省略)
}
yarn create nuxt-app my-nuxt
※my-nuxt はプロジェクト名なので自由に名前を付けられます。
? Project name: (my-nuxt)
プロジェクト名を聞かれますので、そのまま Enter
? Programming language: (Use arrow keys)
❯ JavaScript
  TypeScript
使用する言語を聞かれますので JavaScript のまま Enter
? Package manager: (Use arrow keys)
❯ Yarn
  Npm
パッケージマネージャを聞かれますので、Yarn のまま Enter
? UI framework: (Use arrow keys)
❯ None
  Ant Design Vue
  Bootstrap Vue
  Buefy
  Bulma
  Chakra UI
  Element
  Framevuerk
  iView
  Tachyons
  Tailwind CSS
  Vuesax
  Vuetify.js
UI フレームワークを聞かれますがあとから追加可能なので None のまま Enter
? Nuxt.js modules: (Press <space> to select, <a> to toggle all, <i> to invert selection)
❯◯ Axios
 ◯ Progressive Web App (PWA)
 ◯ Content
インストールするモジュールを聞かれますがあとから追加可能なのでそのまま Enter
? Linting tools: (Press <space> to select, <a> to toggle all, <i> to invert selection)
❯◯ ESLint
 ◯ Prettier
 ◯ Lint staged files
 ◯ StyleLint
 ◯ Commitlint
インストールする構文チェックツールを聞かれますがあとから追加可能なのでそのまま Enter
? Testing framework:
  None
❯ Jest
  AVA
  WebdriverIO
テストツールを聞かれますので、Jest を選択し Enter
? Rendering mode: (Use arrow keys)
  Universal (SSR / SSG)
❯ Single Page App
レンダリングモードを聞かれますので、Single Page App を選択し Enter
? Deployment target: (Use arrow keys)
  Server (Node.js hosting)
❯ Static (Static/JAMStack hosting)
デプロイ先を聞かれますが、今回 GitHub Pages を使うので Static (Static/JAMStack hosting) を選択し Enter
? Development tools: (Press <space> to select, <a> to toggle all, <i> to invert selection)
❯◯ jsconfig.json (Recommended for VS Code if you're not using typescript)
 ◯ Semantic Pull Requests
 ◯ Dependabot (For auto-updating dependencies, GitHub only)
インストールするデプロイ用ツールを聞かれますがあとから追加可能なのでそのまま Enter
? Continuous integration: (Use arrow keys)
  None
❯ GitHub Actions (GitHub only)
インストールする CI ツールを聞かれますが、今回 GitHub Actions を使うので GitHub Actions (GitHub only) を選択し Enter
? What is your GitHub username?
GitHub のユーザ名を聞かれますので自分のユーザ名を入力します。
? Version control system: (Use arrow keys)
❯ Git
  None
使用するバージョン管理ツールを聞かれますので、Git を選択し Enter
🎉 Successfully created project my-nuxt
Successfully が出れば作成完了です。
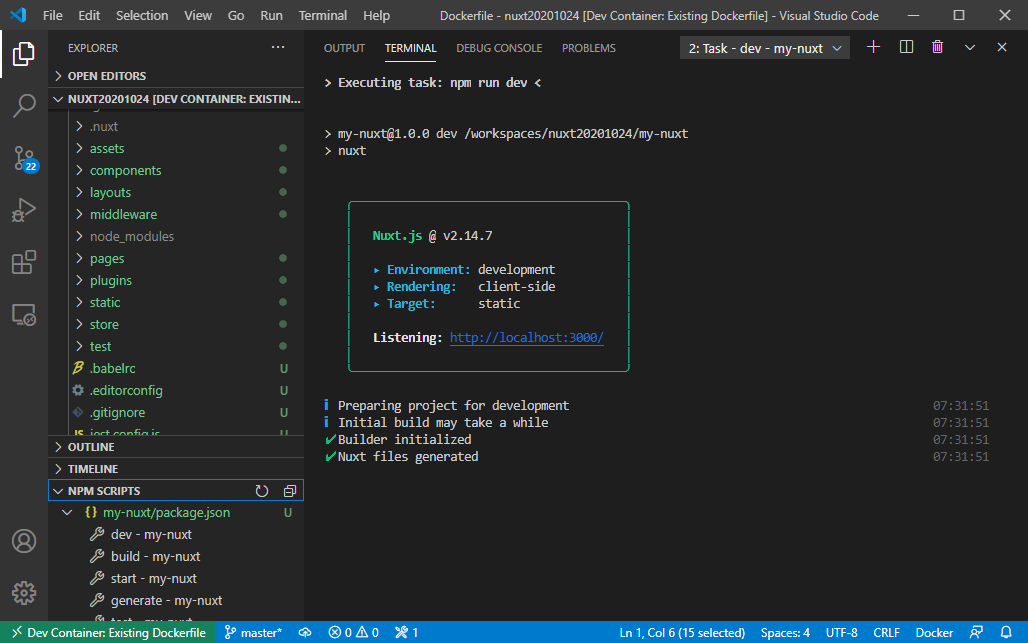
NPM SCRIPTS の dev - my-nuxt の右に出る三角ボタンで実行できます。
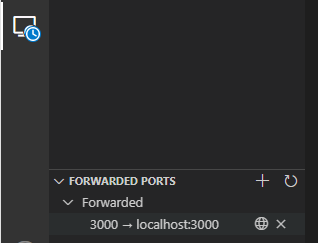
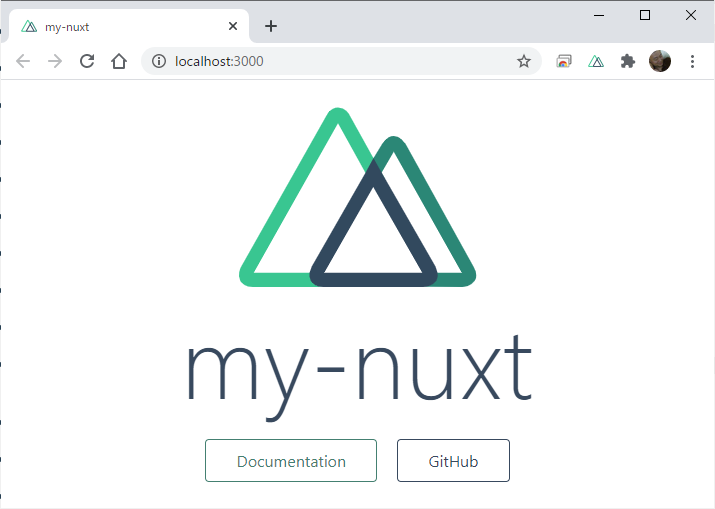
リモートエクスプローラタブに切り替えると FORWARDED PORTS がひょうじされ、3000 のところの地球儀のマークをクリックするとブラウザが起動します。
- Git リポジトリ管理を開始します。
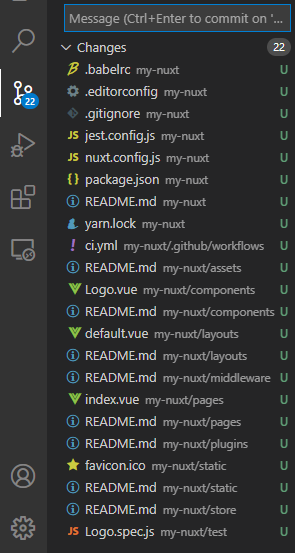
ソースコントロールタブに切り替えると変更ファイル一覧が表示されているので、Message 欄にコミットコメントとして first と入力してチェックボタンを押しコミットします。

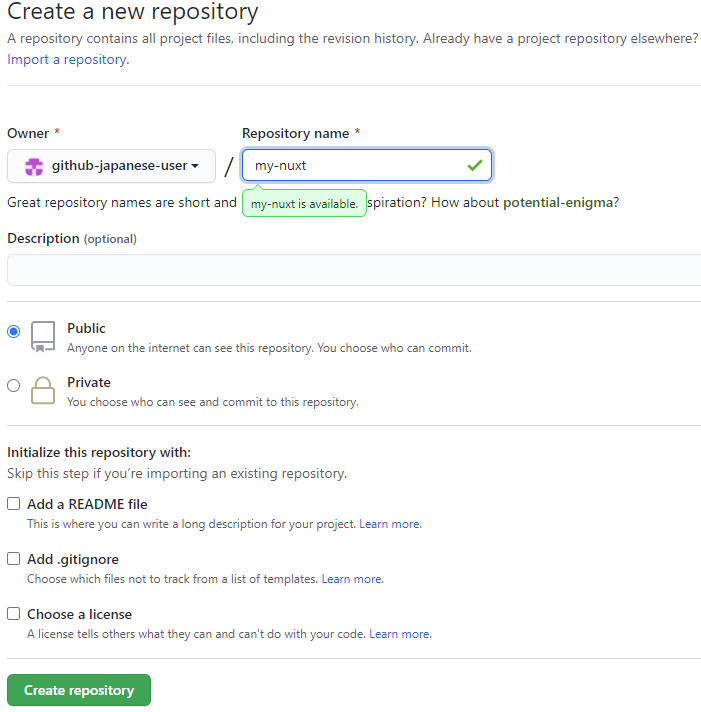
Repository name を入力し、Public で作成します。(Private だと GitHub Pages を使うとき有料になります。)
- リポジトリを GitHub に紐づけて Push します。
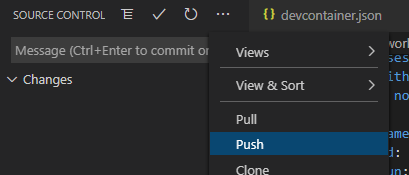
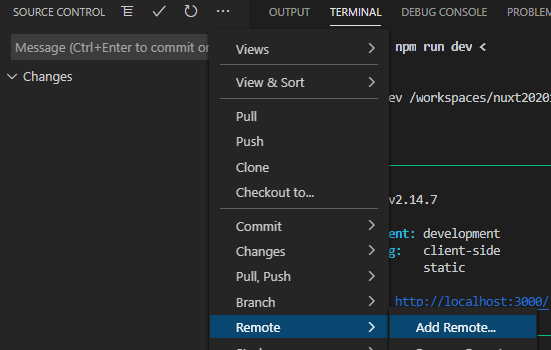
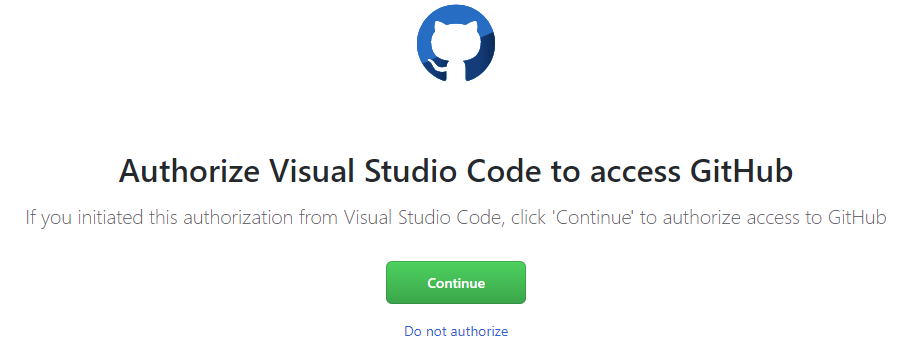
SOURCE CONTROL の・・・メニューから Remote / Add Remote... を選択し、Add Remote from GitHub を選択します。


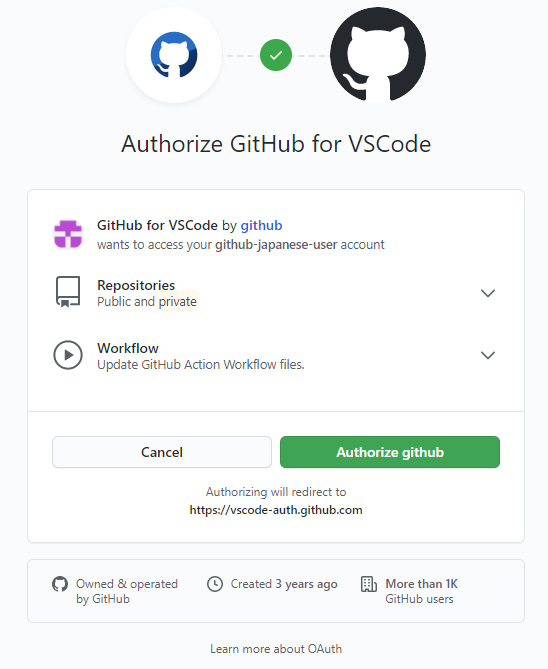
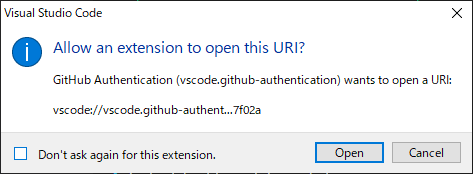
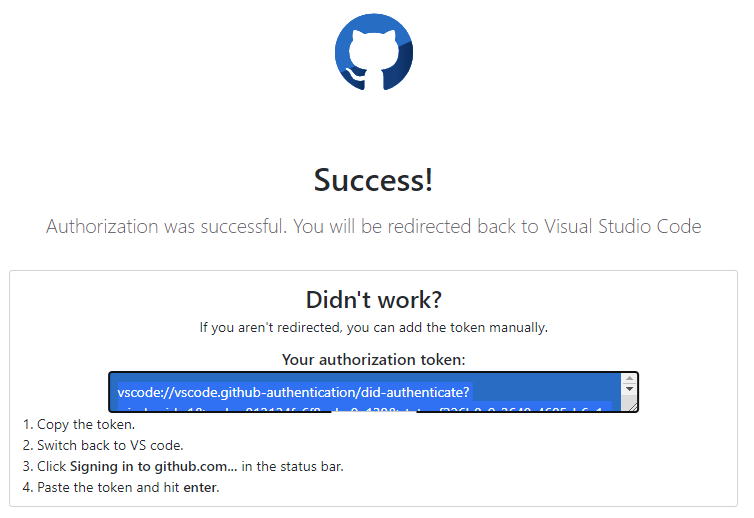


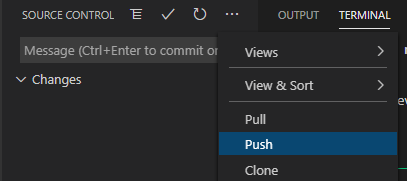

- GitHub Actions で GitHub Pages にデプロイする設定を追加します。
my-nuxt/.github/workflows/ci.yml を開きます。

テスト用の設定は入っているので、そのあとに GitHub Pages にデプロイする処理を追加し保存します。
(...省略)
      - name: Run tests 🧪
        run: yarn test
(以下追加)
      - run: yarn generate

      - uses: peaceiris/actions-gh-pages@v3
        with:
          github_token: ${{ secrets.GITHUB_TOKEN }}
          publish_dir: ./dist
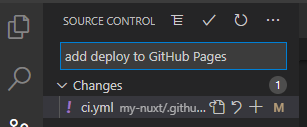
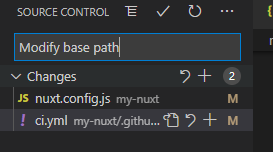
- コミット、Push して GitHub Actions の動作ログを確認し、デプロイされたページも確認します。
GitHub の Actions ページを見て先ほど Push したコメントの workflow が完了していればデプロイ完了です。
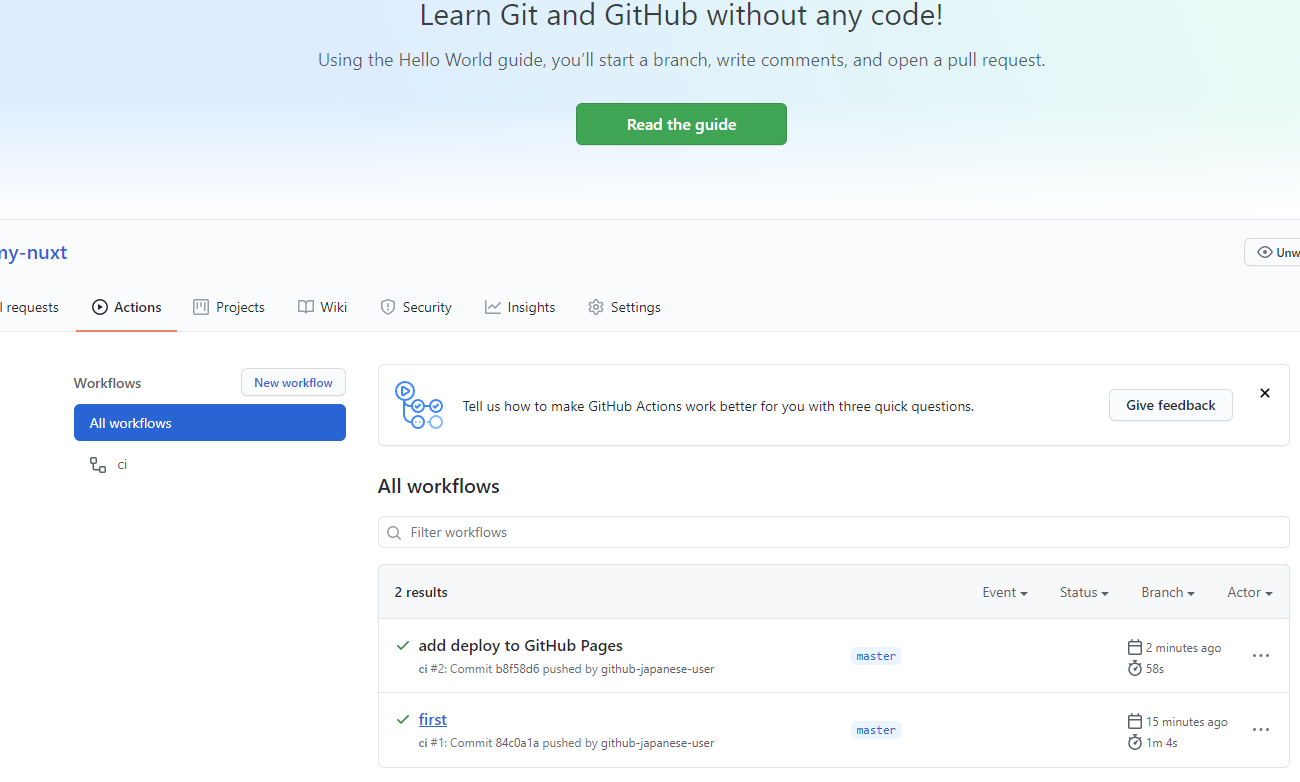
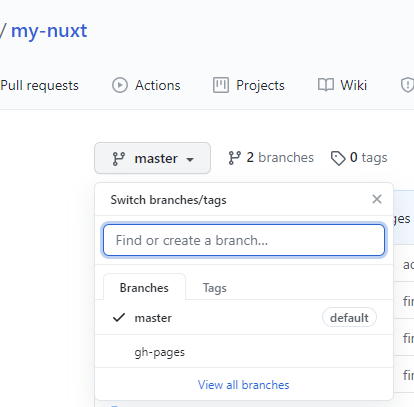
デプロイ完了していれば gh-pages ブランチができます。
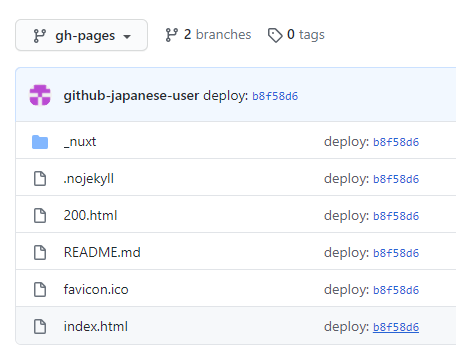
gh-pages ブランチに index.html があれば成功です。
GutHub の Settings ページの中にある GitHub Pages の設定に行きます。
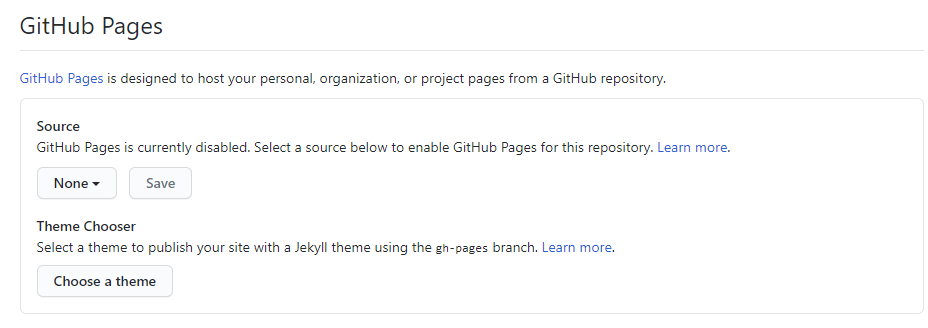
Source を gh-pages に切り替えて Save ボタンを押します。

Your site is ready to be published at の後の URL が公開ページになります。
- ベースフォルダを調整します。
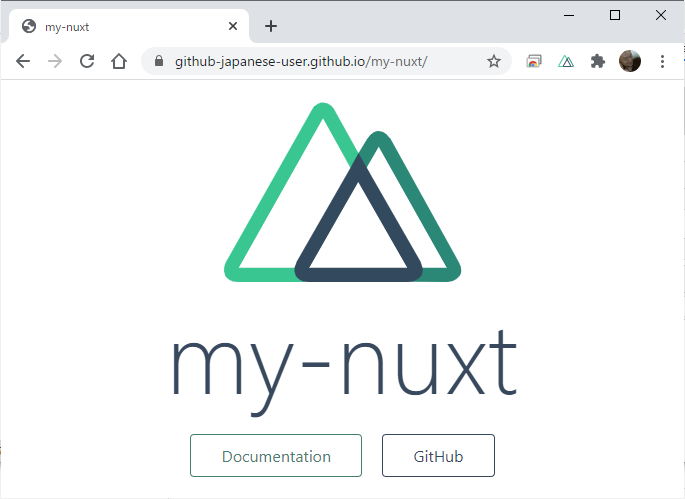
公開 URL が https://~.github.io/my-nuxt/ となっていて、Nuxt は既定では / ベースのパス後世になっているので、 /my-nuxt/ がベースになるよう設定を追加します。
(...省略)
  // Build Configuration (https://go.nuxtjs.dev/config-build)
  build: {
  }
}
(...省略)
  // Build Configuration (https://go.nuxtjs.dev/config-build)
  build: {
  },

  router: {
    base: process.env.BASE
  }
}
- run: yarn generate
- run: BASE=/my-nuxt/ yarn generate
コミット、Push してブラウザで確認します。
以上で、Push すれば自動で公開される仕組みが完成しました。
おまけ:FTPを使ってサーバに公開する設定
レンタルサーバ等にデプロイする場合の GitHub Actions の設定を紹介します。
ci.yml に以下の内容を追加します。
(省略...)
      - run: yarn generate_ftp

      - name: FTP-Deploy-Action
        uses: SamKirkland/FTP-Deploy-Action@3.1.1
        with:
          ftp-server: ftp://FTPサーバのIPアドレスまたはDNS名/転送先のパス
          ftp-username: FTPユーザ名
          ftp-password: ${{ secrets.FTP_PASSWORD }}
          local-dir: dist/
今回は FTP-Deploy-Action を使っています。
FTPのパスワードは直接書いてしまうと公開されてしまうので、secrets という環境変数のようなもので指定します。
実際のパスワードは GitHub の Settings ページの Secrets に設定します。

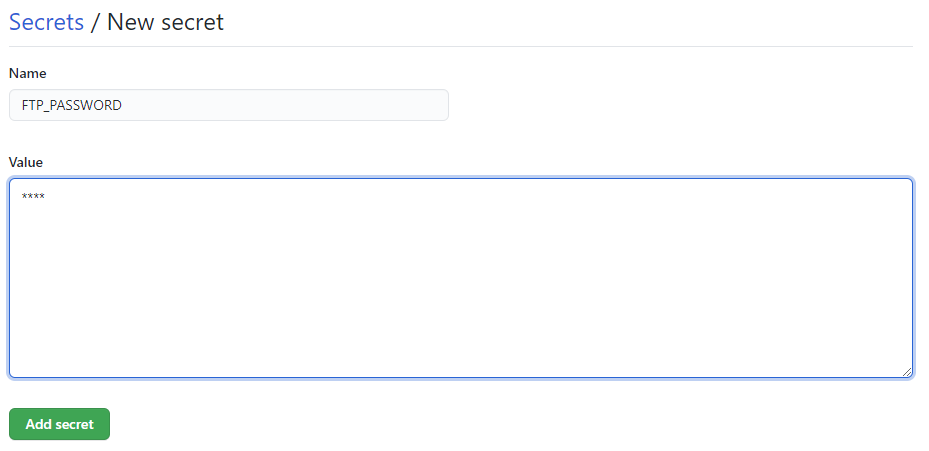
New secret ボタンを押して、Name には ci.yml に記載した FTP_PASSWORD を、Value にはパスワードを入力し、Add Secret ボタンを押します。
また、GitHub Pages の yarn generate は /my-nuxt/ ベースになっているので、FTP ように yarn generate_ftp でビルドするようにします。
package.json にを編集します。
  "scripts": {
    "dev": "nuxt",
    "build": "nuxt build",
    "start": "nuxt start",
    "generate": "BASE=/my-nuxt/ nuxt generate",
    "test": "jest"
  },
  "scripts": {
    "dev": "nuxt",
    "build": "nuxt build",
    "start": "nuxt start",
    "generate": "BASE=/my-nuxt/ nuxt generate",
    "generate_ftp": "DIR=dist_ftp/ BASE=/user01/ nuxt generate",
    "test": "jest"
  },
ビルドしたファイルを dist_ftp フォルダに出力するよう DIR 環境変数を用意しています。
また、FTPユーザ名がサーバの公開パスになる場合は BASE 環境変数でそのパスを指定します。(上記では user01 で転送すると /user01 に入る想定)
DIRで指定したフォルダに出力されるよう nuxt.config.js も編集します。
{
(省略...)
  router: {
    base: process.env.BASE
  }
}
{
(省略...)
  router: {
    base: process.env.BASE
  },

  generate: {
    dir: process.env.DIR
  }
}
最後に dist_ftp フォルダは以下を git 管理から外すために .gitignore を編集します。
# Nuxt generate
dist
# Nuxt generate
dist
dist_ftp
これで、コミット・Push するとFTPサーバ経由でデプロイされるようになると思いましたが、実行するとファイルがアップロードされません。
調べると、アップロード対象ファイルは git 管理されているファイルの差分になるようです。
My files aren't uploading
V3+ uses github to determine when files have changes and only publish differences. This means files that aren't > committed to github will not upload by default.
To change this behavior please see .git-ftp-ignore documentation.
ビルドした dist_ftp 配下のフォルダは git 管理外のため、アップロード対象とするには、.git-ftp-include を作成します。
!dist_ftp/
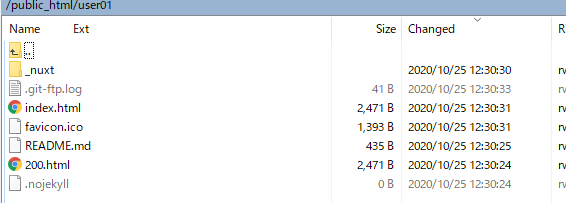
これで、FTPで転送されるようになります。
この仕組みを使えばレンタルサーバさえあればWebサービスを公開できます。
これまで手動でホームページを管理していたものも GitHub 管理にでき、アップロードが自動化できます。
そして、GitHub Pages とは違って、PHP やデータベースを使ったバックエンドも合わせて作れるので個人で開発するときに有用かと思います。
