必要なもの
PC(Mac or Window or Linux)
Docker for Desktop(Toolkitではない方)
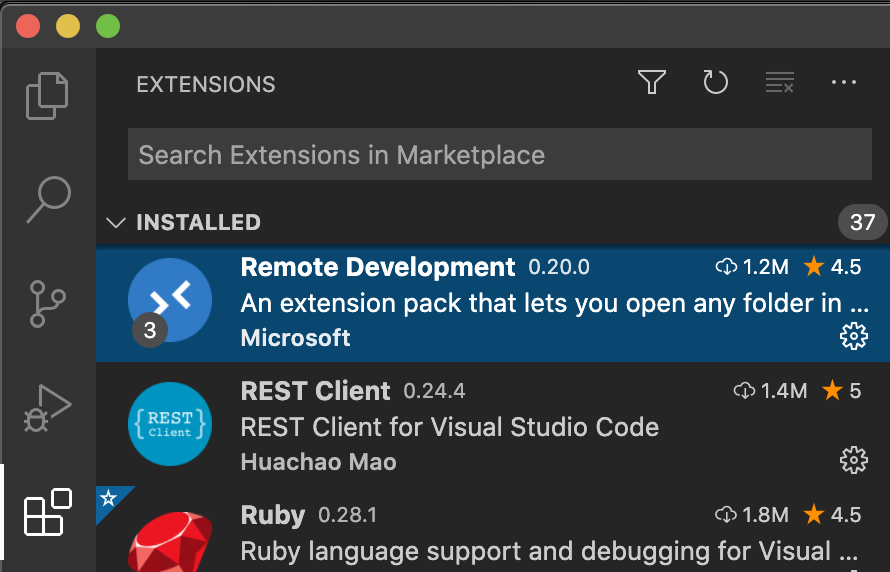
VSCode(Remote Development拡張機能が必要)
インターネット環境
ブラウザ(Chrome等)
VSCodeを起動
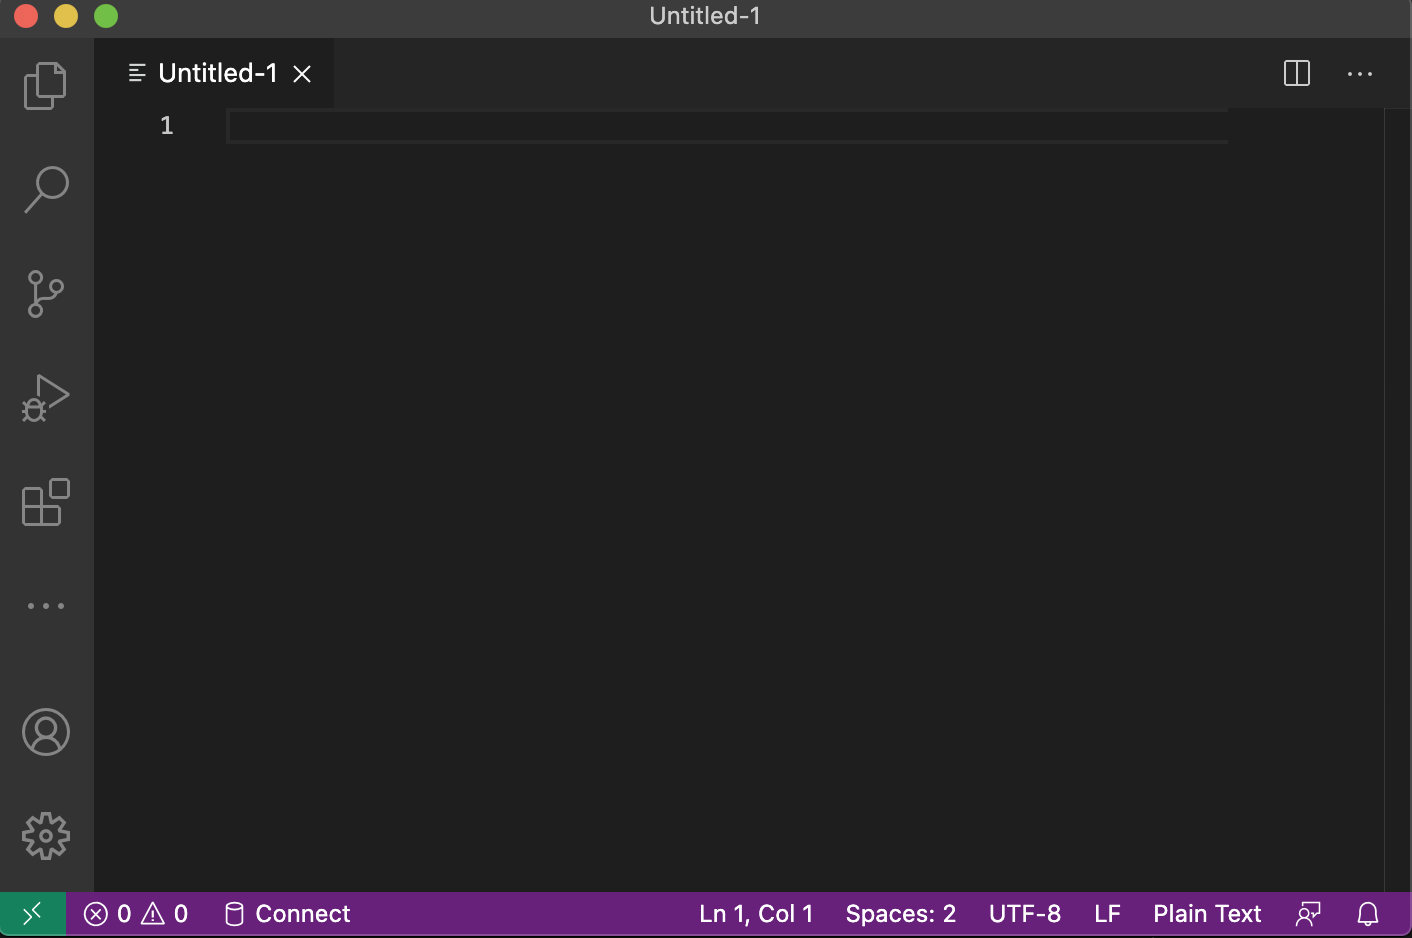
作業フォルダを開く
左上に縦に並んでいる中の Explorer ボタン

を押します。
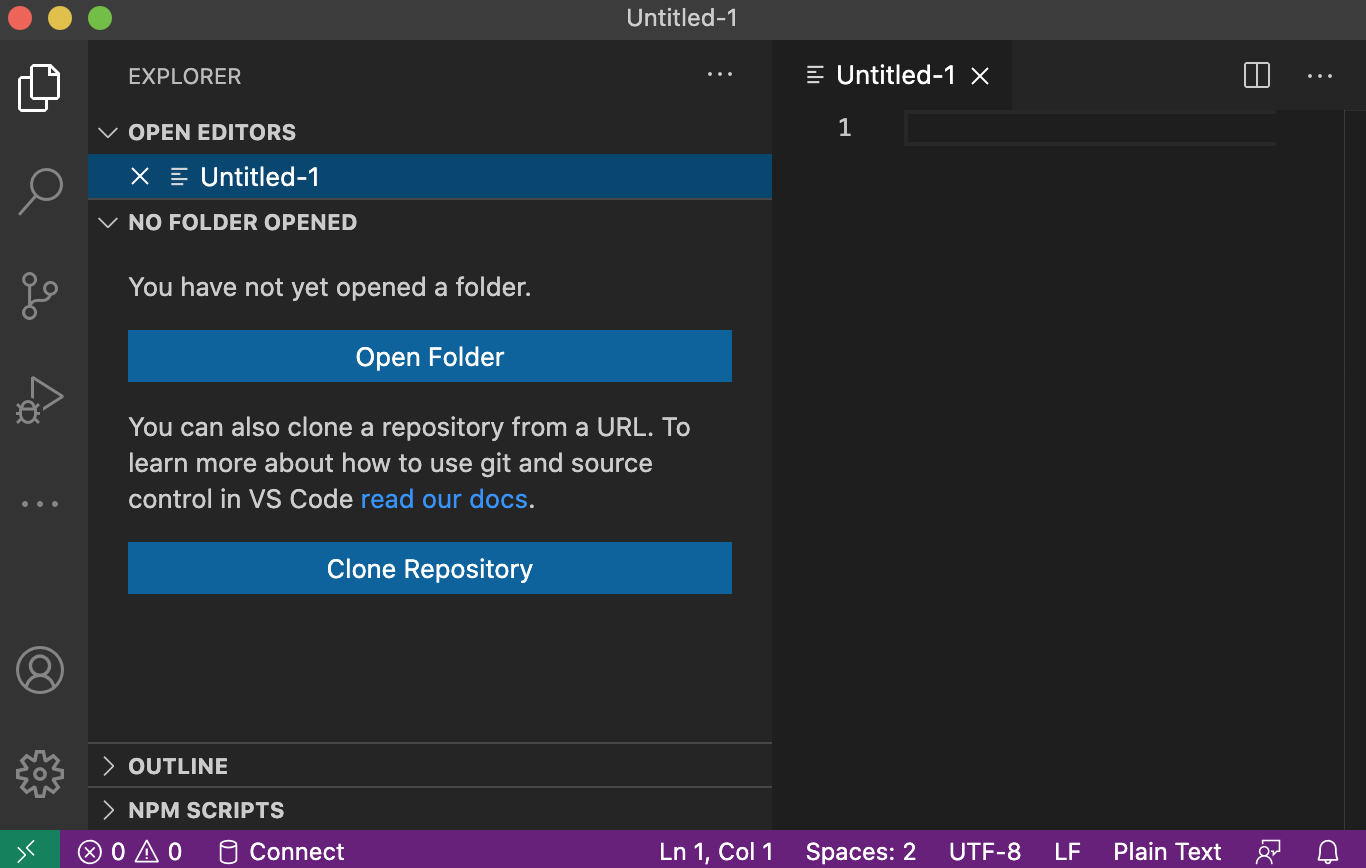
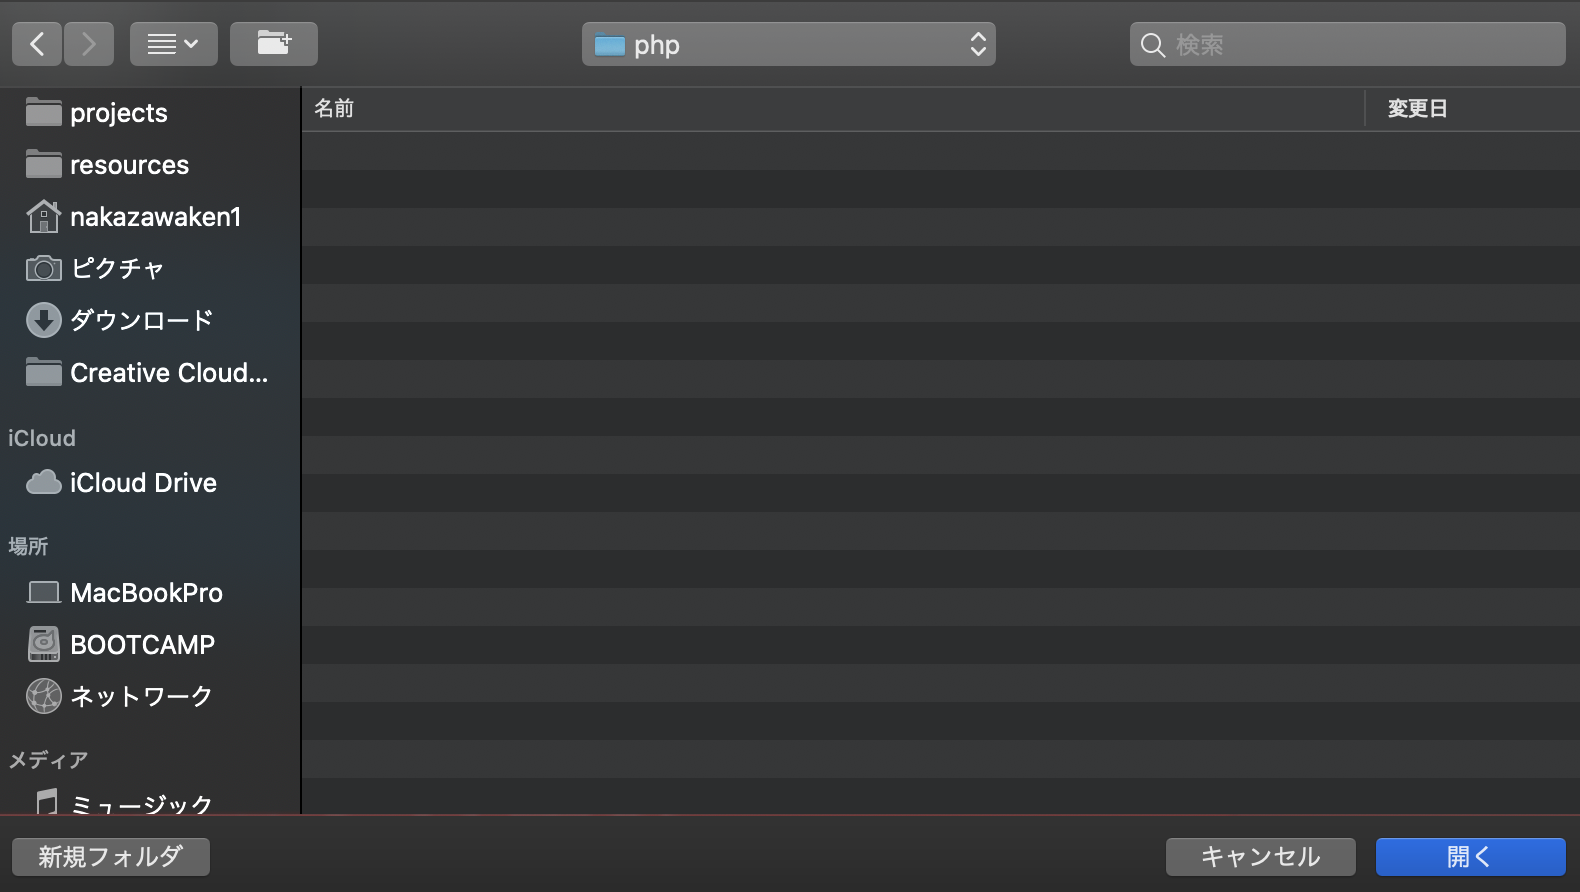
Open Folderボタンを押し、作業するフォルダを選択します。ここでは空のphpフォルダを選択しました。
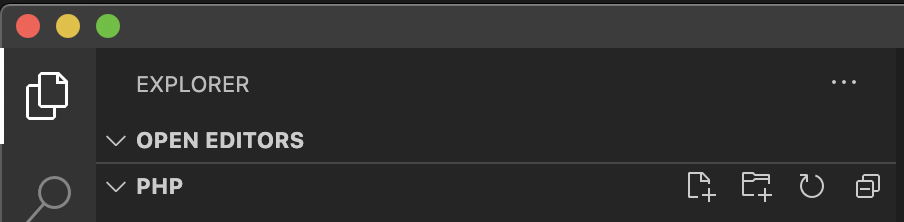
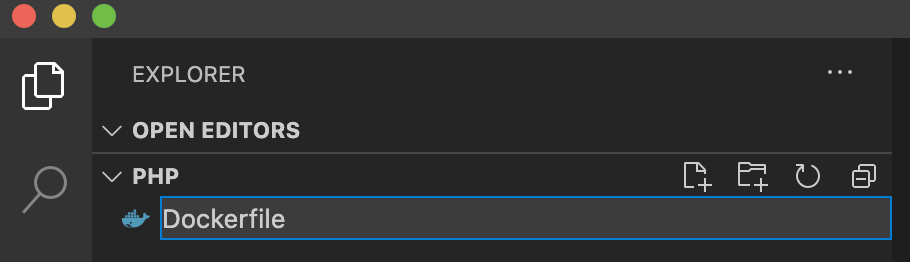
Dockerfile 作成
ファイル一覧の PHP(選択したフォルダ) の右側にあるファイル作成ボタン

を押します。
ファイル名部分に Dockerfile と入力します。(Dは大文字)
ファイルの内容は FROM php:5.4-apache と入力します。(5.4はPHPのバージョンで好きなバージョンを指定できます。)

CTRL+Sキーを押してファイルを保存します。
Docker開発環境を作成
左下の緑部分

をクリックします。
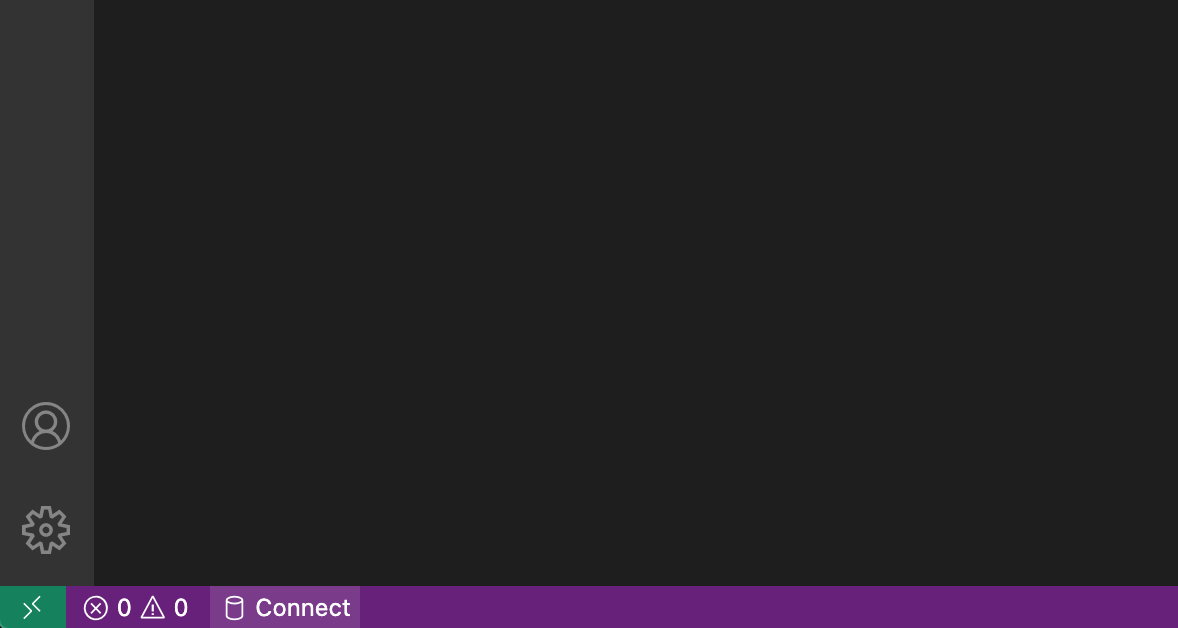
※緑部分がない場合は、Remote Development拡張機能が入っていないのでインストールしてください。
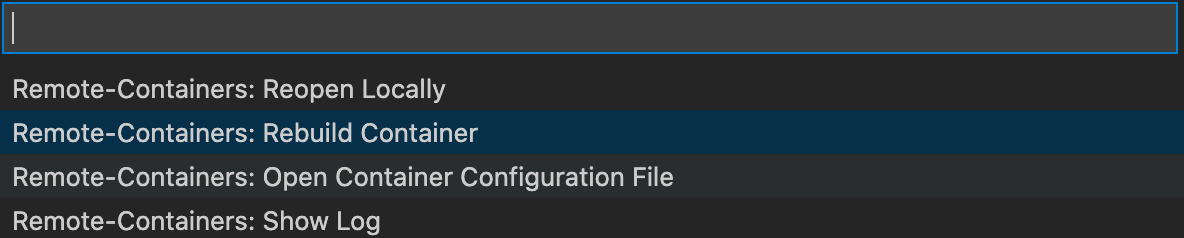
上部中央にリストが表示されるので Remote-Containers: Reopen in Container を選択します。
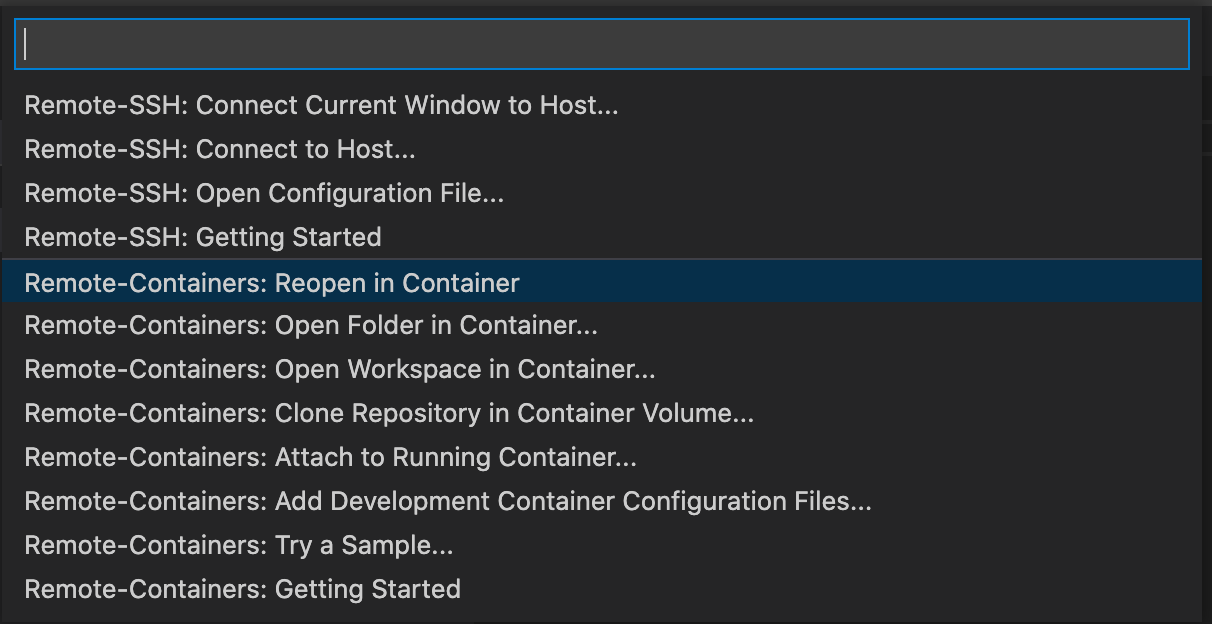
続けてリストが表示されるので、 From 'Dockerfile' を選択します。これで作成したDockerfileからDockerコンテナが起動します。

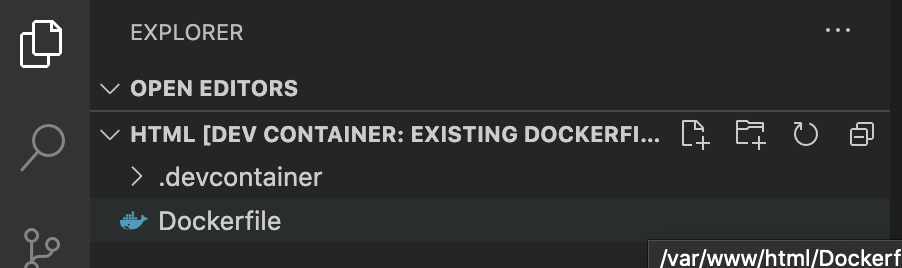
すると、.devcontainer フォルダ、 devcontainer.json が生成されます。このファイルでDocker環境を起動するときの設定ができます。
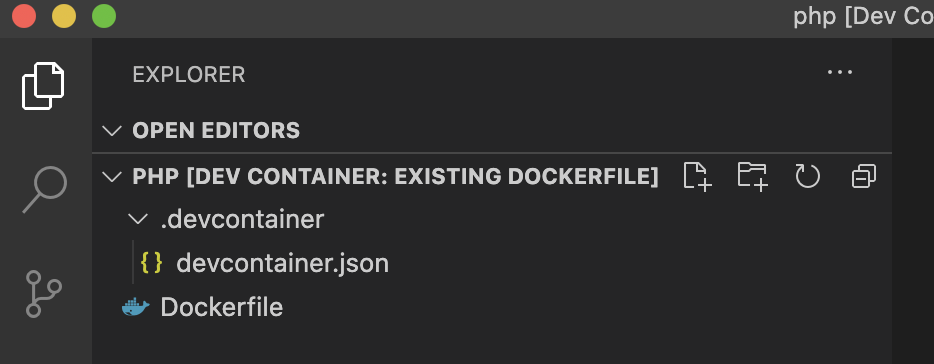
※これらのフォルダ、ファイルリストは Docker内のものが表示されています。
PHP[DEV CONTAINER:EXISTING DOCKERFILE] がそれを表しています。
ローカルのphpフォルダと内容が同期されるように設定されています。
devcontainer.json 設定変更
/var/www/html の内容が同期されるよう設定します。
以下の2行を一番外の{}内に追加します。
	"workspaceFolder": "/var/www/html",
	"workspaceMount": "type=bind,source=${localWorkspaceFolder},target=/var/www/html",
// For format details, see https://aka.ms/devcontainer.json. For config options, see the README at:
// https://github.com/microsoft/vscode-dev-containers/tree/v0.158.0/containers/docker-existing-dockerfile
{
	"name": "Existing Dockerfile",

	// Sets the run context to one level up instead of the .devcontainer folder.
	"context": "..",

	// Update the 'dockerFile' property if you aren't using the standard 'Dockerfile' filename.
	"dockerFile": "../Dockerfile",

	// Set *default* container specific settings.json values on container create.
	"settings": {
		"terminal.integrated.shell.linux": null
	},
	// Add the IDs of extensions you want installed when the container is created.
	"extensions": []

	// Use 'forwardPorts' to make a list of ports inside the container available locally.
	// "forwardPorts": [],

	// Uncomment the next line to run commands after the container is created - for example installing curl.
	// "postCreateCommand": "apt-get update && apt-get install -y curl",

	// Uncomment when using a ptrace-based debugger like C++, Go, and Rust
	// "runArgs": [ "--cap-add=SYS_PTRACE", "--security-opt", "seccomp=unconfined" ],

	// Uncomment to use the Docker CLI from inside the container. See https://aka.ms/vscode-remote/samples/docker-from-docker.
	// "mounts": [ "source=/var/run/docker.sock,target=/var/run/docker.sock,type=bind" ],

	// Uncomment to connect as a non-root user if you've added one. See https://aka.ms/vscode-remote/containers/non-root.
	// "remoteUser": "vscode"

}
// For format details, see https://aka.ms/devcontainer.json. For config options, see the README at:
// https://github.com/microsoft/vscode-dev-containers/tree/v0.158.0/containers/docker-existing-dockerfile
{
	"name": "Existing Dockerfile",

	// Sets the run context to one level up instead of the .devcontainer folder.
	"context": "..",

	// Update the 'dockerFile' property if you aren't using the standard 'Dockerfile' filename.
	"dockerFile": "../Dockerfile",

	// Set *default* container specific settings.json values on container create.
	"settings": {
		"terminal.integrated.shell.linux": null
	},

	"workspaceFolder": "/var/www/html",
	"workspaceMount": "type=bind,source=${localWorkspaceFolder},target=/var/www/html",

	// Add the IDs of extensions you want installed when the container is created.
	"extensions": []

	// Use 'forwardPorts' to make a list of ports inside the container available locally.
	// "forwardPorts": [],

	// Uncomment the next line to run commands after the container is created - for example installing curl.
	// "postCreateCommand": "apt-get update && apt-get install -y curl",

	// Uncomment when using a ptrace-based debugger like C++, Go, and Rust
	// "runArgs": [ "--cap-add=SYS_PTRACE", "--security-opt", "seccomp=unconfined" ],

	// Uncomment to use the Docker CLI from inside the container. See https://aka.ms/vscode-remote/samples/docker-from-docker.
	// "mounts": [ "source=/var/run/docker.sock,target=/var/run/docker.sock,type=bind" ],

	// Uncomment to connect as a non-root user if you've added one. See https://aka.ms/vscode-remote/containers/non-root.
	// "remoteUser": "vscode"

}
左下以下の部分をクリックし、Remote-Containers: Rebuild Container を選択します。

※Dockerfile や devcontainer.json を変更した時はこれで設定を反映させます。
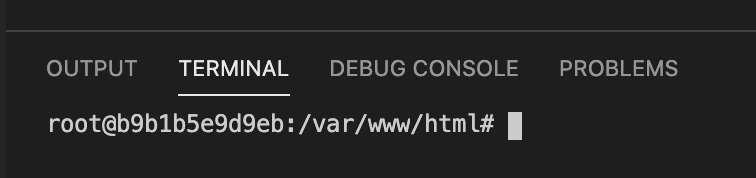
ターミナルを確認すると /var/www/html が初期ディレクトリになり、
ここにファイルを作ればサーバで公開されブラウザで確認できるようになります。
phpファイル配置
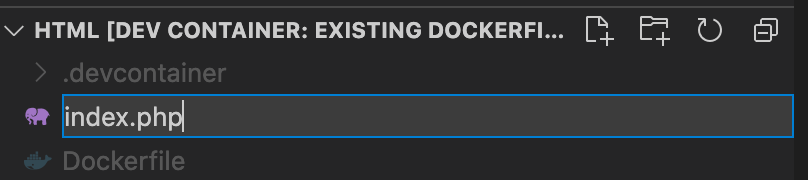
ファイル一覧の HTML[DEV... の右側にあるファイル作成ボタン
を押します。
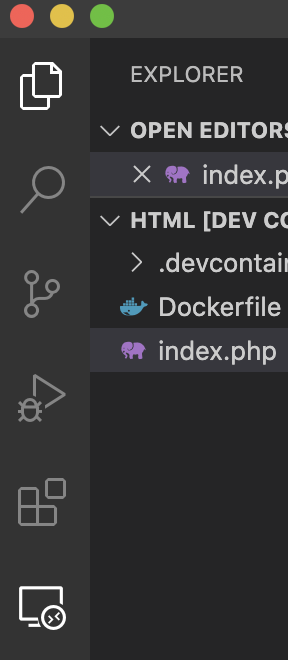
作成された枠の中にファイル名として index.php を入力します。
ファイルの内容に <?php phpinfo(); と入力します。

CTRL+Sでファイルを保存します。
動作確認
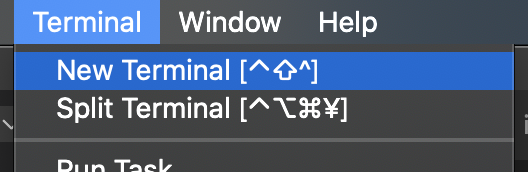
TERMINALを開いて、 apachectl start と入力し、Enter を押します。

以下のようになればサーバは起動しています。

左上に縦に並んでいるアイコンの中の Remote Expoloer ボタン

を押します。
PORTS部分に 80 →... の行があるので、右の Open in Browser ボタン

を押します。

phpinfoの情報が表示されれば確認OKです。

※56598の番号は環境によって変わります。