1
2

Delete article

Deleted articles cannot be recovered.

Draft of this article would be also deleted.

Are you sure you want to delete this article?

More than 5 years have passed since last update.

※下記の内容は、MacOS Catalina で確認しています。

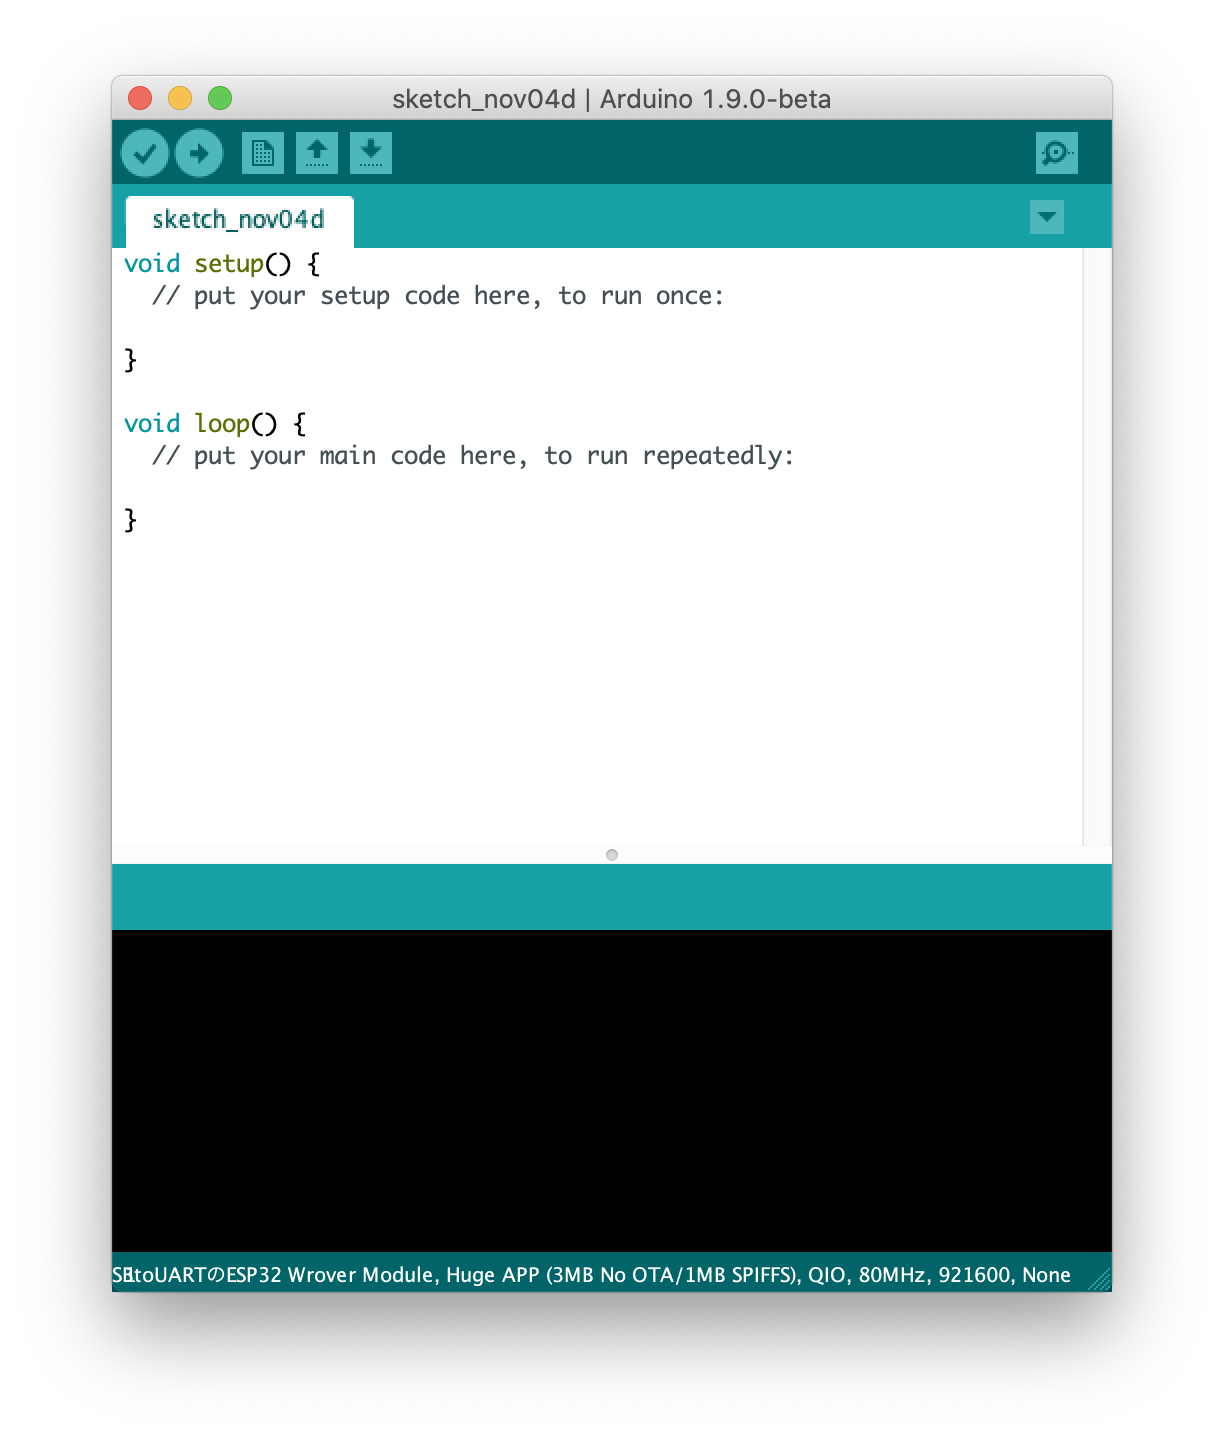
  • Arduino IDEを起動します。

image.png

  • GPIOの14番にLEDがつながっているのでピンの初期設定をsetup()内に記述します。
void setup() {
  pinMode(GPIO_NUM_14, OUTPUT); //GPIO14番を出力モードに設定
}
  • 500ミリ秒ごとに点滅するするようloop()内に記述します。
void loop() {
  digitalWrite(GPIO_NUM_14, LOW); //LED消灯
  delay(500); //500ミリ秒待つ
  digitalWrite(GPIO_NUM_14, HIGH); //LED点灯
  delay(500); //500ミリ秒待つ
}
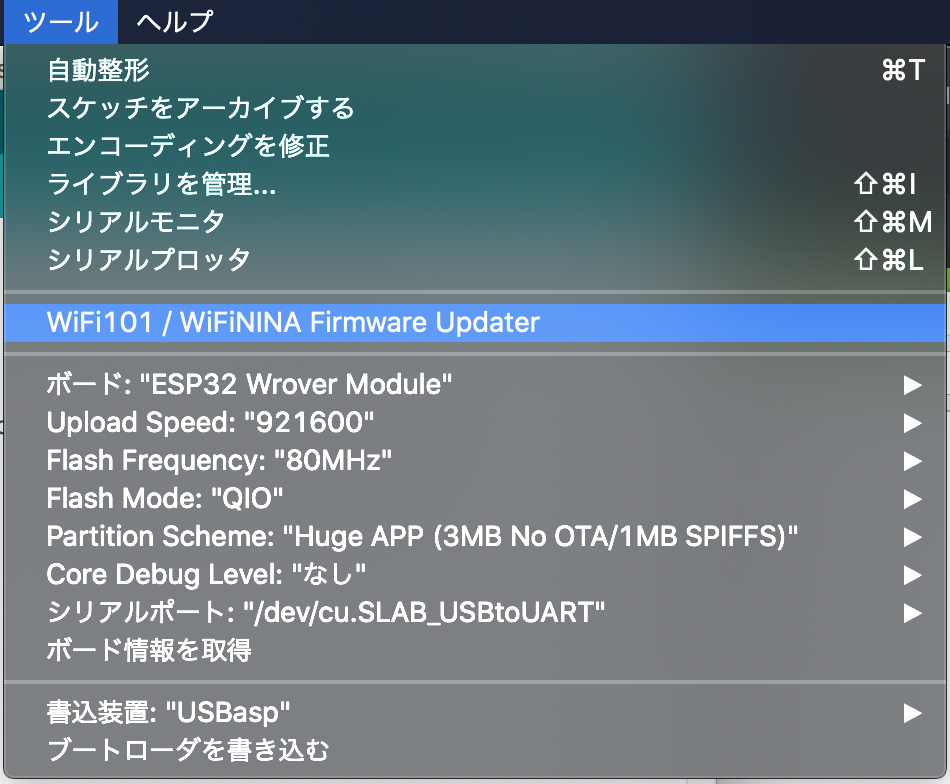
  • メニュー/ツールのボード:〜シリアルポート:までの部分を下記のように設定する

image.png

  • 書き込みボタン(左から2つ目の矢印ボタン)で書き込み

image.png

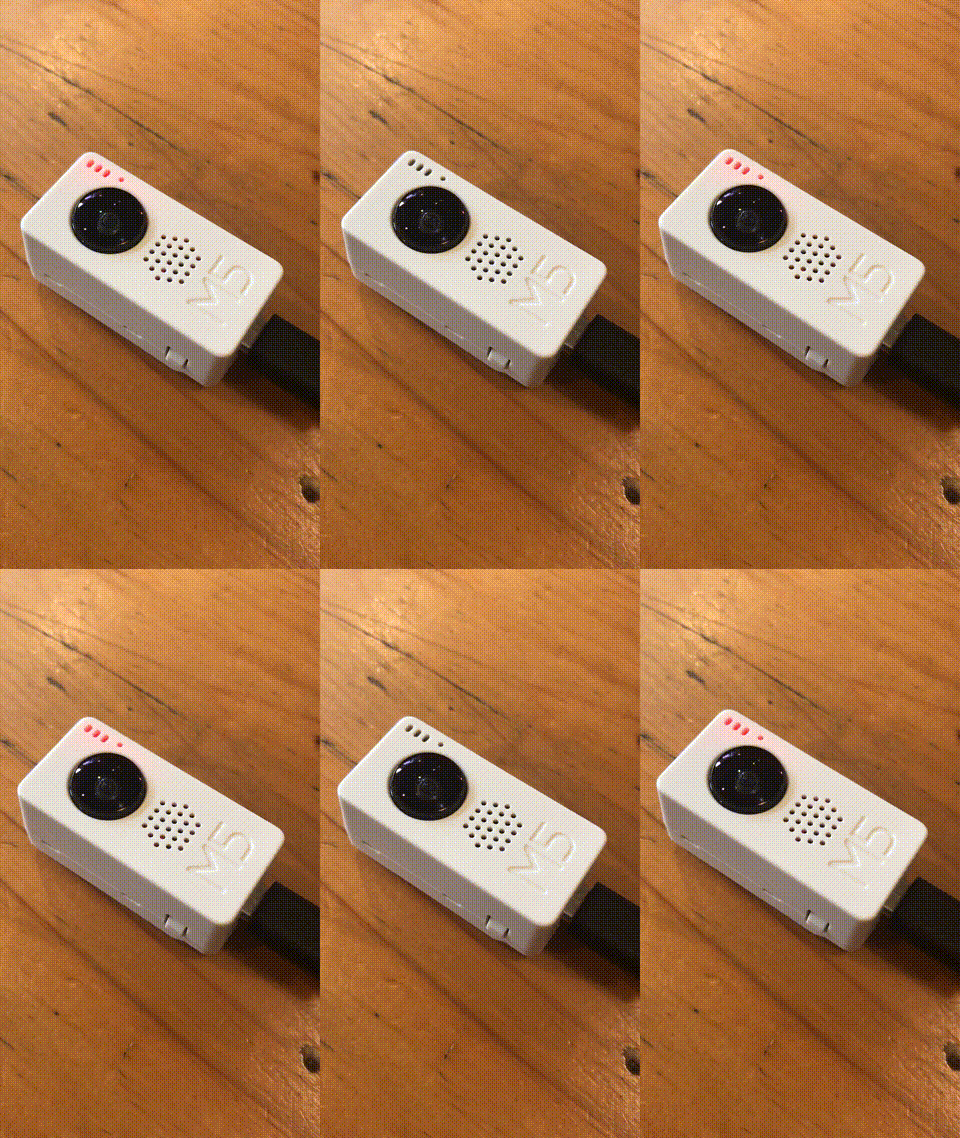
成功すれば点滅が開始します。

led.gif

1
2
0

Register as a new user and use Qiita more conveniently

  1. You get articles that match your needs
  2. You can efficiently read back useful information
  3. You can use dark theme
What you can do with signing up
1
2

Delete article

Deleted articles cannot be recovered.

Draft of this article would be also deleted.

Are you sure you want to delete this article?